


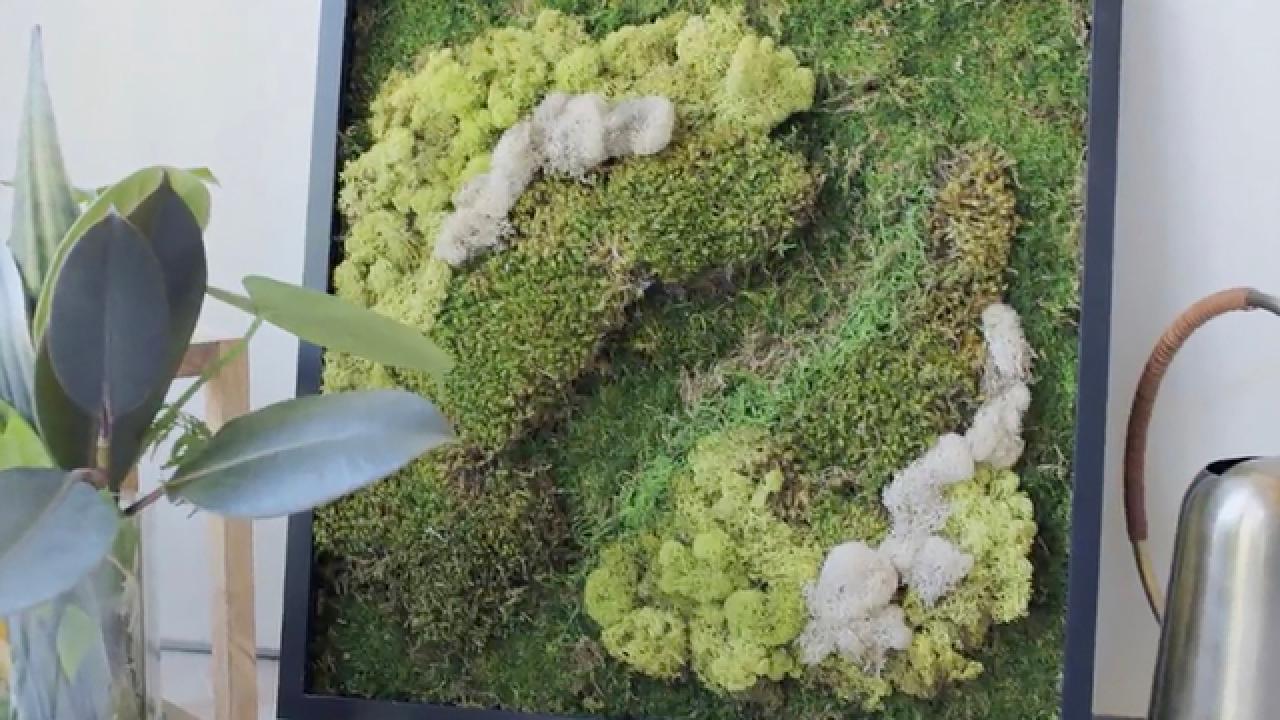
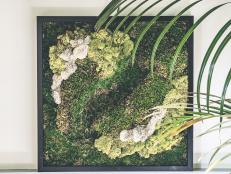
Preserved Moss Wall Art
New and longtime gardeners alike will love this easy, green wall art project from Hilton Carter's latest book, Wild Creations: Inspiring Projects to Create Plus Plant Care Tips & Styling Ideas for Your Own Wild Interior.

Hilton Carter © CICO Books, 2021
From Wild Creations: Inspiring Projects to Create Plus Plant Care Tips & Styling Ideas for Your Own Wild Interior by Hilton Carter, CICO Books

One of the questions I often get asked is if I think this re-emergence of houseplants will die away as it did back in the 1980s, after seeing so many people bring plants indoors in the ’70s. From my perspective it’s never really died, and many were bringing plants indoors way before the 1970s.
Maybe here in the United States, where I live, houseplants became trendy, fell out of style and have now become trendy again. But in other places around the world, like Asia and Europe, blurring that line between interior and exterior has been ever-present. We as humans have lived among plants and nature since the dawn of time. We felt a connection with the outdoors then and still do today. As we’ve moved indoors, we’ve found ways to weave those outdoor, natural elements into our living spaces to stay connected. This art of living has a name: it’s called biophilic design.

Hilton Carter © CICO Books, 2021
If you’re someone, like myself, who has been styling plants in your home, feels excited about hardwood floors or wooden furniture design or has moved into new spaces because they had large windows, you are already seeing life through the lens of biophilic design and practicing its ethos. Biophilic design is all about finding ways to connect with the natural world by introducing those elements indoors. When you’ve heard me or others talk about how plants can make you feel more alive and creative, that’s all due to the human connection with the outdoor world. We still want to be at one with nature, whether consciously or unconsciously. That’s why some people who work in large offices without a lot of natural light, stuck within a cubicle, will have a beach scene as their screen saver or a small faux plant on the side of their desk.
These small reminders of the outdoor world trigger something in our brain to make us feel calmer and more productive. That’s why you’ll never hear me talk down to those who want to bring in faux plants. We don’t all have the luxury of living in homes or working in offices with a lot of natural light, but surrounding yourself with faux plants, objects made from natural elements, or walls painted in earth tones can have the same effect on us as if we were outdoors.
I’ve been on a mission over the last nine years to find myself more connected, more at one with nature, and my home and workspaces have reflected that. I’ve created propagation walls which exist as living art but also preserved moss wall art that gives the look of life but doesn’t demand the attention and care a living wall would. Whether it’s alive or faux, if it looks as if it has come from the natural environment, it can help our minds, our hearts, and, of course, our lives.
So while there are many projects in this book that will help you find creative ways to utilize live plants, I felt it was only right to include some projects that no matter what type of light or plant knowledge you had, you could create a space that blurred that line. Creating a moss wall is fun and easy and really helps to get your creative mind in motion. So here is what you’ll need to create your own preserved moss wall.

Get creative and get wild with plant and interior stylist Hilton Carter's latest book, Wild Creations. The beloved plant dad walks you through dozens of green projects for all skill levels, including the preserved moss wall art featured here, to bring lush life into your own space.
Materials + Tools
- frame (this can be storebought, handmade or thrifted)
- 2" x 24" x 18" foam board
- low-temp hot glue gun + glue sticks
- sharp blade or box cutter
- 24 ounces preserved mosses (we're using reindeer moss, forest moss and sphagnum moss)
- pencil
- cutting board
- frame hanging hardware
- rubber gloves
This is all measured out for a 20" X 20" (50 cm X 50 cm) frame. Adjust based on the size of your frame. If purchased new, remove the frame from its packaging and then remove the backing of the frame so that you can take out the glass inside. Once the glass is safely removed, place the backing back in and secure it.

Hilton Carter © CICO Books, 2021
Draw Shapes
Place the cutting board on your work surface. Take the pencil and, on the foam board, draw out some shapes you want to use to give your art form and depth. These pieces of board will be stacked up to help create layers of mosses to give your art more of a natural terrain feel.

Hilton Carter © CICO Books, 2021
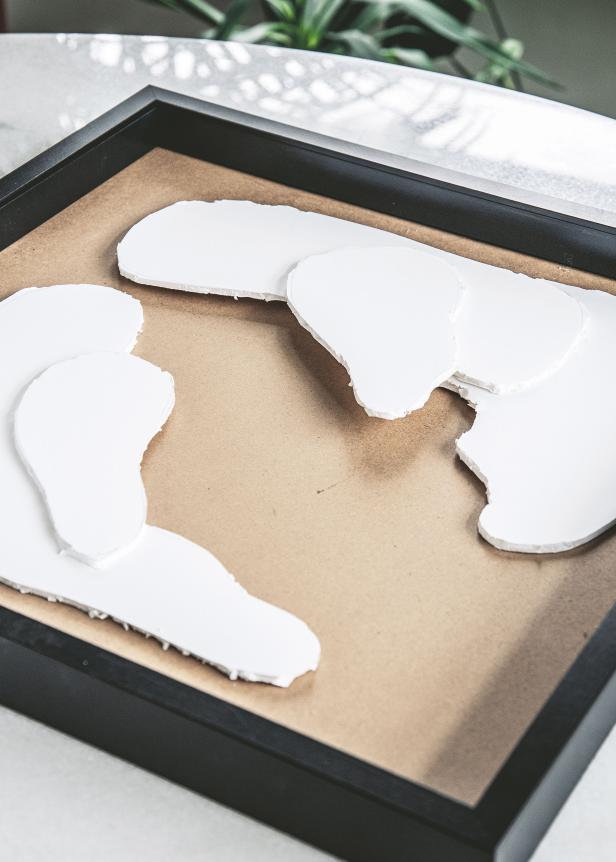
Cut Foam Shapes
Using the sharp blade, cut out the shapes you drew on the board. Remove any tattered edges.

Hilton Carter © CICO Books, 2021
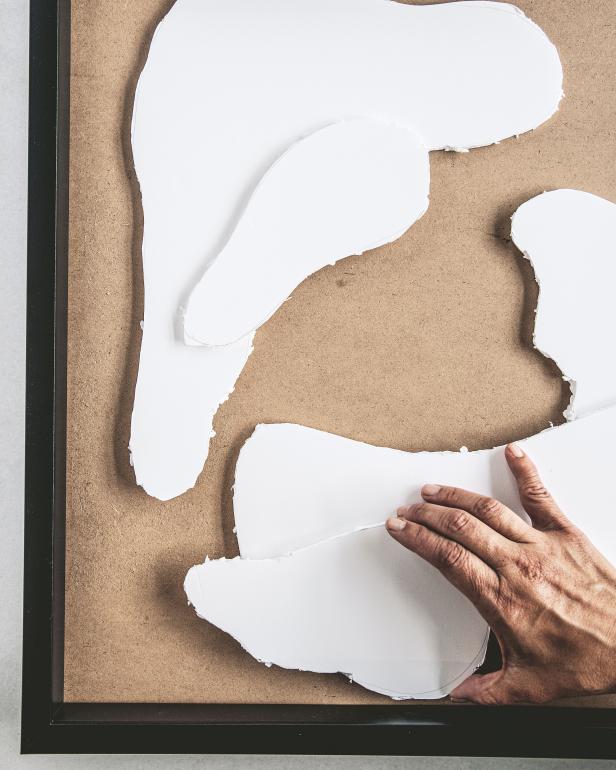
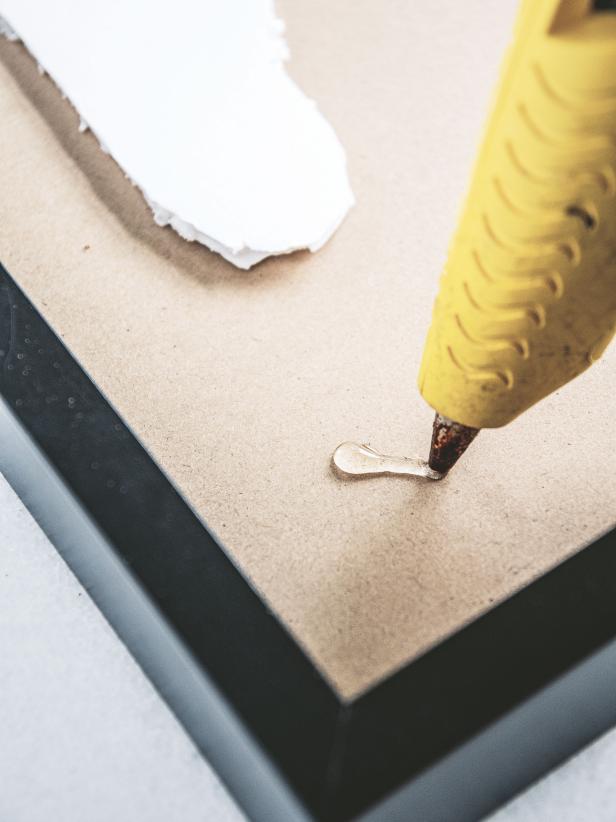
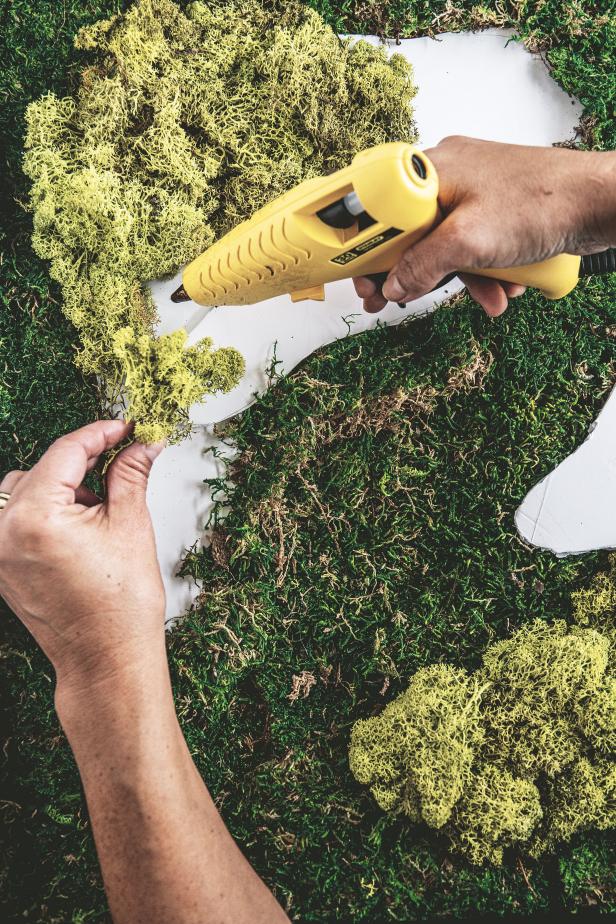
Arrange and Glue Foam Shapes
Place the foam board shapes inside the frame to get an idea of how you’d like the design to look. Once you’ve decided where you’d like them to go, take the glue gun and glue the foam boards into place.
Hilton Carter © CICO Books, 2021
Hilton Carter © CICO Books, 2021
Hilton Carter © CICO Books, 2021
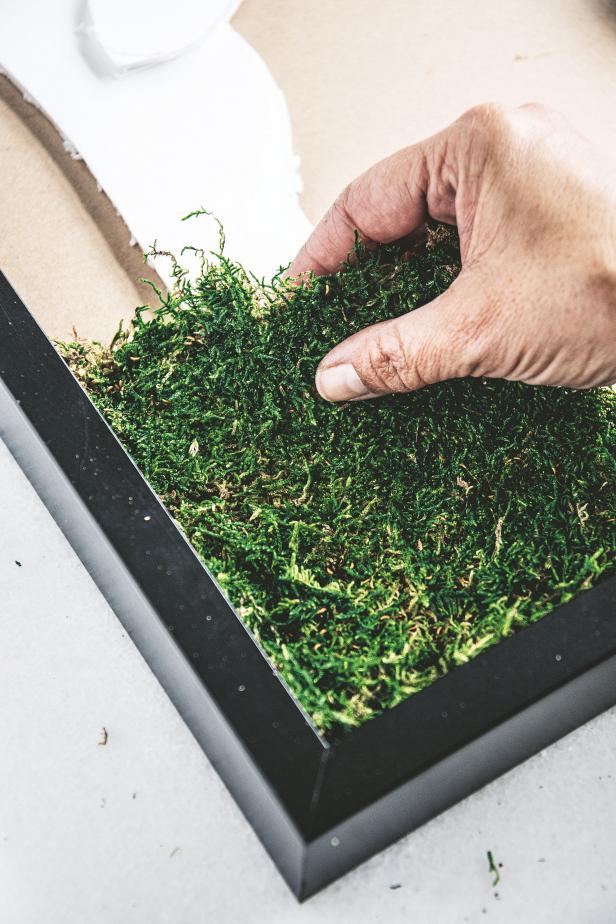
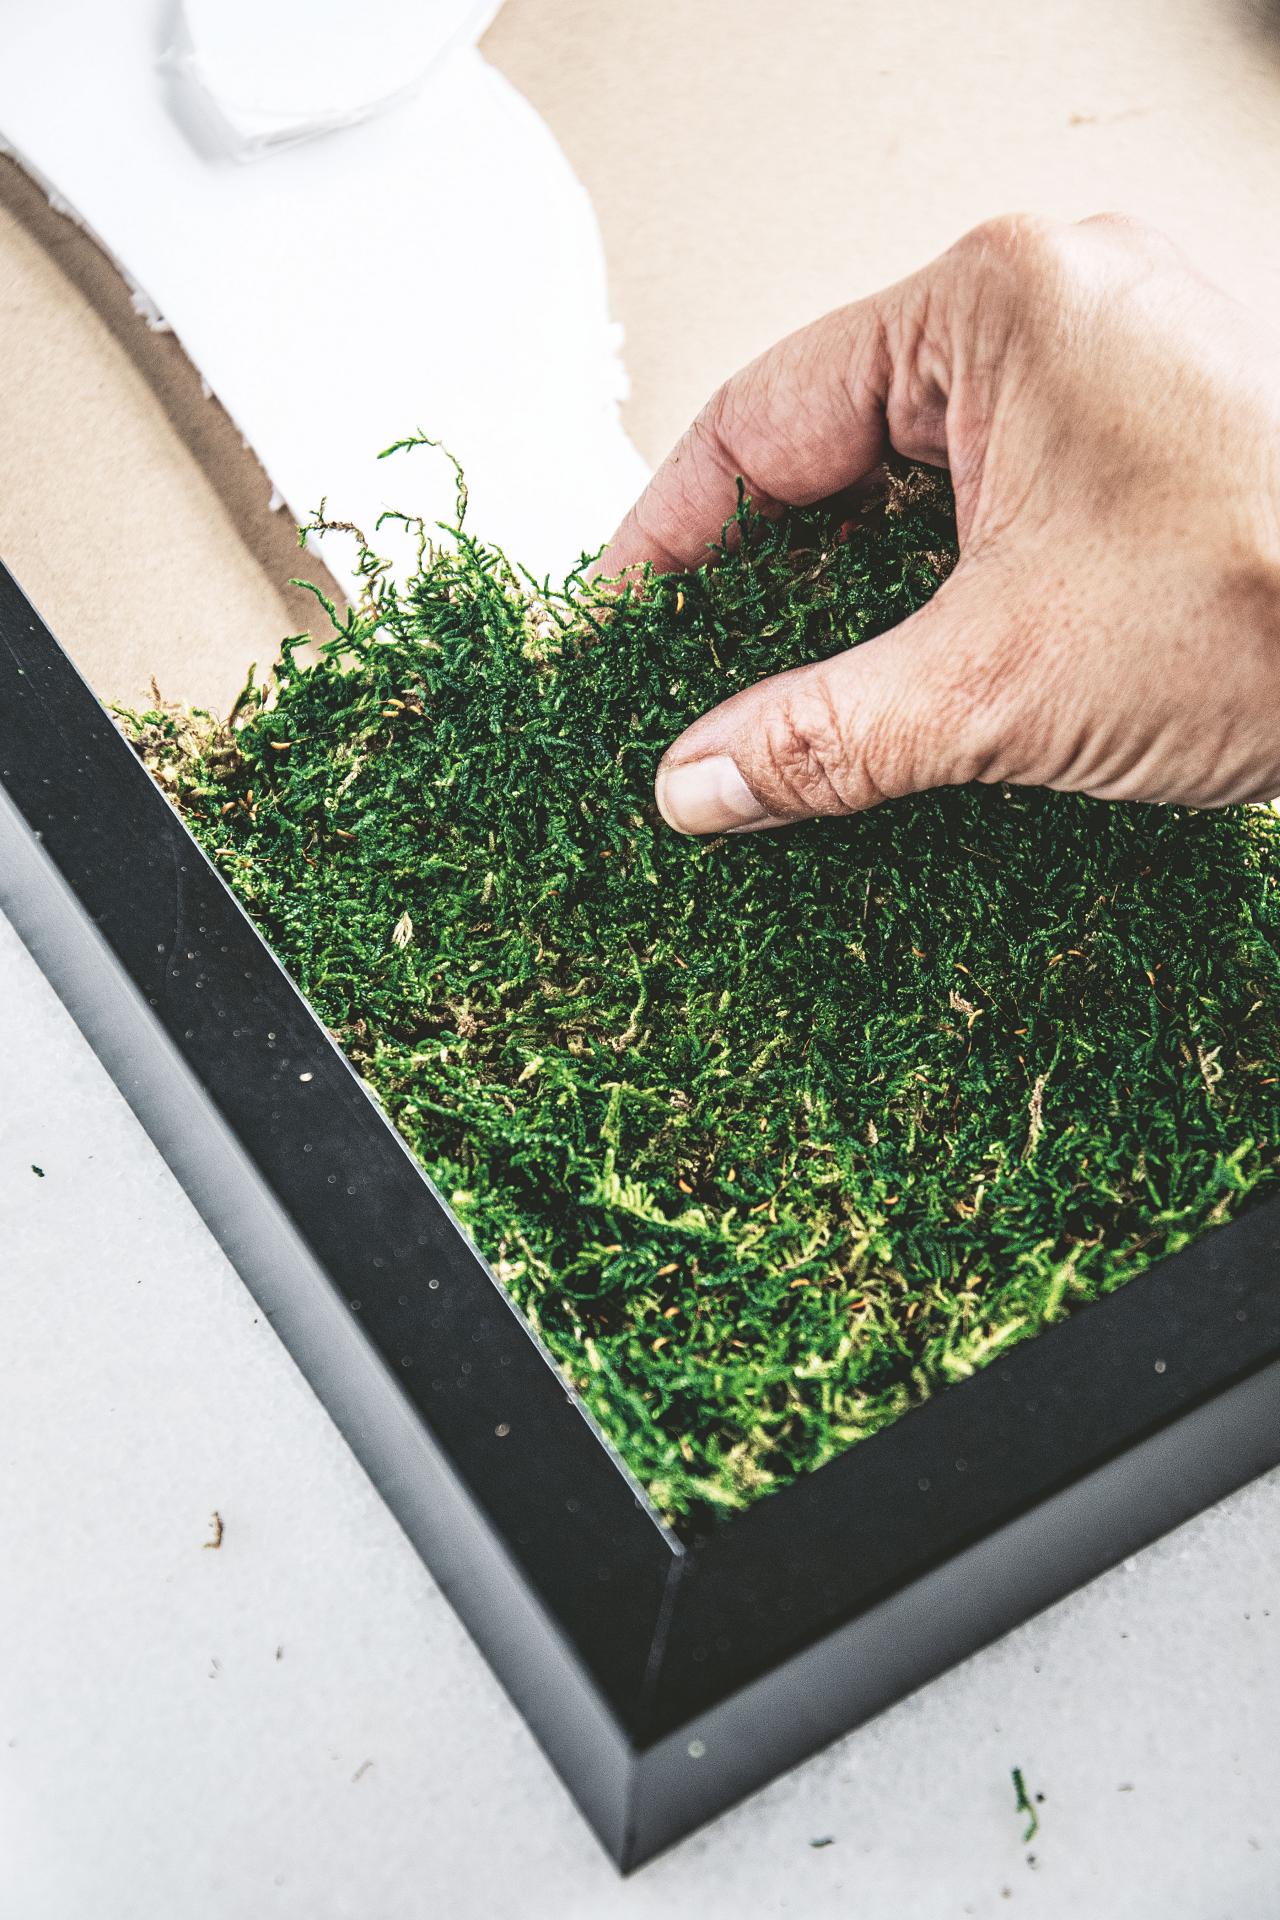
Add Moss
Here is where your artistic talent and creativity will be needed. It’s time to place in the preserved moss. I wanted my art to have a flat valley winding through the middle, so I started by gluing in some sheet moss. For sheet moss, I feel it’s best to place the glue on the back board of the frame and then apply the moss. If there are any pieces hanging over an edge that you don’t like after gluing all of the sheet moss, use scissors to clean them up.
Hilton Carter © CICO Books, 2021

Hilton Carter © CICO Books, 2021
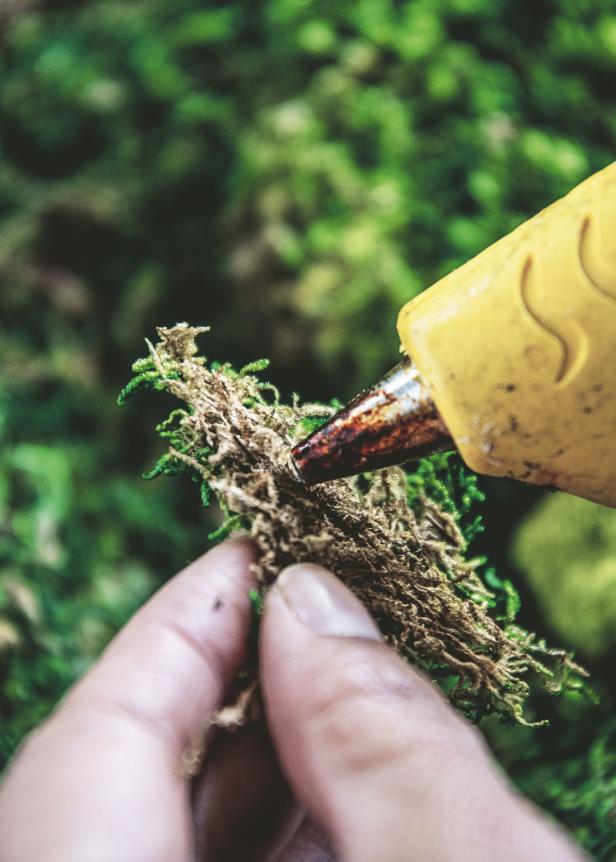
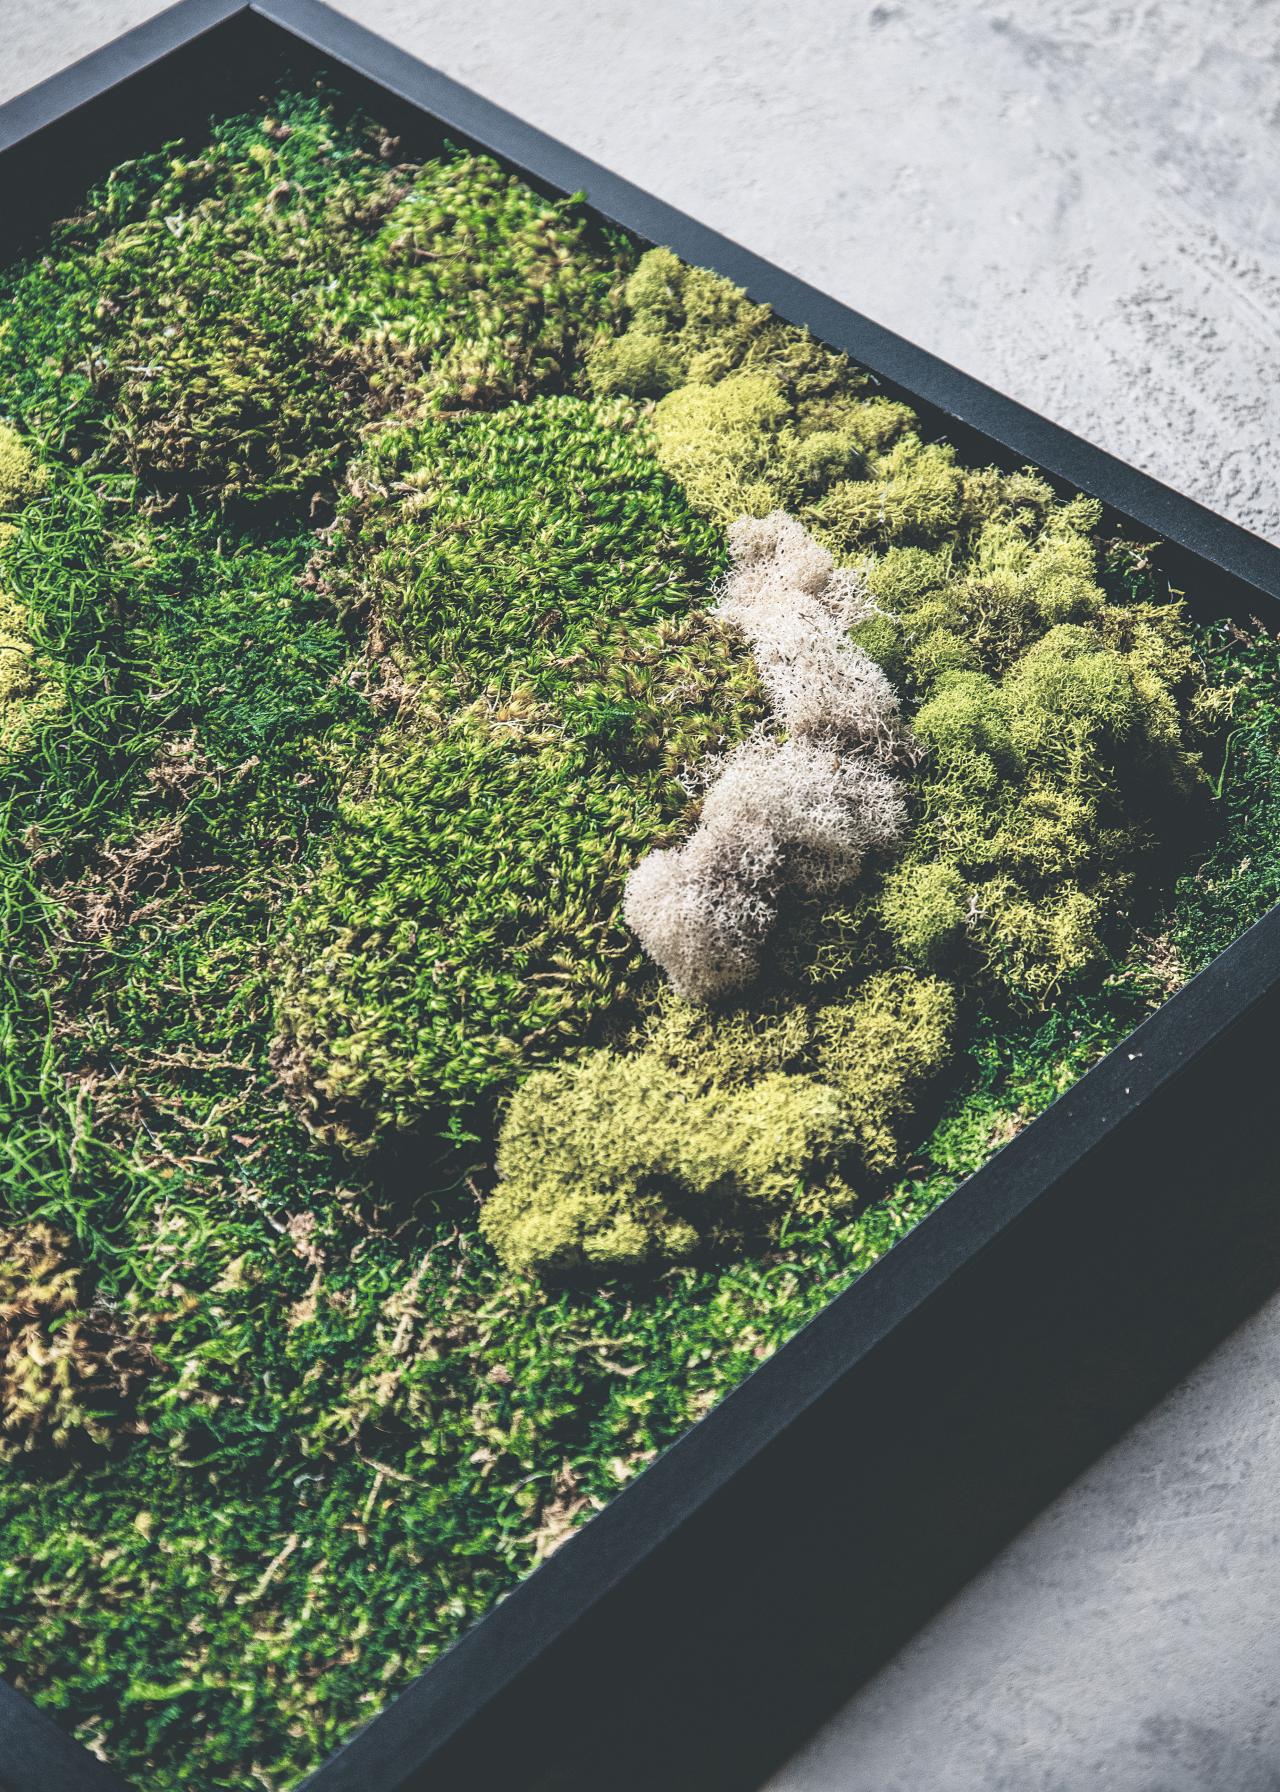
Start gluing the rest of the preserved mosses. Because these mosses aren’t as flat as the sheet moss, I recommend putting the glue on the back of each moss and then pressing it down onto the board. If you feel like your fingers are touching too much glue, wearing a pair of rubber gloves will help. Again, be creative. There are dyed mosses that come in many different colors, so go wild!
Hilton Carter © CICO Books, 2021
Hilton Carter © CICO Books, 2021
Tidy Up
Once the mosses are all glued down, lift up the frame and flip over onto your work surface, and give it a gentle shake. You want to remove any pieces that aren’t a part of the art but also see which parts need to be better secured with glue. Place back down and, again, cut away any moss hanging over the edge or places that you didn’t intend.

Hilton Carter © CICO Books, 2021
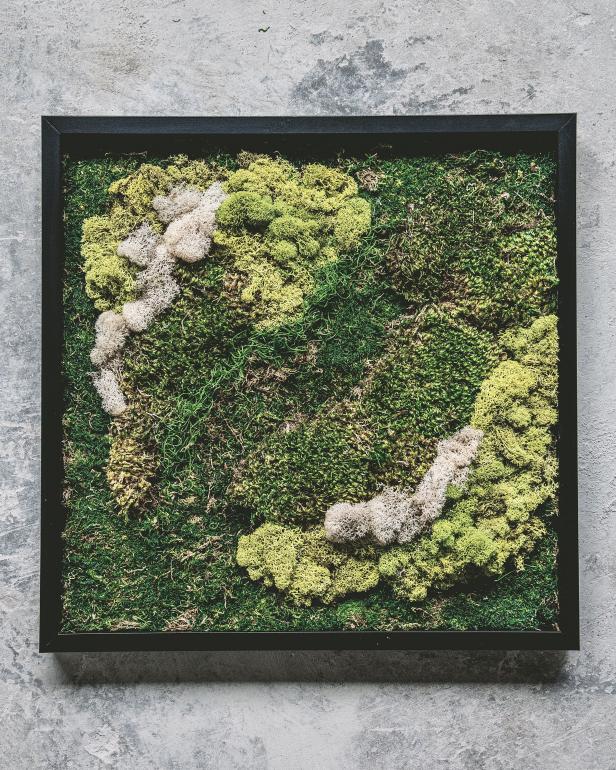
Attach Hardware and Display
Attach the hanging wire or picture hangers to the back and your moss art is ready to be displayed. Position moss wall art where you’ll get the most from it. Take advantage of the fact that you’re using preserved moss, which doesn’t need water or light, and place the piece in an area where you can’t keep live plants. Rooms like bathrooms or hallways work nicely. For me, giving my gallery wall some life and depth by adding a little greenery was a nice touch.
Hilton Carter © CICO Books, 2021

Hilton Carter © CICO Books, 2021
From Wild Creations: Inspiring Projects to Create Plus Plant Care Tips & Styling Ideas for Your Own Wild Interior by Hilton Carter, CICO Books

It's a (House) Jungle in Here: 280 Plants, 1 Small Space 8 Photos
Think you're plant-obsessed? Bow down to Hilton Carter, a Baltimore-based creative who's packed more than 280 plants into his home + studio space. Take a tour, plus get his tips for wannabe plant parents.

A Garden Editor's Favorite Picks From the New Hilton Carter Line at Target
This gardening and design-obsessed editor checked out the new Hilton Carter collection for Target. Find out her top favorite picks.

Are You Using the Right Pots for Your Houseplants?
Choosing the right pot for your plant is not just about looks. Different materials affect your plant's health in a variety of ways. Houseplant expert Hilton Carter explains what type of planter is best for each type of houseplant.


