


Make Faux Boxwood Wall Art
Need help transforming a blank wall? Just head to the garden center.


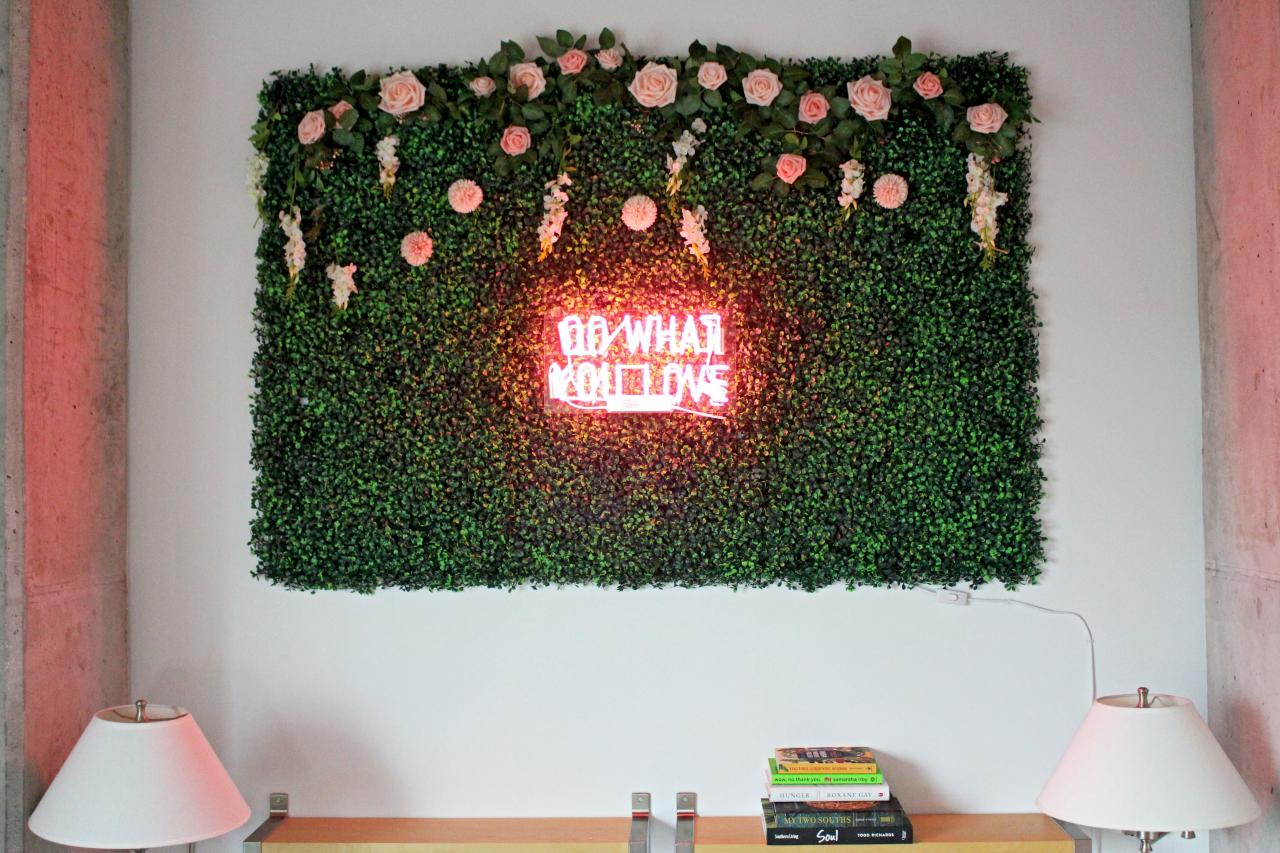
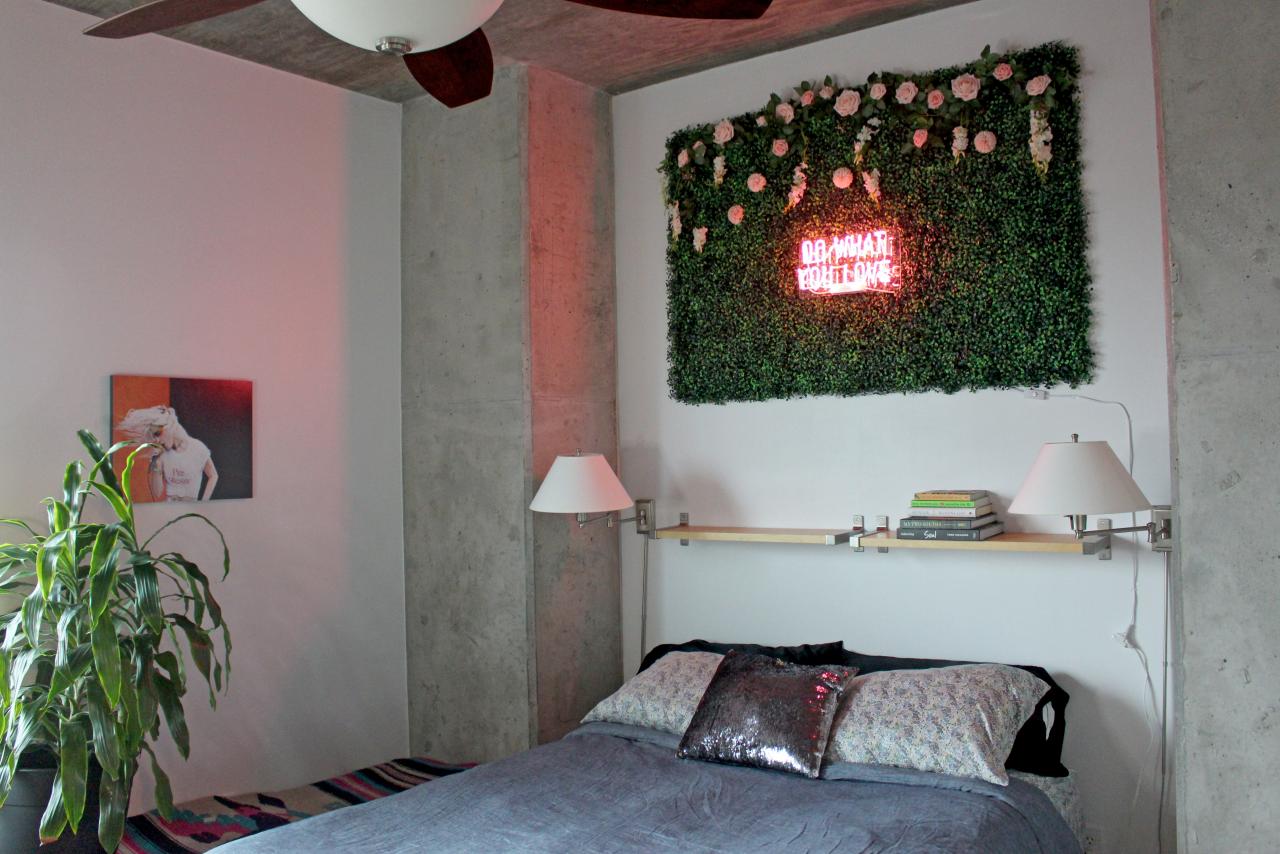
Oversized wall art can be hard to find; I know, because I spent the last year-and-a-half searching for art to hang behind my bed. A lover of plants and all things neon, I set out to design a renter- and budget-friendly green wall with artificial boxwood panels and a real neon sign, inspired by installations often seen at weddings and events. Normally used to hide outdoor eyesores, artificial boxwood panels are sturdy and connect together easily to cover a large space, making them the perfect candidate for custom wall art.

Materials + Tools
- artificial boxwood panels
- artificial flowers and/or flower garlands
- nylon zip ties
- neon or LED sign
- extension cord
- adhesive removable hooks and/or hammer + nails
- scissors
- measuring tape
- pencil
Buy the Supplies


Measure
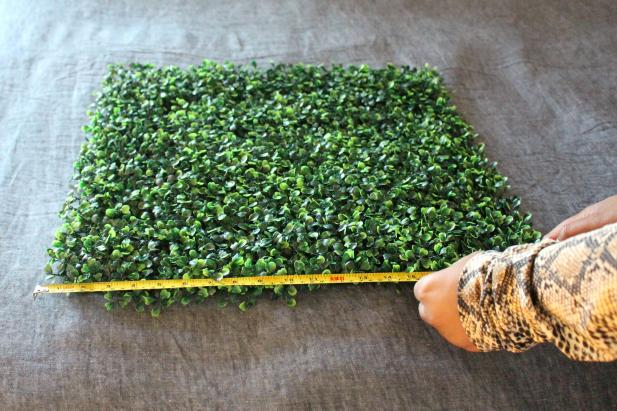
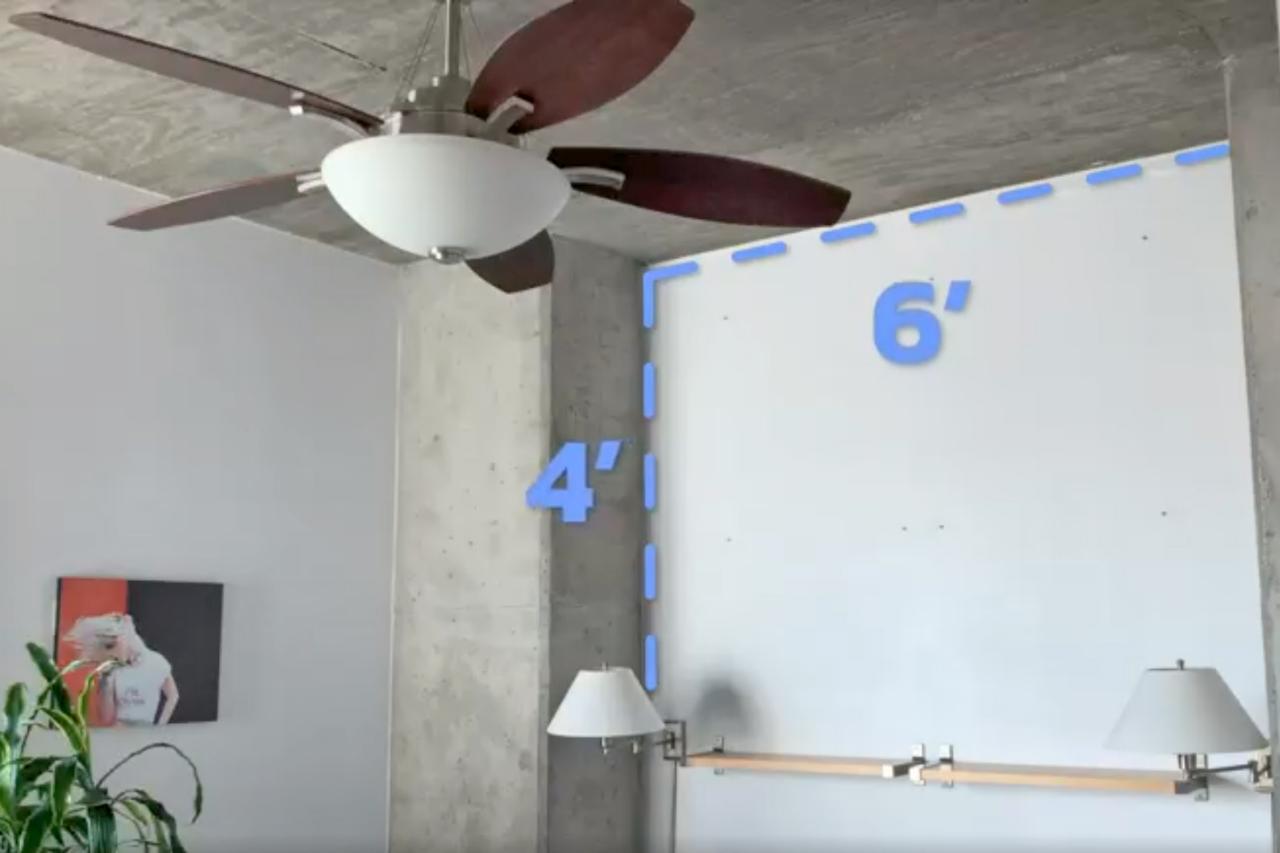
Before you begin, measure the area you want to cover to estimate how many boxwood panels you will need. We’re covering about a 6’ x 4’ space (Image 1), and each boxwood panel measures 20” x 20” (Image 2), so we’ll need at least six panels (a 60" x 40" design) to cover the space (Image 3).
If centering the panels in the middle of a wall, mark the outer edges of the “frame” on the wall with a pencil or painter’s tape.
Note: The size of boxwood panels may vary among manufacturers. Since the boxwood panels also have interlocking connectors that overlap slightly once assembled, the final size of the connected panels may end up being a bit smaller or larger than expected. Be a bit generous with your measurements so you have plenty of room to install.


Prepare Wall
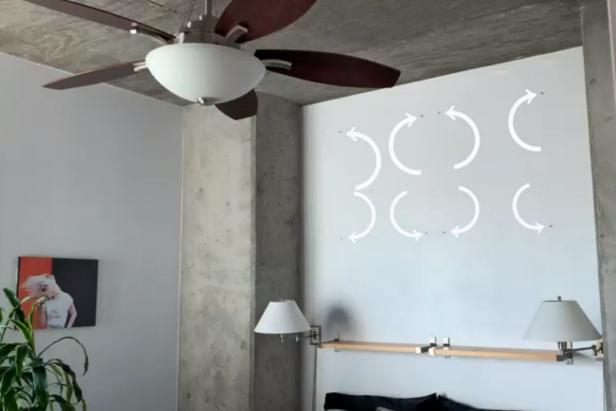
Next, reference your measurements to add hanging hardware to the wall. Start at the top corner of the wall, adding either adhesive hooks, nails or screws, and making sure the hardware is evenly spaced. For our 6' x 4' area, we’re adding screws every 20 inches in each direction so each panel is supported by at least two screws (Image 1).
Tip: If you plan to install with adhesive hooks, wipe down the wall with rubbing alcohol for a more secure hold.
Create Your Design
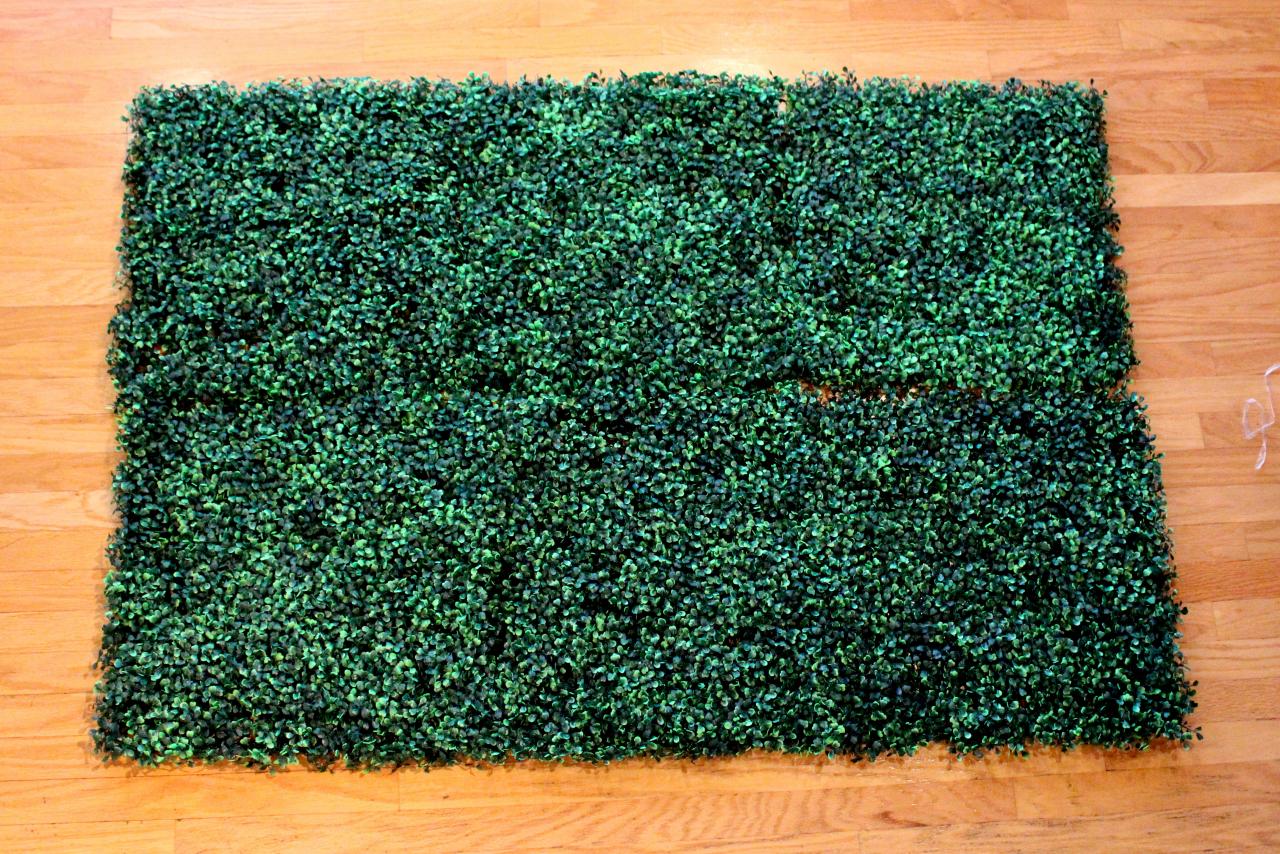
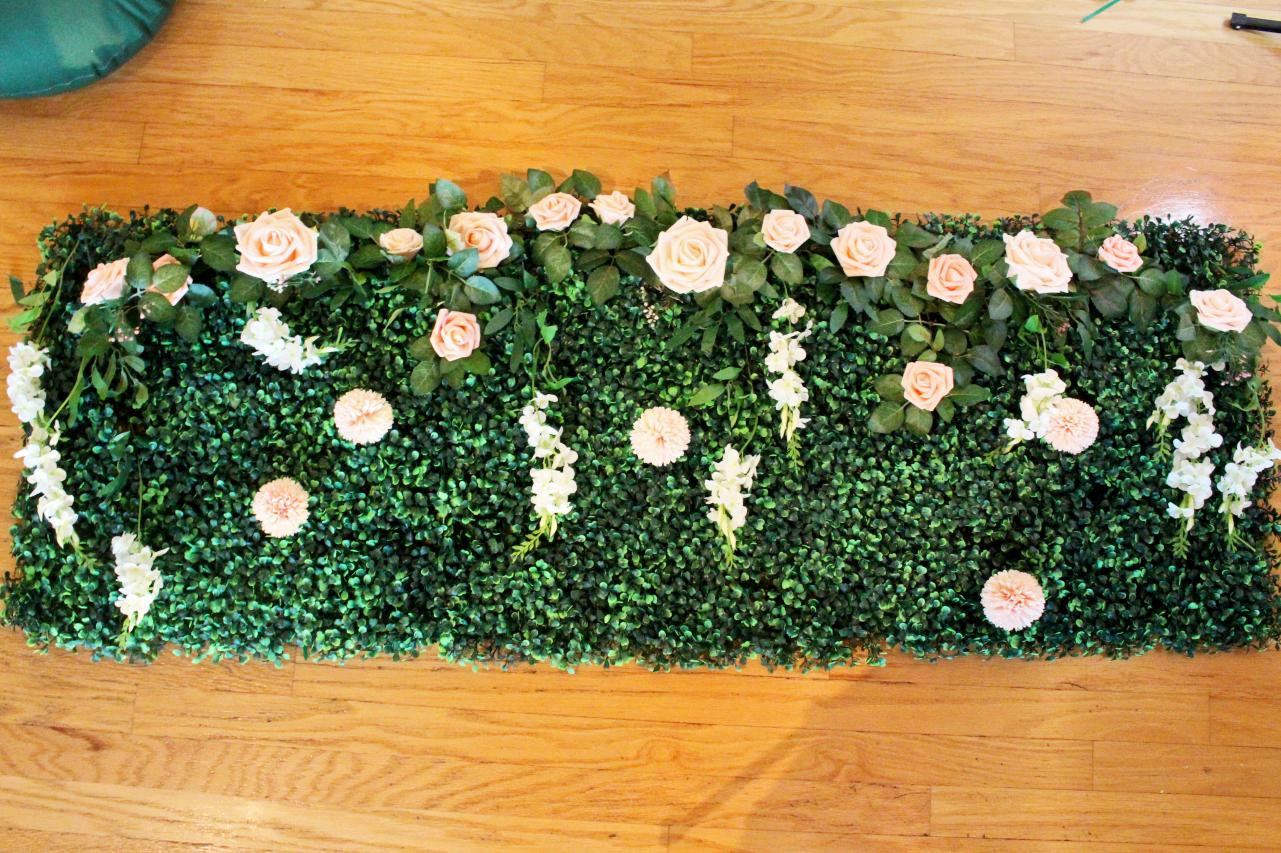
Lay the boxwood panels out on the floor (Image 1). Depending on the size of your design and the location where you’ll hang it, you may want to connect sections of the boxwood panels during this step. Since we’re planning on decorating the panels with a vine of faux wisteria that will stretch across the top three panels, we’re going to connect the top three panels together now. We’re leaving the bottom three panels detached so it will be easier to move the panels from the floor to the wall, and so we don’t damage the neon sign in the process.
Connect the boxwood panels by locating the connectors (Image 2) and gently snapping them into place (Image 3). Follow the package instructions included with your panels.
Arrange the faux flowers and neon or LED sign as desired, noting which panels the flowers and sign will be attached to (Image 4 + 5). Take a picture of your design for reference in the next steps. Carefully remove the faux flowers and the sign and set them aside.


Prep Faux Flowers
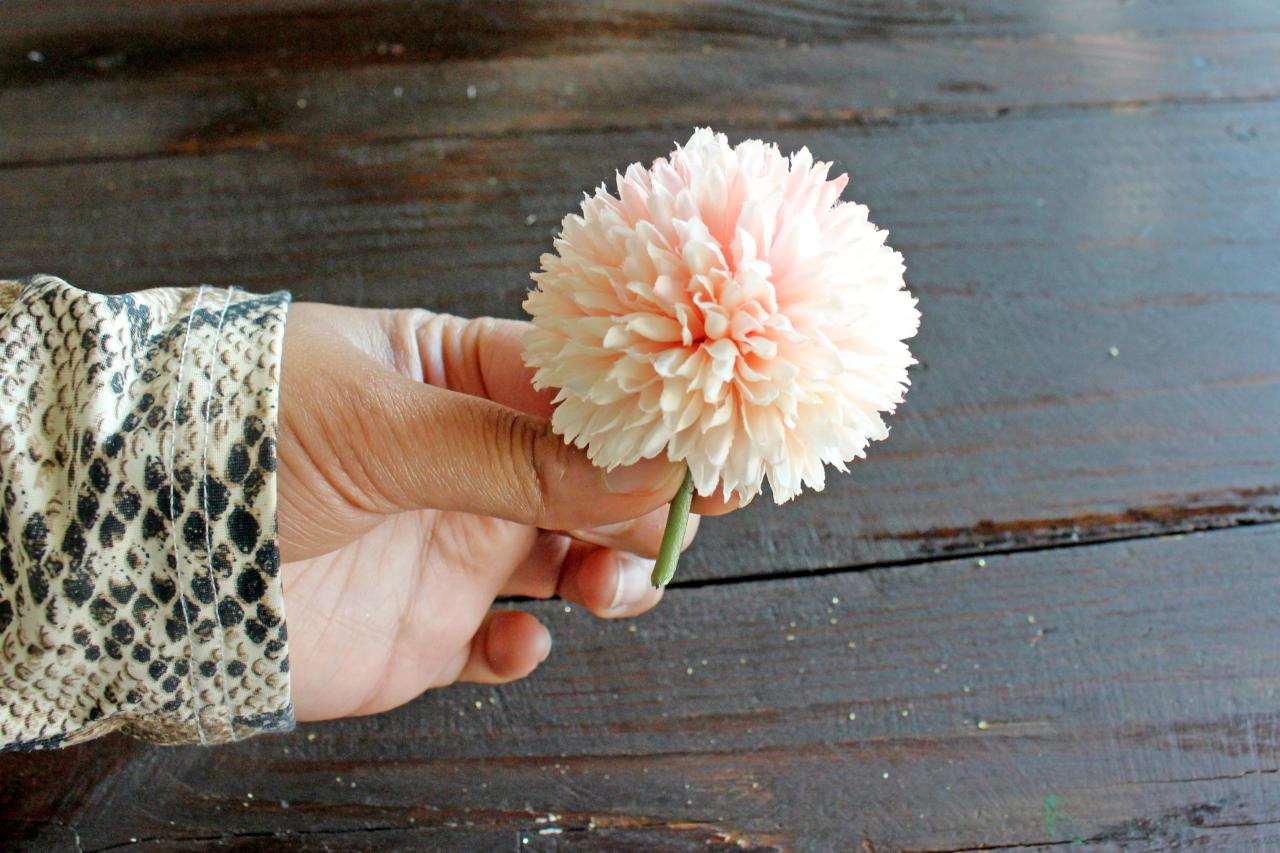
Remove any undesired leaves or stems from the faux flowers (Image 1 + 2). Many faux flowers pull apart at certain points, but you may need to use scissors or wire-cutters. On single-stem flowers, make sure to leave 2-3 inches of the stem intact so the zip ties have something to hold onto when attaching them to the boxwood panels (Image 3).


Attach Faux Flowers
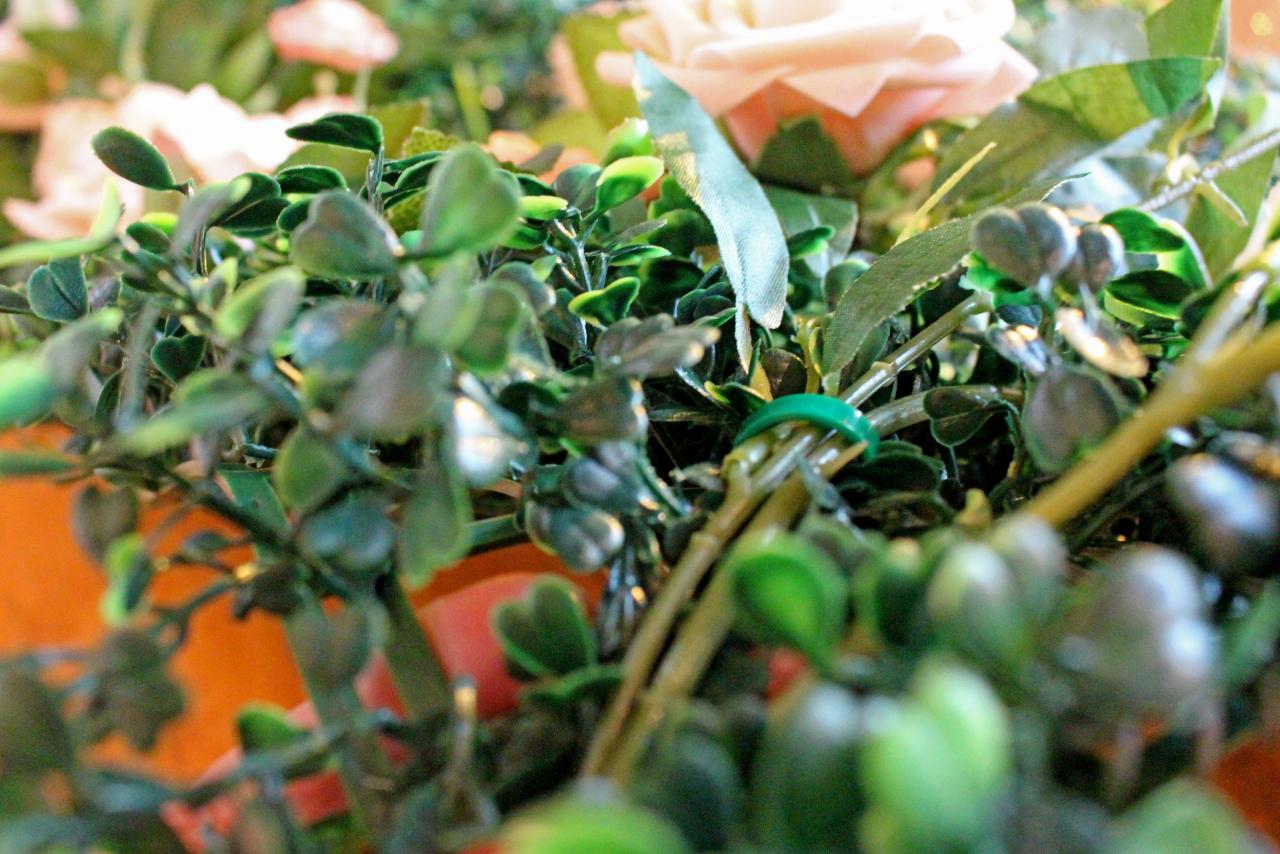
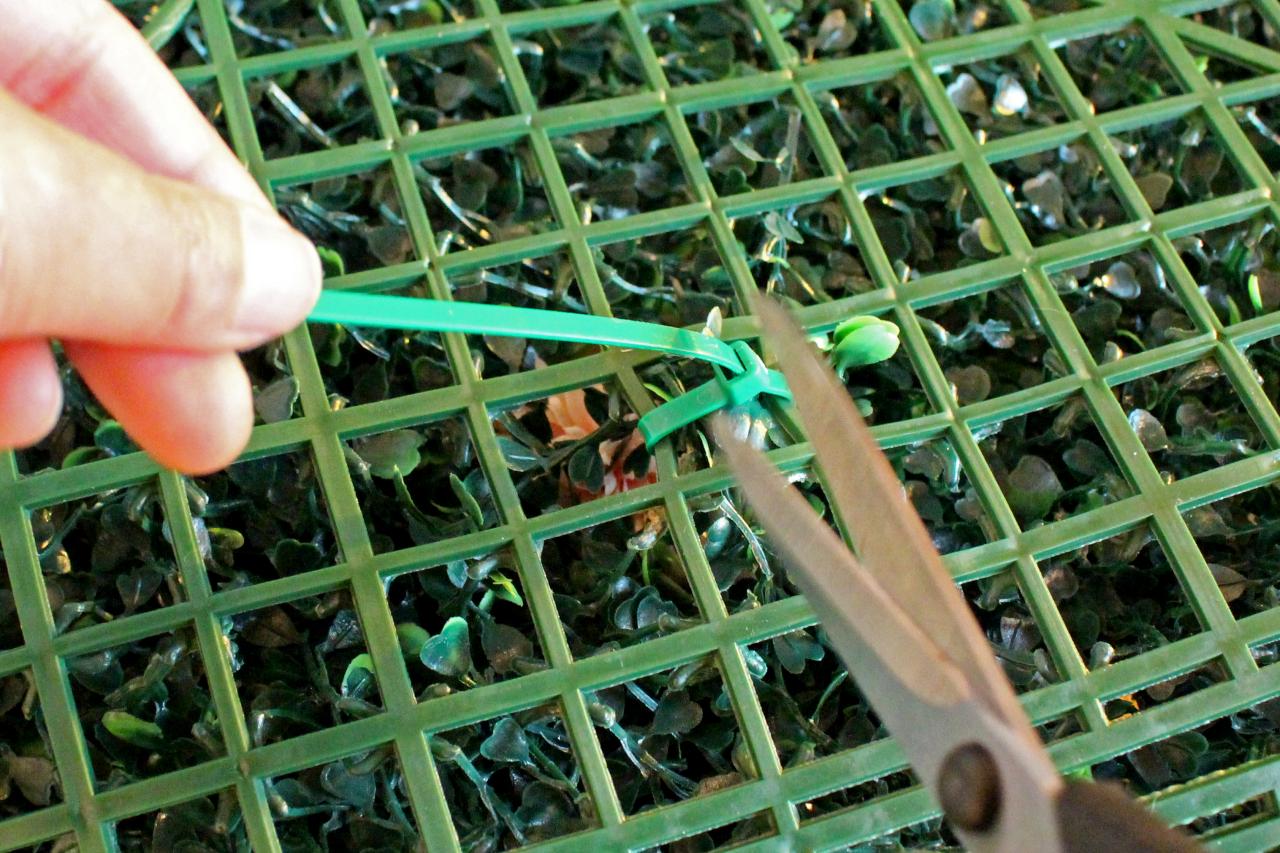
Referencing your design, begin weaving the faux flowers into the boxwood panels using zip ties to secure. Hold the stem in place against the boxwood panel, then weave an end of a zip tie through an opening in the mesh of the panel, over the stem and through the back of the mesh again before securing (Image 1). Cut and discard loose ends of the zip ties (Image 2).


Mount Boxwood Panels + Neon Sign
Starting at the top corner, begin hanging the boxwood panels onto the hardware you installed earlier, adding more hooks or nails if necessary. Connect any additional panels as you go, but leave panels that will hide the neon sign cording or any extension cords until the final step (Image 1).
Just as you did with the flowers, loop a zip-tie through the back of boxwood panel and feed it through the neon sign’s hanging hardware, then back through the boxwood panel mesh and secure the zip-tie (Image 2). Snip off the excess plastic.
Feed the plug through the back of the boxwood mesh (Image 3). If your sign comes with a standard plug, you may need to cut an opening in the back of the mesh to be able to push the cord through.


Mount Cord
Use small adhesive hooks to secure the sign cord and extension cord (if using one) to the wall (Image 1). Our neon sign has a rocker switch, so we arranged the hooks so that a portion of the cord will be hidden behind the boxwood panels, but we’ll still be able to access the rocker switch.

Connect Final Panels + Light
With your neon sign and its cording secured to the wall, connect and then mount the final boxwood panels. If you notice any panels are slightly puckering or coming off the wall, add more nails or hooks to fully secure.
Finally, turn on your neon sign and enjoy your new wall hanging.


36 Fresh New Ways to Decorate Above the Bed 36 Photos
From bold and bright to modern and minimalist, find the look that best fits your bedroom style.

15 Neon Signs for Every Room in Your House 15 Photos
Light up your life with our favorite neon fixtures that are perfect for dorm rooms, living rooms, kids' rooms and so much more.


