


Upgrade a Bookshelf With Cane Webbing
Cane furniture is hot in home design, but it can be pricy. Give your basic, open-back bookshelf a trendy new look with this easy how-to.

Shain Rievley
Materials Needed
- cubby shelf unit
- 36” x 5’ cane webbing roll
- (2) tarps
- electric staple gun
- 1/4" staples
- scissors
- wood glue
- ribbon
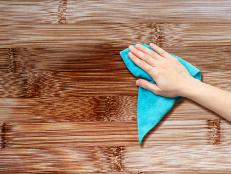
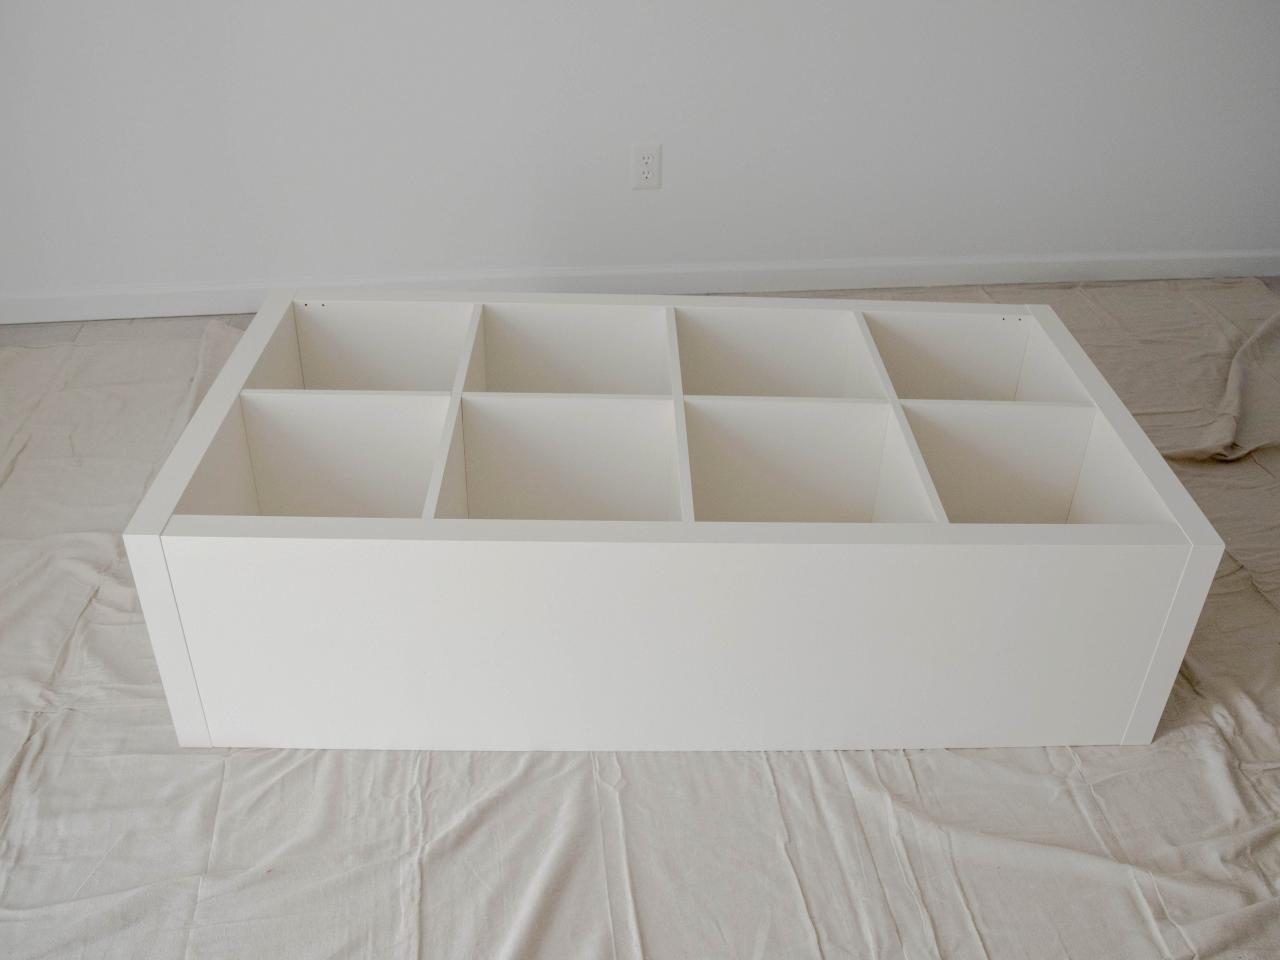
Prepare Bookshelf and Workspace
Clear off and clean the cubby bookshelf. Put a tarp on the floor and lay the bookshelf so the front side is facing down and the back side is facing up.

Shain Rievley
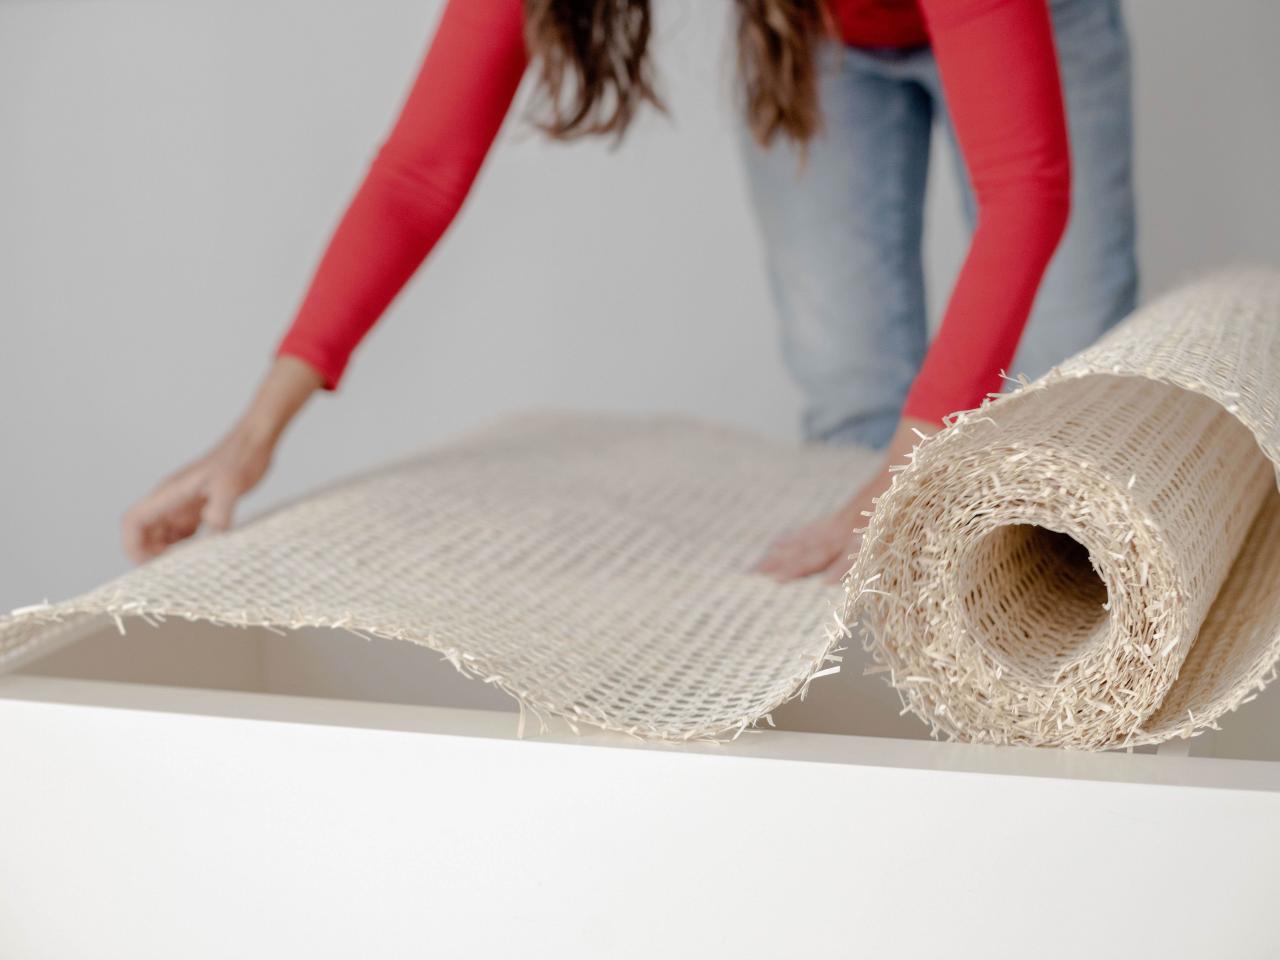
Roll Out Webbing
Roll out the cane webbing over the entire back of bookshelf. If it tries to roll itself back up as you work, place small hand weights on the corners to hold everything in place.

Shain Rievley
Cut Webbing to Size
Leave a few inches overhang on the sides to give you some wiggle room. Cut the cane webbing with scissors.

Shain Rievley
Soak Webbing
Fill the bathtub with warm water and submerge your cut piece of cane webbing for one hour. This will soften it up and make it more pliable.

Shain Rievley
Lay It Out
Shake excess water off the cane webbing as you remove it from the tub. Place a tarp on the bookshelf. Lay the damp webbing flat on the bookshelf to dry some, but not fully.

Shain Rievley
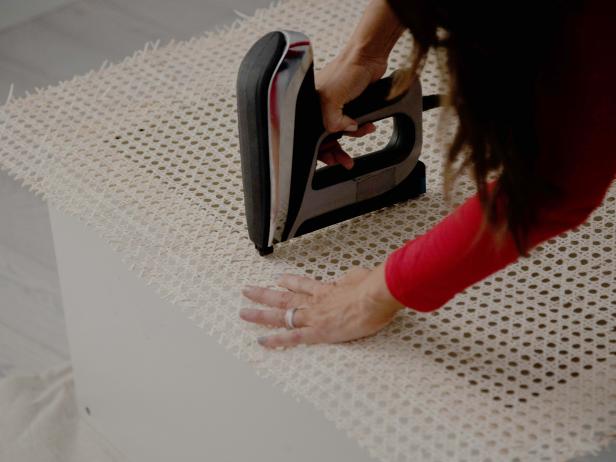
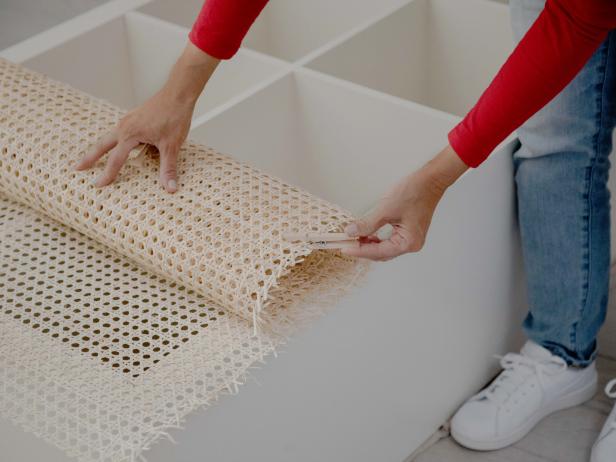
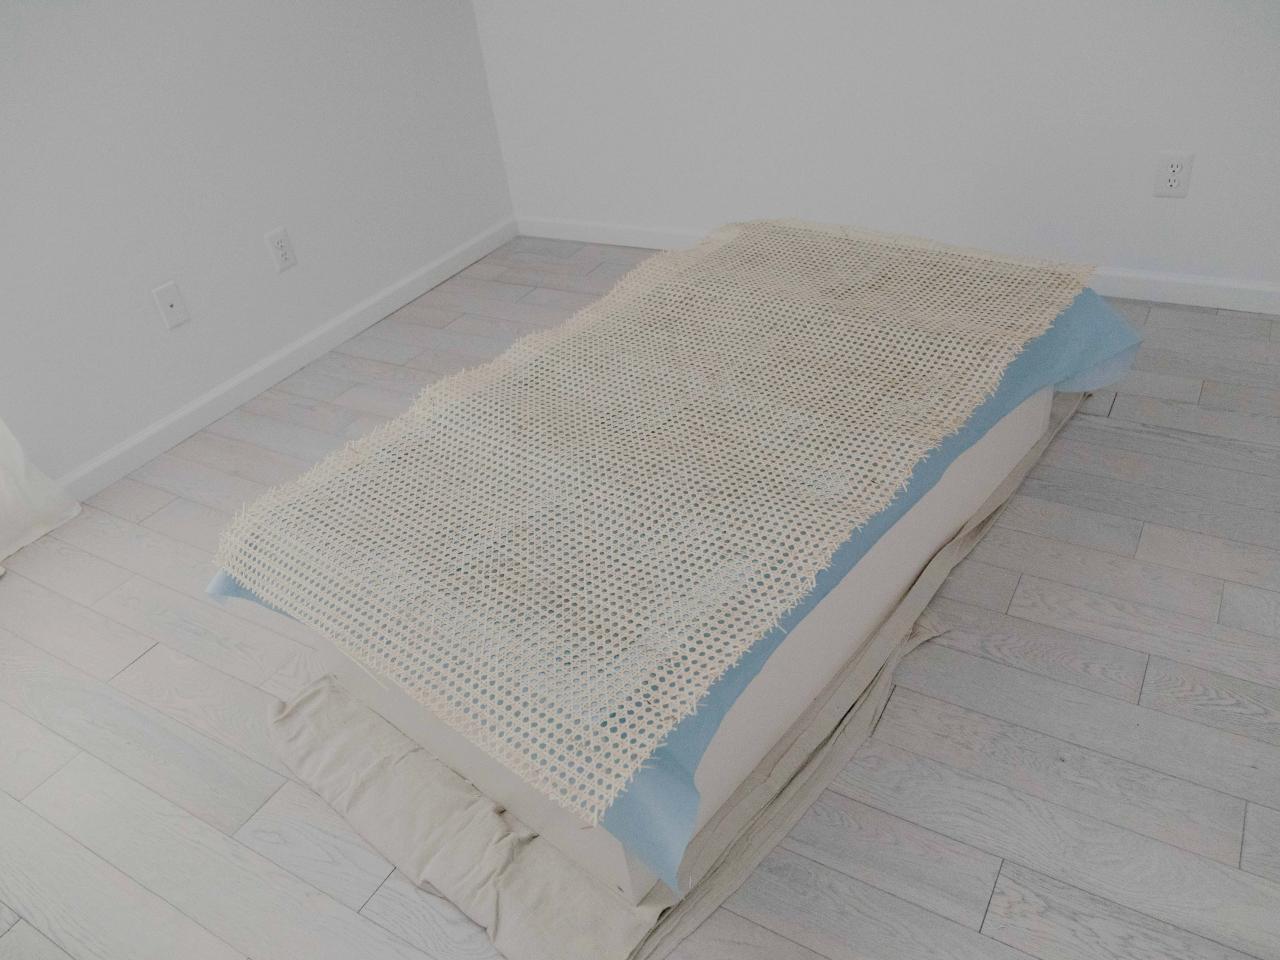
Staple Webbing to Bookshelf
Remove the tarp. Make sure the cane webbing looks even and still has overhang. Use a staple gun to secure one end of the webbing to the bookshelf (Image 1). Pull taught as you work your way down, stapling in small sections at a time. Use a clothespin to clip the webbing if it’s still rolling back up as you work (Image 2).
Shain Rievley
Shain Rievley
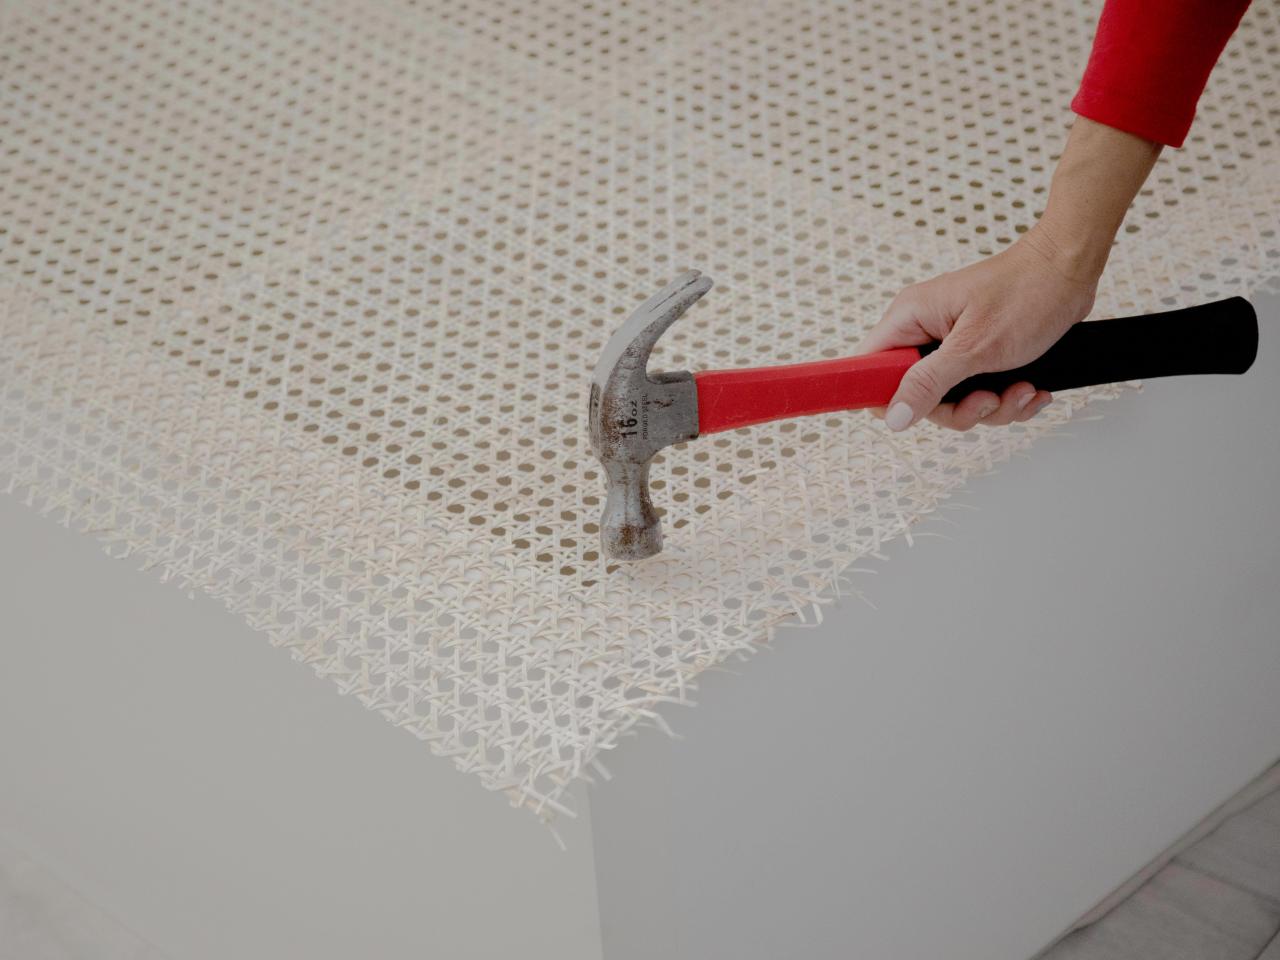
Hammer Down Staples
The cane webbing will tighten up as it dries. Once it’s completely dry, hammer down any staples that aren’t flat.

Shain Rievley
Cut Excess Webbing
Use scissors to cut away the excess overhang on all sides.

Shain Rievley
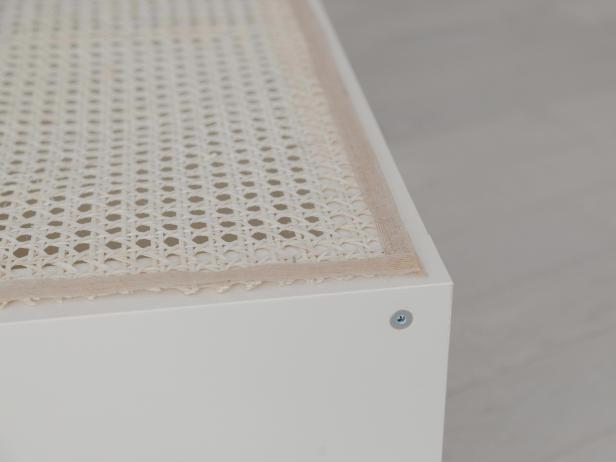
Add Trim
The edges of cut cane webbing can be sharp. Add a thin layer of wood glue along the cut edges (Image 1). Place a ribbon over the glue and let dry (Image 2). This will cover those edges and give the piece a finished look.

Shain Rievley
Shain Rievley
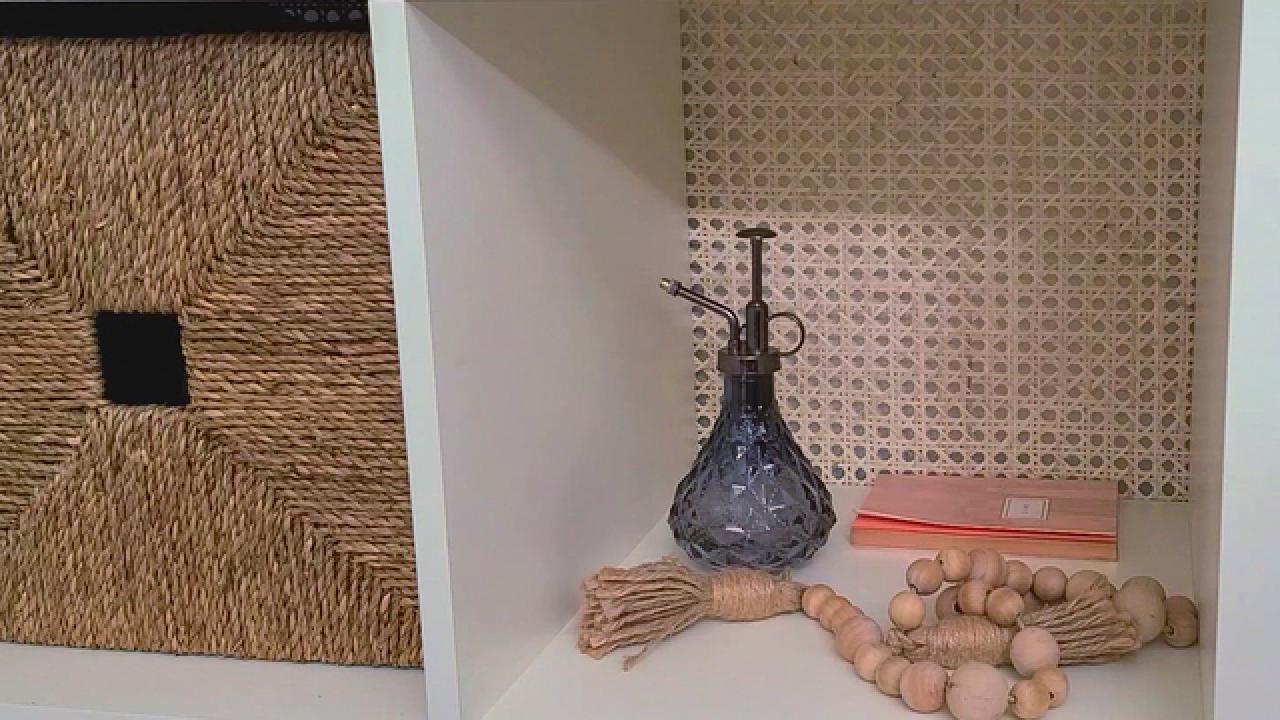
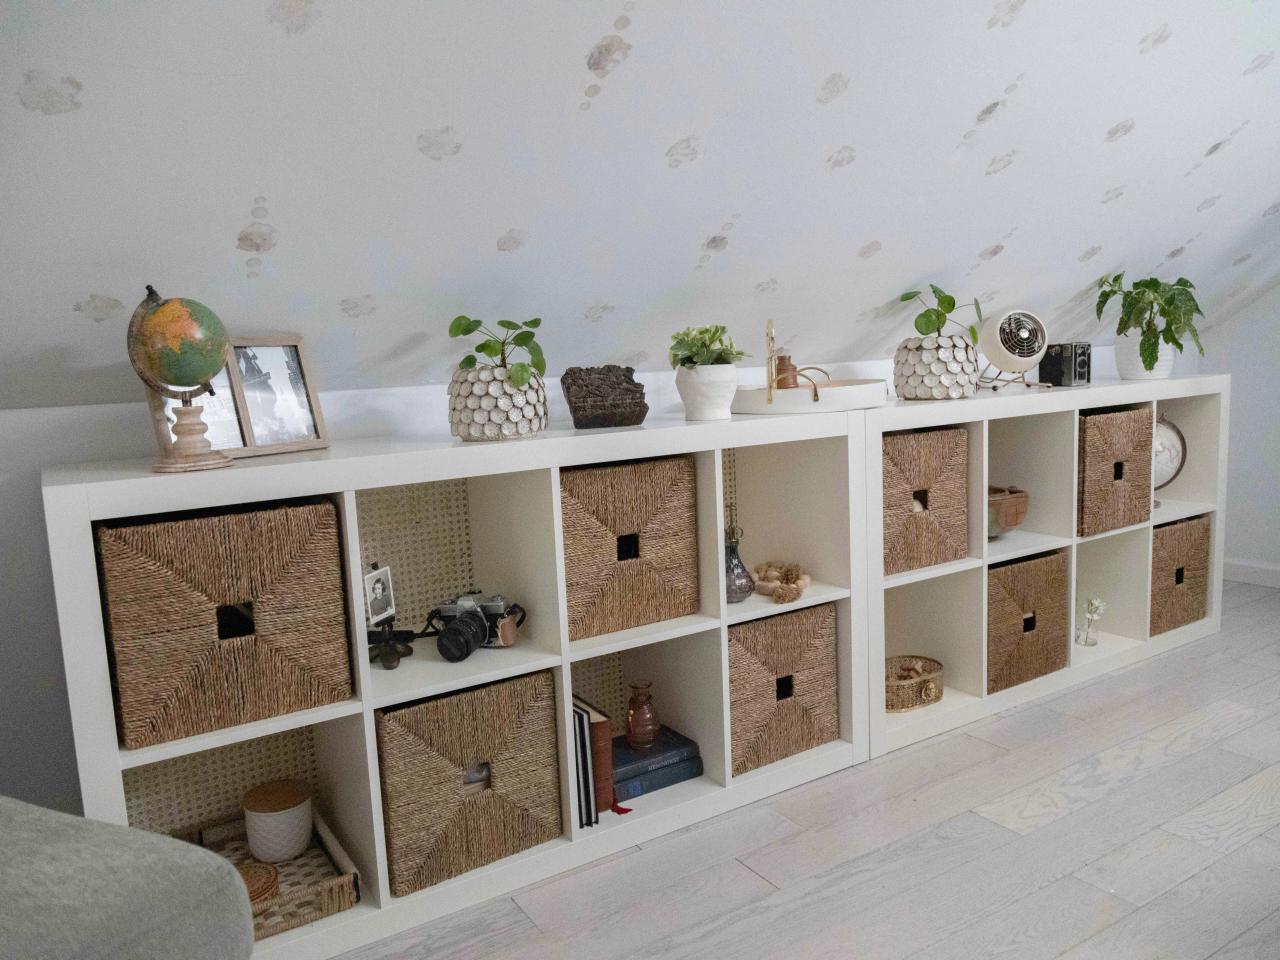
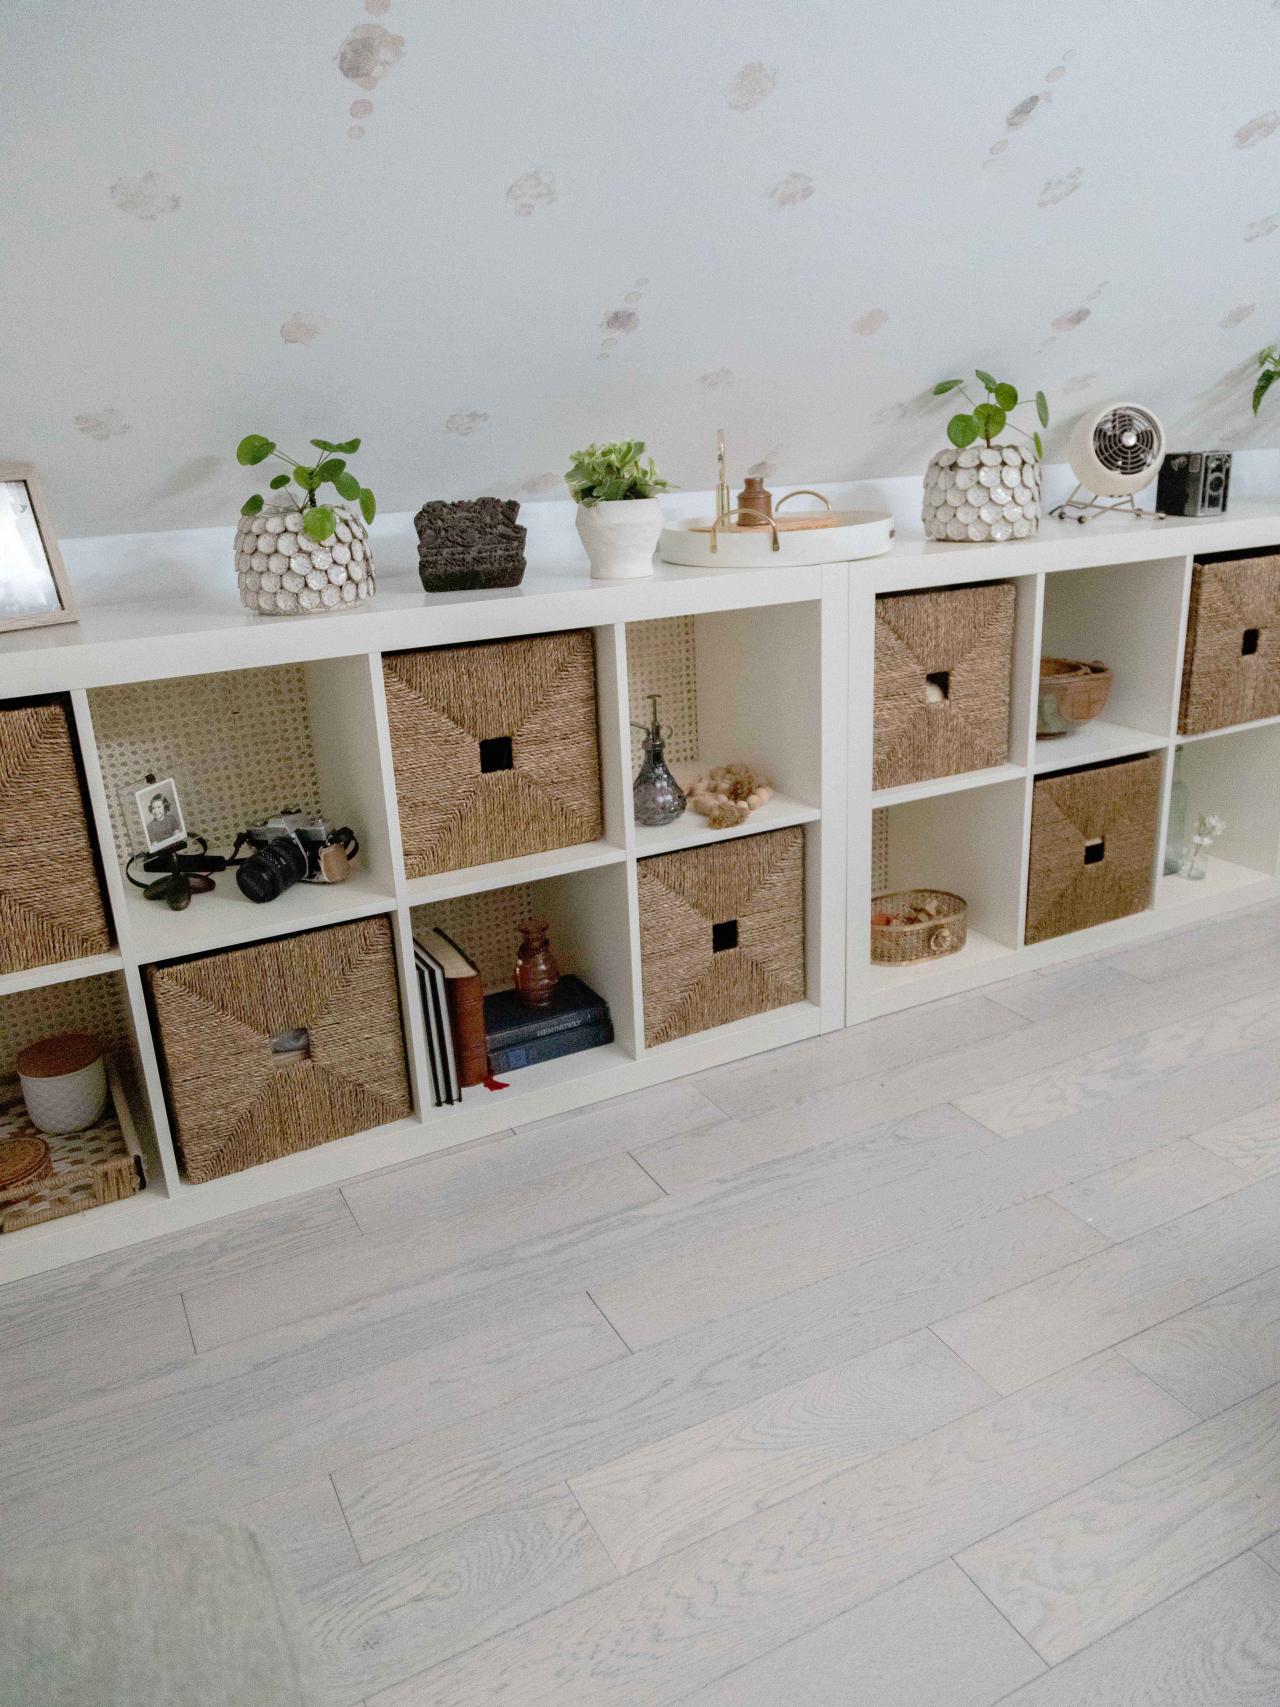
Decorate
Style your upgraded bookshelf with baskets, books and decorative accents.

Shain Rievley


