


DIY Hanging Cookie Tin Planters
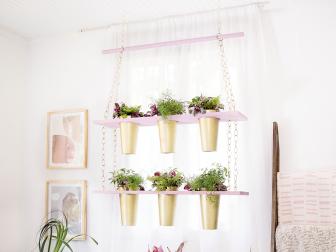
Houseplants have never been more in style. Create a living wall art display with this simple planter project made from upcycled cookie tins.


Materials + Tools
- cookie tins
- balsa wood
- felt
- twine
- houseplants or faux plants
- super glue
- fabric scissors
- hot glue gun + sticks
- craft knife
Cut Out Wood
Liz Gray
Liz Gray
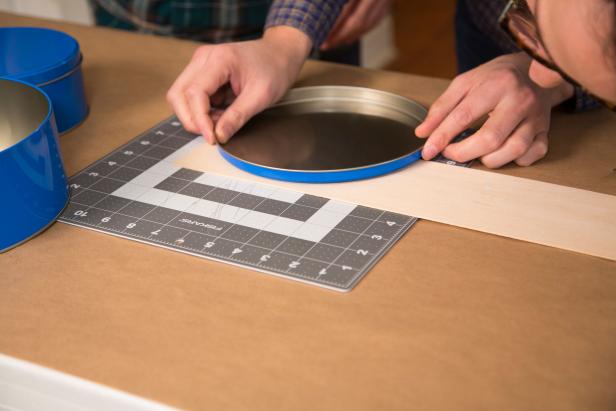
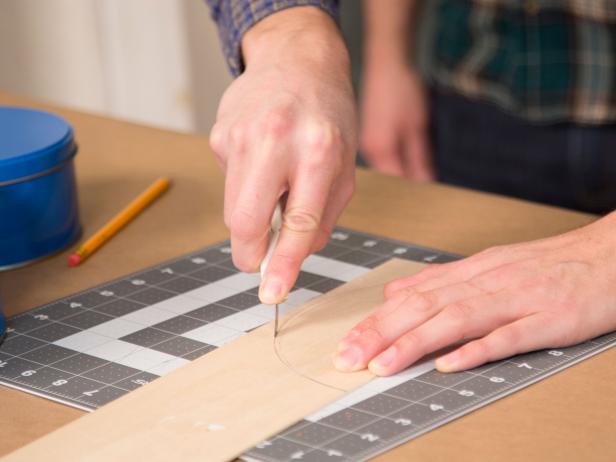
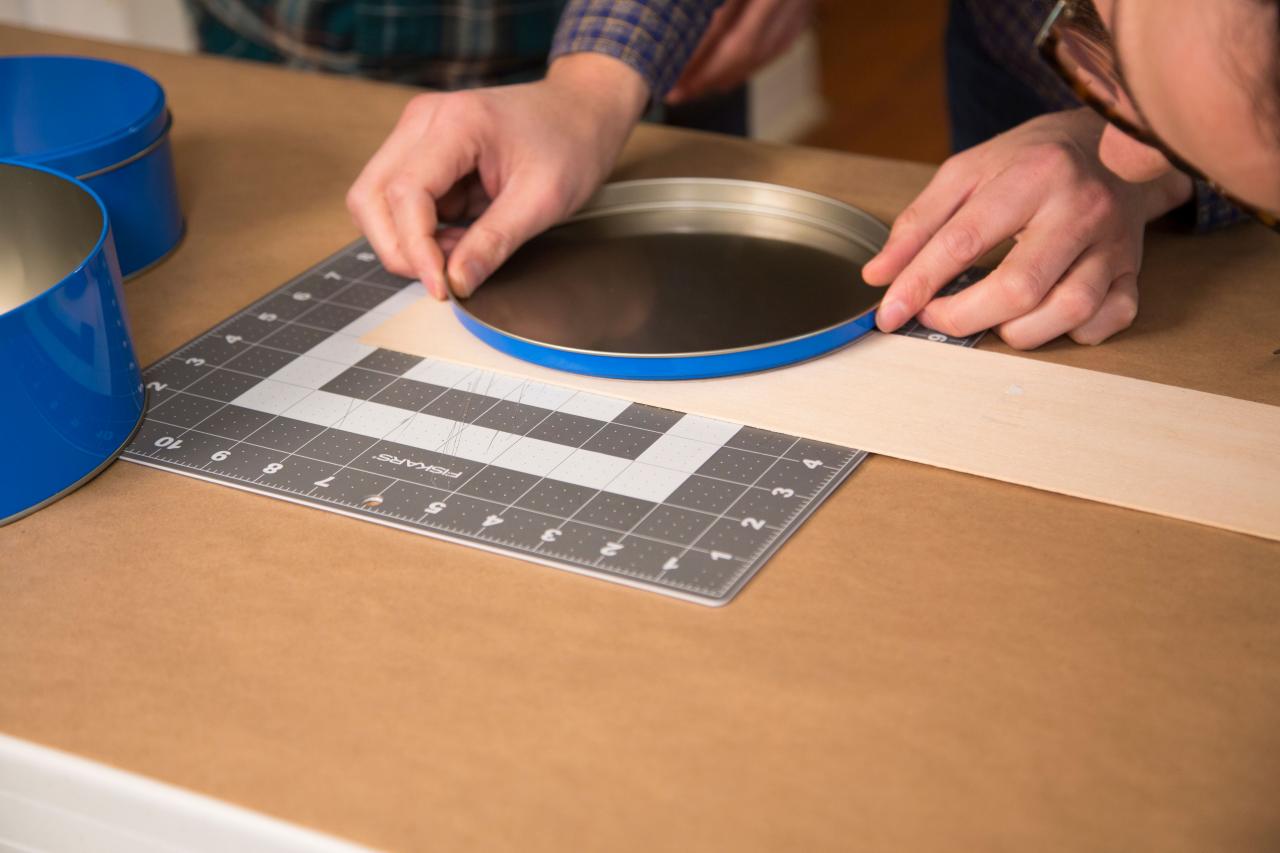
Begin by tracing the lid of the cookie tin on a thin piece of balsa wood (Image 1). You'll want the wood to cover half of the cookie tin's opening. Next, cut out the shape using a craft knife (Image 2). Check the size against the tin and adjust as needed. Optionally, use a small piece of sandpaper to help smooth any rough edges.
Assemble the Planter

Liz Gray
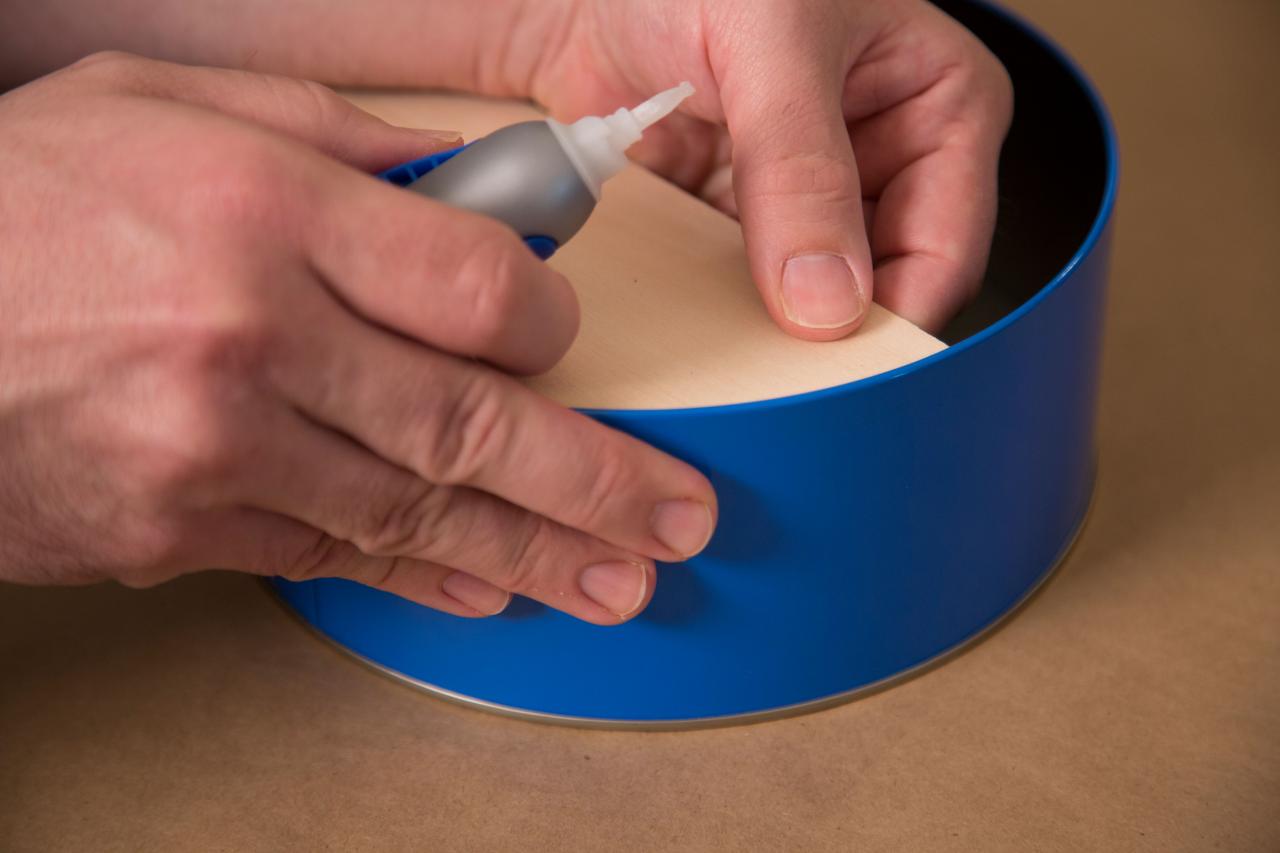
Along the cut edge of the balsa wood add a small even amount of super glue and place inside the lip of the tin. Hold until dry. If needed, add extra glue along the inside lip of the tin.
Create Hanger

Liz Gray
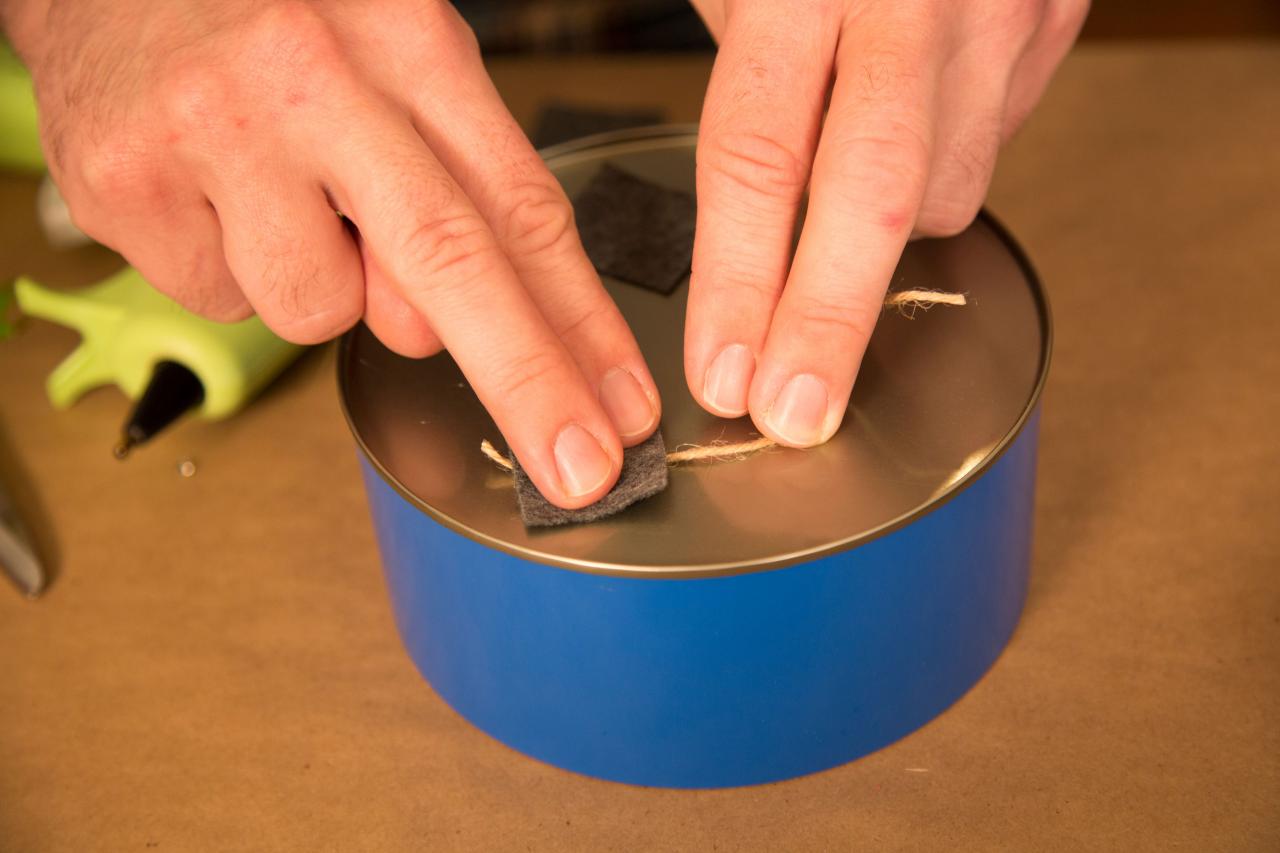
Cut a small piece of twine and two small squares of felt. On the back of the tin, generously hot glue the ends of the twine in place. Cover the ends with the felt squares and press down until dry.
Add Plants & Display
Liz Gray
Liz Gray

Liz Gray
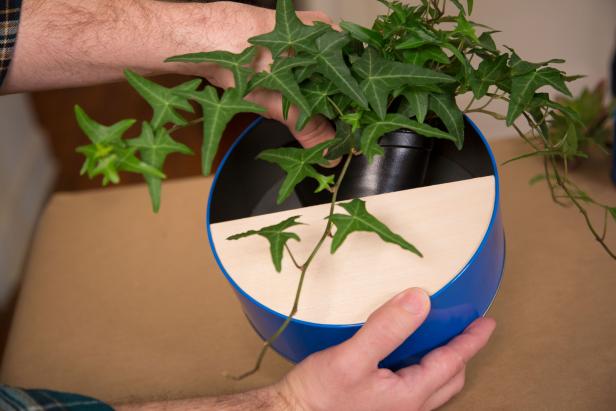
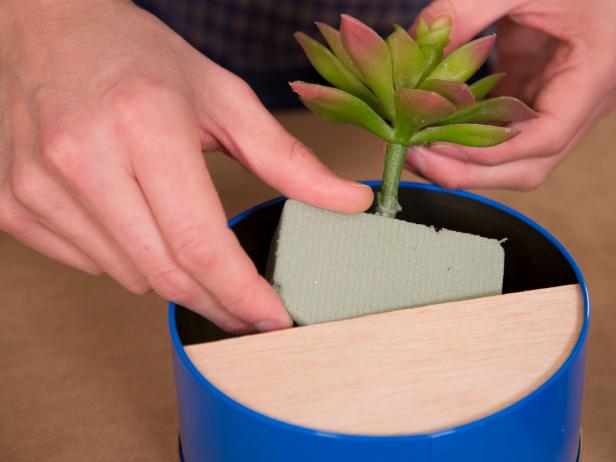
Next, add small potted plants inside the tin (Image 1). Remove the plants to water, allowing them to drain completely before putting them back in the cookie tin planter. If using faux plants, cut a cube of floral foam to fit inside, snip the stems at an angle then push them inside the foam (Image 2). Finally, display your new chic planters for all to see (Image 3).
More Planter Craft Ideas

3 Easy Upcycled Hanging Planters
Check out how we turned three household objects into hanging planters for any room in your home.
How to Make a Hanging Window Planter
Take your #plantladygoals to new heights with a DIY vertical planter that doubles as oversized wall art.

3 Oversized Planters From Upcycled Items 22 Photos
Amp up your curb appeal (and save some cash) by transforming everyday items into eye-catching planters.


