How to Build an End Table With a Built-in Pet Bed
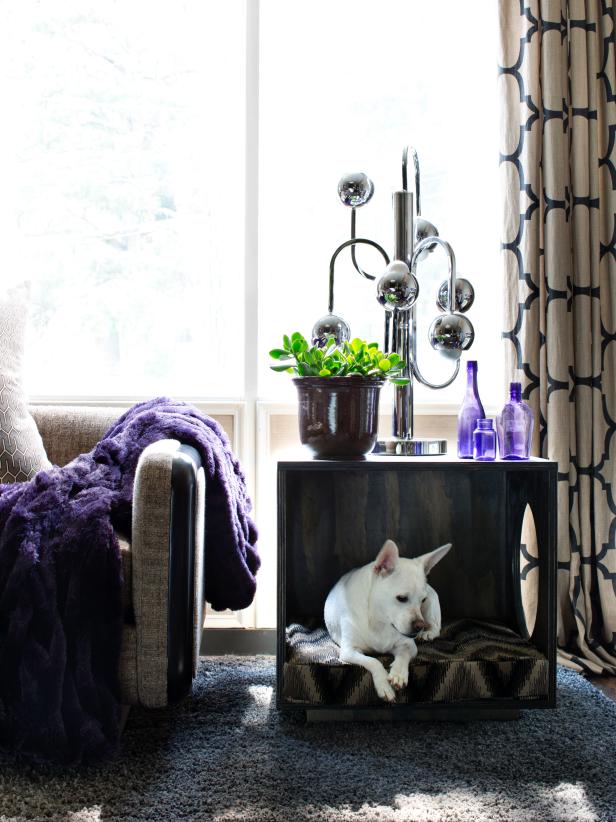
Learn how to make a three-sided cube that can serve as both a side table and a pet bed.
We used a single piece of plywood to create this cozy, contemporary piece of furniture for pets and people. This simple project is perfect for beginner woodworkers.
Brian Patrick Flynn
Tools and Materials
- drill, 3/4" drill bit and and trim screws
- table saw
- jigsaw
- sanding block or sandpaper
- water-based stain and staining pad
- polyurethane
- paintbrush
- drop cloth
- tape measure and a straightedge
- compass
- nail gun and nails
- (1) 3/4" 4' x 8’ sheet of cabinet-grade plywood
- pillow or cushion
Step 1: Determine Size
Use a tape measure to determine proper height, width and depth for your table in relation to the furniture that will surround it.
Pro Tip: The standard height for most end tables is 24 inches and the standard height for most coffee tables is 18 to 21 inches. Sticking with a range between 18 and 24 inches will offer the most versatility. We made our table 22 inches tall.
Step 2: Cut Plywood
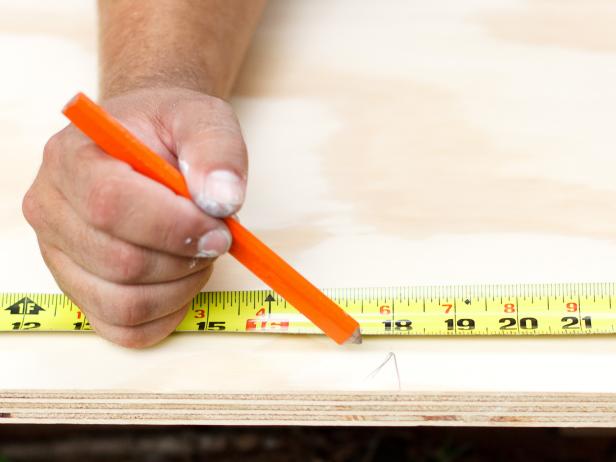
Use a tape measure, straightedge and pencil to mark a 22" line on plywood. Next, rip the plywood to 22" x 8'. This piece will become your two sides, top, bottom and back panels. The remainder of the plywood will be used for the toe kick and you may have some left over.
Pro Tip: If you don’t own a circular saw or a table saw, most home improvement stores will cut plywood for you, sometimes for free, other times for a small charge. This saves time and energy, plus it makes the transporting of materials much easier.

Step 3: Cut Sides, Top and Bottom Panels
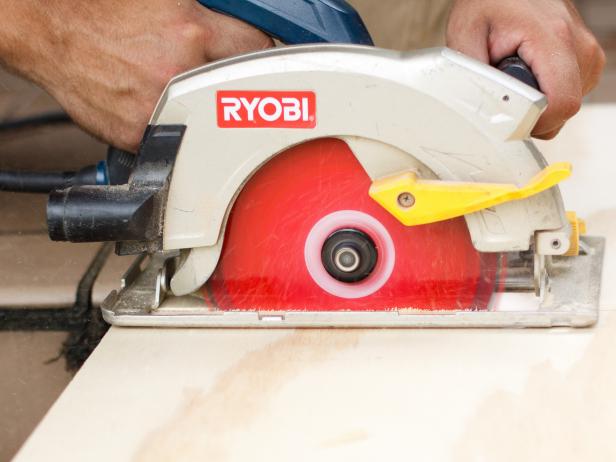
Use a tape measure, straightedge and pencil to mark two 18" x 22" pieces of plywood for your side panels. Use a circular saw to cut the pieces.
Mark two 20" x 22" pieces of plywood for the top and bottom panels, then cut those using a circular saw.
Step 4: Cut Back Panel
Mark one 16-1/2" x 20-1/2" piece of plywood for the back panel, then cut that with a circular saw. The back panel is cut 1-1/2" shorter in length and height than the top, bottom and side panels so that it will fit snugly inside of them.
Step 5: Measure and Mark Circles
Use a tape measure to determine the center point of side panels, then mark it with a pencil. Place compass on that mark, then draw a perfect circle. You could also use a template — like a large bowl — to trace the circle.


Step 6: Cut Out and Sand Circles
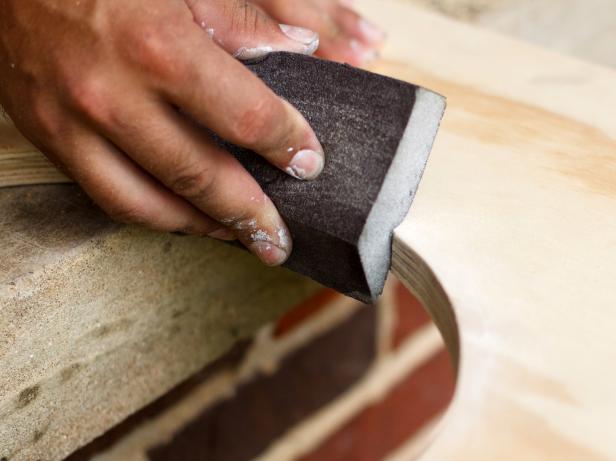
Drill with a 3/4" bit to create a starter hole in the center of the marked circle. Place the blade of the jigsaw inside of the hole, then cut circles out from each of the two side panels. Use sandpaper or a sanding block to smooth out the rough edges of the circles.

Step 7: Attach Side Panels to Back Panel
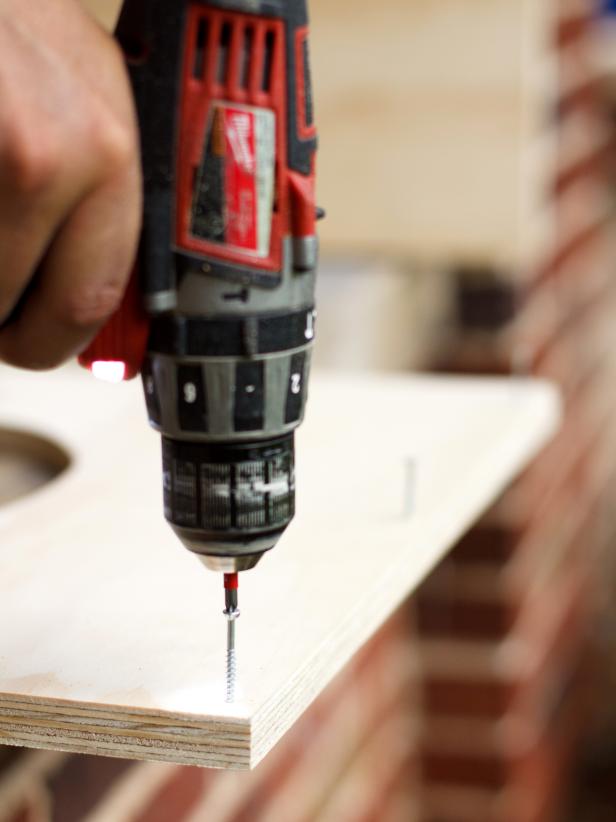
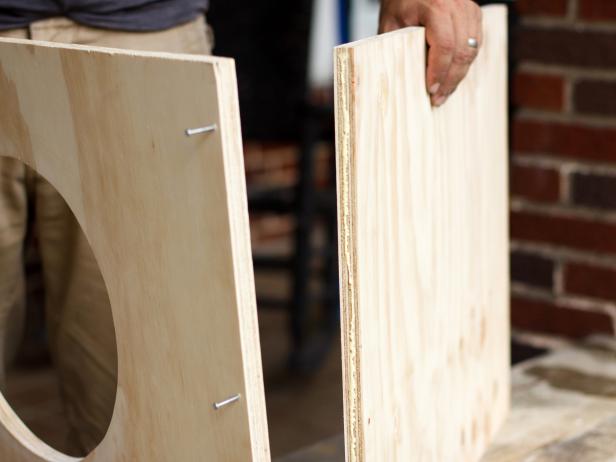
Use a drill and a 1/4" drill bit to create pilot holes 3/8" in from the upper back and lower back corner edges of each of the two side panels.
Note: The pilot holes will allow screws to go directly through the side panels, then into the back panel, creating a tight fit. Drilling the pilot holes will also prevent the wood from splitting.
Add wood glue along all four edges of the back panel. Secure side panels and back panel together with trim screws drilled through each of the pilot holes.
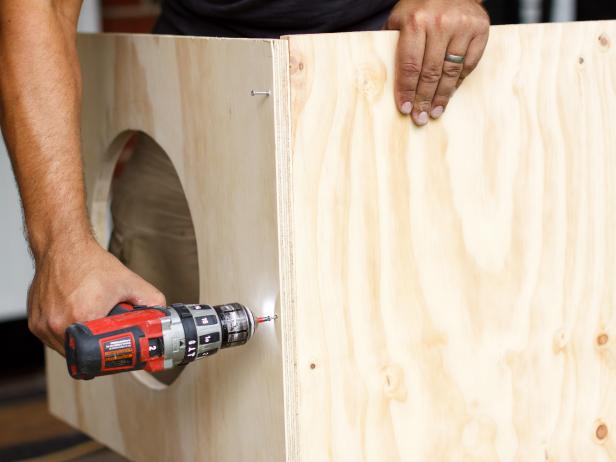
Step 8: Attach Top and Bottom Panels
Use a drill and a 1/4" drill bit to create pilot holes 3/8" in from all four corner edges of the top and bottom panels. Secure the top and bottom into place with trim screws drilled through each of the pilot holes. Make sure the screws go directly through the top and bottom panels, into the back panel and side panels, creating a tight fit.
Step 9: Rip, Cut and Attach Base (Legs)
To make a base (sort of like a toe kick) for the piece, measure, mark, then use a circular saw to cut four 2-1/2" x 17" strips of plywood from your remaining plywood. Use nail gun or screws to attach all four pieces directly to bottom panel with each piece spaced 2 1/2" in from the edge of the bottom panel. This inset will give the table a contemporary floating look.
Step 10: Add Stain and Sealer
Fill nail and/or screw holes with wood putty. After a light sanding and a wipe with a damp cloth, apply stain using stain pad or paintbrush. Once dry to the touch, add a sealer to protect the finish.
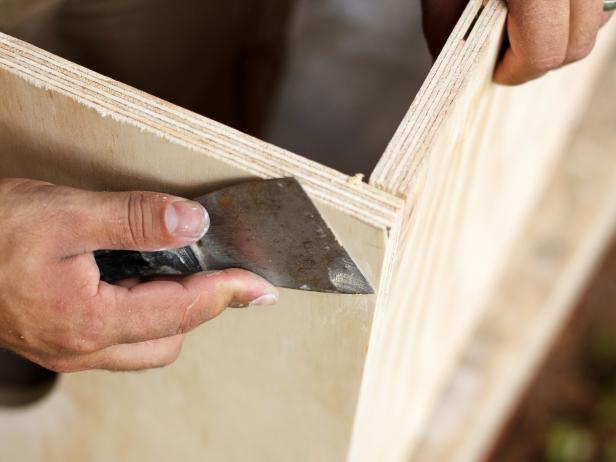
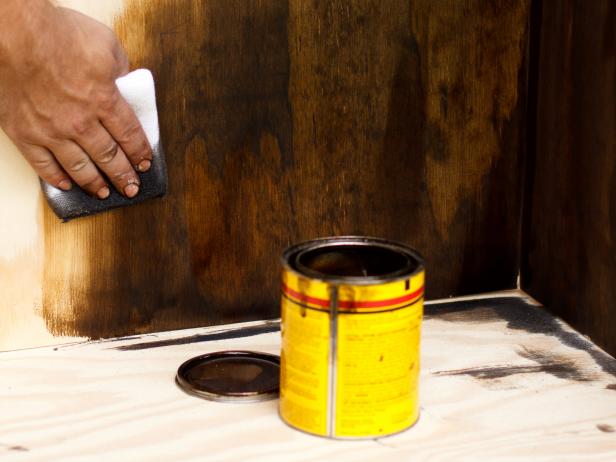

Step 11: Add Cushion or Pillow
Ensure that sealer is dry, then place cushion or pillow atop bottom panel.
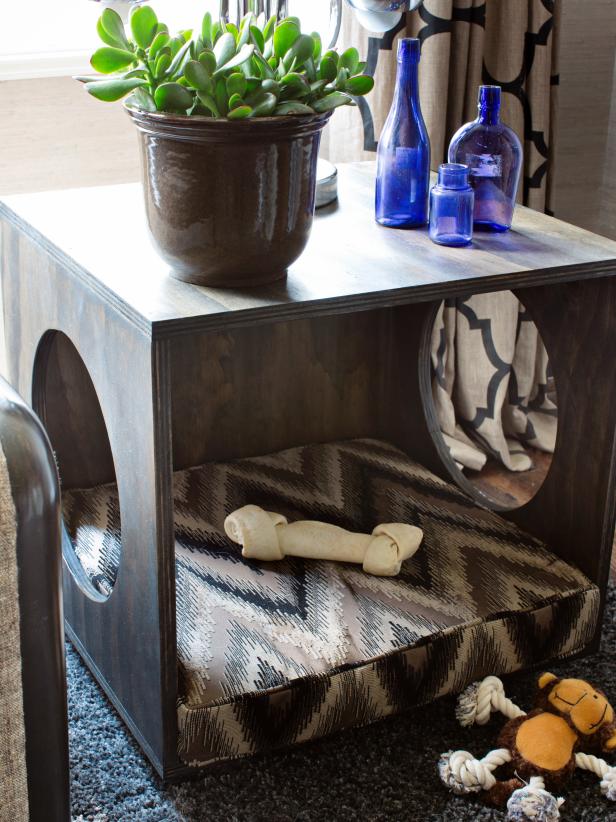
DIY Dog Beds Your Precious Pooch Will Love 13 Photos
Pet beds can be expensive, but these upcycled and handmade DIY dog bed options are just as cute as they are easy on the wallet.


