


Turn a Plywood Board Into Easy DIY Outdoor Art
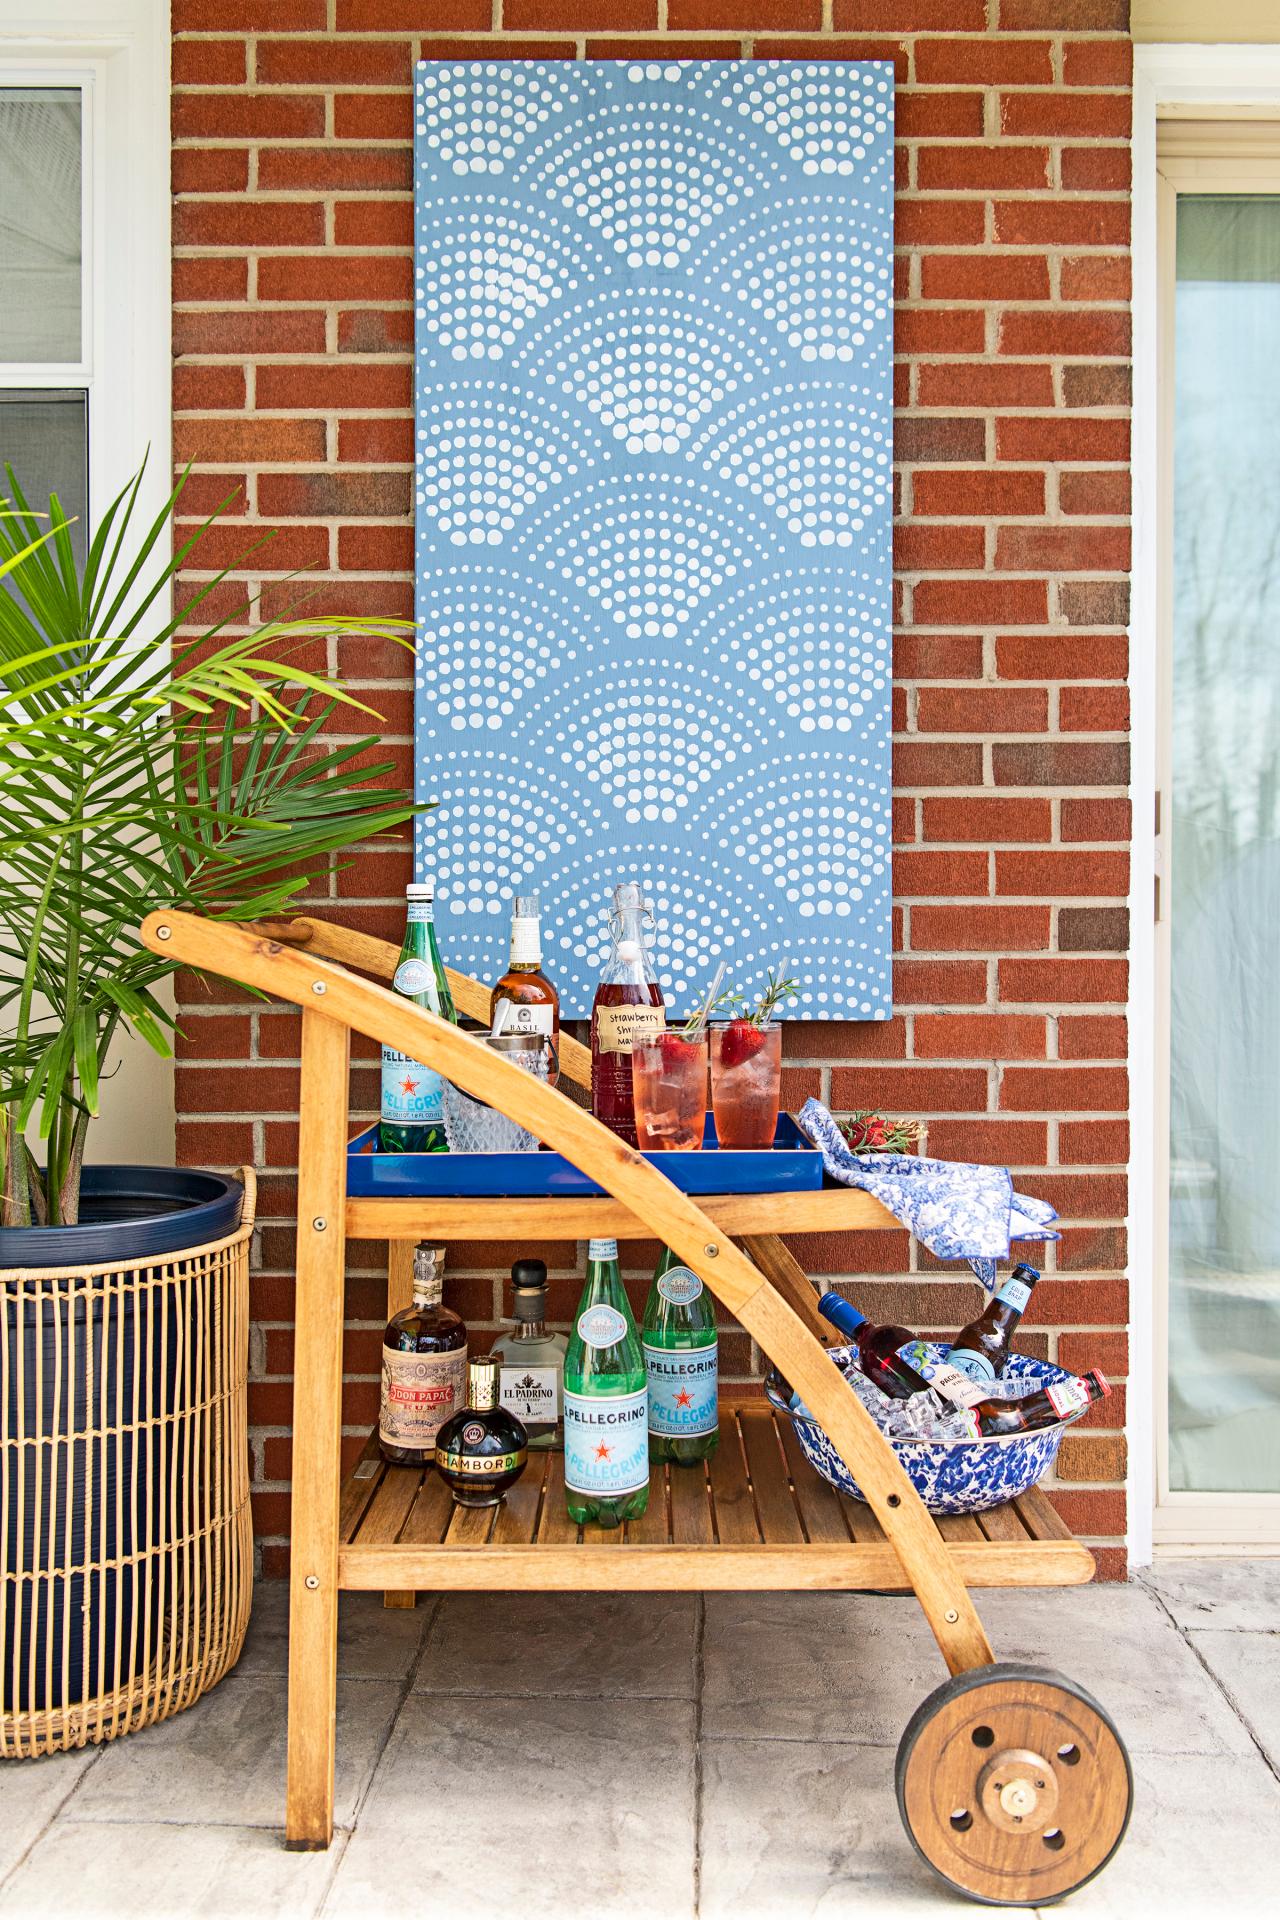
Does your patio, porch or deck have a case of the blahs? We'll show you how to easily stencil a plywood board to turn it into colorful outdoor art that can stand up to the elements.
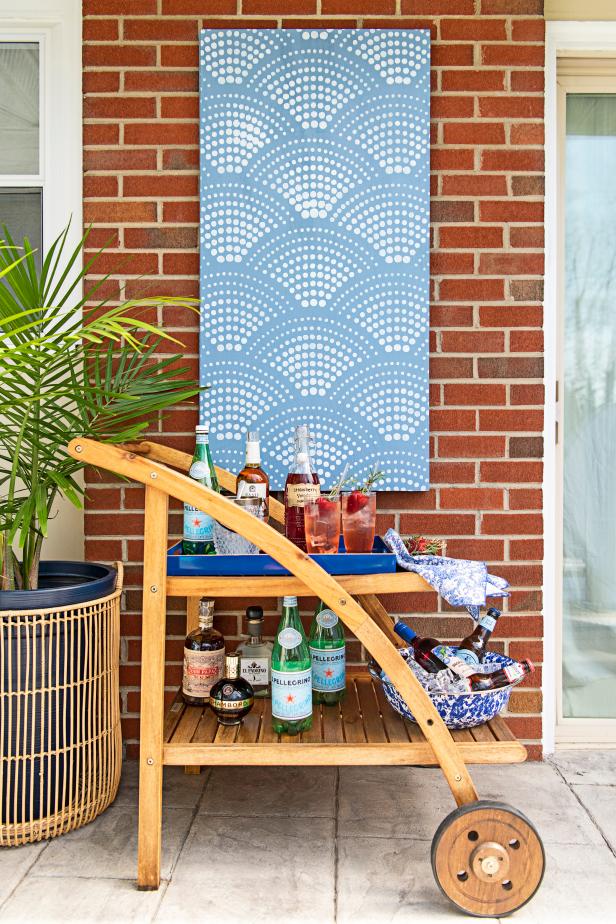

Photo by: Sarah Busby; Styling by H. Camille Smith
Sarah Busby; Styling by H. Camille Smith
Materials Needed
- 2 x 4 plywood sheet
- 2) 1"x2"x8" boards cut to 21" long
- 2) 1"x2"x8" boards cut to 48" long
- heavy-duty outdoor adhesive (like PowerGrab or Liquid Nails)
- Exterior satin paint in color of your choice (we used Valspar Blue Sash)
- Exterior white satin paint
- Stencil of choice, we used Cutting Edge Stencils 'Radiant Scallop' pattern
- 3” or 4” foam roller
- cardboard or drop cloth to protect work surface
- clamps
- painter’s tape
- paper plate or other disposable surface
- paper towels
- drill fitted with a concrete or masonry bit
- concrete screw
- caulking gun
- tape measure or yardstick
Select Stencil
Instead of a small craft-store stencil, we recommend spending a little more money on a larger wall-size stencil. The larger pattern will read much better from afar and not take on the too-busy look that a small pattern would lend. Shop the stencil we used, below.

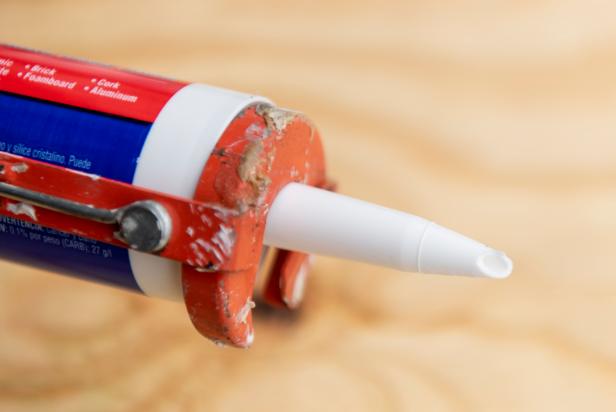
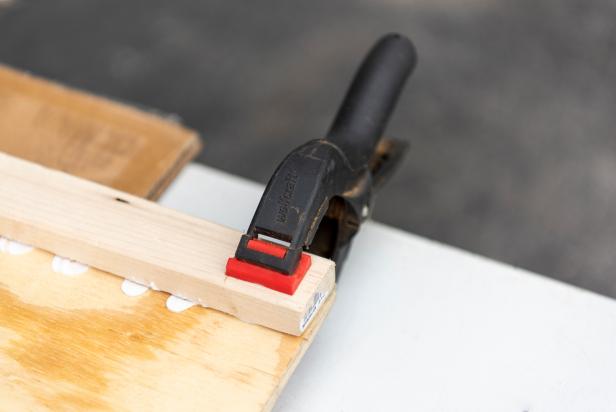
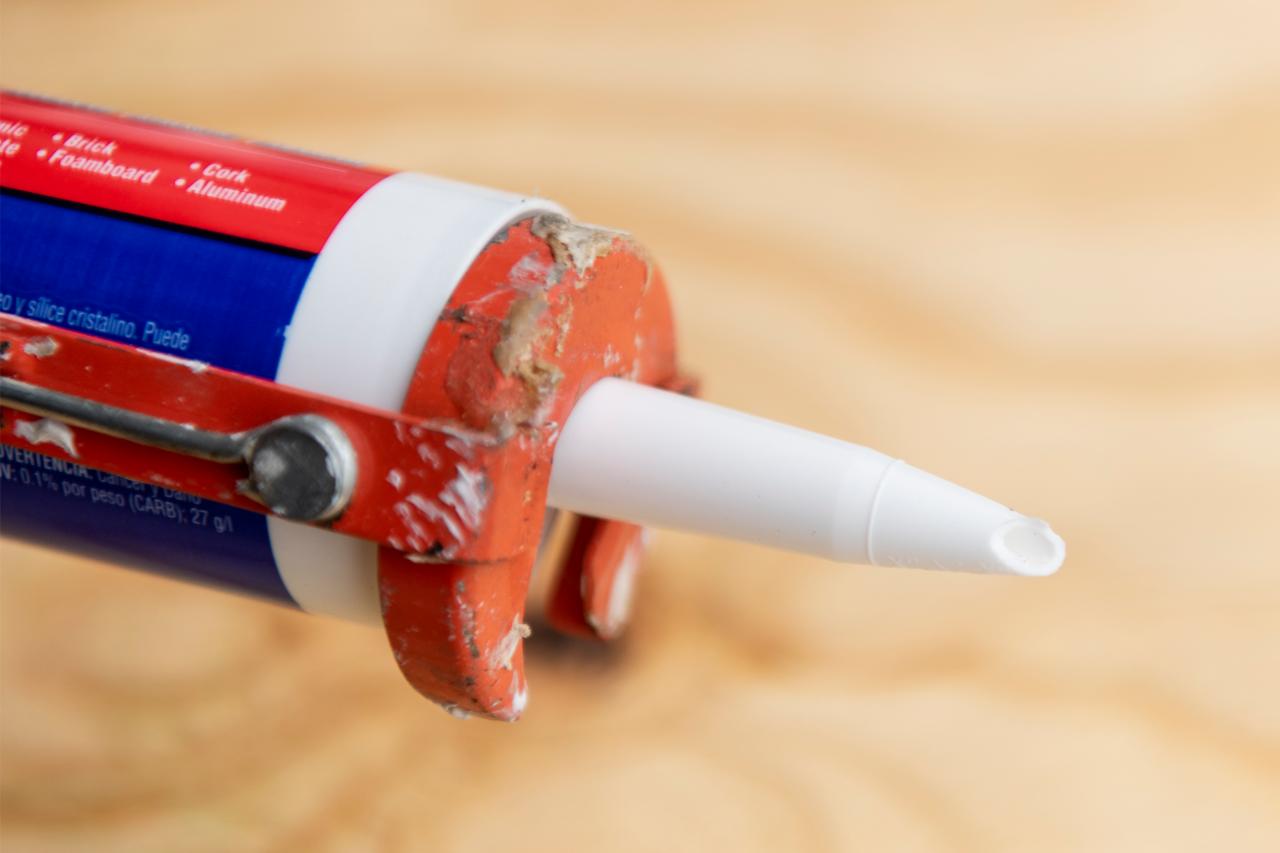
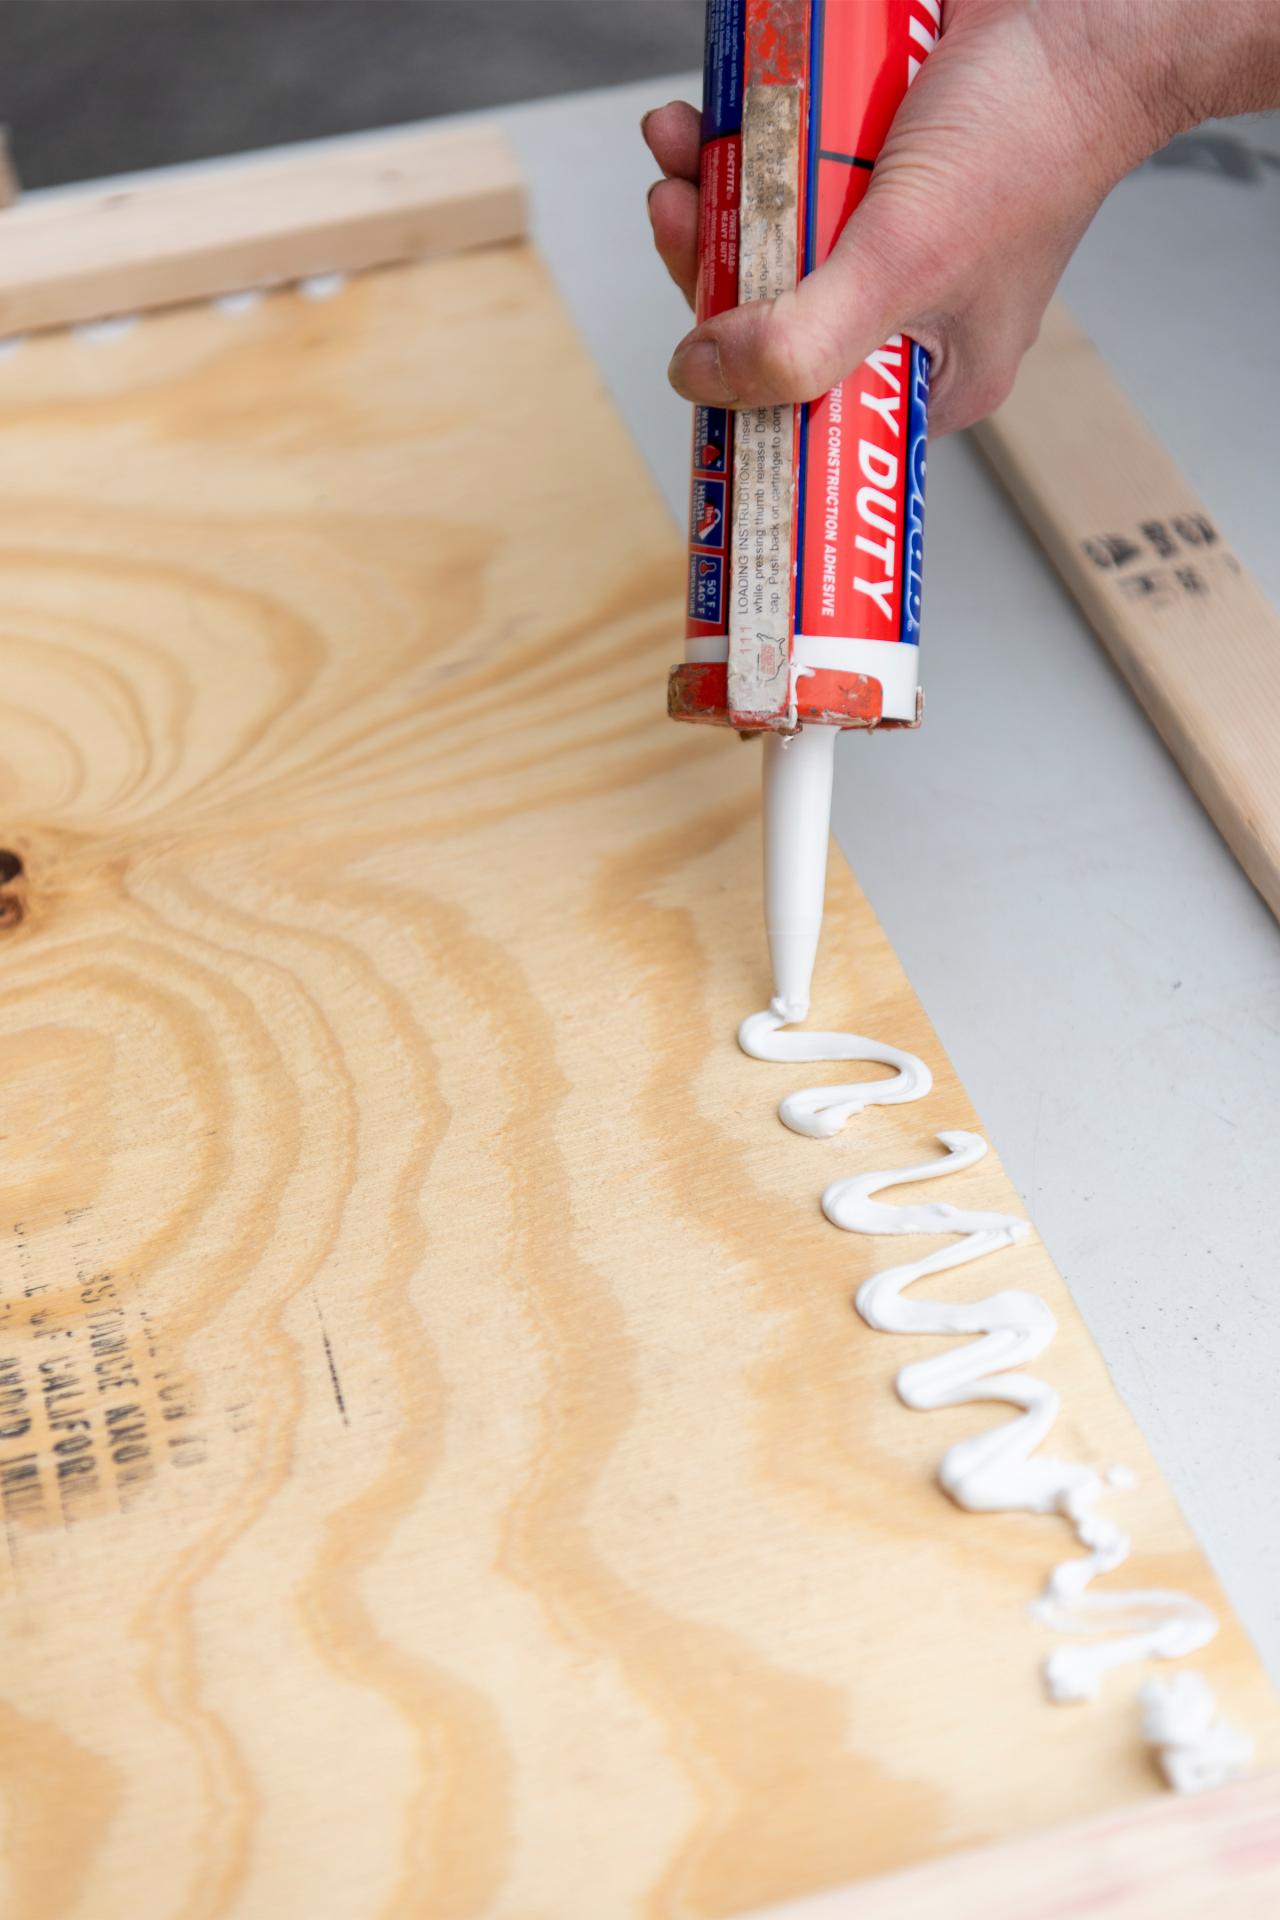
1. Prep Board for Hanging
Determine which side of the plywood is smoother, this will be the artwork's front. Protect your work surface with a leftover piece of shipping cardboard or a drop cloth. Place the board front down on the work surface. Slide the heavy-duty outdoor adhesive in a caulking gun and, using scissors, cut off the tip at an angle (Image 1). Working on one side at a time, apply a line of adhesive, then top with a pre-cut wood board (Image 2). Clamp board in position (Image 3), then continue attaching wood boards till the pre-cut strips form a frame on the back of the art that'll both stabilize the plywood to prevent warping and help later with hanging.
Sarah Busby

Sarah Busby
Sarah Busby
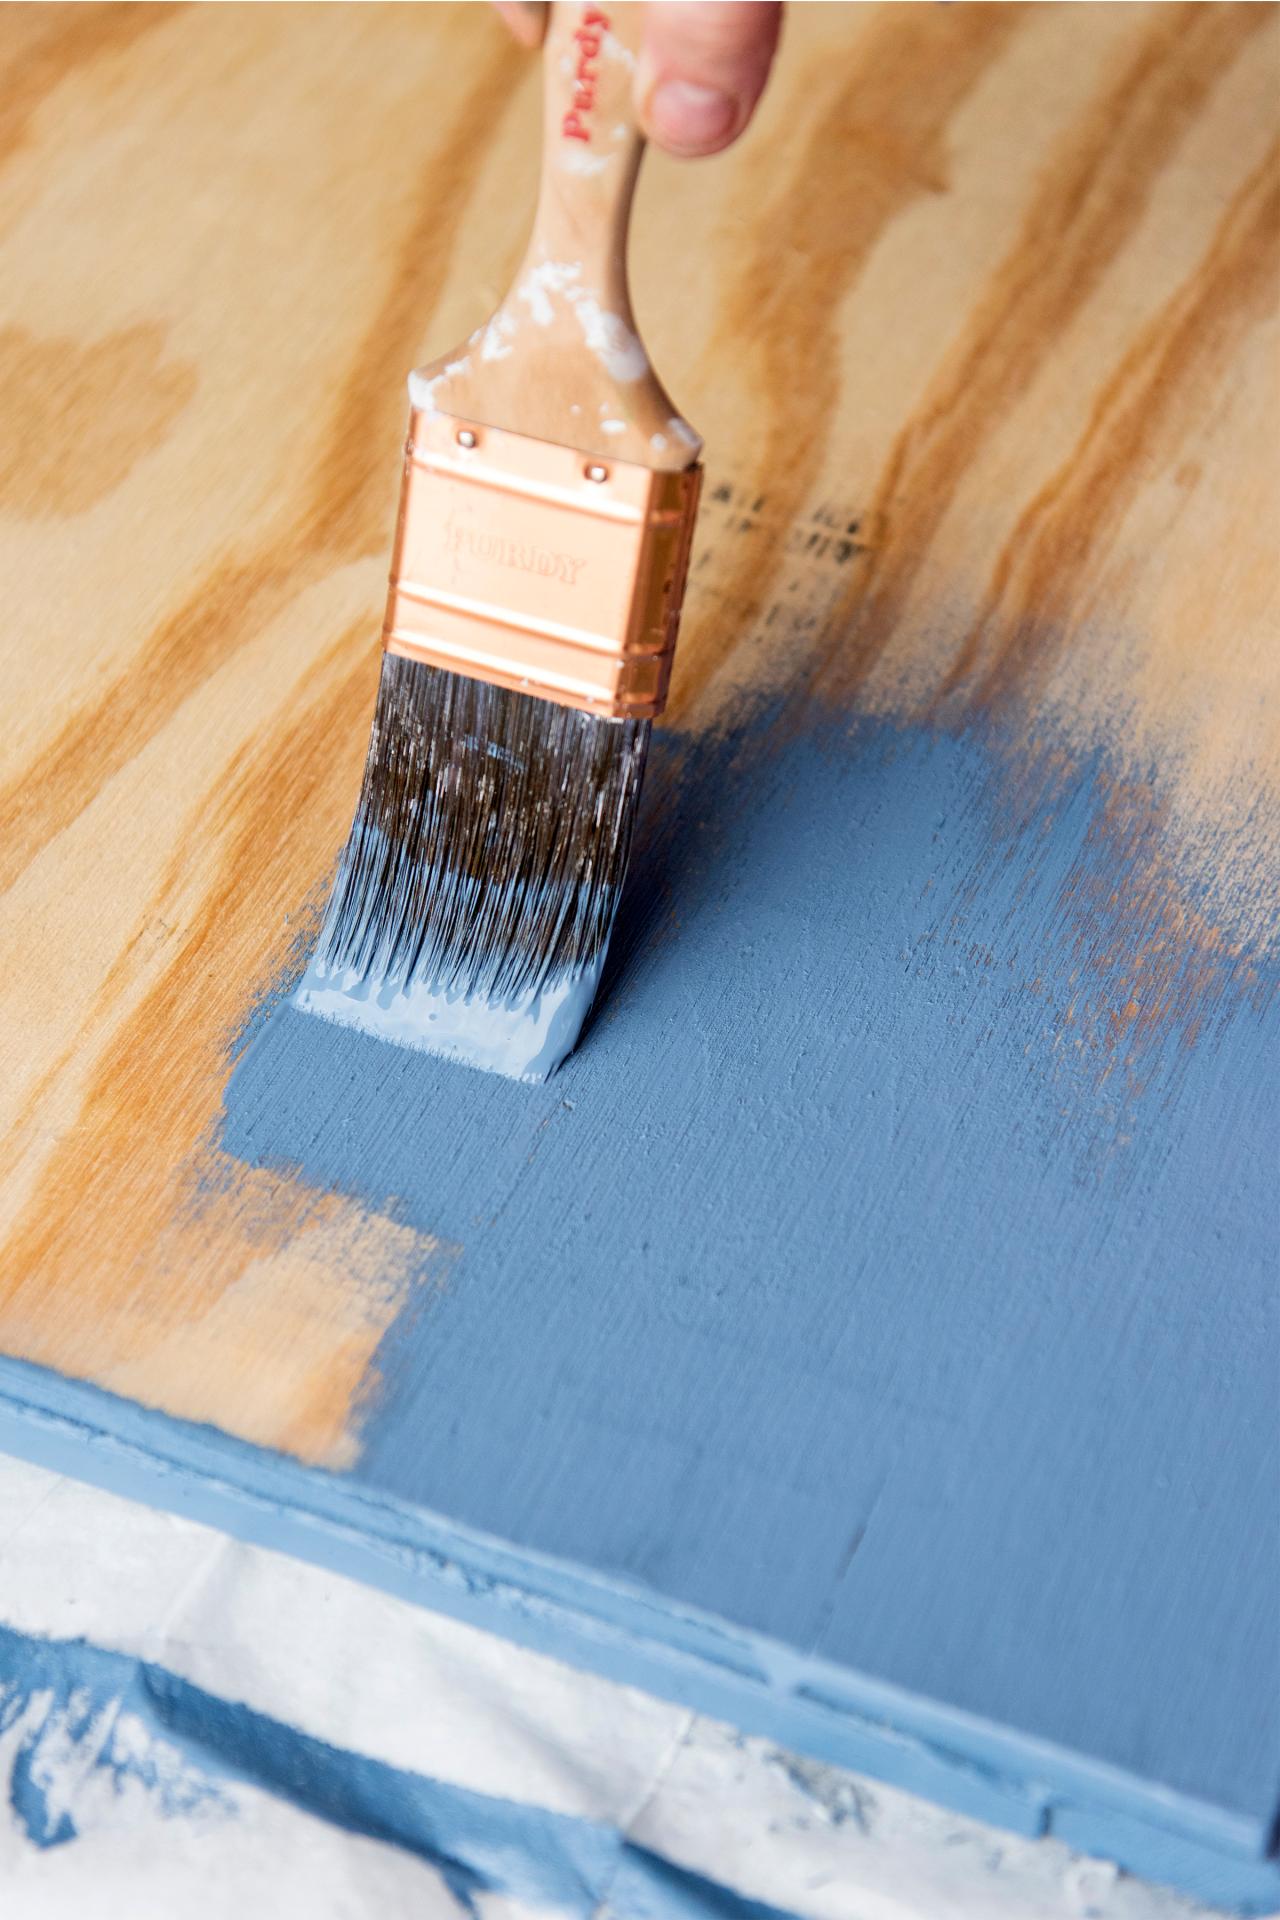
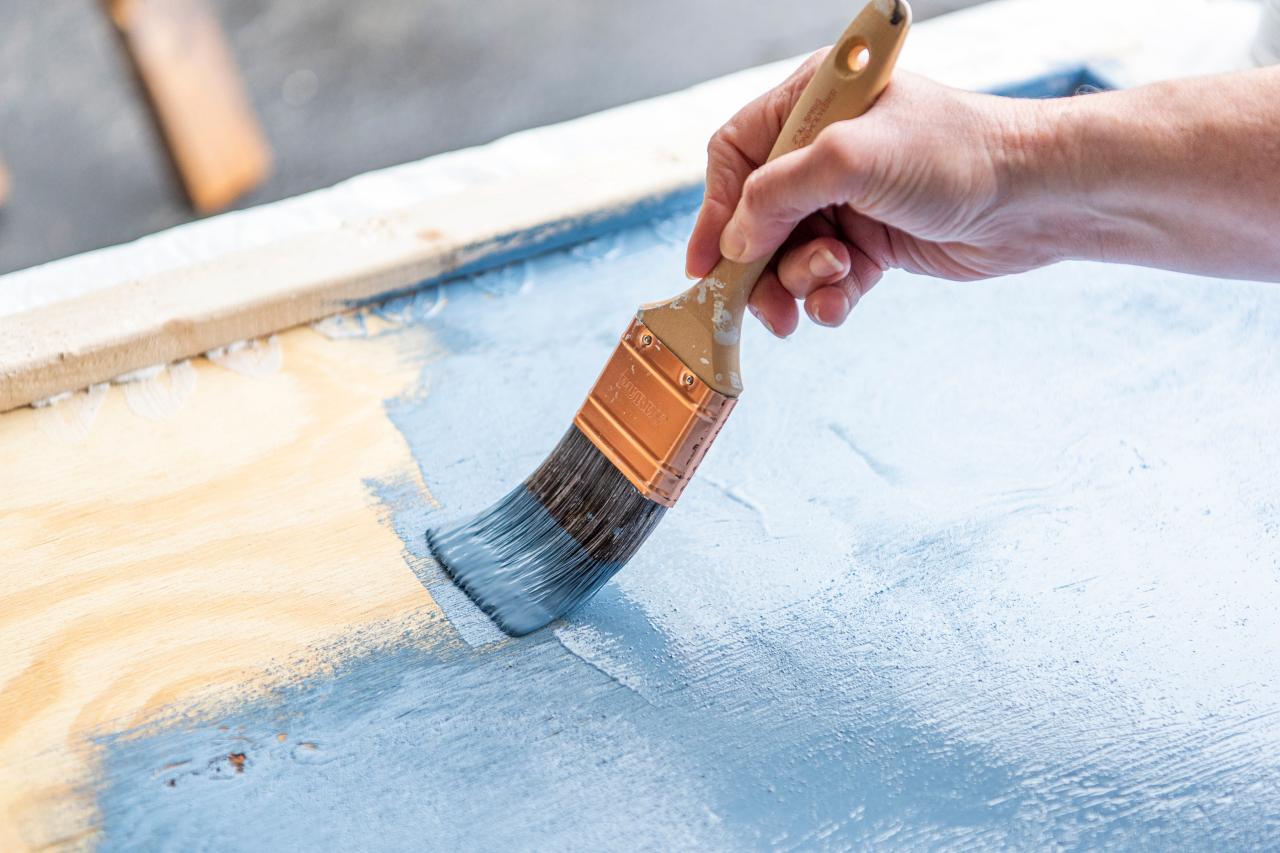
2. Seal Wood With Exterior Paint
Allow adhesive to fully cure overnight. Remove clamps, then coat the plywood’s front (Image 1), back (Image 2) and all exposed sides of the attached wood strips with exterior paint in a color of your choice. Tip: This coat of exterior paint seals the wood, preventing water damage and warping.

Sarah Busby

Sarah Busby
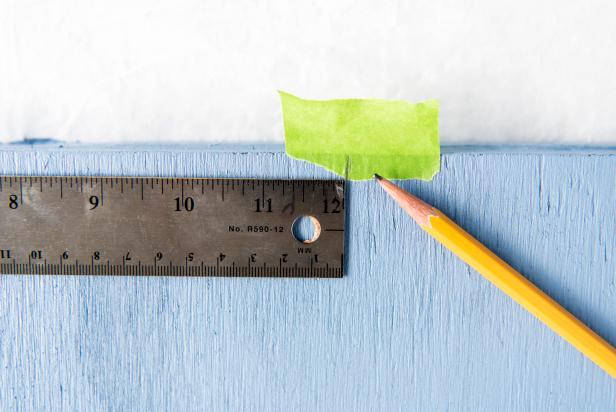
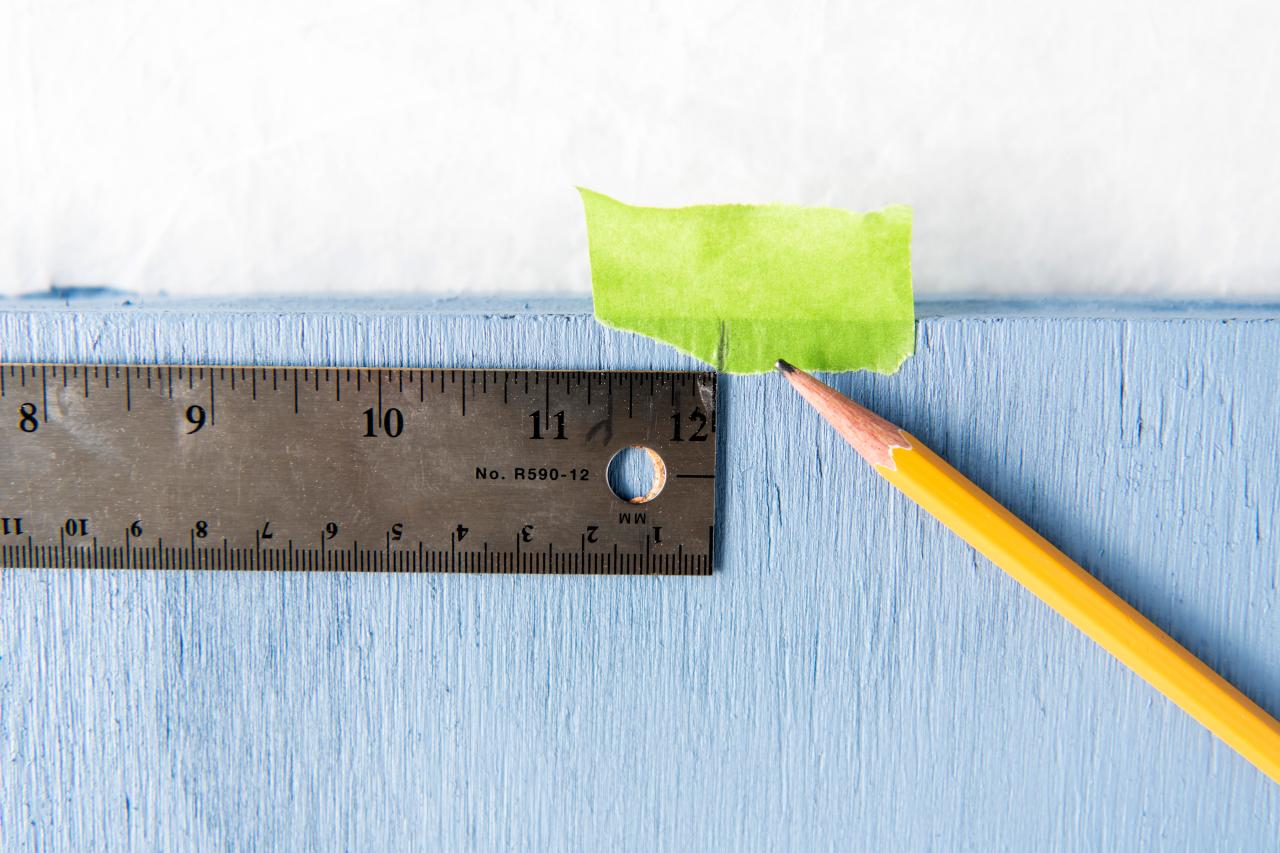
3. Mark Center of Board
Before you begin stenciling, add a small piece of painter’s tape to both the top and bottom of the art’s front side and note the center to help you better align the stencil.
Sarah Busby
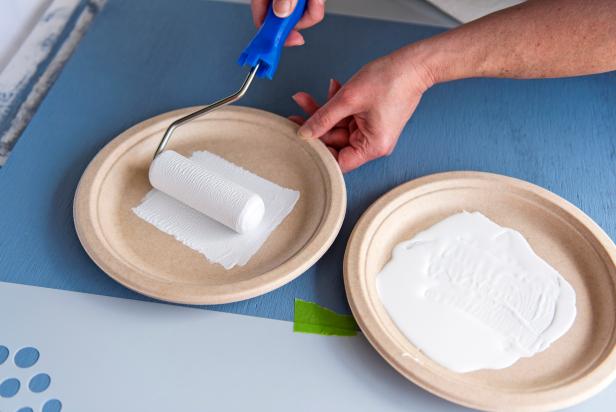
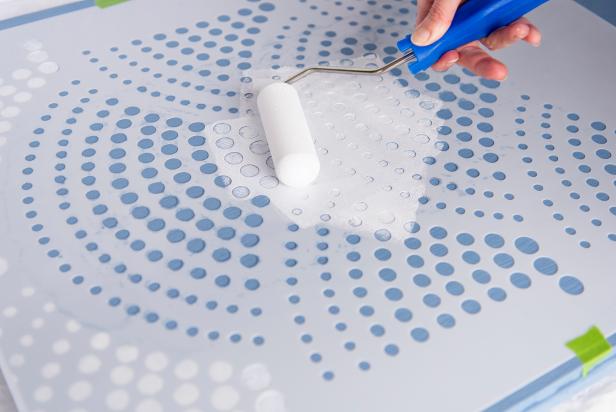
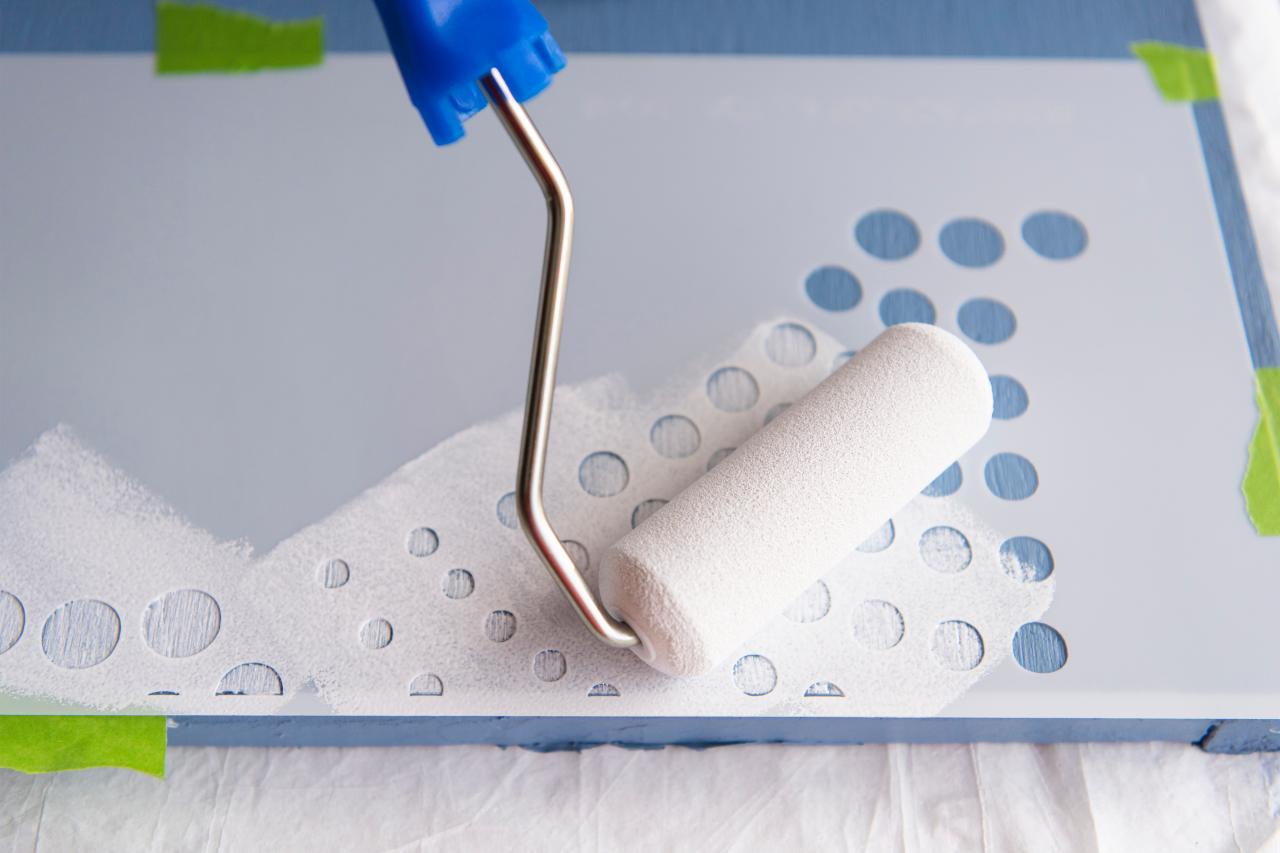
4. Begin Stenciling
Align the stencil at the top of board, using the penciled top and bottom center marks to help you center the design. Secure the edges of the stencil with painter's tape. Pour exterior paint in a contrasting color (we used white) onto a disposable surface, like a paper plate. Load up the foam roller being sure to cover all sides, then roll off excess paint onto a second paper plate or a paper towel (Image 1). Tip: When stenciling, it’s important to never overload your brush or roller to avoid paint leaking under the stencil’s edges. Roll a solid coat of paint onto the stencil area, being careful to not go over the same area multiple times, which could cause paint bleed (Image 2).
Sarah Busby

Sarah Busby
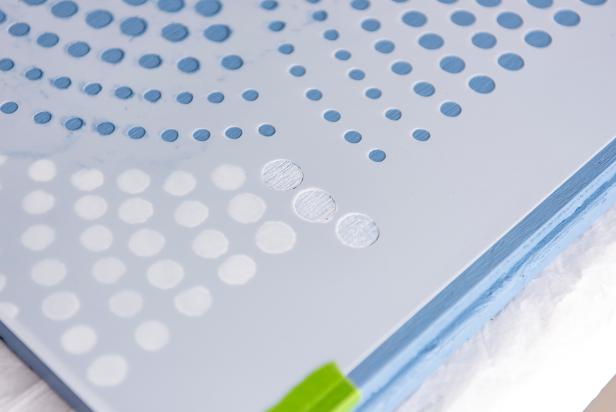
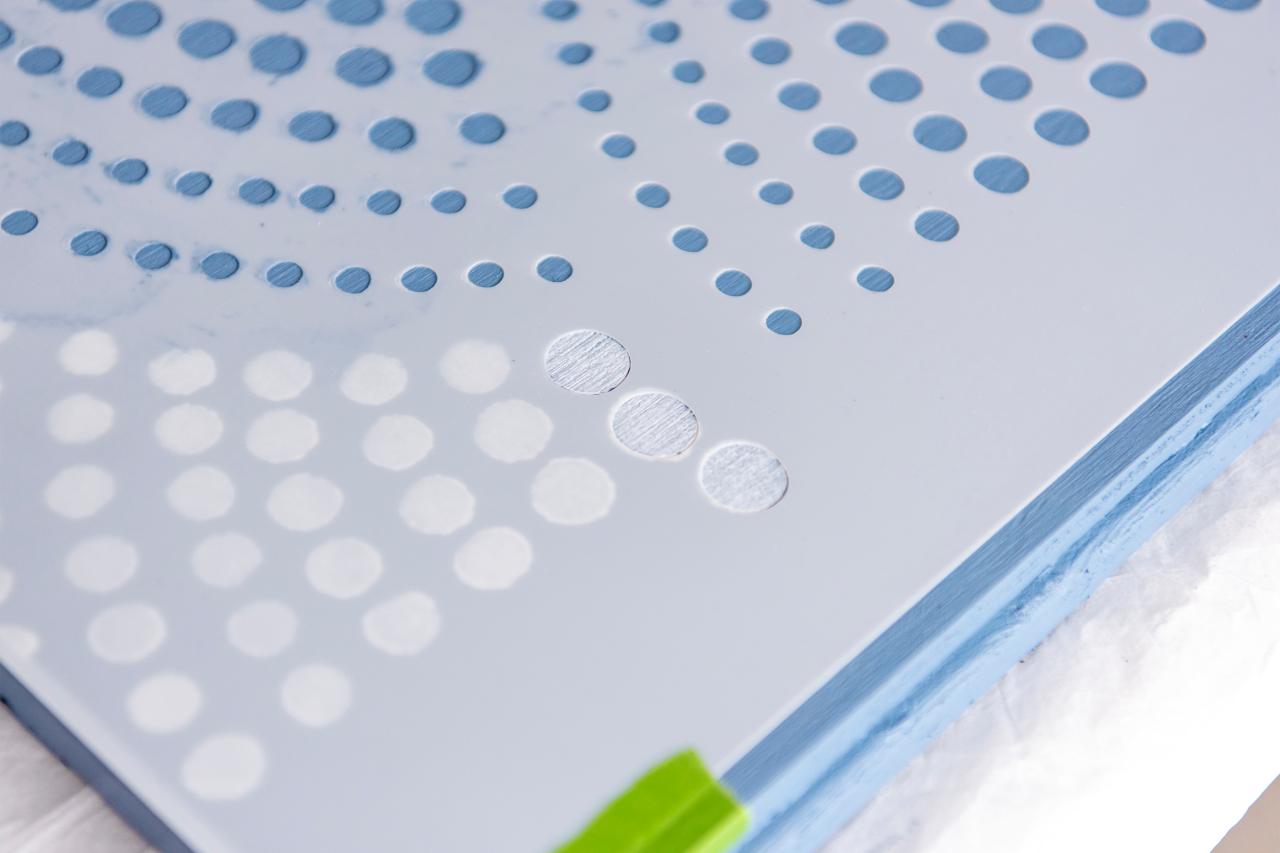
Tip: What's the Repeat?
Basically, the repeat is an area of the stencil's pattern that quite literally repeats, allowing you to line up the stencil again and again to create a continuous finished design. Every stencil's repeat is different, but when you place the stencil next to the area you just painted, it's easy to see which areas should overlap (repeat) to line up the stencil for the next section. Here, you can see that this stencil's repeat is three dots at the bottom of the scallop.
Sarah Busby
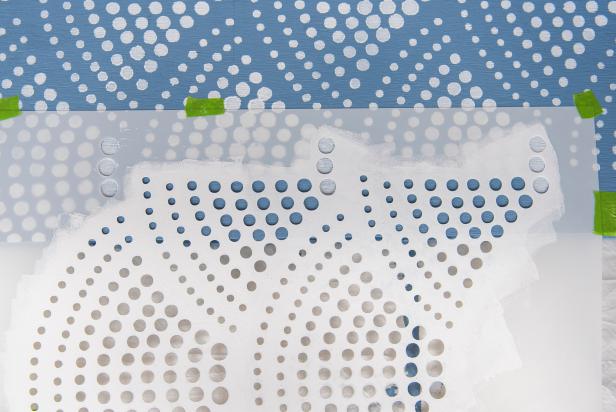
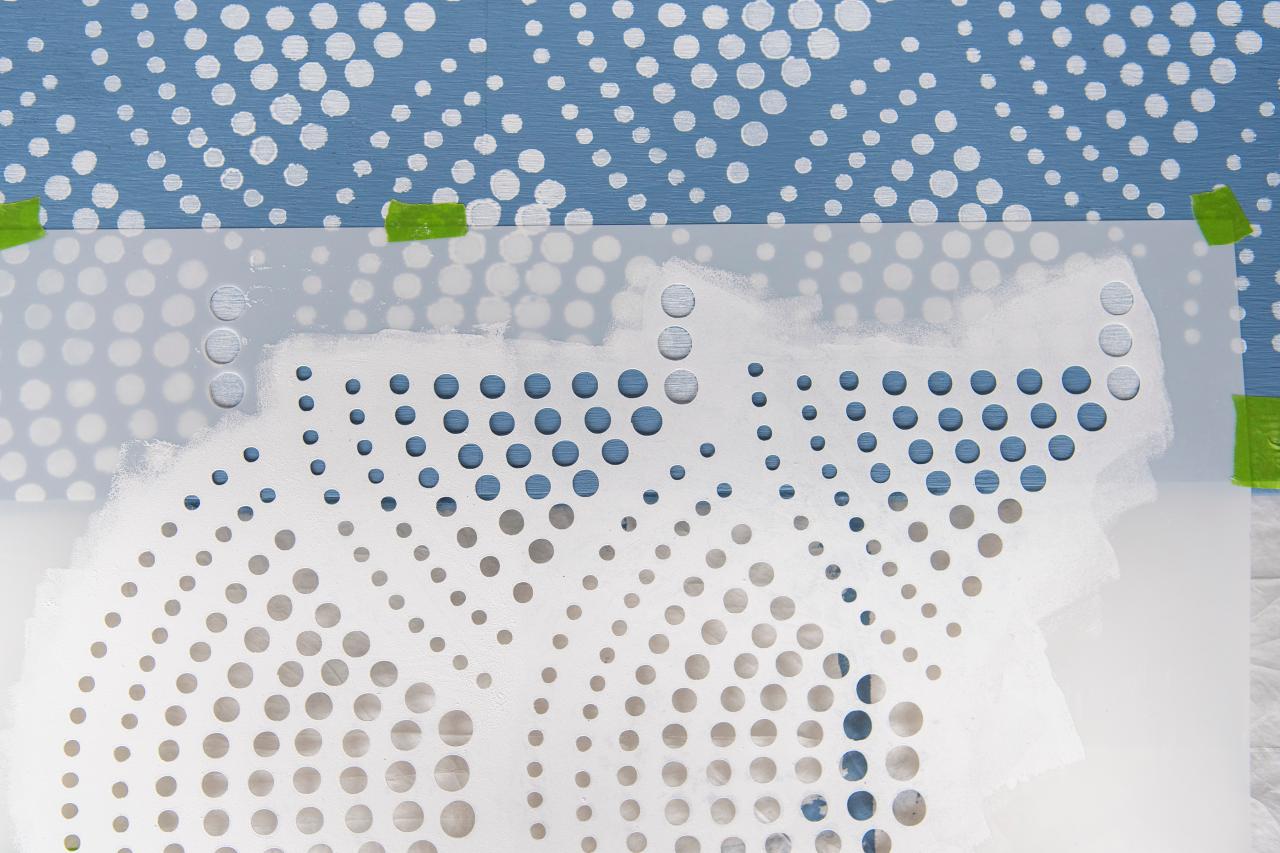
5. Line Up Repeat and Continue Stenciling
Allow a few minutes for the first stenciled area to dry. Reposition stencil, being sure to line up the stencil’s repeat, then lightly roll on paint being careful not to push too hard, which could cause paint bleed (Image 1). Continue repositioning the stencil until all areas of the board are covered (Image 2).
Sarah Busby
Sarah Busby
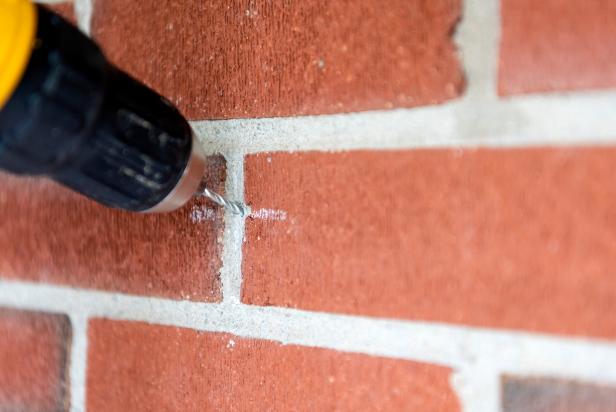
6. Prep Exterior Wall for Hanging
To ensure proper placement, measure to find the wall's center. Have a friend hold your artwork so you can determine how high up to hang it. If, like us, you're hanging your completed art on a brick wall, you'll need to first use a drill fitted with a masonry bit to drill a hole that's a bit smaller than your chosen concrete screw to create a hole in the mortar. Then screw in the concrete screw, leaving about 3/4" of the screw exposed.
Sarah Busby
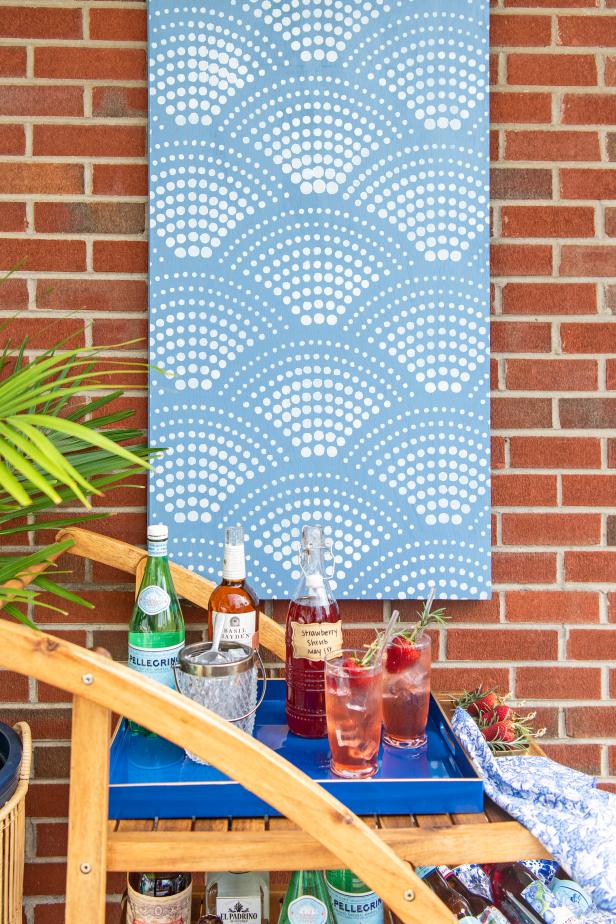
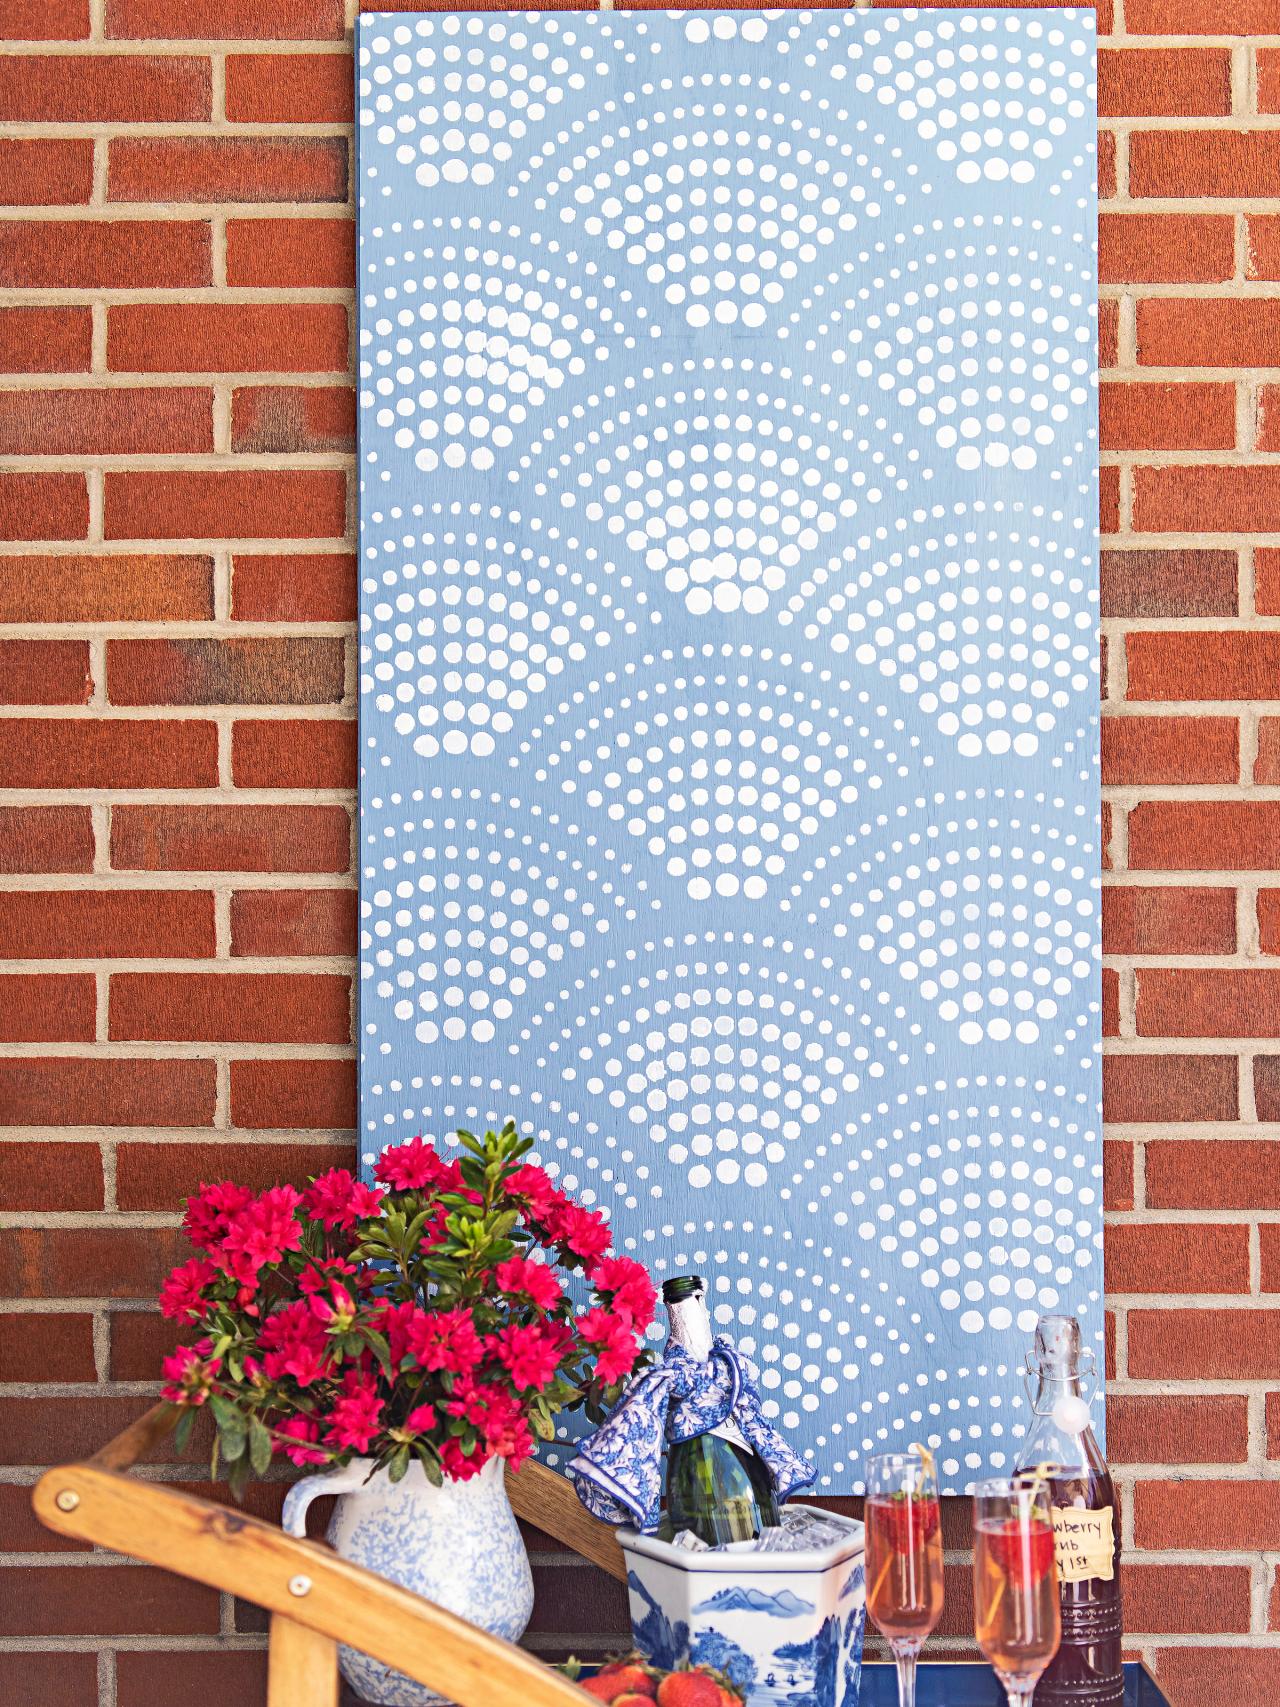
7. Hang and Enjoy Your New Outdoor-Ready Masterpiece
The attached wood strips make it easy to hang your finished artwork by simply hooking the upper wood strip over the exposed concrete screw.

Sarah Busby; Styling by H. Camille Smith
Sarah Busby; Styling by H. Camille Smith
Photo By: Sarah Busby; Styling by H. Camille Smith
Photo By: Sarah Busby; Styling by H. Camille Smith


