


Make a Faux Living Moss Wall
Learn to make a faux living moss wall with tips from Tara Heibel and Tassy de Give of contemporary garden design business Sprout Home.


Image courtesy of Penguin Random House

Image courtesy of Penguin Random House
Do you have a blank wall in your home that you have no idea what to do with? If you're looking for something a little different than a typical art piece or gallery wall, a moss wall might be the perfect option. A moss wall's unique color and texture brings elements of nature into your space while creating an instant talking point.
Designers Tara Heibel and Tassy de Give of Sprout Home, a contemporary garden design business with stores in Chicago and Brooklyn, focus on bringing the outdoors in with their unique plant decor. In their book Rooted in Design, they explain how real living moss walls—although gorgeous—can be high-maintenance since moss must constantly remain moist. Thankfully, they show how it only takes a few easy steps and supplies to make a faux living moss wall, which still looks like a million bucks. Use these steps to start your next design project.

Image courtesy of Penguin Random House
Materials
- Screwdriver
- Screws
- French cleat (choose the size appropriate for your frame or plywood)
- Frame with back side attached to it (or a piece of plywood cut to whatever size you want)
- Glue cartridge
- Hot-glue gun
- Floral pins
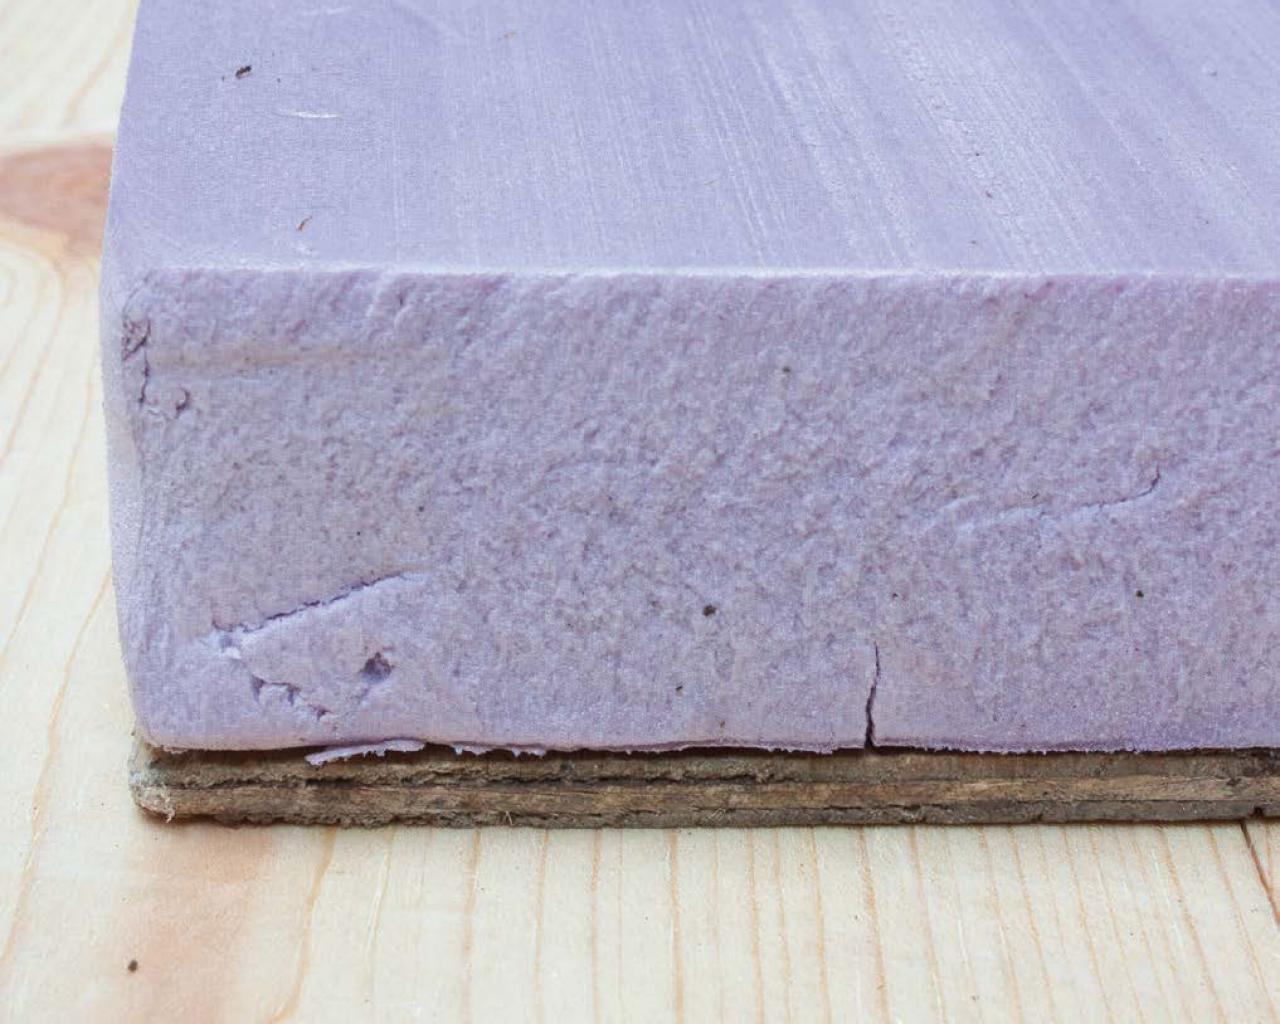
- 1-inch-thick pink insulation
- Mood moss
- Sheet moss
- Preserved reindeer moss
- Dried wood (optional): driftwood, dried bark, or kiwi vine
- Dried floral elements (optional): sponge, mushroom, yarrow, protea, or kale
- Tillandsia specimens (optional)
Step 1: Using a screwdriver and screws, follow the manufacturer's instructions and attach the French cleat to the back of the frame or plywood.

Image courtesy of Penguin Random House
Step 2: Using a hot-glue gun and floral pins, attach the pink insulation to the front side of the frame board (or plywood).
Step 3: Using the hot-glue gun, glue pieces of mood and sheet moss to the pink insulation to create your primary landscape. Arrange the landscape as you see fit.

Image courtesy of Penguin Random House
Step 4: Once the landscape base is finished, add other elements to the base. Glue bits of colored reindeer moss to the base to create additional depth.

Image courtesy of Penguin Random House
Step 5: If you're using dried wood or floral elements, add them to the landscape using floral pins or the hot-glue gun.
Step 6: If you're using Tillandsia, add them to the landscape using floral pins or the hot-glue gun.
Step 7: Once the glue is dry, do a wiggle test. Use your fingers to gently wiggle the elements. If they cannot be easily pulled off, they pass the test and the moss landscape is finished. Otherwise, use more glue and floral pins to secure the elements. Hang the frame.


