


How to Build an Outdoor Living Wall
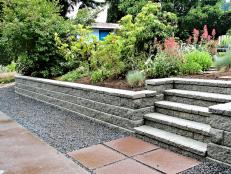
Build a beautifully refreshing plant wall to add greenery and privacy to your outdoor space. This outdoor living wall will take your garden to the next level, sprucing up any entertainment space. Just imagine the photo ops!
Ugly fence? Need more privacy? If you have some outdoor aesthetic needs, we have a solution for you: Living Walls. They’re beautiful, practical and functional.

Tomas Espinoza
Materials + Tools
- (2) 4x4 pressure-treated posts
- concrete mix
- 1x4 pressure-treated boards (amount depends on how many rows you’ll be installing)
- galvanized deck screws
- measuring tape
- drill
- hanging flowerpots (some have a built-in irrigation system)
- potting soil
- plants
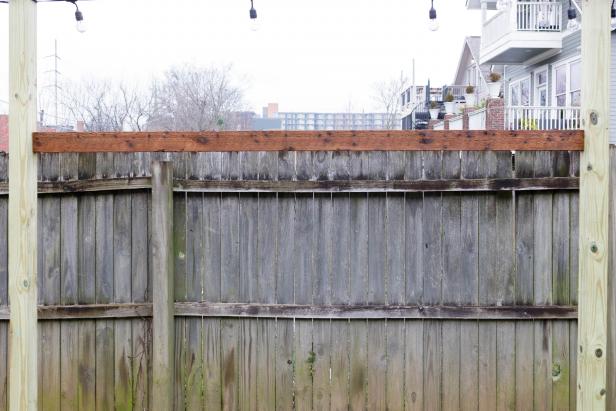
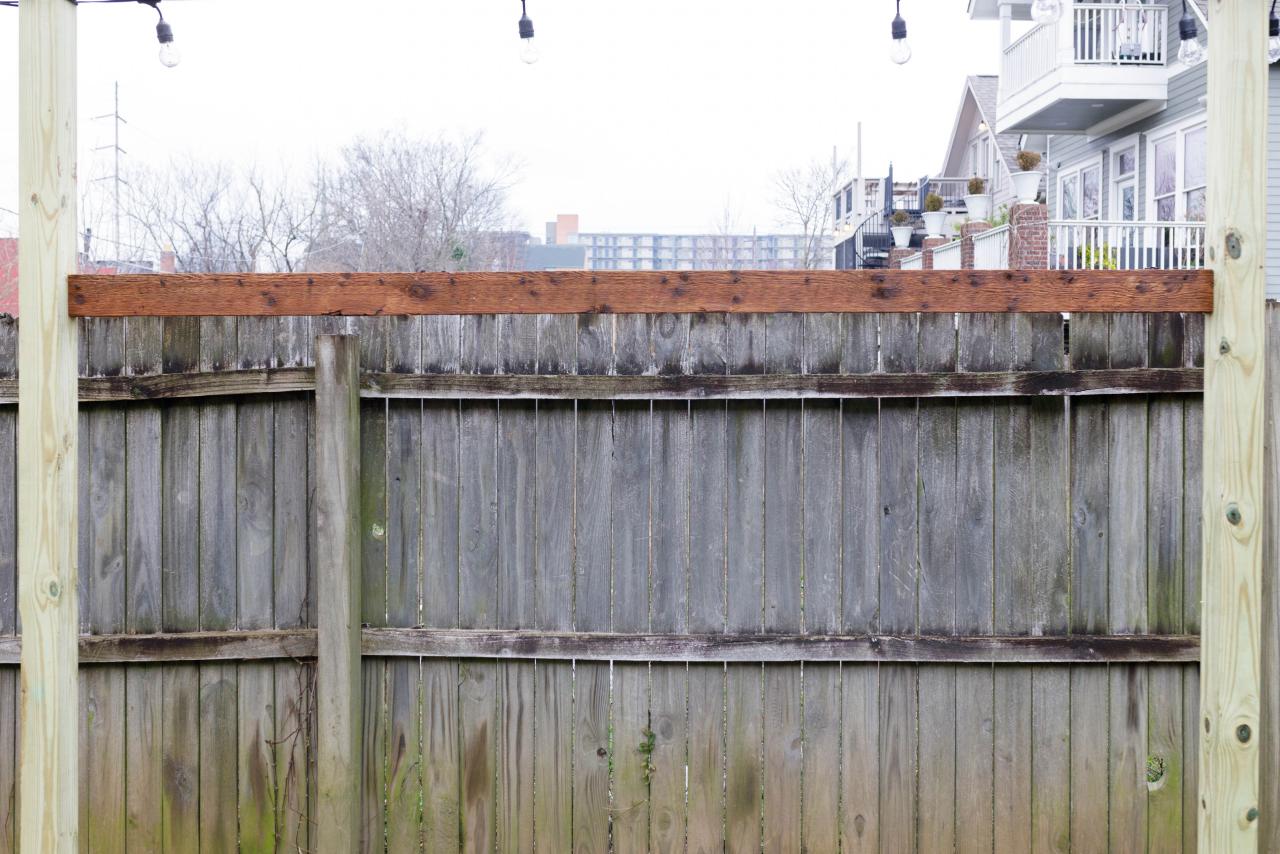
Install Posts
Determine the size of your garden wall. Ours is made from two pre-existing posts that are in the yard to hold up string lights. The distance between each post is about 6 feet. This garden wall could also be installed between two sturdy fence posts, although you may want to use 2x4s instead of 1x4s for the horizontal boards, so you’ll have a little more room between the fence and the flowerpots. If you are going to install new posts, make sure to dig deep enough to reach the frost line (the depth at which the ground freezes). Add enough concrete to hold the posts in place and use scrap wood to brace it until the concrete sets, which is usually about 24 hours. The height of the posts is up to you, but you may want to check with local building codes or your neighborhood association to make sure there are no regulations.
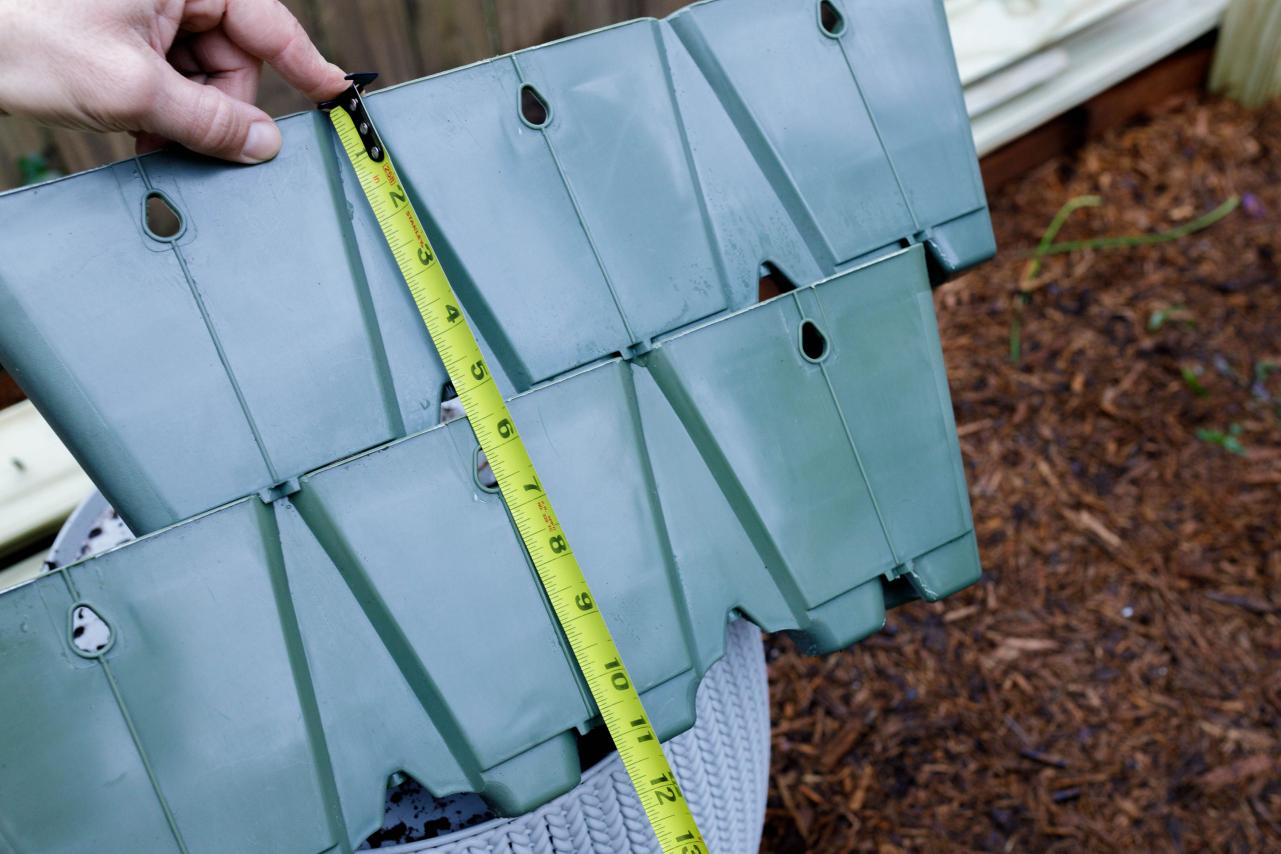
Determine Spacing
Use a tape measure to assess the height and width of the living-wall cups. Determine how you should space the boards vertically and the distance between the screws needed to mount the cups onto the boards. You may want to lay out the cups on the boards and use a pencil to mark the screw holes.

Tomas Espinoza
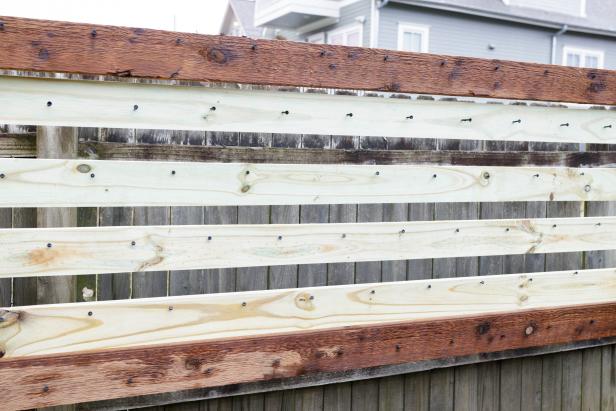
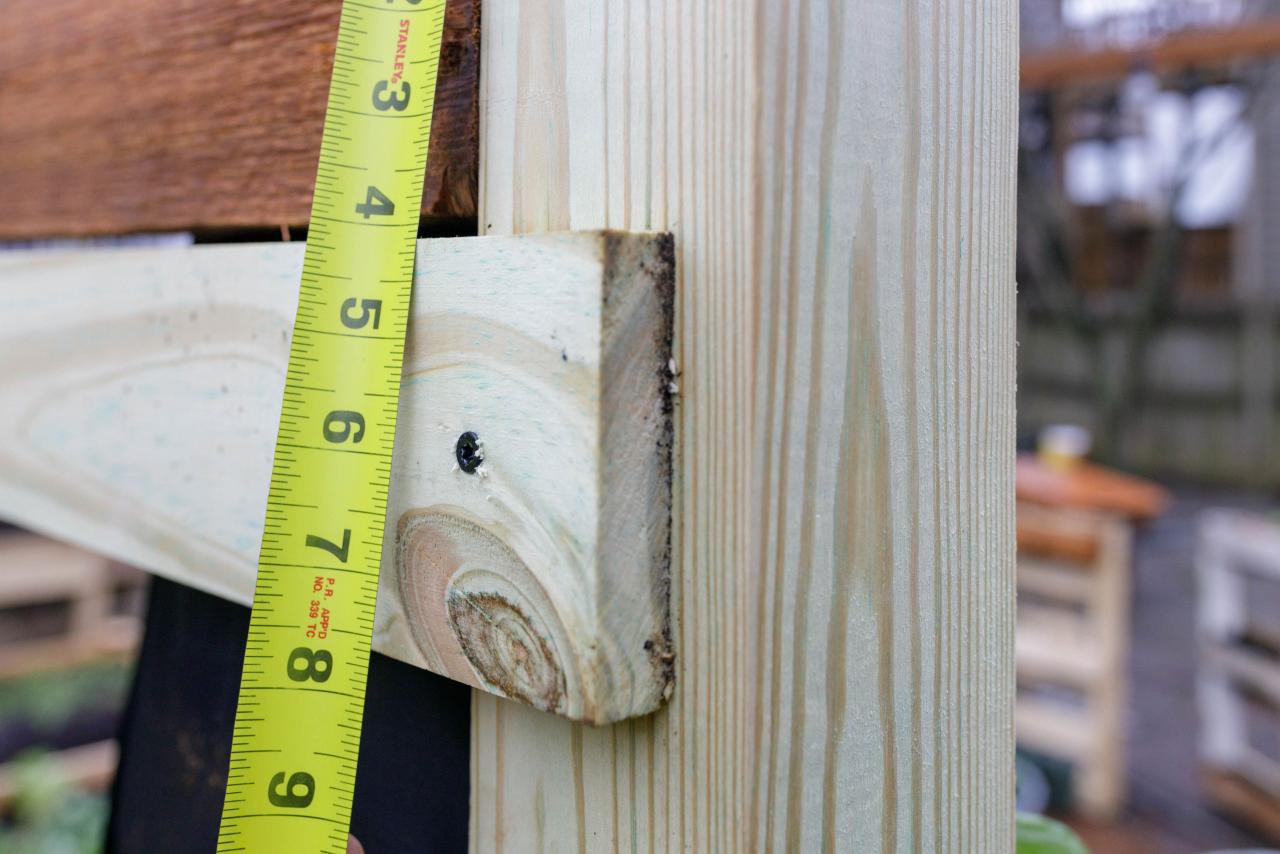
Mount Boards and Screws
Using the measurements, ensure boards are evenly spaced. Mount the remaining boards to the posts to create the additional rows where you’ll attach the planting cups. Then start each of the screws but don’t insert them all the way into the wood. Repeat down the length of each board.
Tomas Espinoza

Tomas Espinoza
Tomas Espinoza
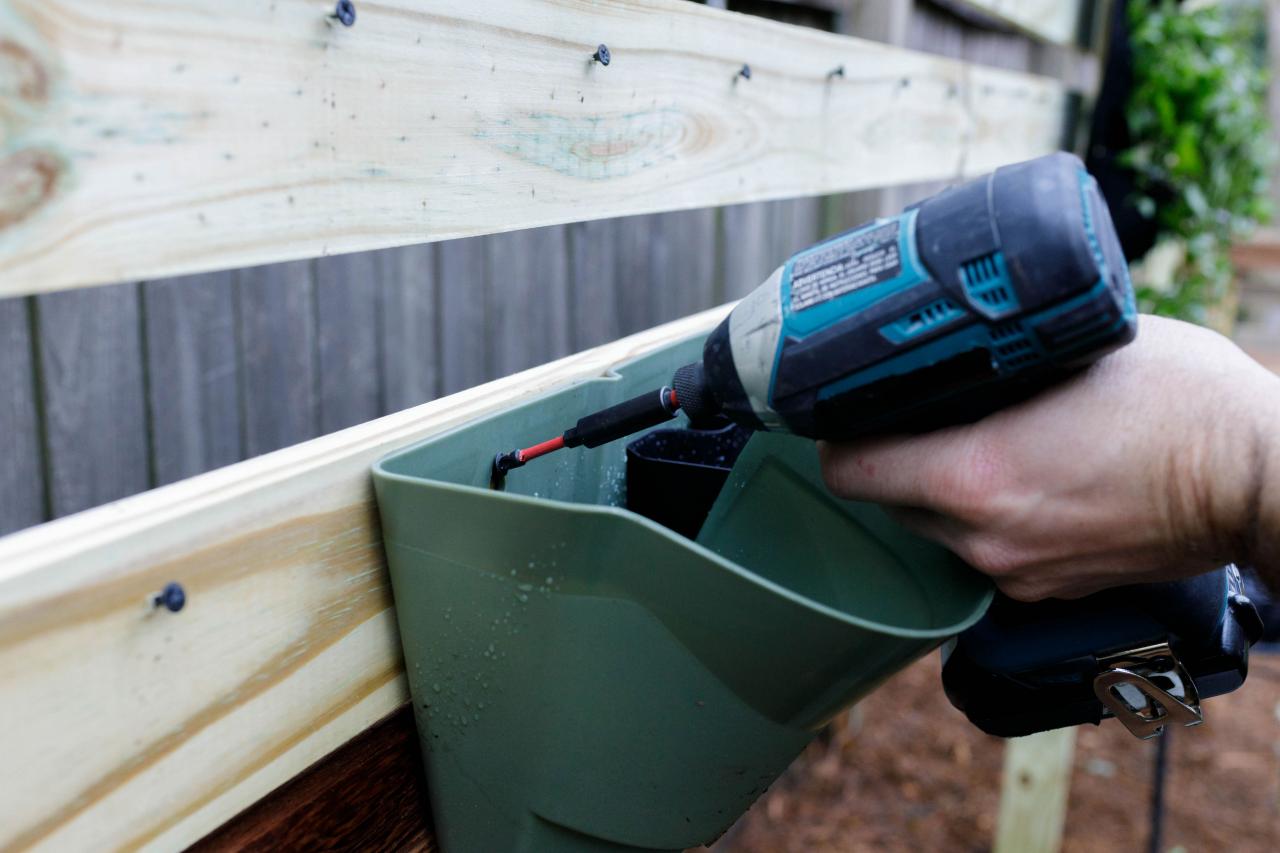
Attach Cups
Hang the cups on the screws. Double-check the placement of all the cups, adjust as necessary. When you’re satisfied with the placement, tighten the screws.

Tomas Espinoza
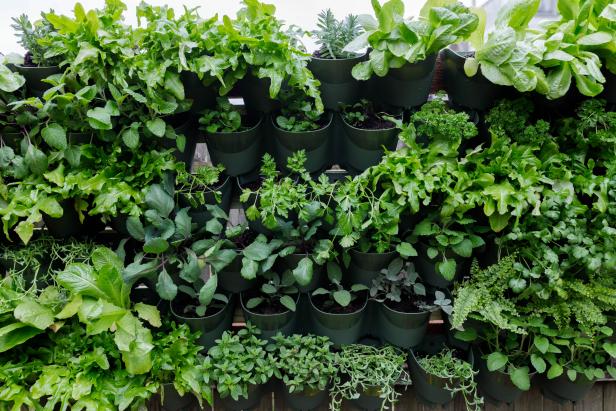
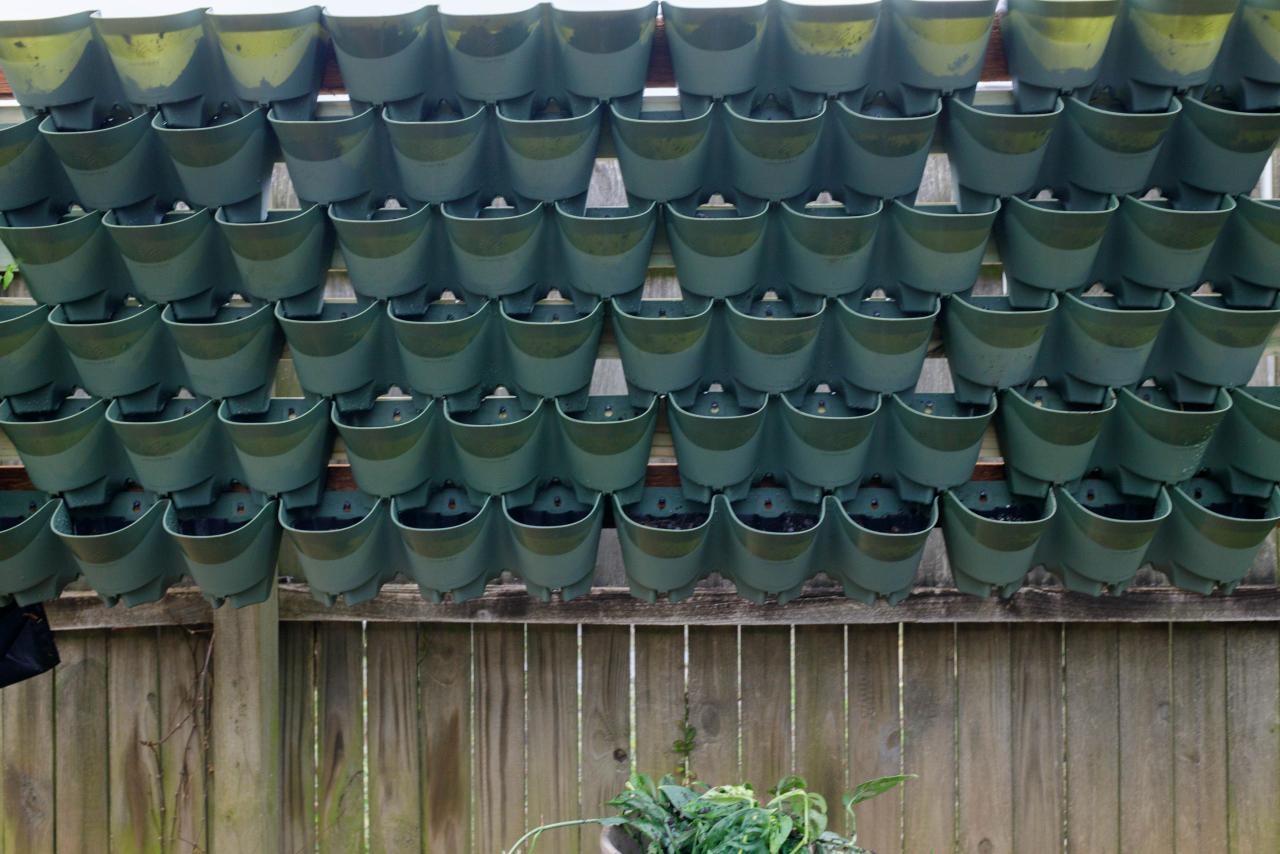
Design Your Wall
This wall will be a living work of art. Place and stagger the gardening cups in a way that appeals to your design sensibility, knowing that they will burst forth with greenery and make your neighbors jealous.

Tomas Espinoza
Add Dirt
Throw on some fashion-forward gardening gloves and fill the cups with potting soil. Who says you can’t be cute while you get dirty?

Tomas Espinoza
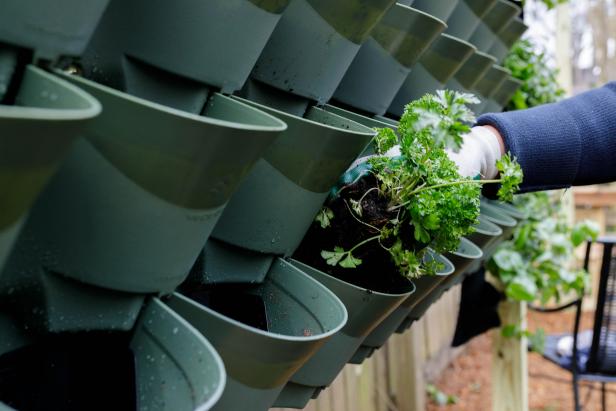
Plant Away
Embed the plants in the gardening cups and get excited for your wall of foliage!
Tomas Espinoza
Water Your Wall
Now that you’ve engineered your living wall, remember to water it as needed. This step is not only essential but also brag-worthy because you have a green model that utilizes a water reservoir that aids in watering. If your planters come with a drip line, install it on the top row to make watering easier and sustainable (the water drips down one cup to another and shares the love).
Tomas Espinoza

Each pocket provides adequate room for your plants without wasting any precious space in a small apartment or a limited outdoor area. Grow a variety of herbs, perennials, succulents, houseplants or vegetables in just a single area. Self watering planters provide enough water for days.


