


How to Turn a Canvas Tote Into a Pretty Planter
Canvas totes are not only handy for weekend trips and shopping outings; when monogrammed, they also make sweet gifts and even a perfectly personalized planter for your front porch.
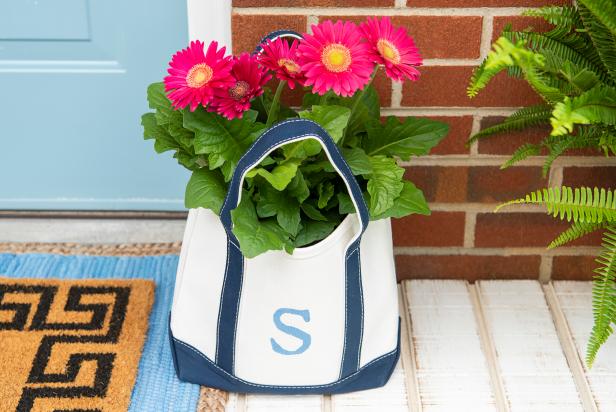

Photo by: Sarah Busby; Styling by H. Camille Smith
Sarah Busby; Styling by H. Camille Smith
Materials Needed
- canvas tote bag
- waterproofing spray for fabric
- drop cloth, newspaper or old shipping cardboard to protect work surface
- kitchen trash bag
- hot glue gun and glue sticks
- plastic plant liner tray a bit smaller than your chosen tote
- letter stencil
- stencil brush
- painter's tape
- acrylic or latex craft paint
- scissors
Waterproof Fabric
Thoroughly spray the tote’s exterior with the fabric waterproofing spray (Image 1), then give the tote’s interior a through coat of spray too (Image 2). Allow to dry, following manufacturer’s recommended cure time.

Sarah Busby

Sarah Busby
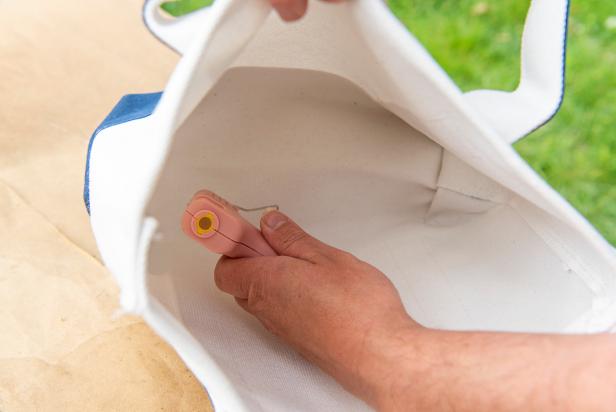
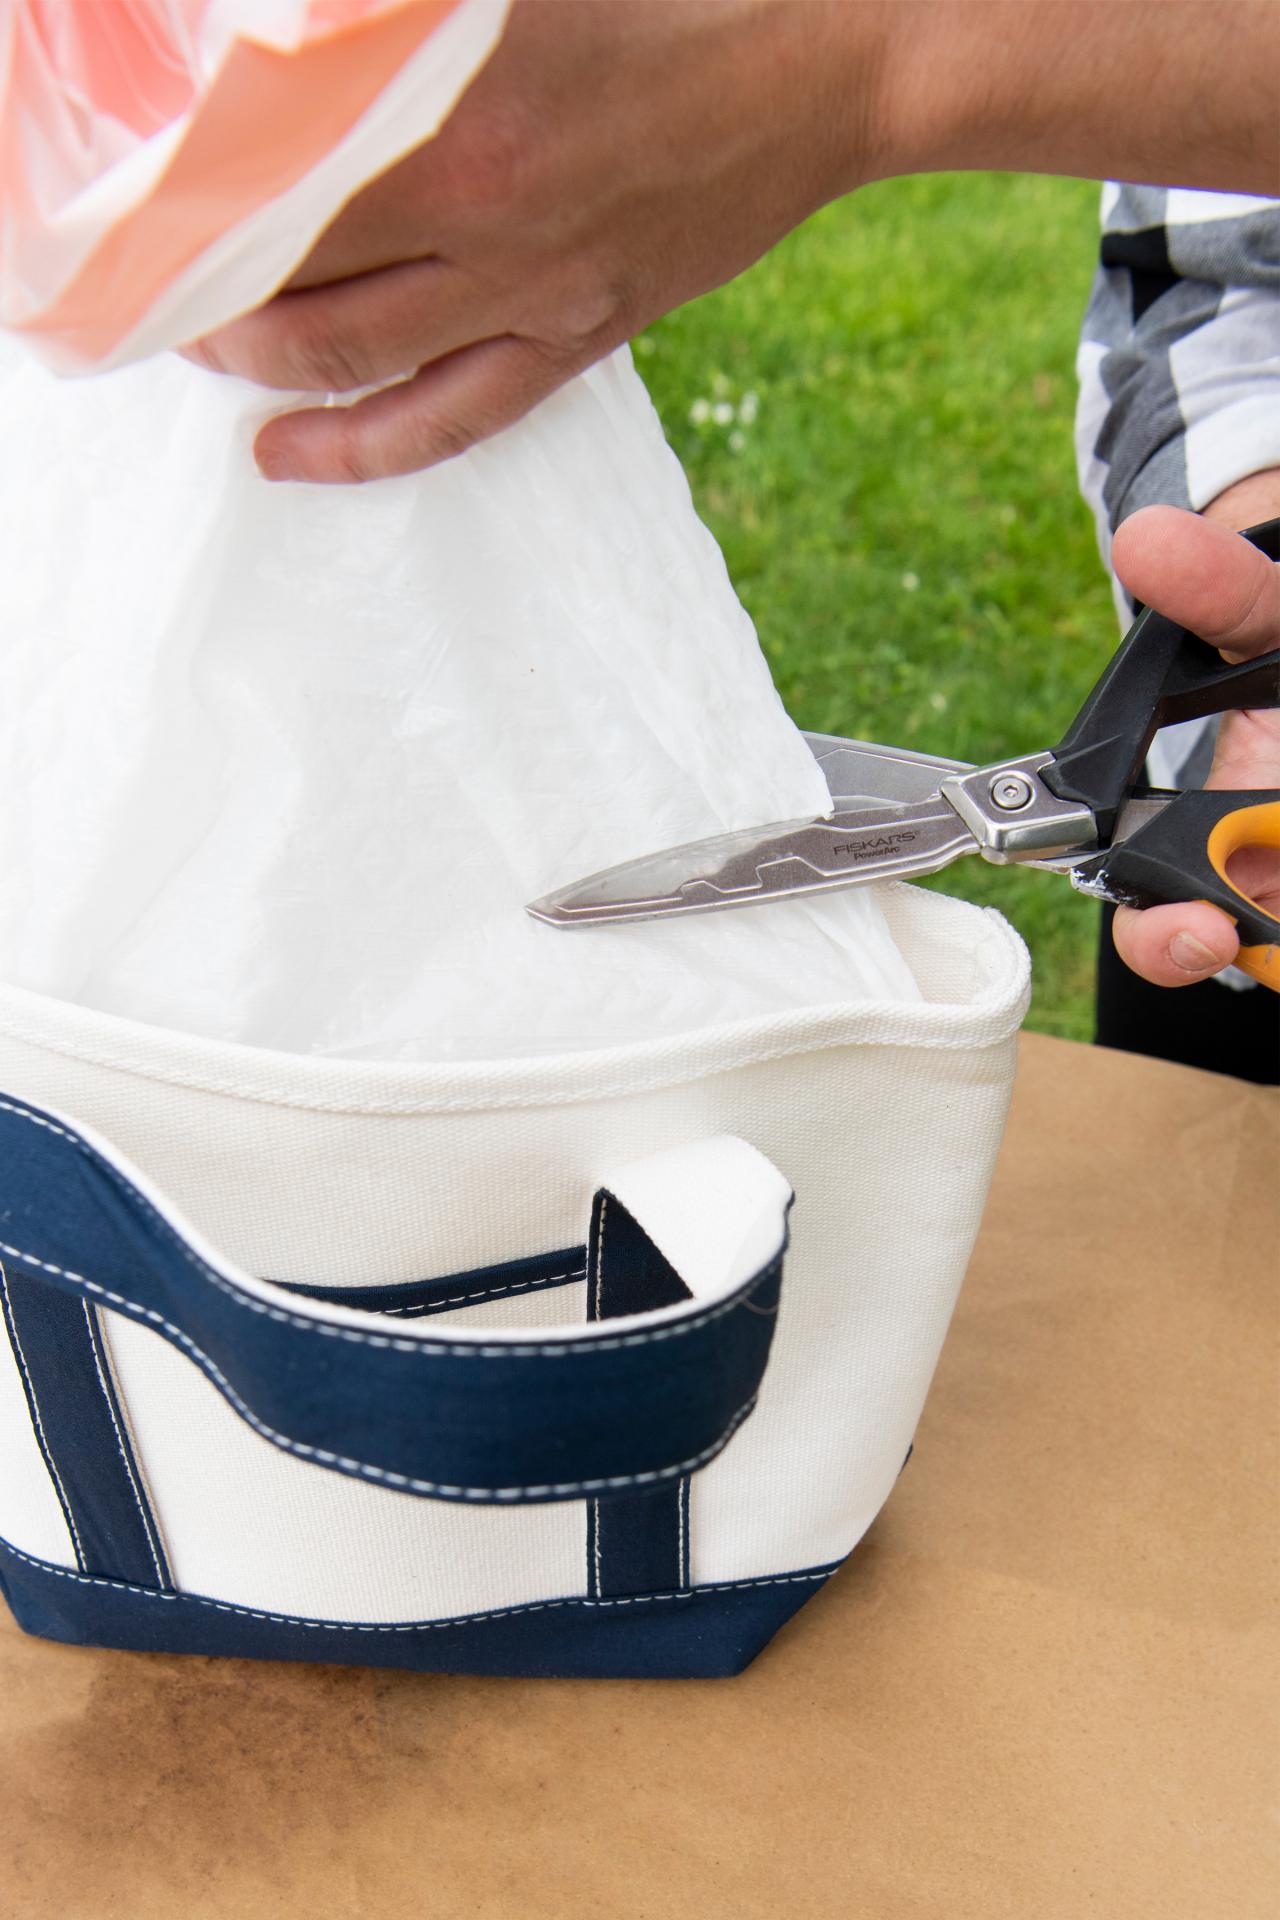
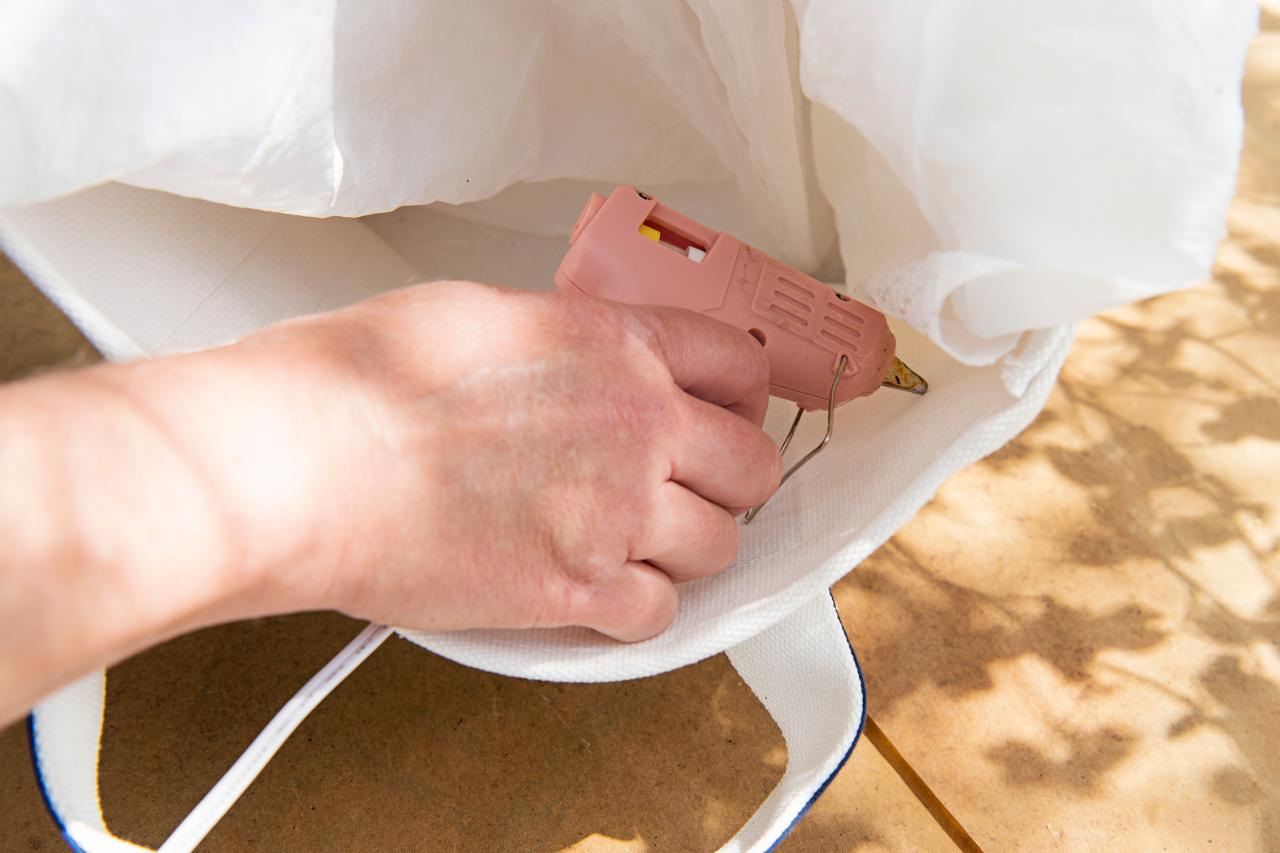
Line Tote’s Interior
First, add a circle of hot glue to the bottom of the tote (Image 1), then press the kitchen trash bag's bottom into the glue. Pull the remainder of the trash bag up and cut off most of the excess to make fitting it easier (Image 2). Add an inner ring of hot glue just a bit below the tote's top (Image 3), then push the bag into the glue and cut off the excess. Voila: a perfectly lined tote bag.
Sarah Busby

Sarah Busby

Sarah Busby
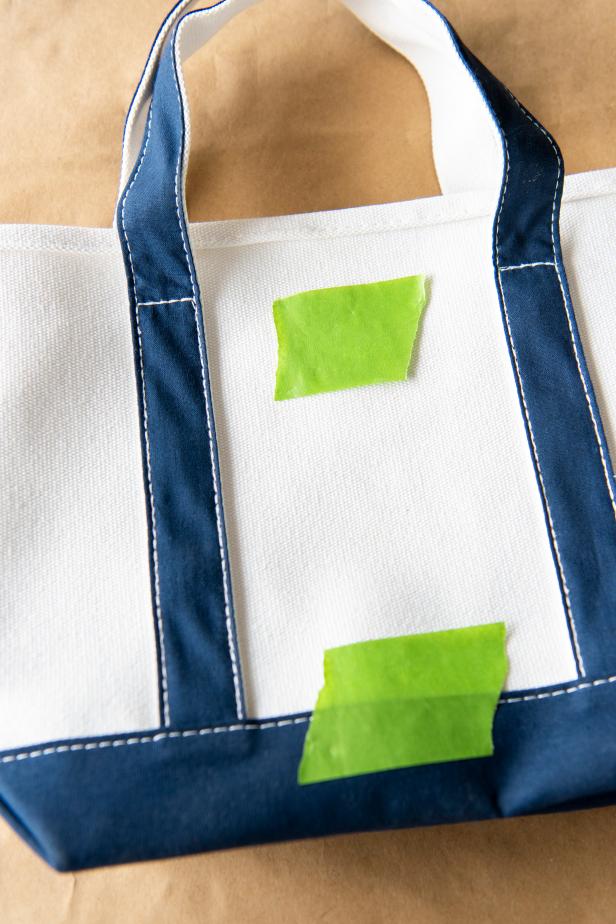
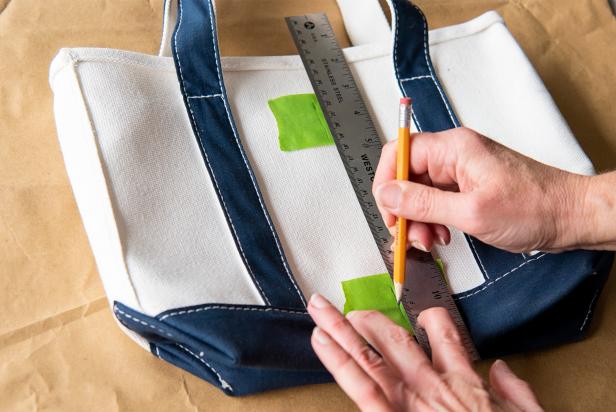
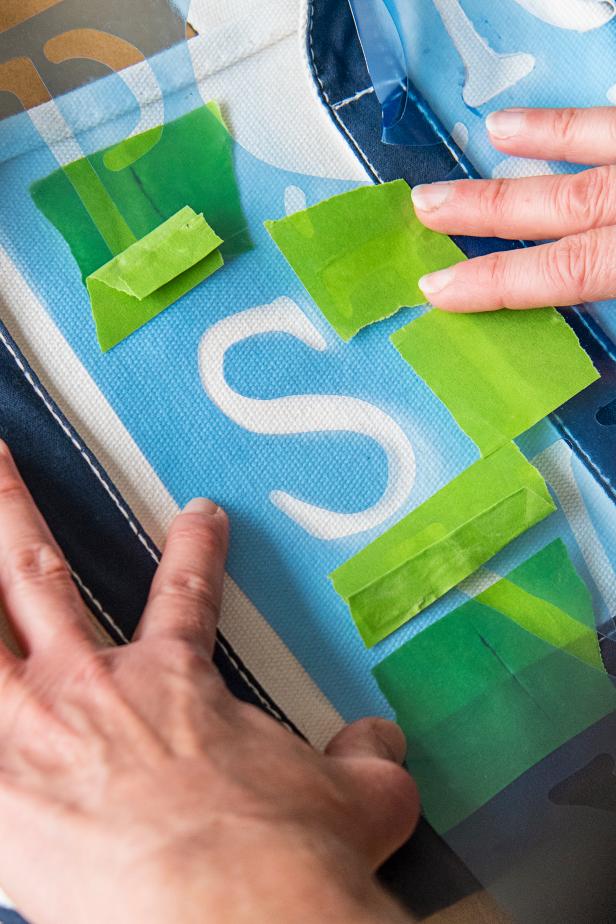
Add Initial
First, note the tote's center by adding a small strip of painter's tape above and below the area you plan to stencil (Image 1). Use a ruler and pencil to find and mark the vertical center on both pieces of tape (Image 2). Use the marked center lines as a guide to position the letter you plan to stencil (Image 3), then using a straight up and down motion with a stencil brush, fill in your chosen letter with craft paint (Image 4). Tip: If using a stencil with multiple letters close together, tape off any surrounding letters to prevent mistakes.
Sarah Busby
Sarah Busby
Sarah Busby

Sarah Busby
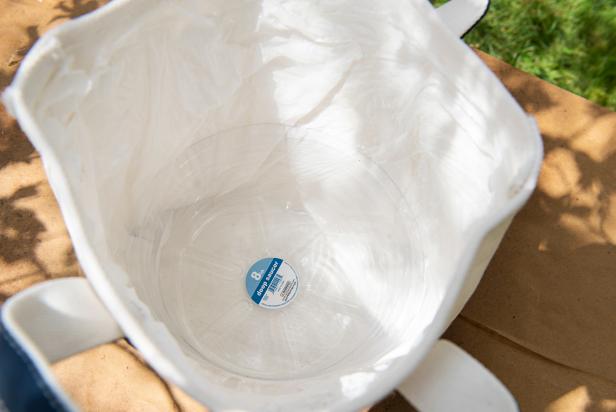
Add Plant
For a final layer of protection, drop a plastic plant tray into the tote's bottom, then add your potted plant. Note: Using the tote as a cachepot, or overpot, instead of planting directly into the tote itself will both further protect the fabric from standing water while making it easy to swap out plants at will.
Sarah Busby
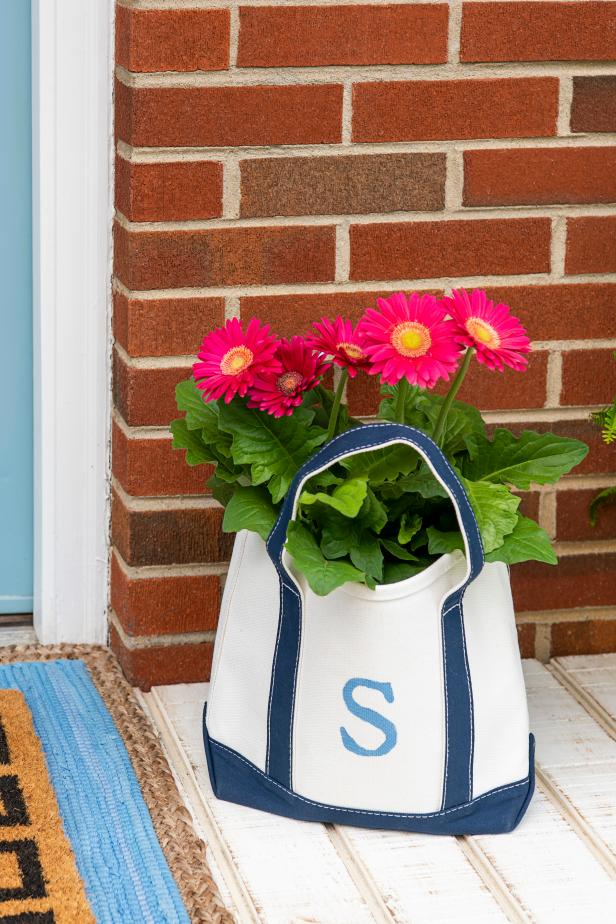
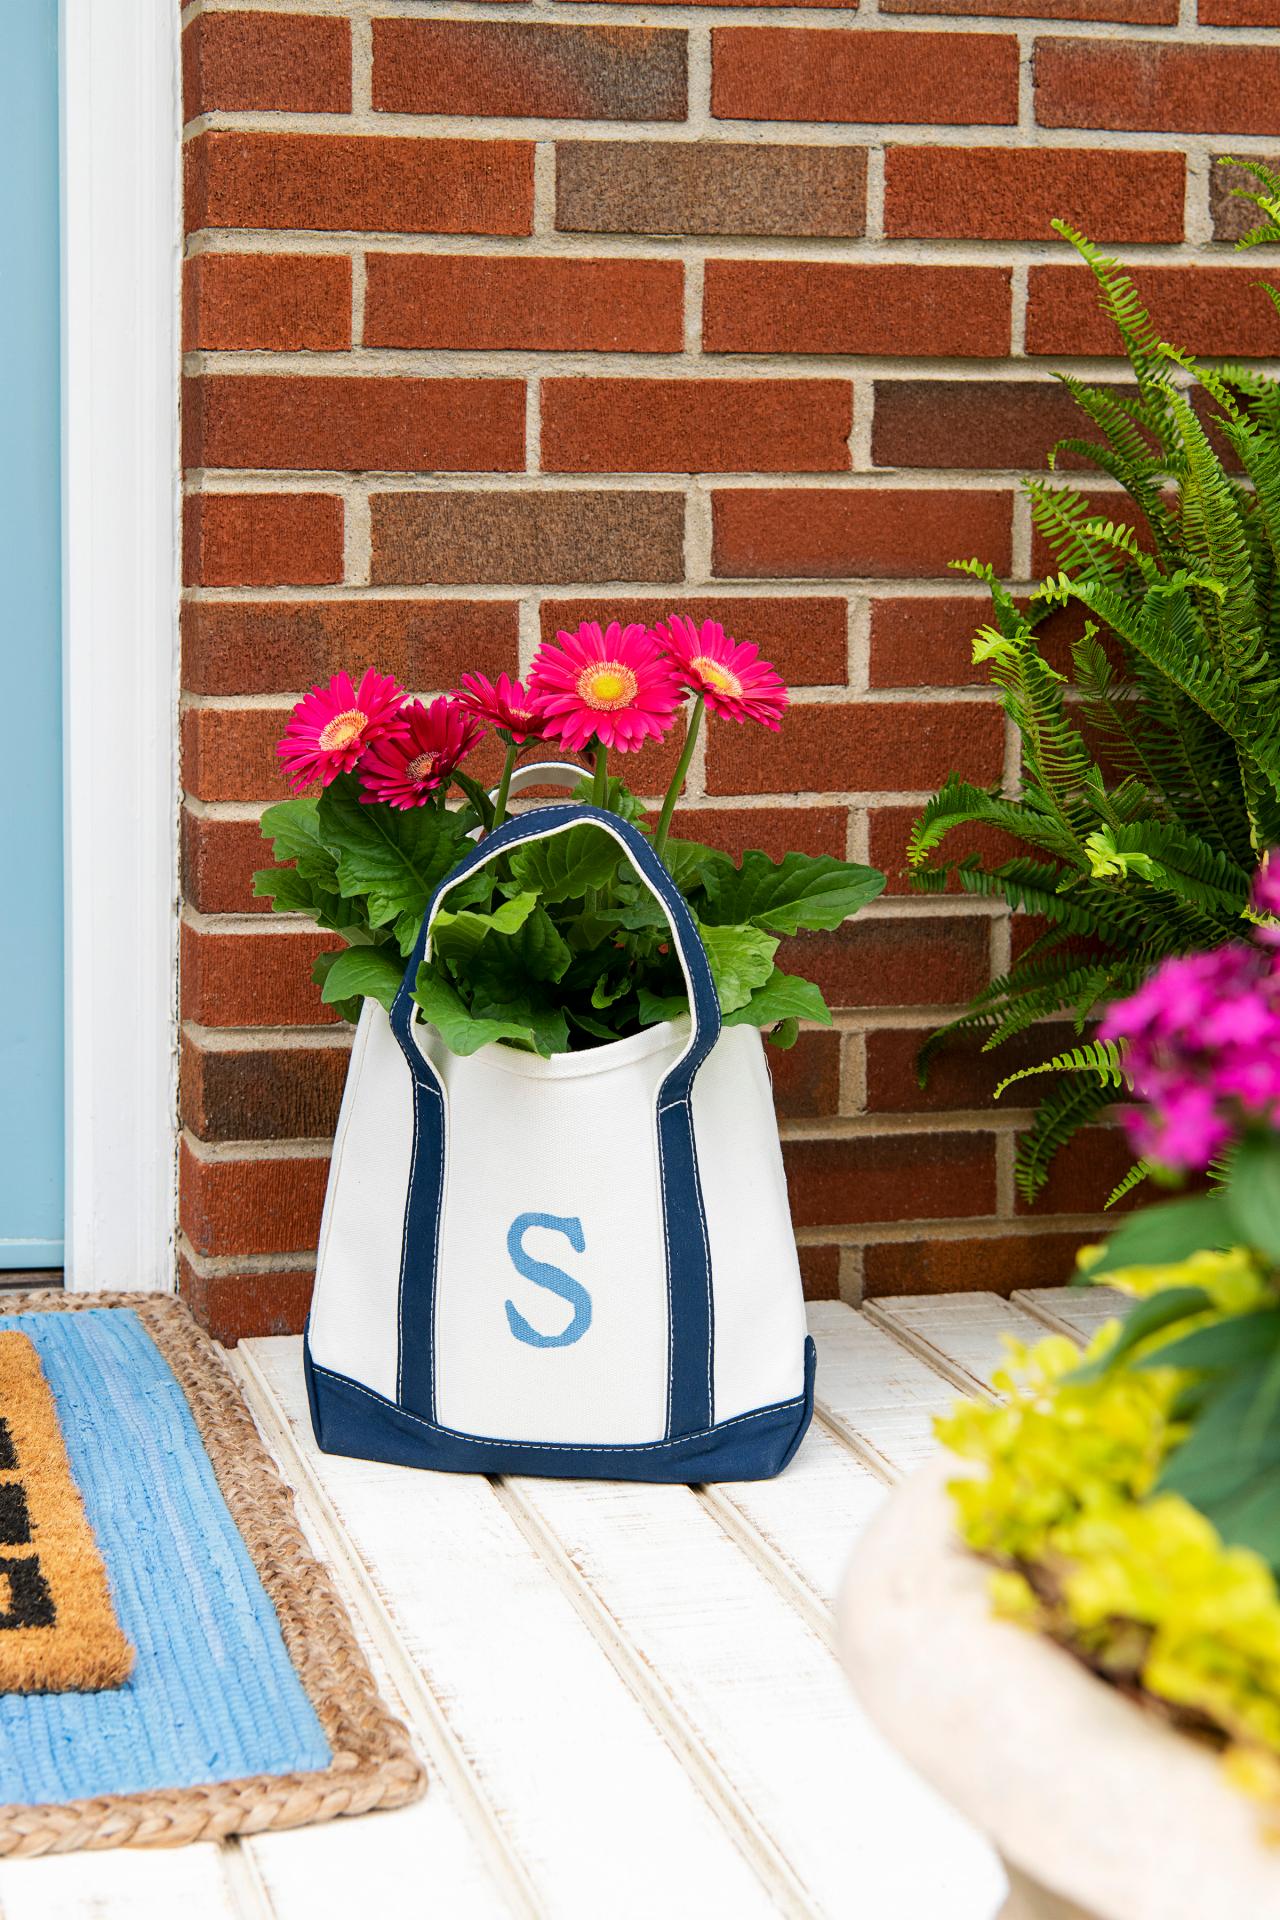
Display or Gift
Filled with a cheery blooming plant (we used a Gerbera daisy), the monogrammed tote makes a sweet gift for any plant-loving pals or is a creative container for your front porch or any interior space. Tip: Because this tote doesn't allow proper drainage, it's best used on a covered outdoor space to prevent the tote from filling with rainwater which could cause plants to rot.

Sarah Busby; Styling by H. Camille Smith
Sarah Busby; Styling by H. Camille Smith
Photo By: Sarah Busby; Styling by H. Camille Smith
Photo By: Sarah Busby; Styling by H. Camille Smith
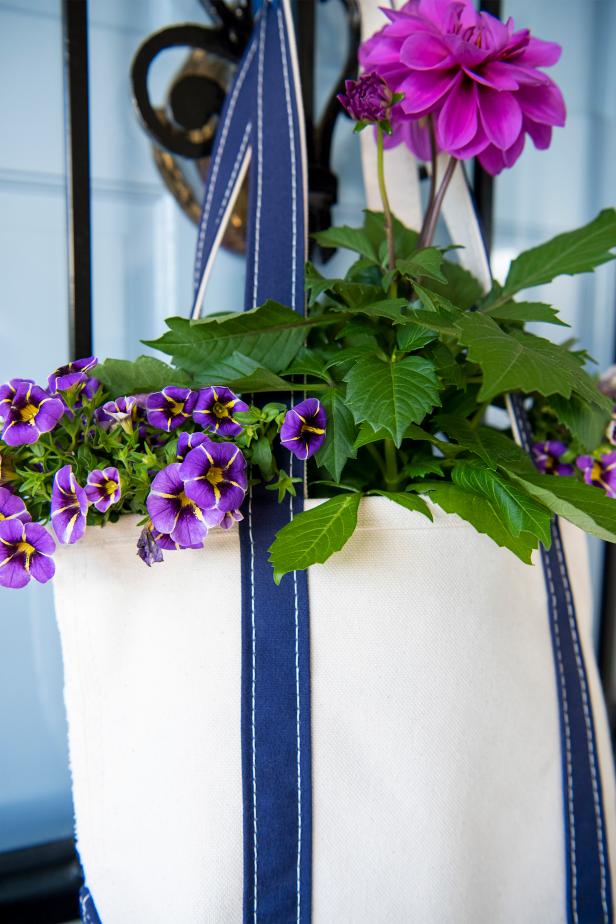
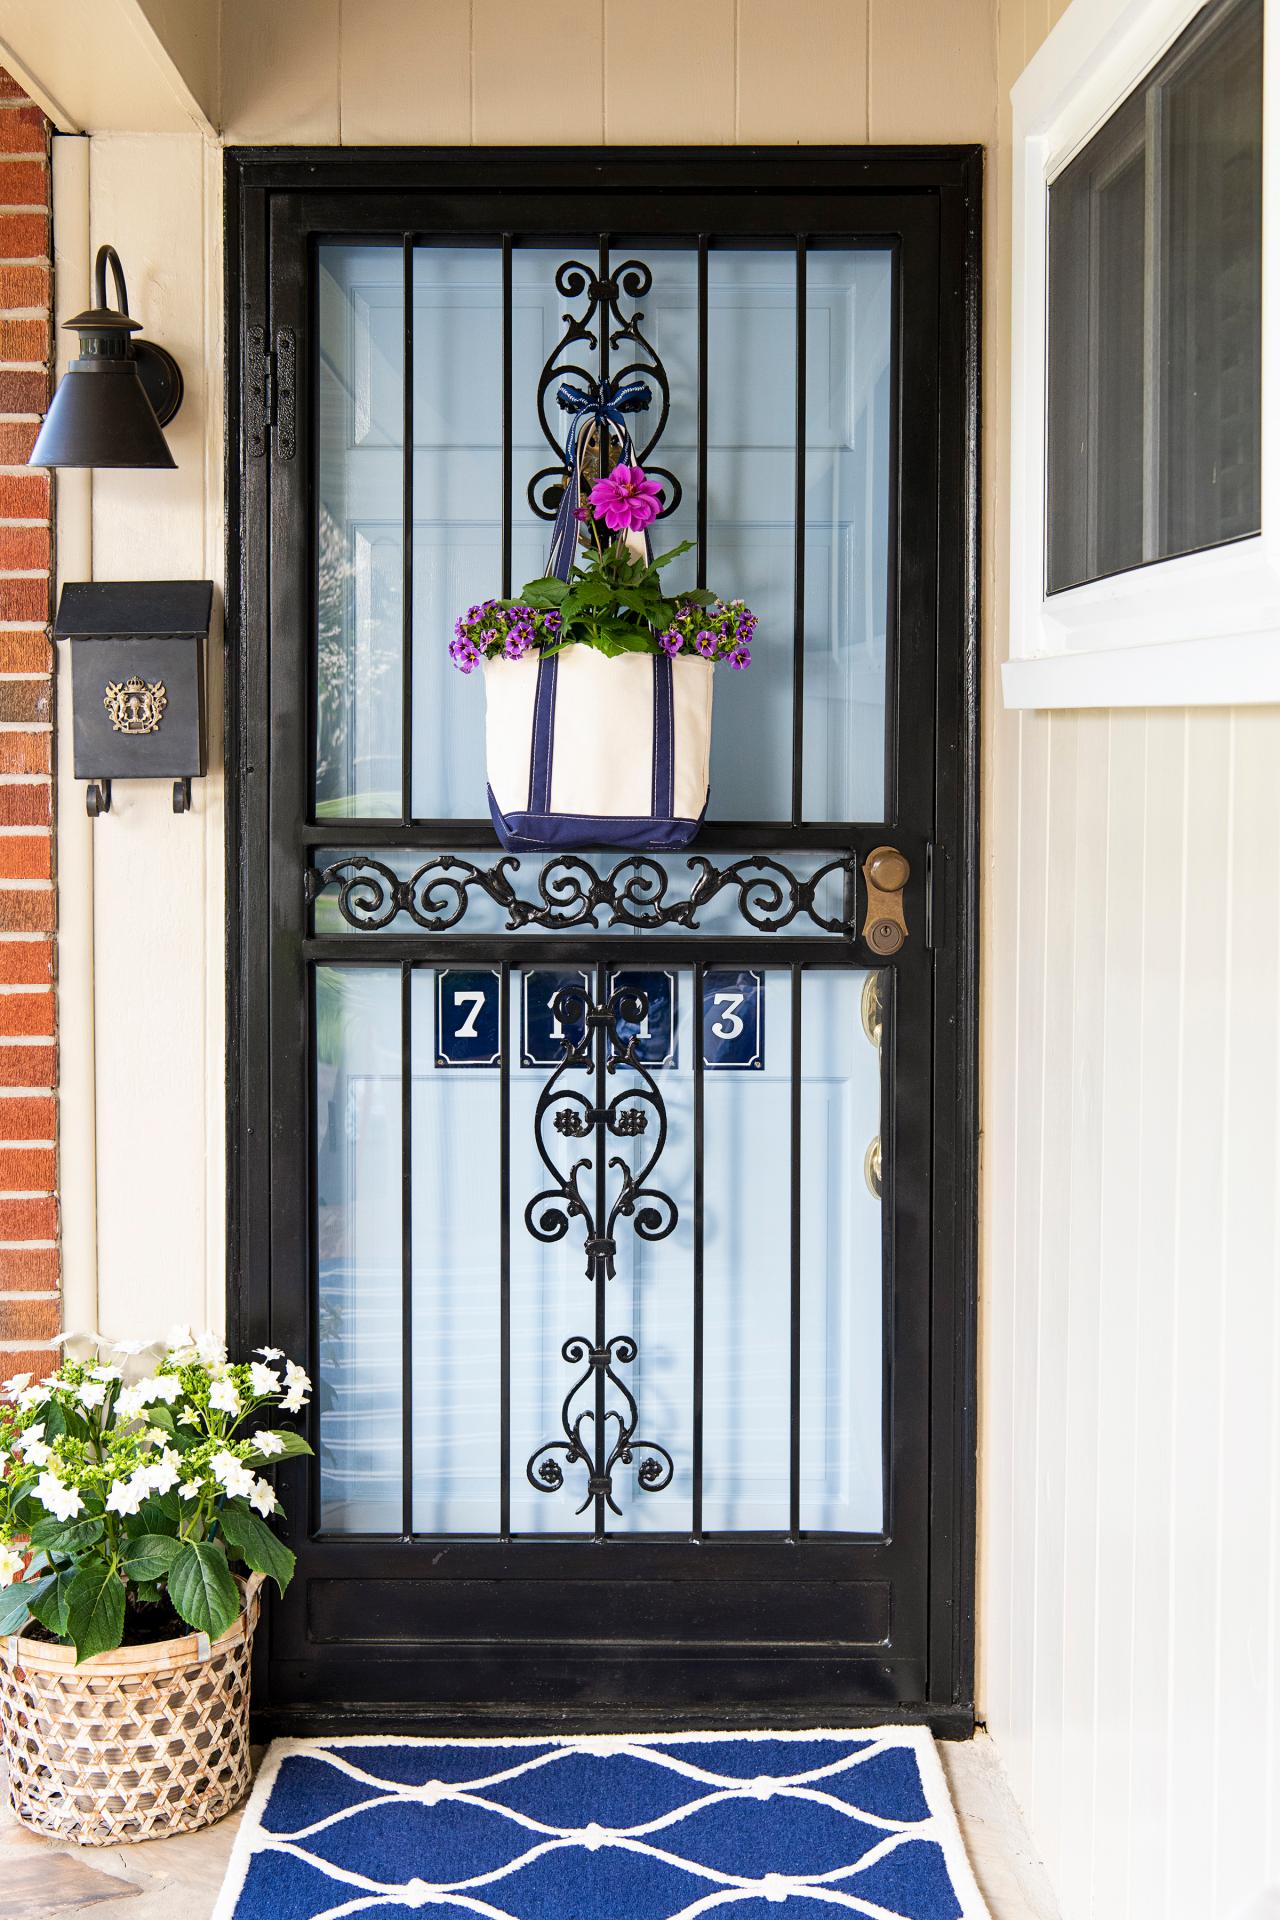
Or, Sub One for a Wreath
Alternately, you can follow the steps above to turn a long-handled tote into a fun substitute for a standard front door wreath (Image 1). To attach it to a nail, wreath hanger or the door itself, just loop patterned ribbon through the handles (Image 2) and fill with a thriller (we used dahlia) and a spiller (we used calibrachoa) in a complementary color palette (Image 3).

Sarah Busby; Styling by H. Camille Smith

Sarah Busby; Styling by H. Camille Smith
Sarah Busby; Styling by H. Camille Smith
Photo By: Sarah Busby; Styling by H. Camille Smith
Photo By: Sarah Busby; Styling by H. Camille Smith
Photo By: Sarah Busby; Styling by H. Camille Smith


