


How to Decoupage a Chinoiserie-Style Planter Pot
HGTV's design-on-a-dime pros share how to give a plain terra cotta pot a trendy, high-end Chinoiserie makeover using just paper napkins and decoupage medium.
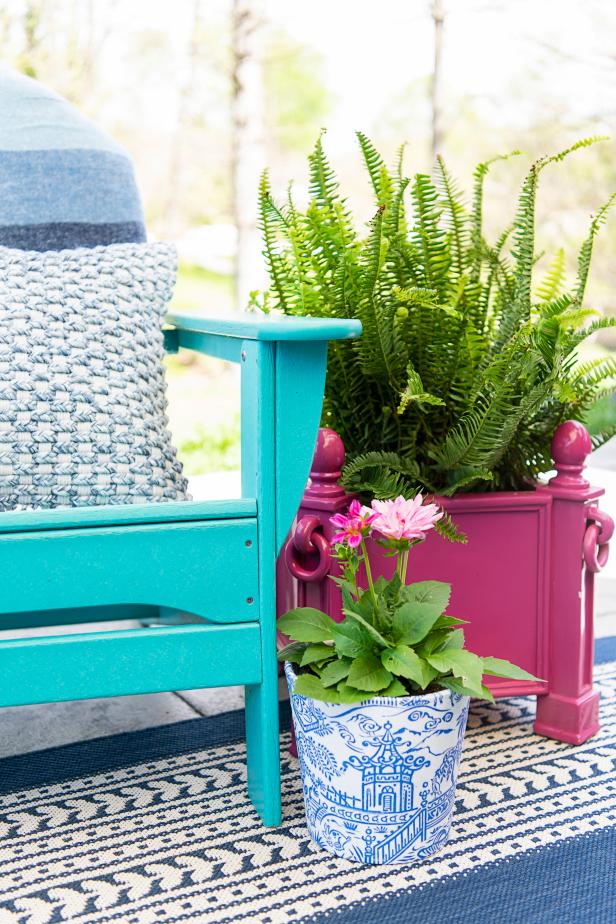

Photo by: Sarah Busby; Styling by H. Camille Smith
Sarah Busby; Styling by H. Camille Smith
Materials Needed
- smooth-sided terra cotta pot
- patterned paper napkins
- white water-based primer
- outdoor Mod Podge (or similar decoupage medium)
- chip brush
- scissors
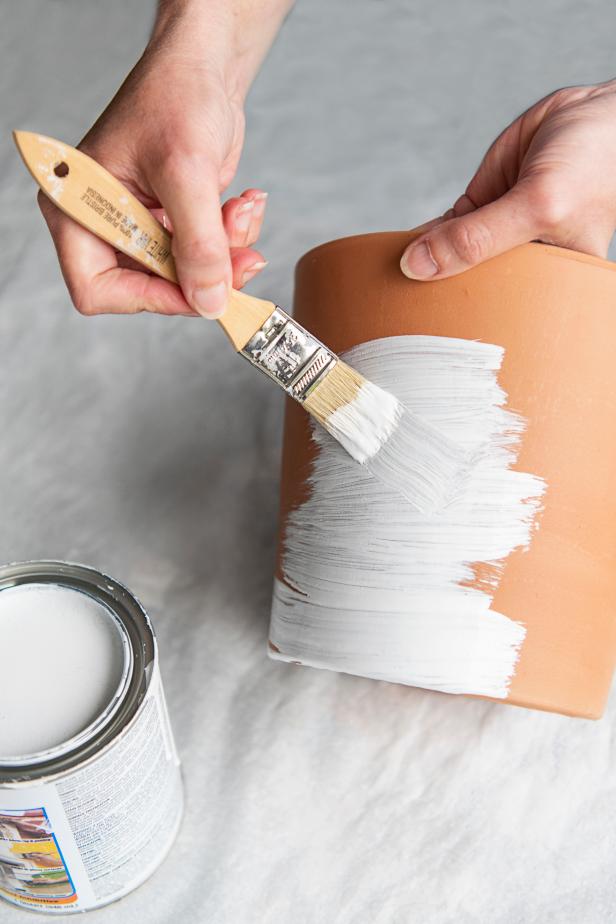
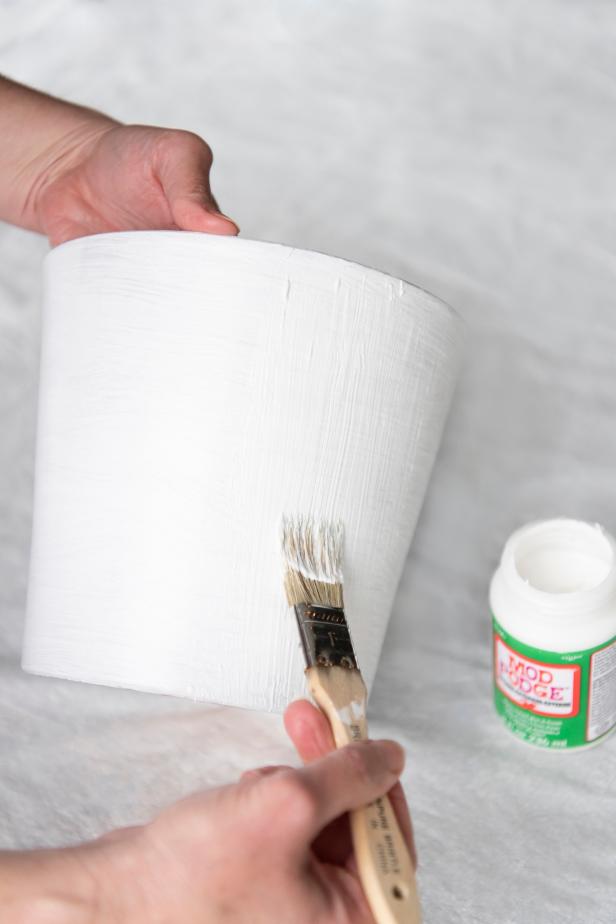
1. Prime Pot
Paper napkins vary greatly in thickness — some are so thin as to be more like tissue paper. So, to ensure the terra cotta color of the pot doesn't compete with your napkin's design, first prime the pot's exterior, extending the primer a bit down into the pot's interior as well.
Sarah Busby
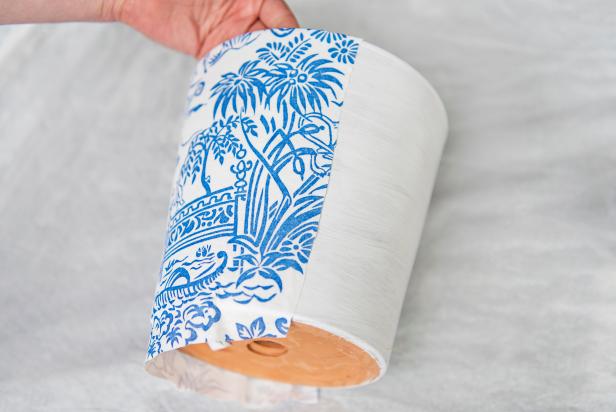
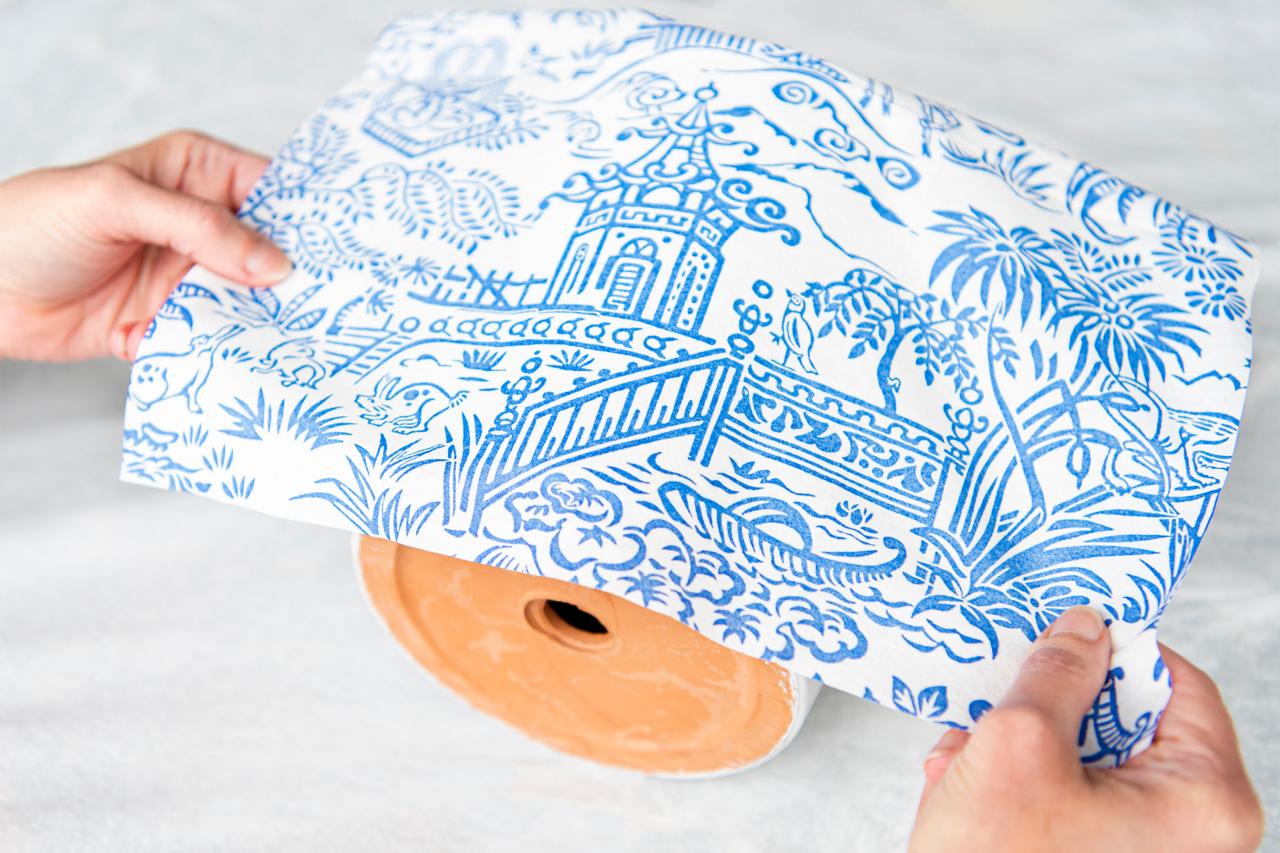
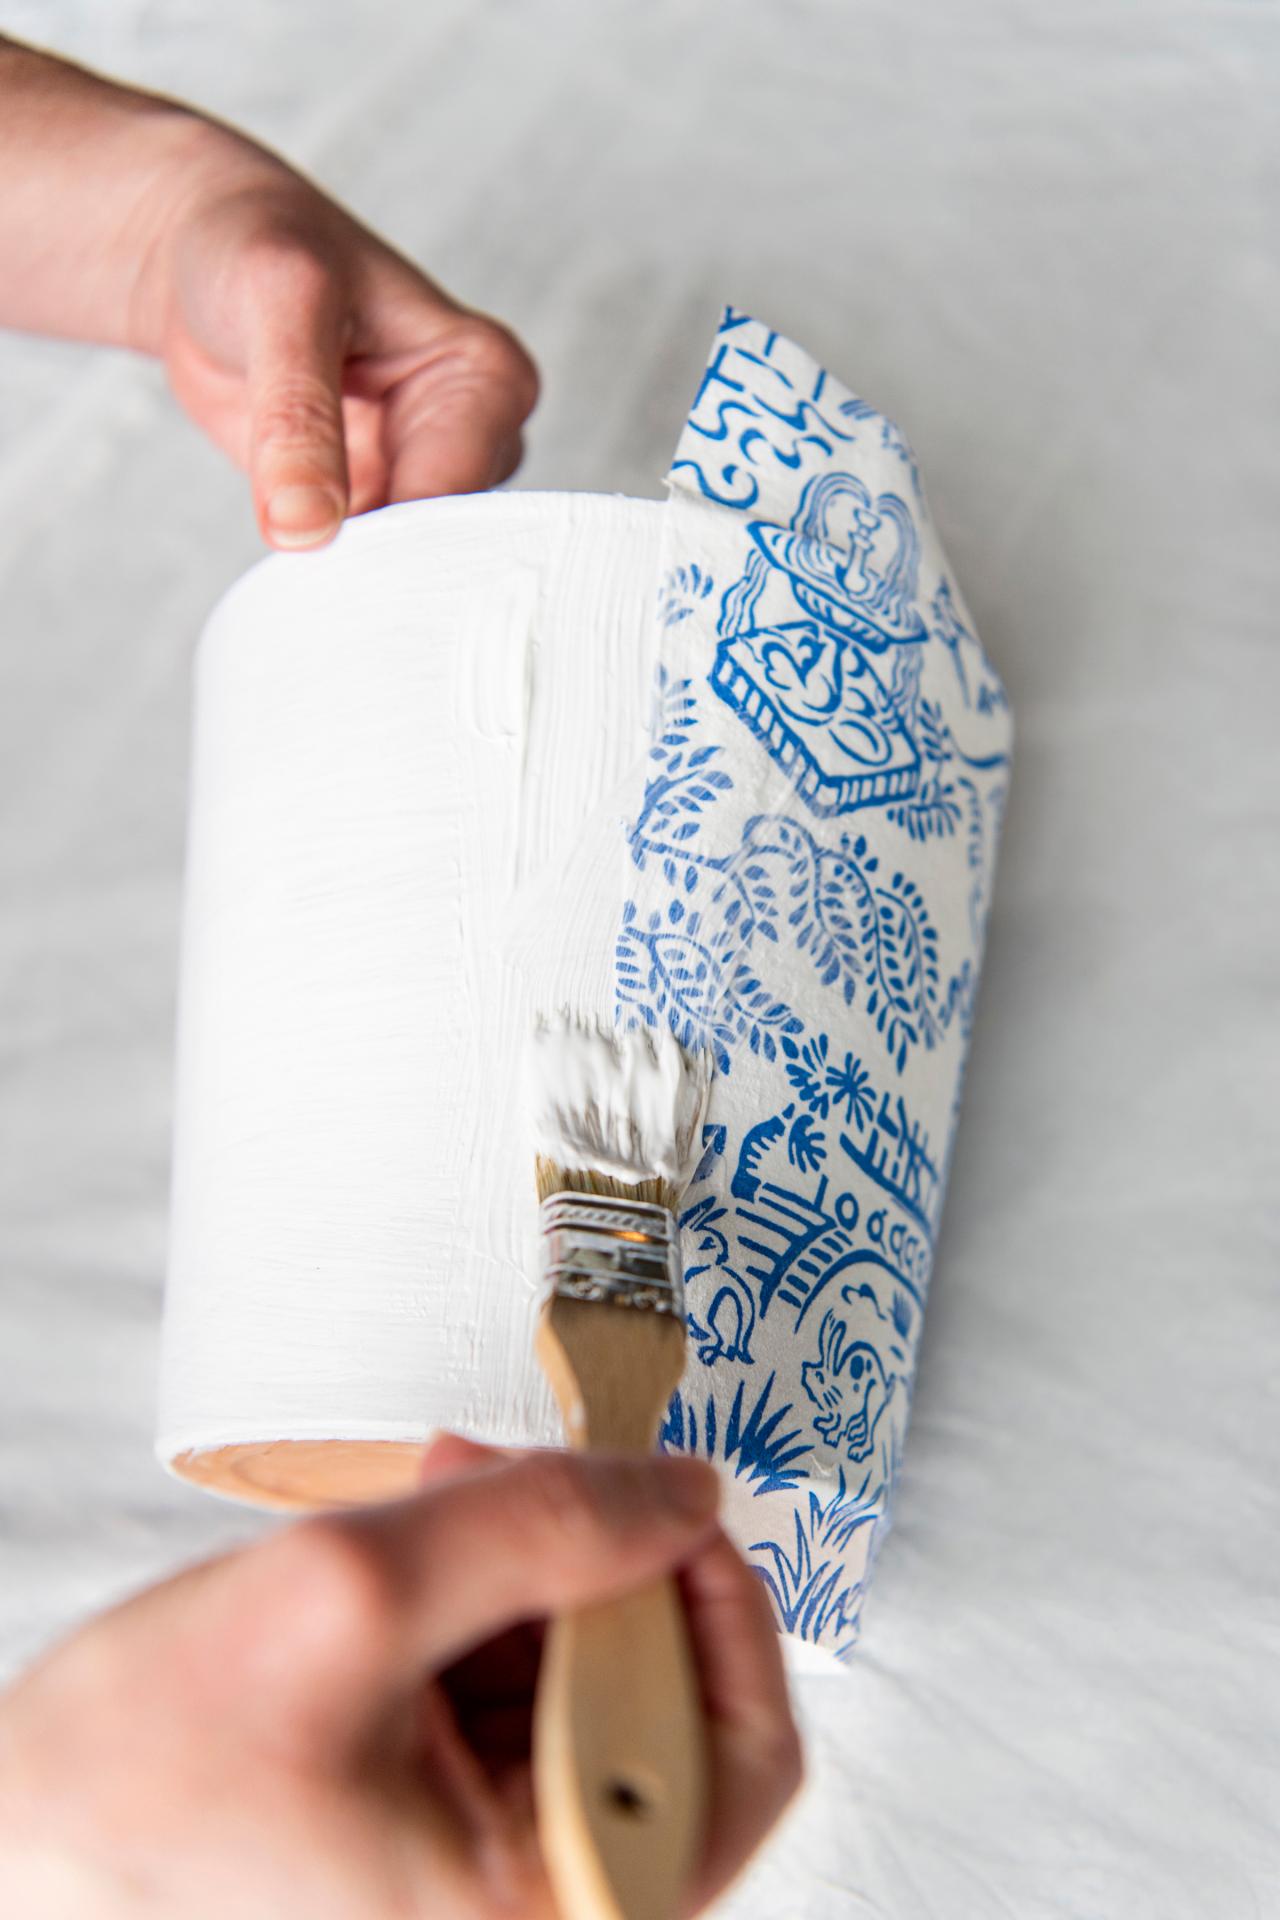
2. Apply Decoupage Medium + Attach First Napkin
Unfold paper napkin (we used these Chinoiserie-style beauties) and set aside. Using a chip brush, cover an area of the pot that's just a bit smaller than your unfolded napkin with decoupage medium (Image 1). Top with the unfolded paper napkin (Image 2), ensuring that the pattern is straight and smoothing out any wrinkles as you press the paper napkin into the glue.
Sarah Busby

Sarah Busby
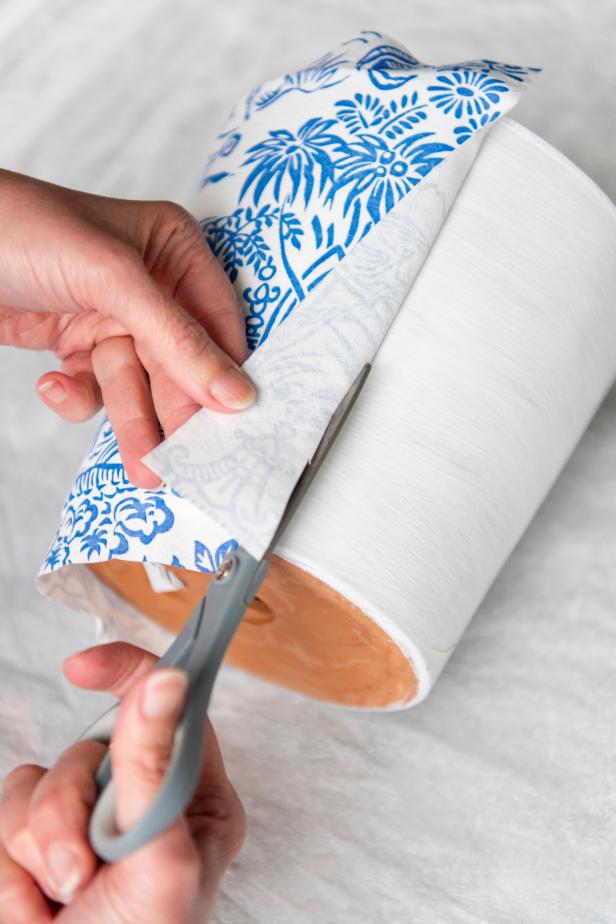
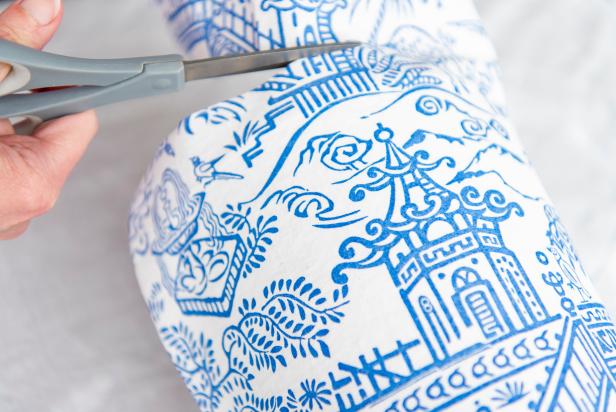
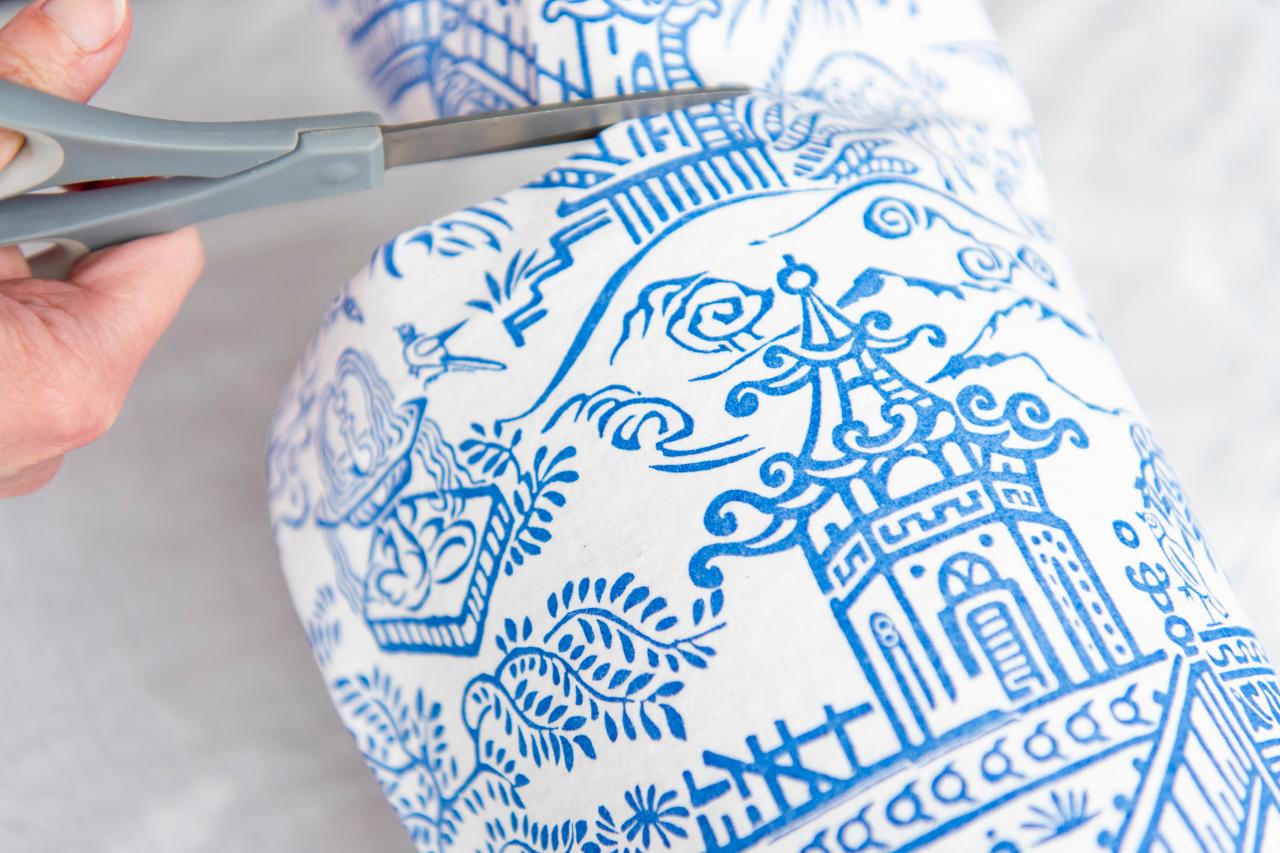
3. Create a Tidy Overlap
Because most pots will require more than one napkin, cut off any excess napkin on each side to create a straight edge for a neater overlap (Image 1). Brush on decoupage medium to secure the edge (Image 2), then press into place (Image 3).
Sarah Busby

Sarah Busby
Sarah Busby
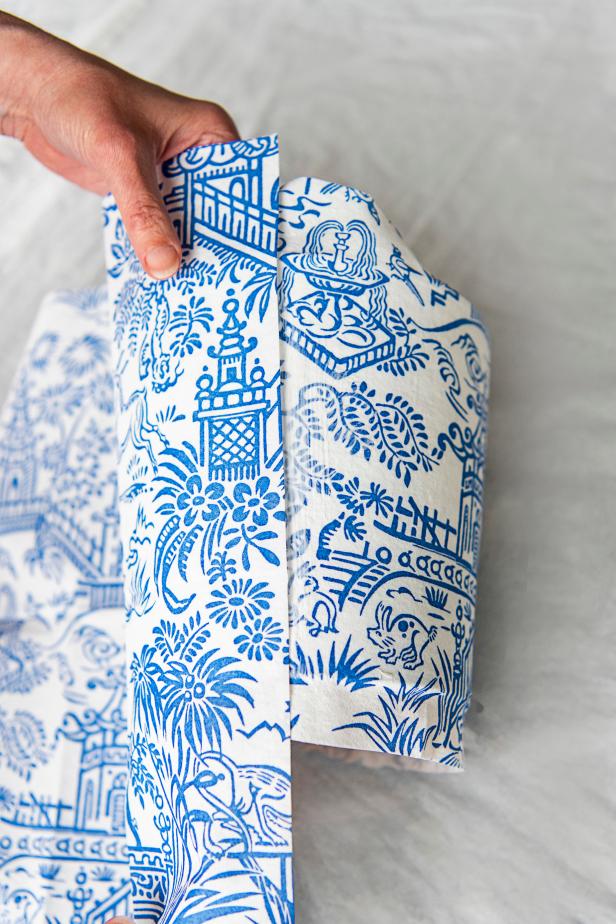
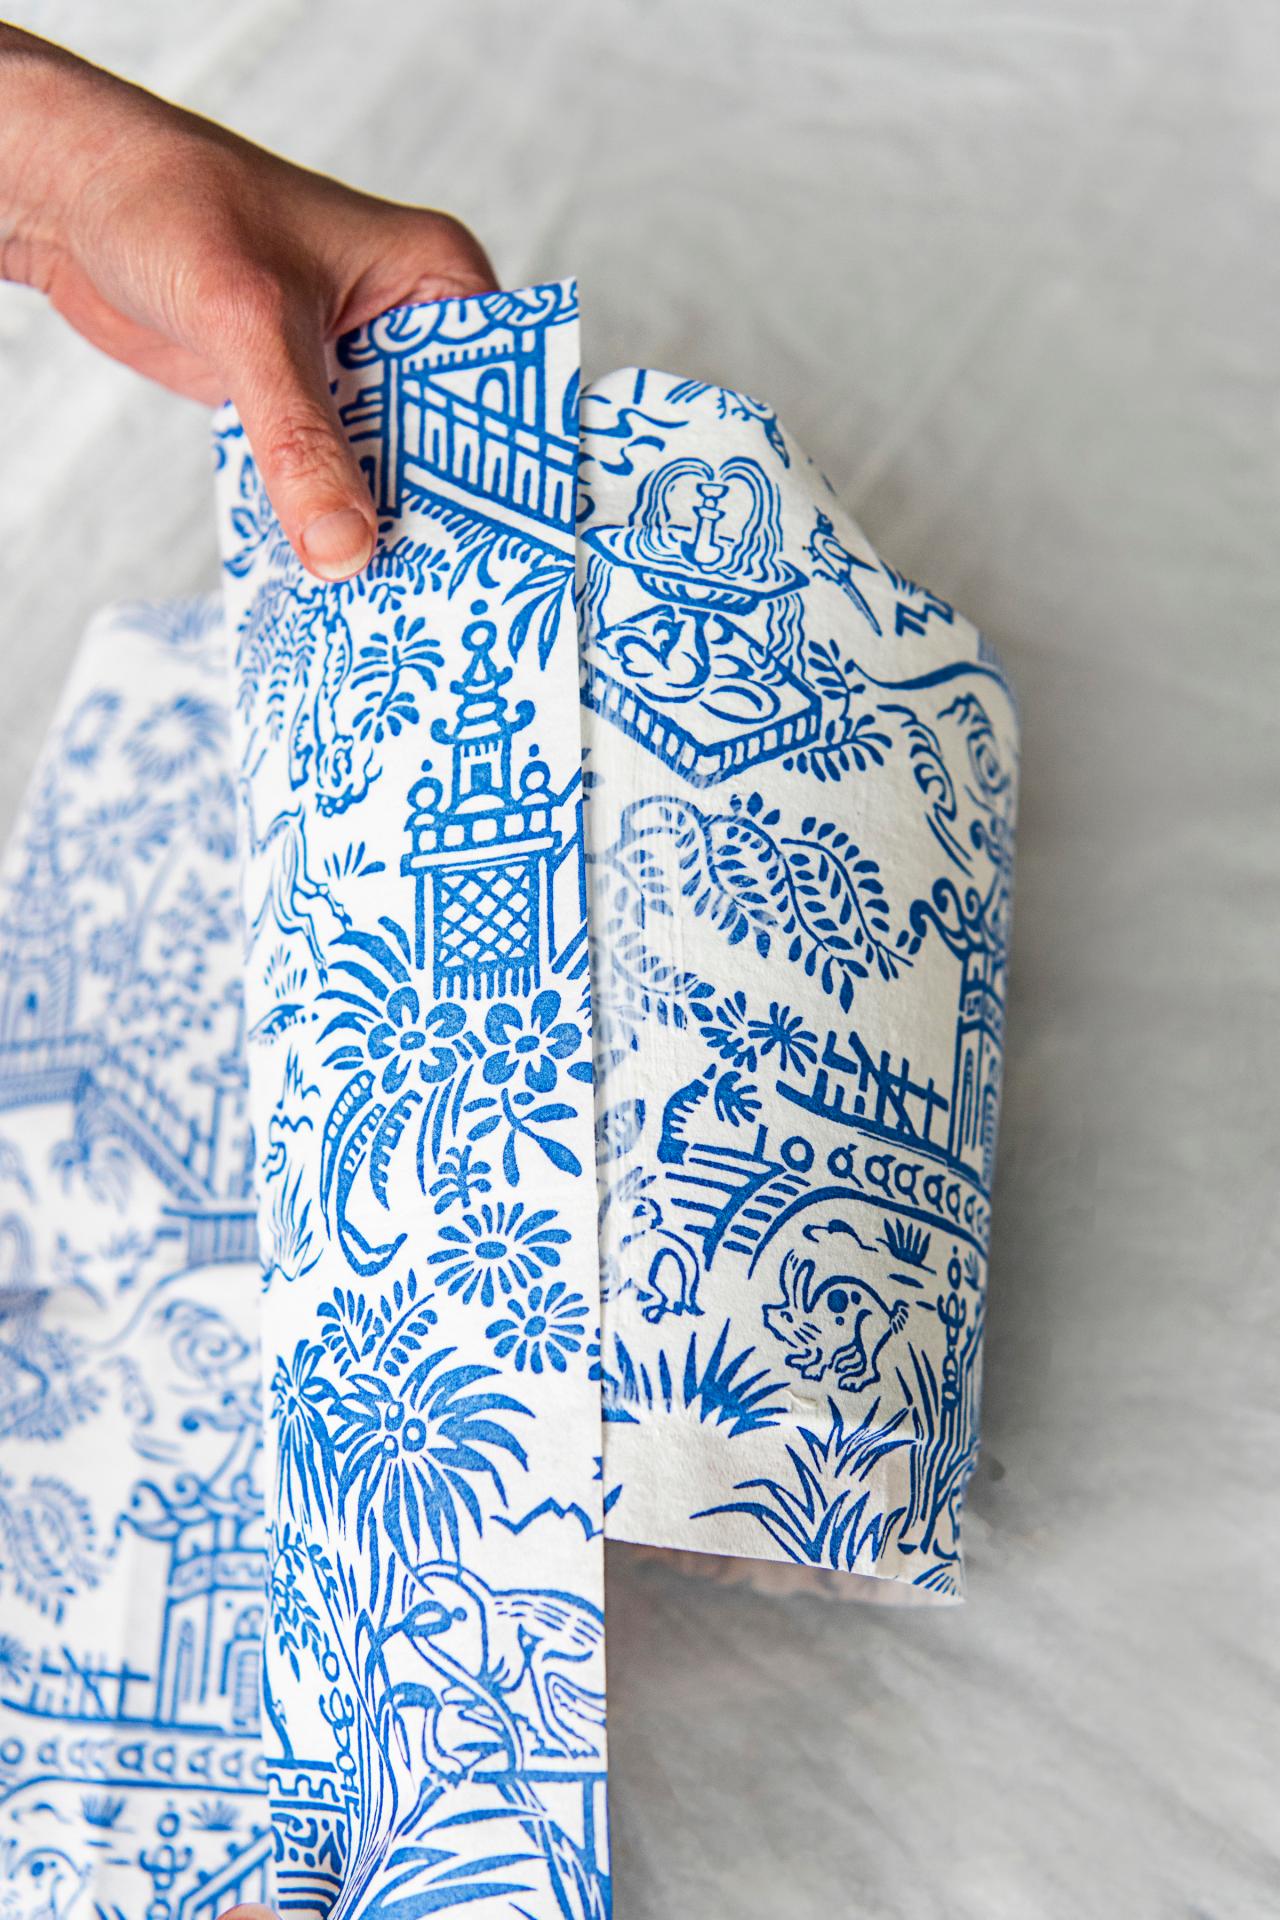
4. Continue Adding Sections to Cover Pot
Depending on the size of your terra cotta pot, you may need several napkins to completely cover the exterior. Attach the additional napkins just as you did the first by brushing decoupage medium onto the pot, overlapping the previous napkin's edge (Image 1). Then, top with a napkin, ensuring that the pattern is straight (Image 2). Continue adding napkins till the pot's exterior is covered.

Sarah Busby
Sarah Busby
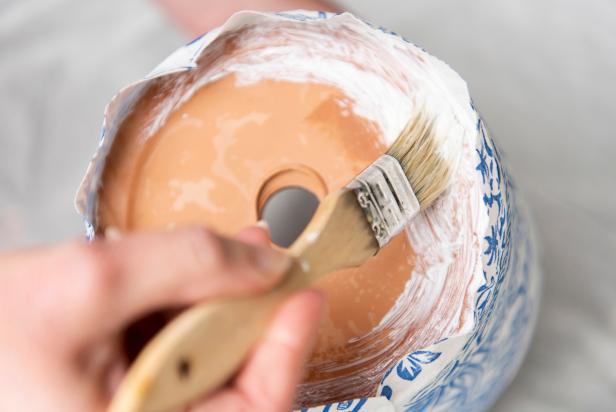
5. Wrap and Secure Pot's Bottom + Rim
Cut off excess napkin around the pot's top and bottom, leaving just an inch or two to wrap onto both the pot's bottom and around the rim (Images 1 and 2). Brush on more decoupage medium to secure (Image 3), then push the paper napkin into place and top with more decoupage medium (Image 4).
Sarah Busby

Sarah Busby
Sarah Busby

Sarah Busby
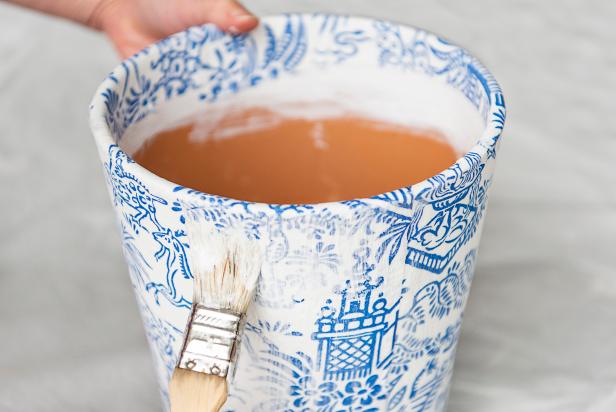
6. Apply a Protective Final Coat
Brush a solid coat of decoupage medium over all areas covered by the paper napkins. (Don't worry, it goes on white but dries clear.) This final coat will seal the paper, protecting it from moisture. Allow decoupage medium to fully dry. Note: Most decoupaged products are dry to the touch after 24 hours but, if placing outdoors, allow 3-7 days for the product to fully cure before exposing it to moisture.
Sarah Busby
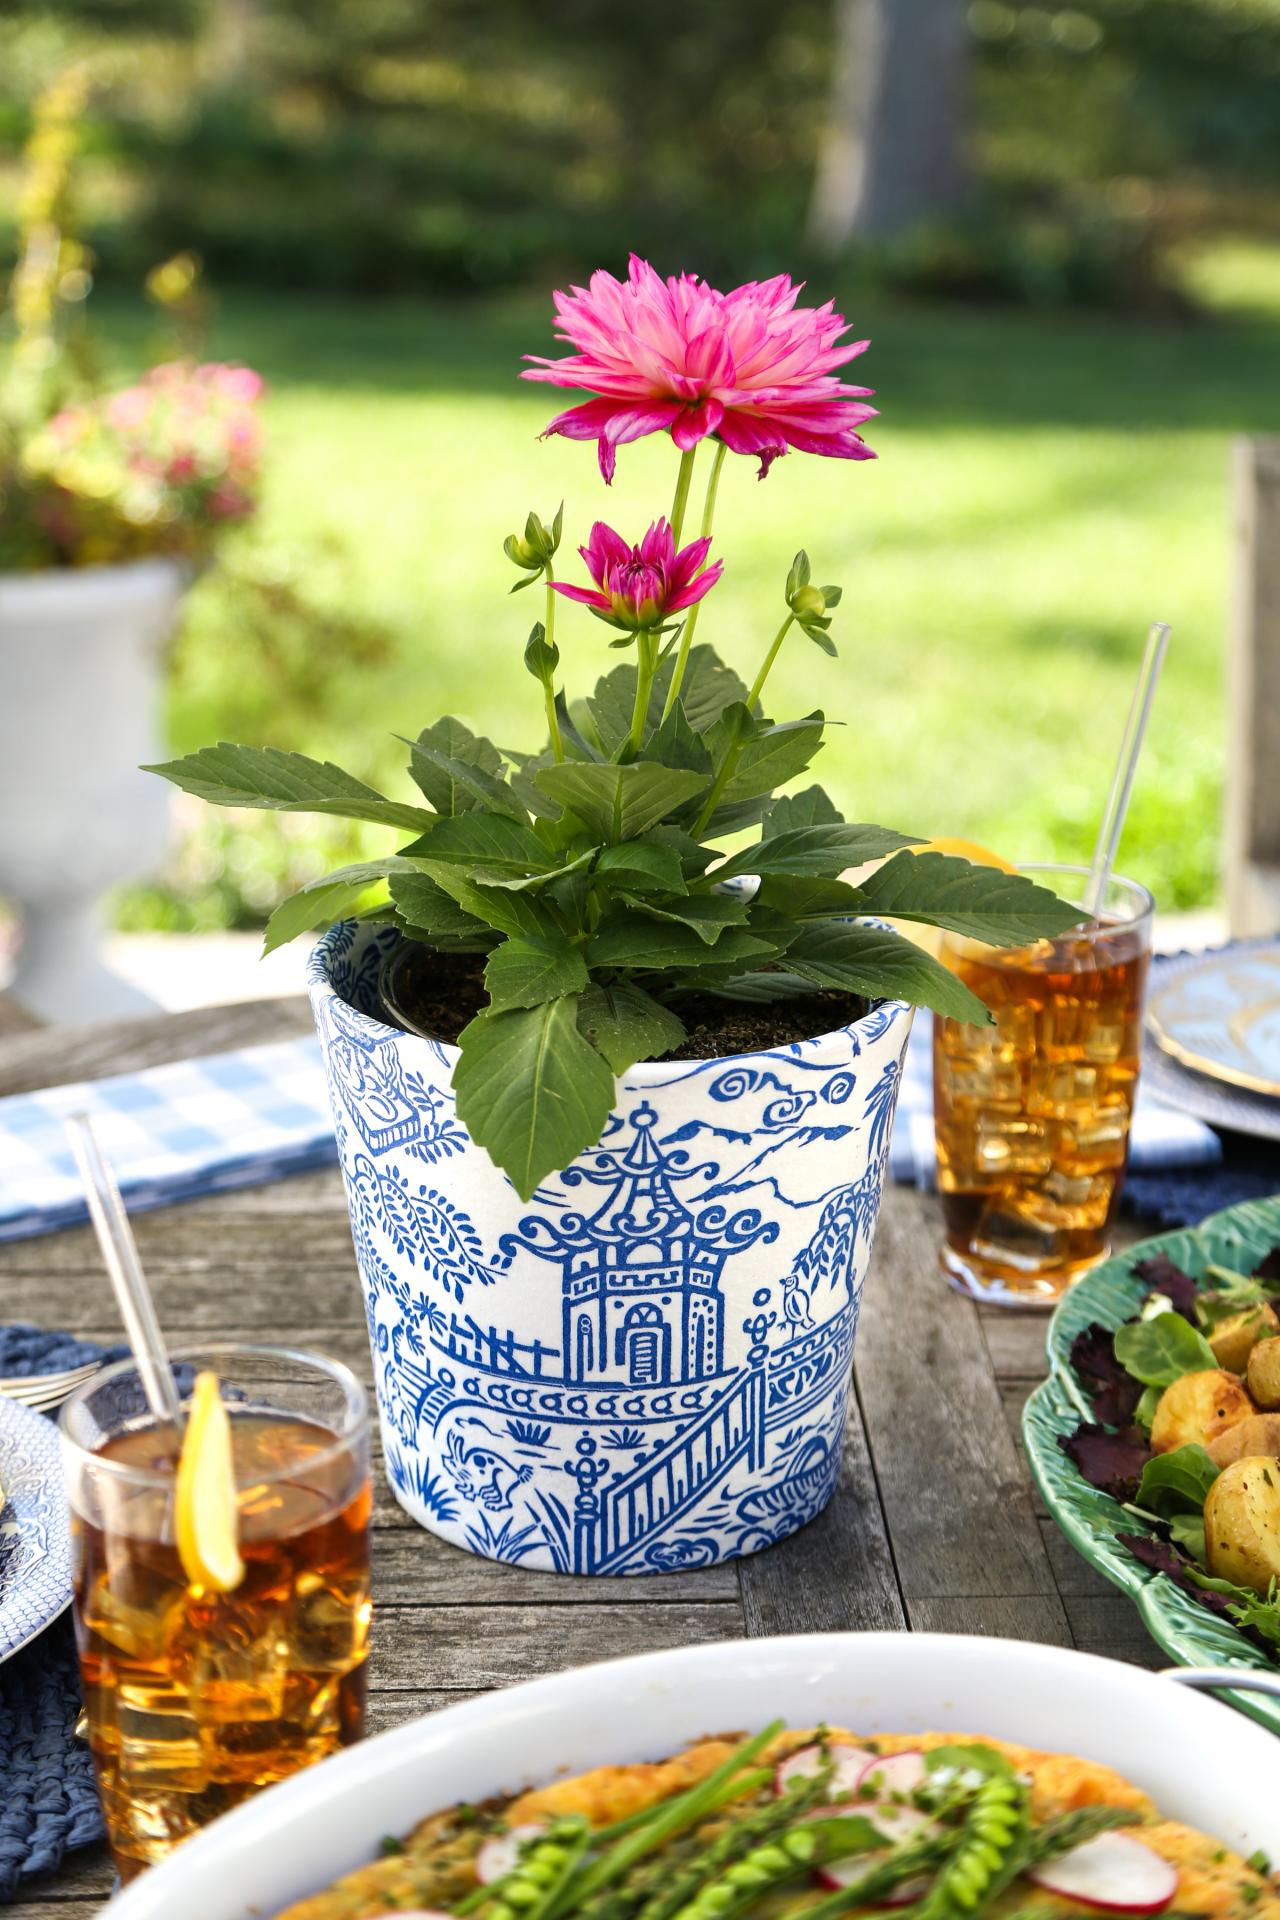
7. Display Indoors or Outdoors
After your pot has fully cured, use it as a cache pot (or overpot) by sliding in a potted plant. Place your finished high-end lookalike anywhere inside or outside that could use a cheery pop of color and pattern (Image 1). Tip: These pretty pots are a beautiful stand-in for a traditional centerpiece (Image 2) and also make thoughtful handmade gifts.
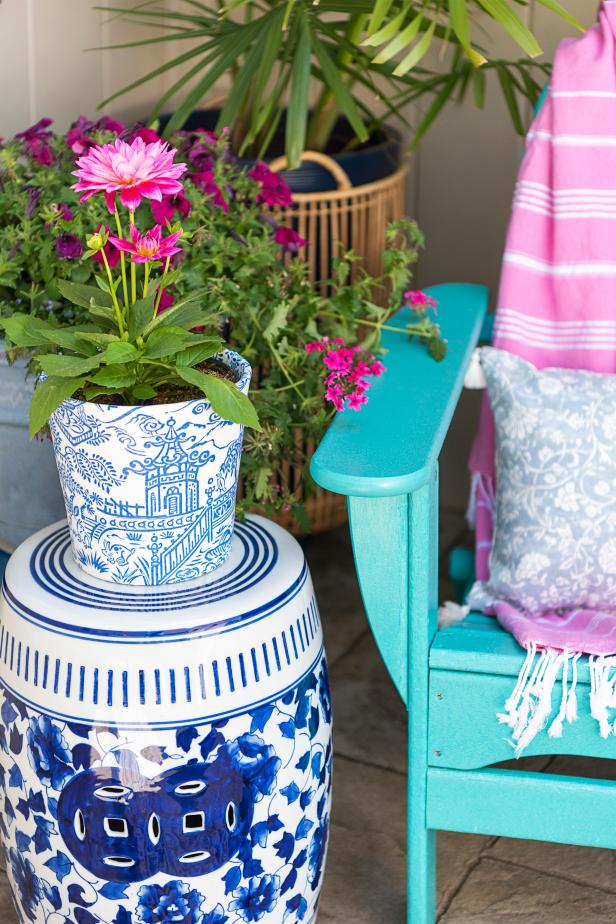
Sarah Busby; Styling by H. Camille Smith

Heather Baird SprinkleBakes.com
Photo By: Sarah Busby; Styling by H. Camille Smith


