


Harness the Sun's Power to Make Custom Wall Art
Cyanotype is an inexpensive photo printing process that can be done at home with a few special materials. Try this throwback craft to make your own custom print.
Materials + Tools
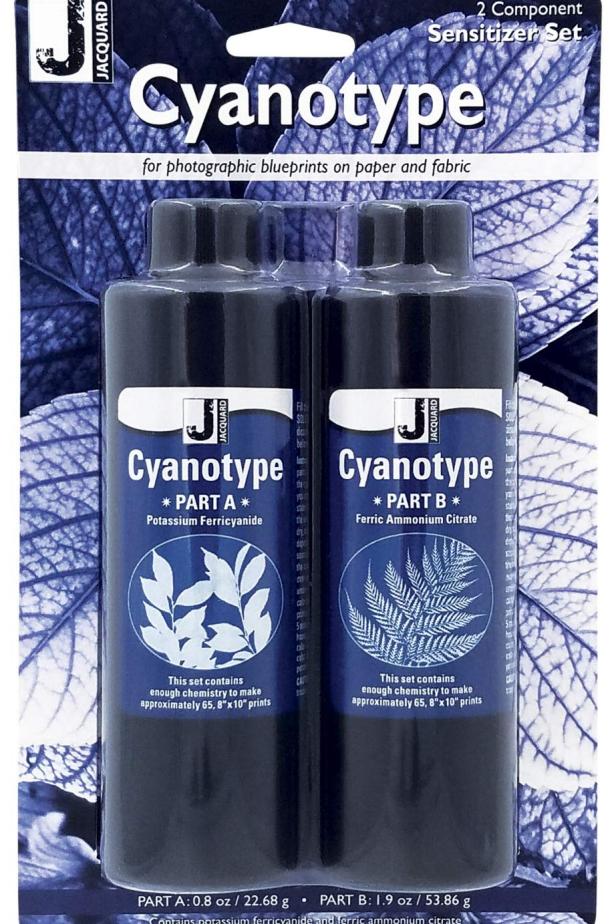
- cyanotype set
- distilled water
- measuring cup
- paintbrush
- 100% cotton fabric
- contact paper
- black poster board
- hydrogen peroxide
- square dowels
- colorful rope
- super glue
Prep & Mix Cyanotype

In low light, dissolve the cyanotype chemicals in distilled water to make two separate solutions and let sit for 24 hours. For best results, follow the directions on the package. Next, in low light, mix equal parts of each solution together in a third container, using precise and equal measurements. Only mix as much of the solutions as needed per project as the mixed product will only last 24 hours.
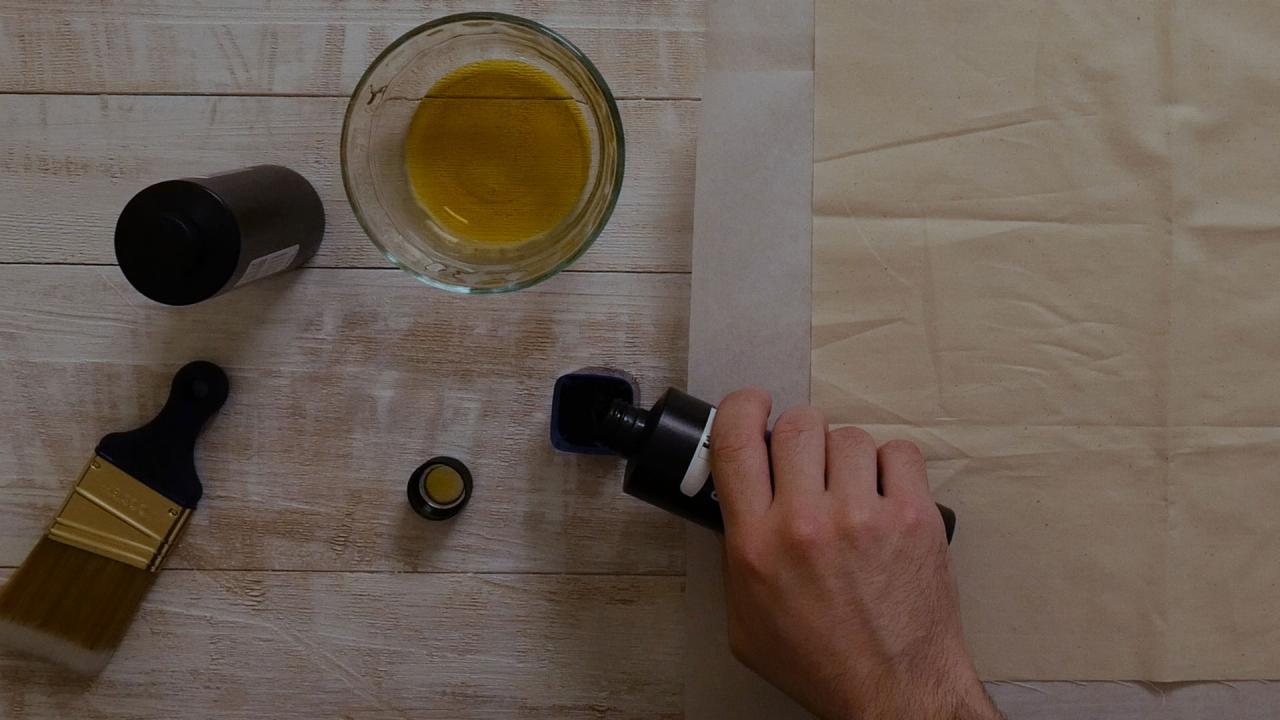
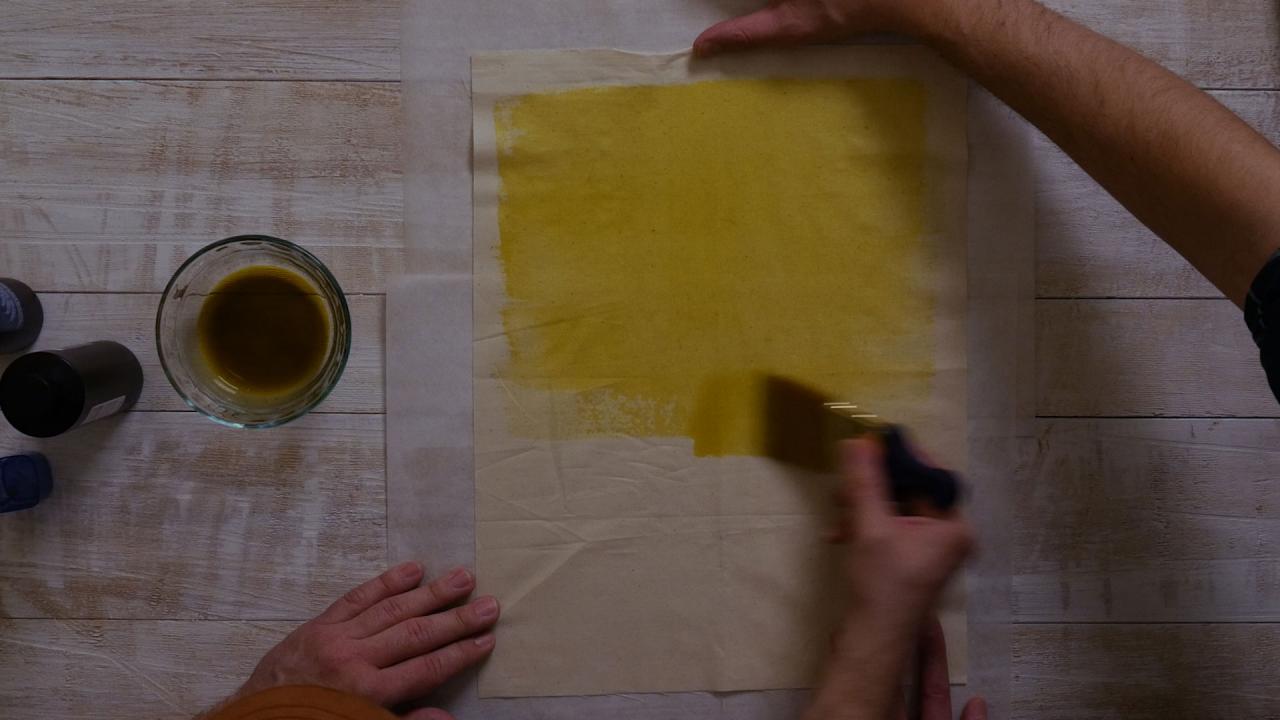
Apply to Fabric

In low light, cut out a piece of fabric to size and lay on top of a tarp or piece of paper. Dip a brush into the mixed chemicals and paint the fabric evenly, leaving no puddles. Create brush stroke edges by starting in the middle of the fabric and painting out towards the edge. Place in a dark location and let fully dry overnight for best results.
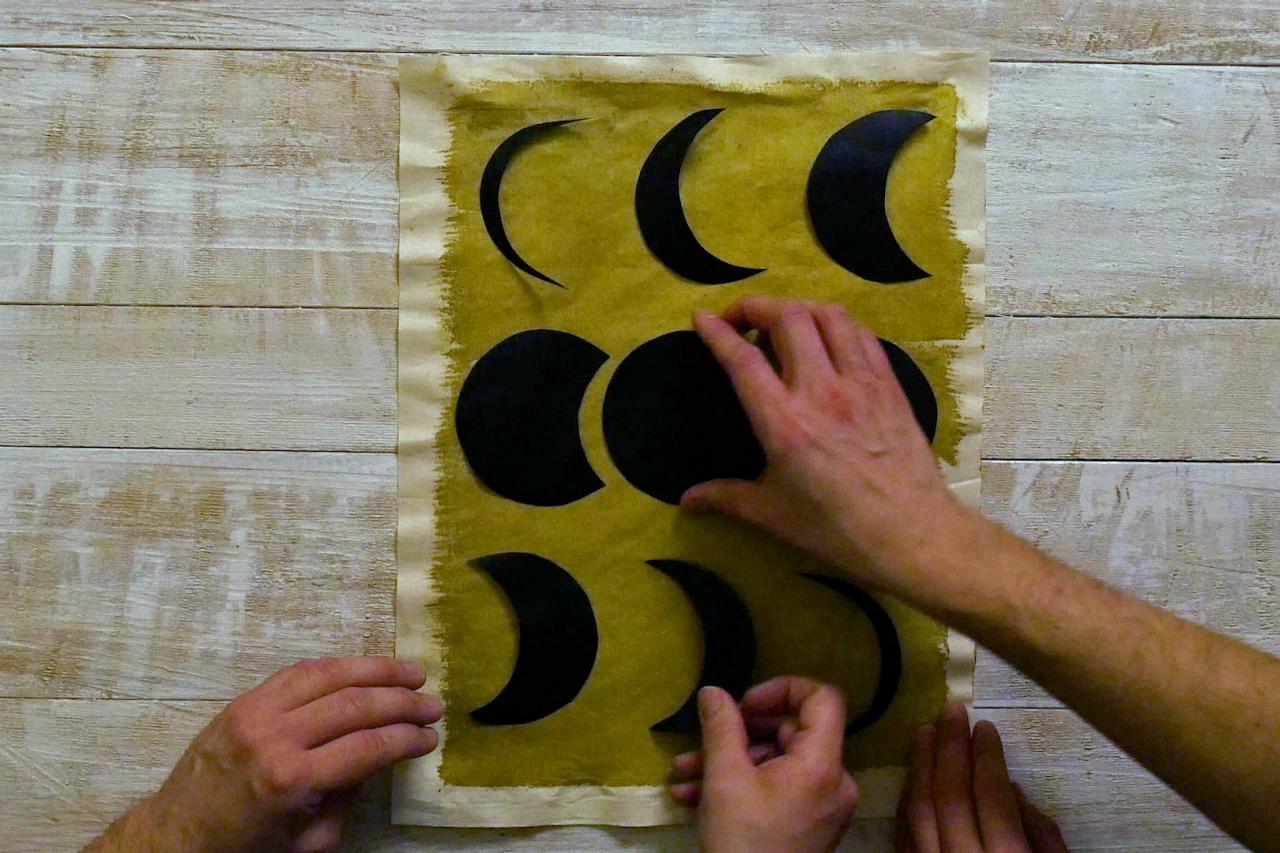
Cut Out & Add Shapes

Cyanotype Sun Print: Add Stencil
Create your chosen print or pattern with dark contact paper or a stencil, and add it to your fabric in low light.

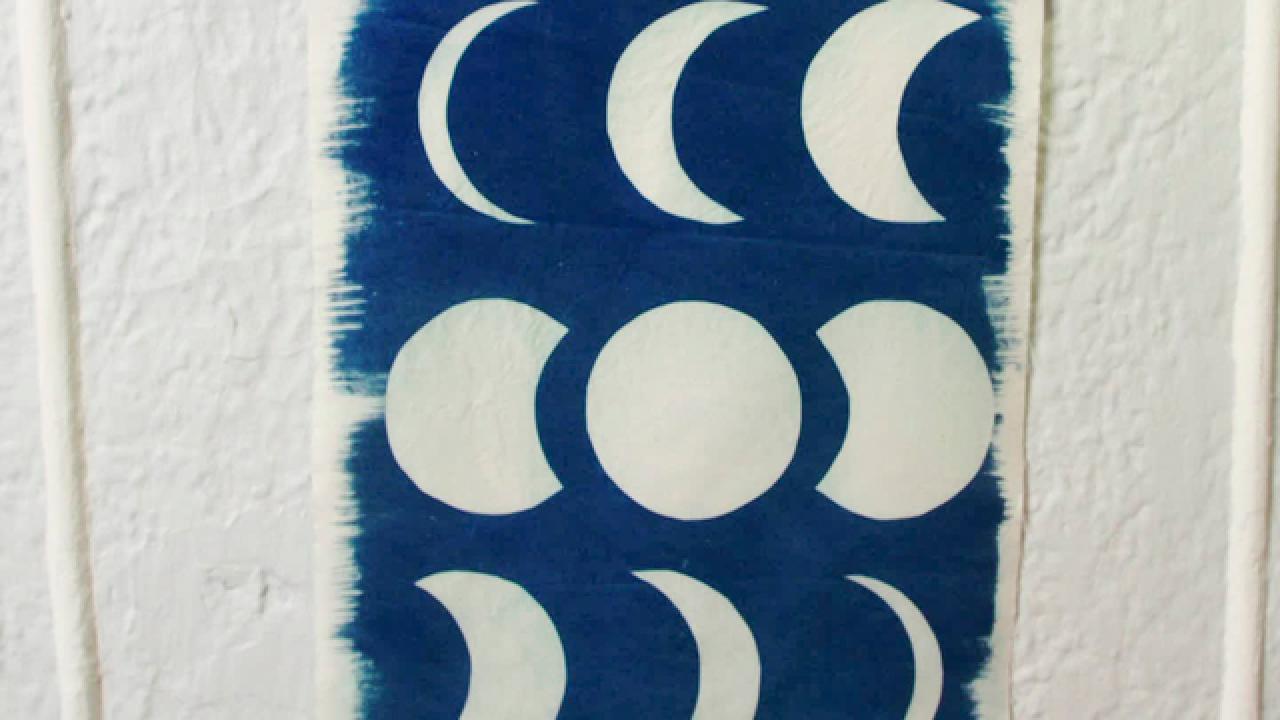
Trace and cut out different phases of the moon shapes on contact paper using a round lid or candle to create even-sized, round moons. In low light, peel off contact paper backing and stick phases of the moon to the prepared fabric, starting with the center moon and work your way out for even spacing.
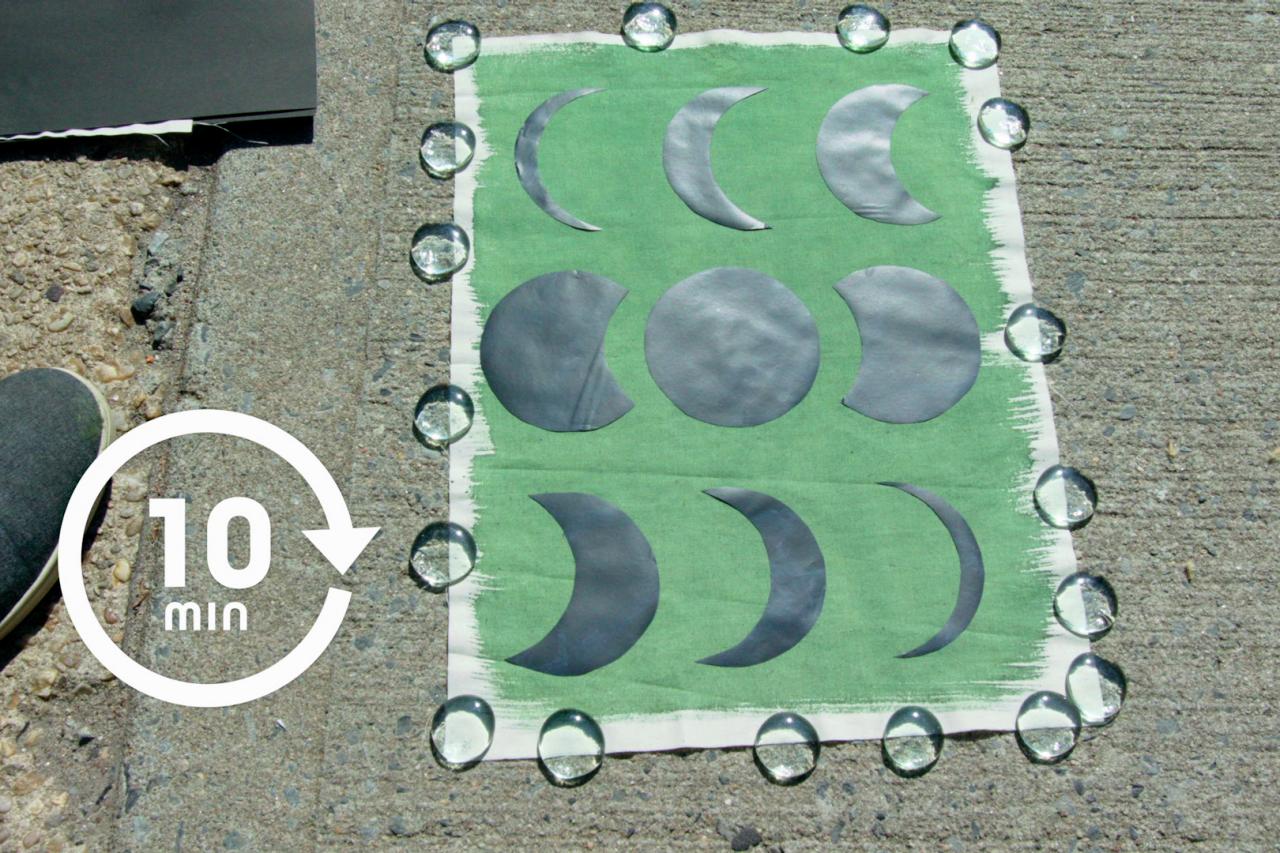
Expose to Sun

Cyanotype Sun Print: Expose to Sun
To activate the cyanotype, leave it exposed to the sun for a minimum of 10 minutes. Use beads or other small weights to weight it down and prevent the wind from picking it up.
Place the fabric in a folded piece of poster board, take outside to an area with direct sunlight and lay fabric flat on the ground. Lay in direct sunlight for about 10 minutes until the solution changes color. The longer you leave it out, the more exposed it will become.
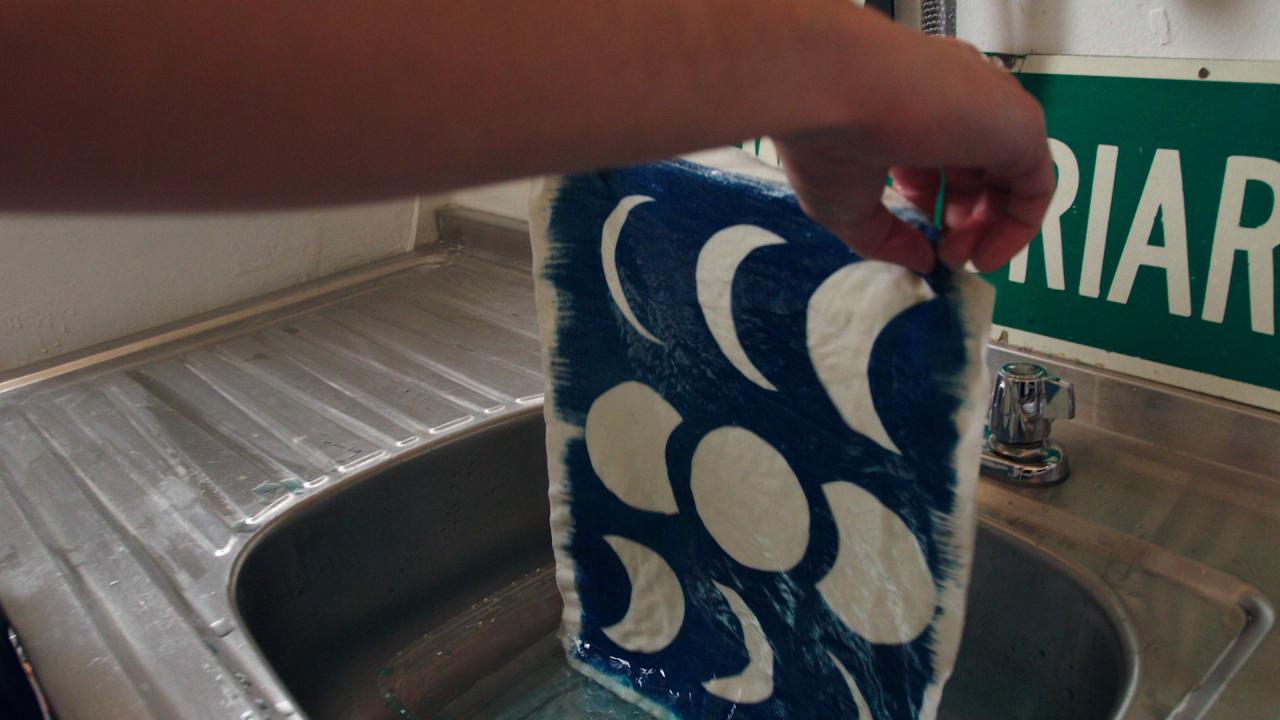
Rinse & Dry

Next, bring the print inside and peel off the contact paper. Rinse fabric under cold water until all the chemicals rinse off and the water runs clear. Then, dip in a bath of a few tablespoons of hydrogen peroxide mixed with water to speed up the oxidation process. Hang to dry.
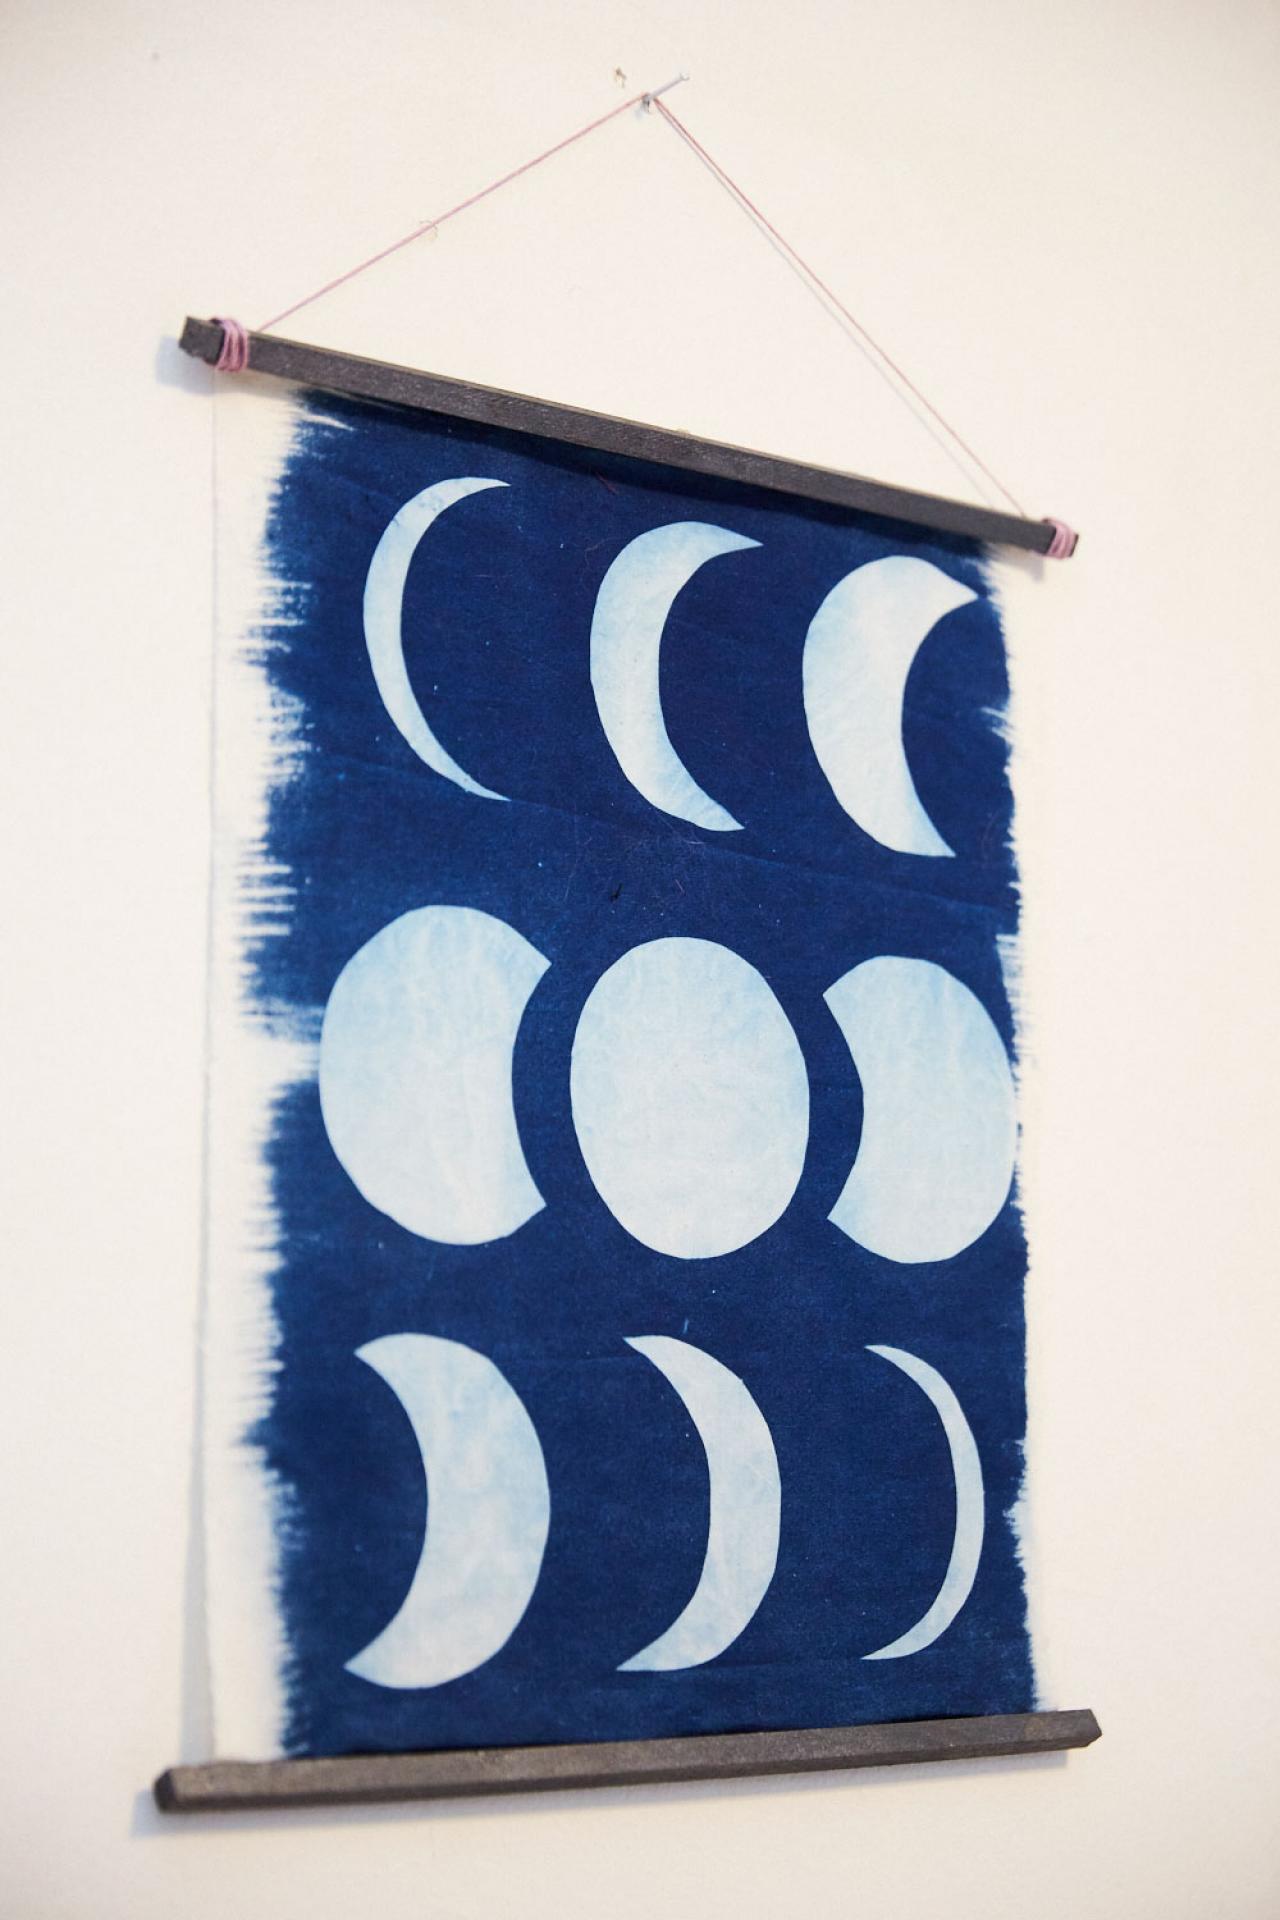
Create Hanger

Stephanie Diani
Super glue or staple the square dowels to the top and bottom edge of the fabric. Then, tie colorful rope around the ends of the top dowel to hang.
More Wall Art Craft Ideas
.jpg.rend.hgtvcom.336.252.suffix/1557428455508.jpeg)
Turn Your Favorite Recipe Into Rustic-Chic Wall Art
Put a cherished family recipe on display by transforming it into an inexpensive, farmhouse-inspired work of art.

How to Make a Magnetic Wall Map
Chart your travel adventures or highlight your family's ancestry with this easy-to-craft wall map.

DIY Dog Silhouette Wall Art
Easily turn pics of your pups into eye-catching art that you or any pet-lover on your gift list will treasure.


