


3 Gorgeous Ways to Craft With Sun Prints
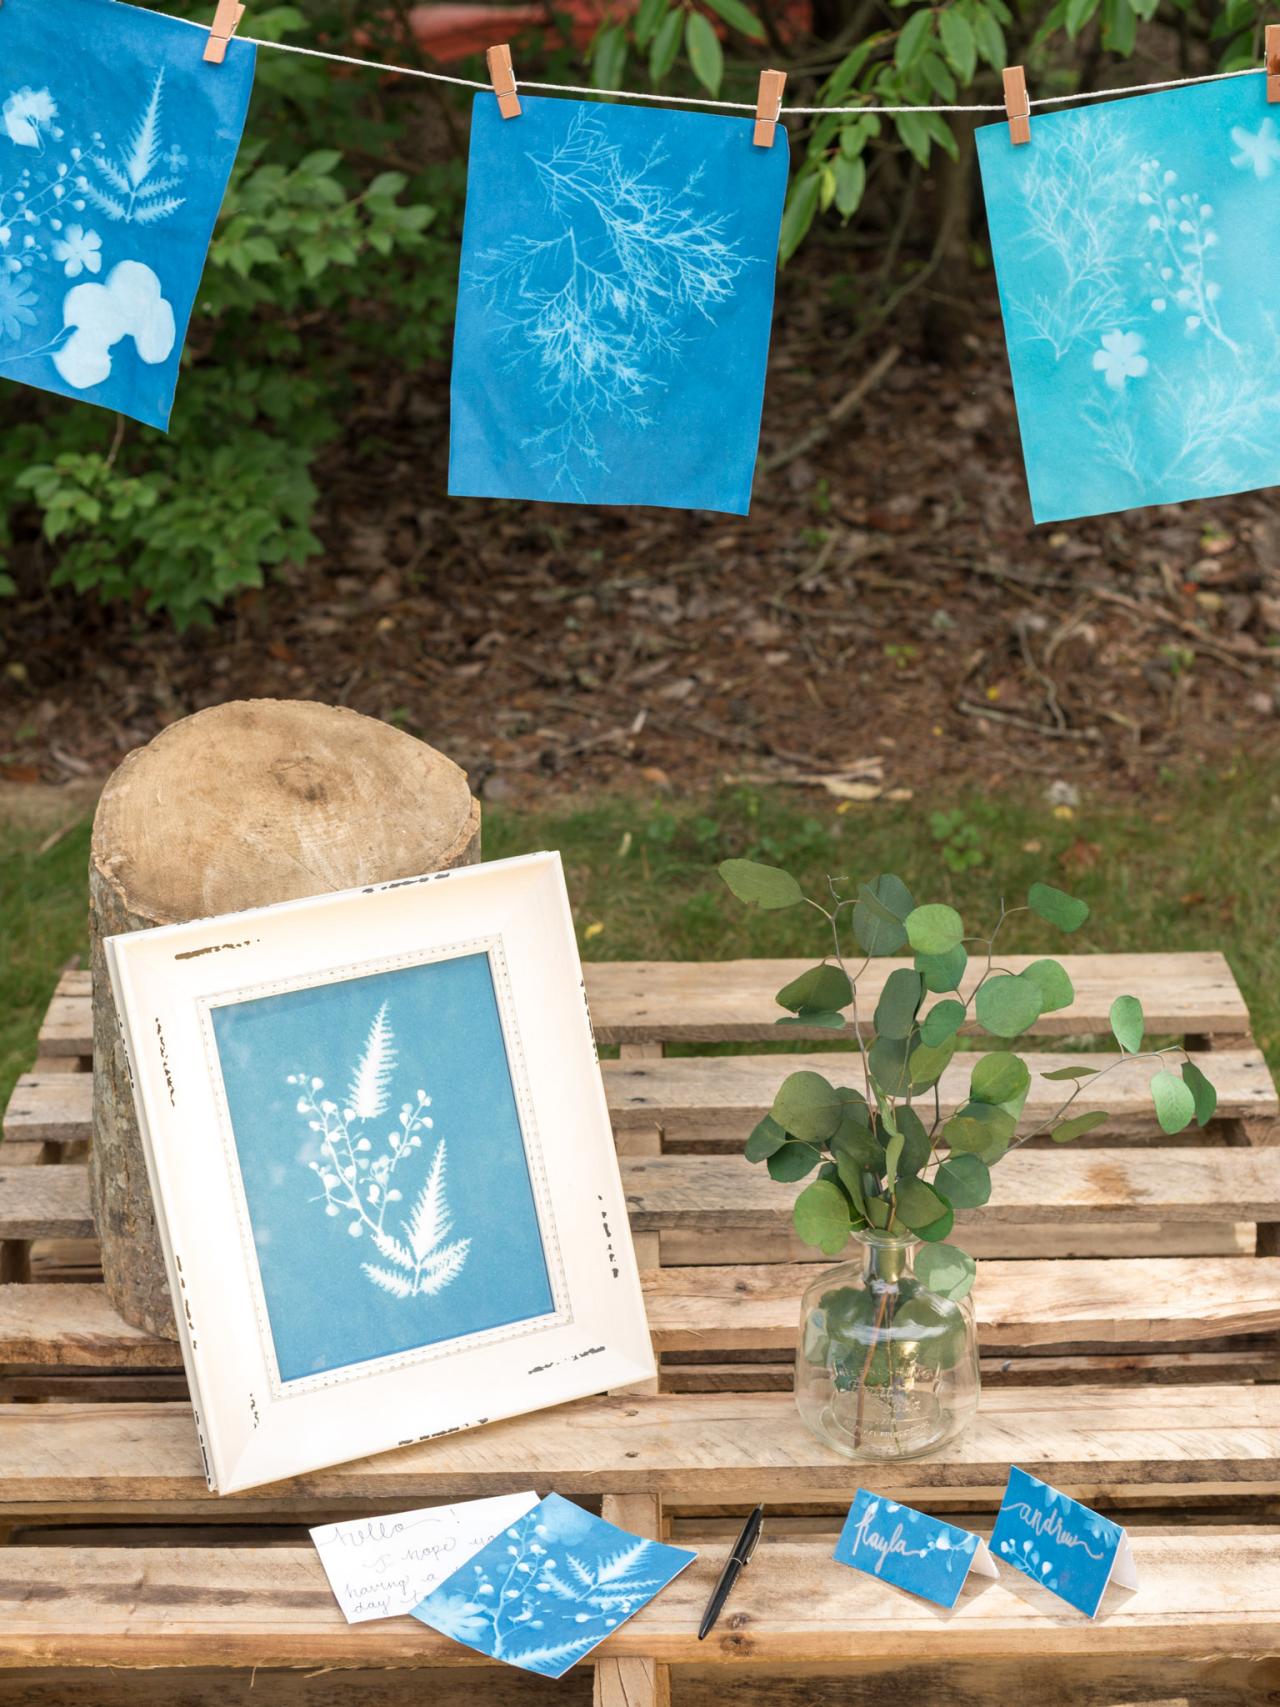
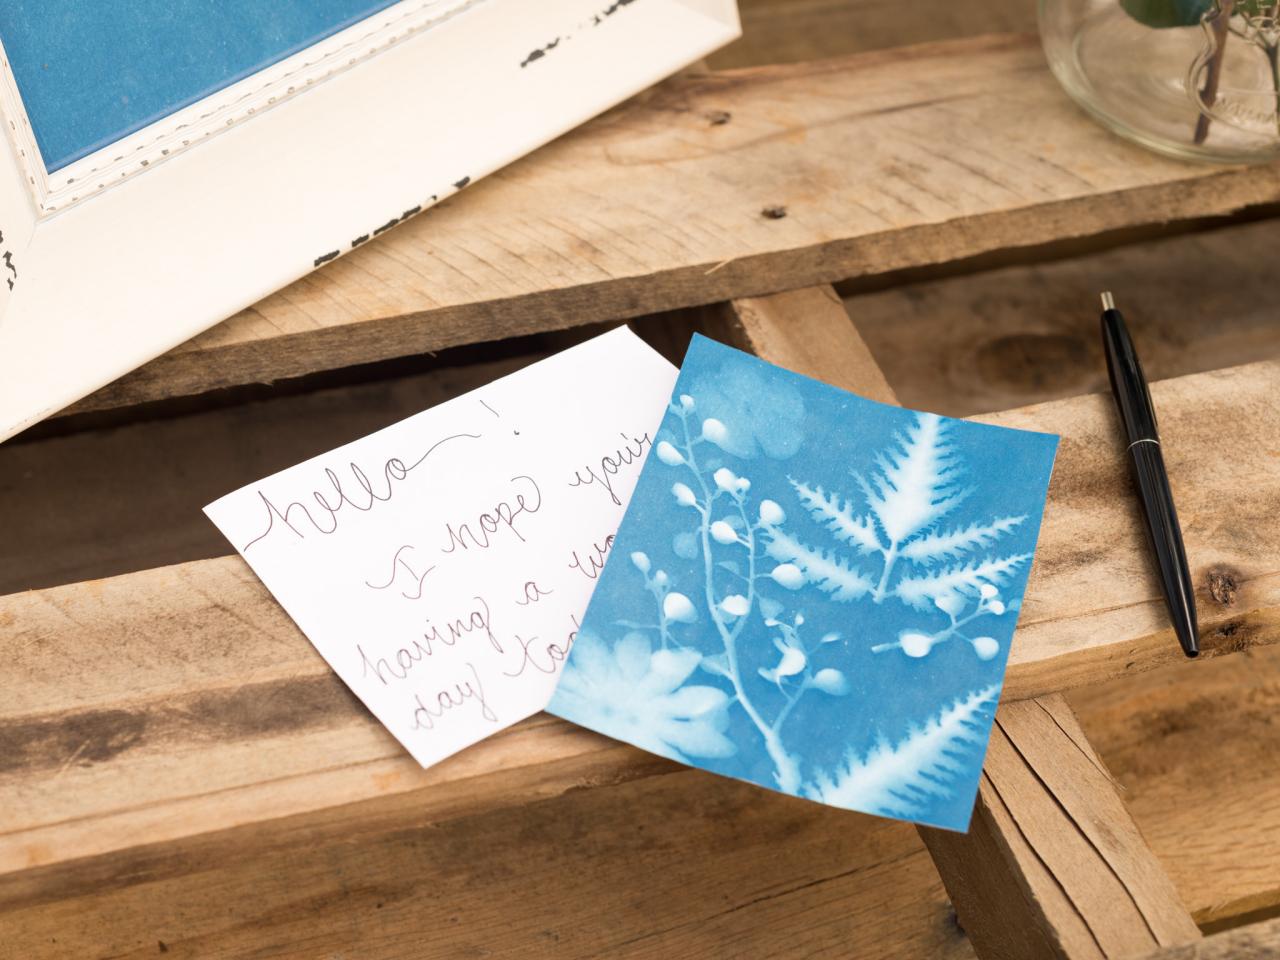
Versatile and visually stunning, this adult and kid-friendly craft is also super easy to make. Learn how to create your own, plus see how we transformed these pretty prints into DIY place cards, framed art and one-of-a-kind stationery.

Jason Kisner

Materials Needed
- sun-sensitive photographic paper (can be found in the kids' science section of most craft stores)
- transparency film paper
- acrylic sheet (usually included in a pack of sun-sensitive paper)
- variety of flat objects to print
- tub of cool water
- clothesline
- large piece of cardboard (optional)
- lemon juice (optional)
Prepare Print
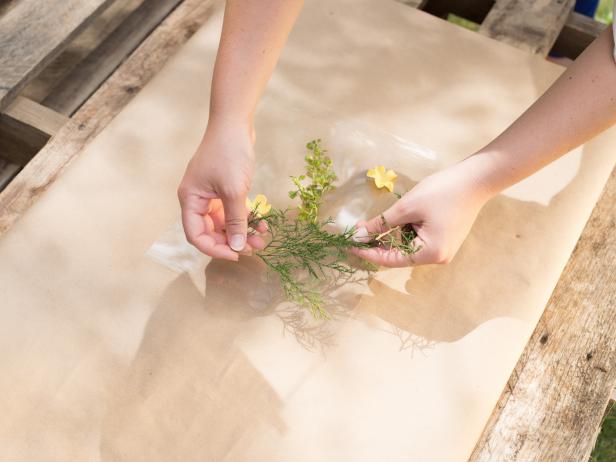
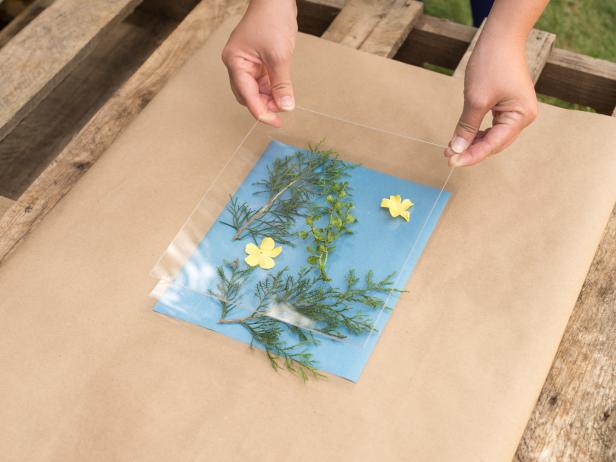
In a shady spot, arrange flat objects (we used flowers) on a transparency sheet until satisfied with the design (Image 1). Working quickly, remove sun-sensitive paper from protective sleeve and slide underneath the transparency (Image 2). Place an acrylic sheet over the objects to help sharpen edges and keep your design in place (Image 3).
Tip: For extra stability, work on a large, moveable surface like a piece of cardboard or foam board.
Jason Kisner
Image 1

Jason Kisner
Image 2
Jason Kisner
Image 3
Place Print in Direct Sunlight
Place print in full sun for 2-5 minutes until the paper turns light blue.

Jason Kisner
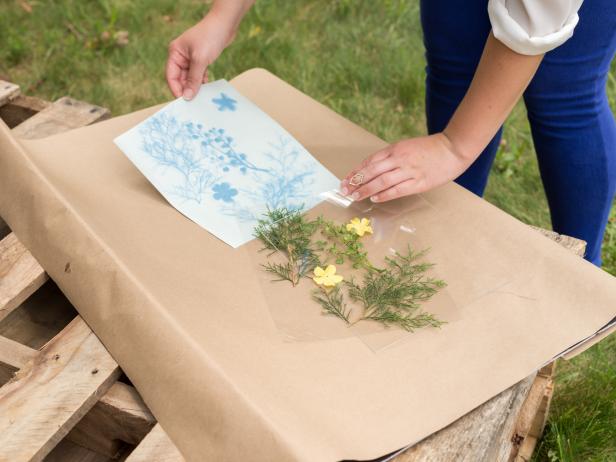
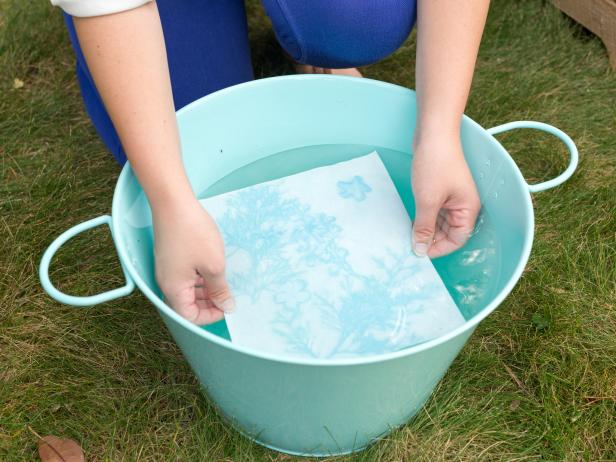
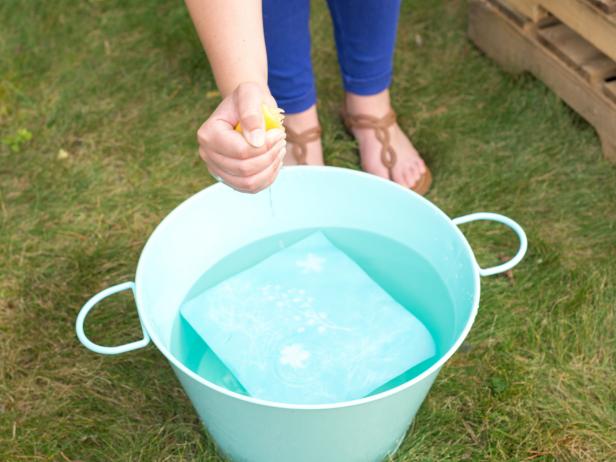
Process Your Image
Slide your print out from under the transparency (Image 1) and rinse immediately in a tub of room temperature or cool water for about 1 minute (Image 2). To achieve a darker blue hue, mix a few tablespoons of fresh lemon juice with the water (Image 3).
Jason Kisner
Image 1
Jason Kisner
Image 2
Jason Kisner
Image 3
Hang to Dry
Hang print to dry on a clothesline or lay flat on a dry surface out of the sun. Print will develop into its final deep blue hue as it dries.

Jason Kisner
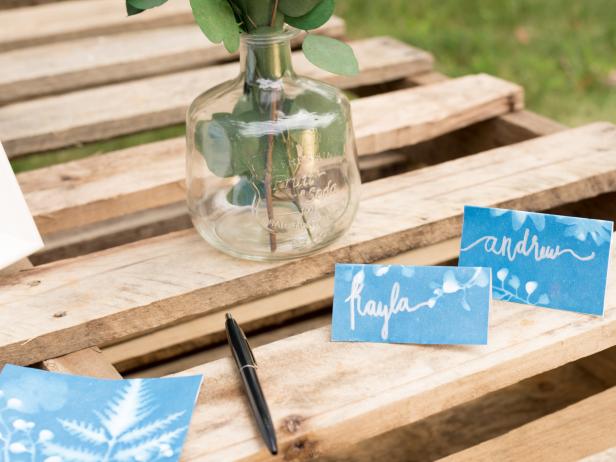
3 Gorgeous Ways to Craft
Jason Kisner
Image 1

Jason Kisner
Image 2

Jason Kisner
Image 3


