


How to Make a Magnetic Wall Map
Chart your travel adventures or highlight your family's ancestry with this easy-to-craft wall map.

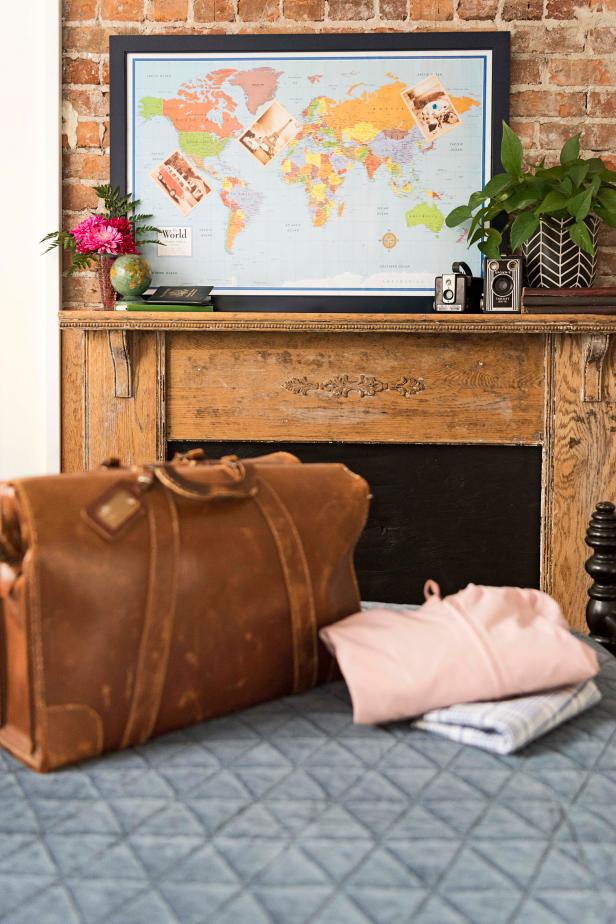
Show Off Souvenirs With a Magnetic Wall Map
Chart your adventures or highlight your family's ancestry with this easy-to-craft wall map.

Photo by: Sarah Busby; Styling by H. Camille Smith
Sarah Busby; Styling by H. Camille Smith
Materials Needed
- 24" x 36" steel sheet (check your local hardware store)
- 24" x 36" glass-less frame
- 24" x 36" wall map
- spray adhesive
- push-pin style magnets
- glazier's points
- flat screwdriver or putty knife
- paper towels
- dish soap
- disposable dropcloth
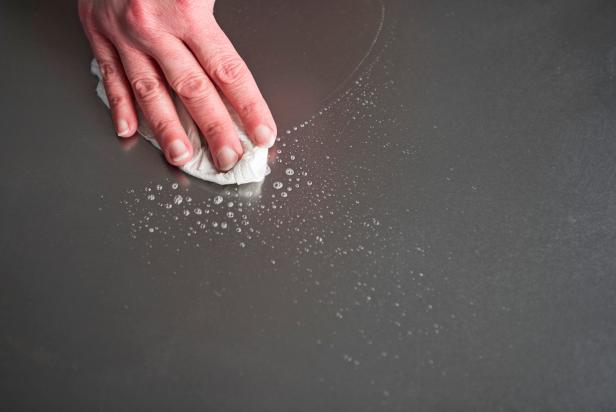
Thoroughly Clean Steel Sheet
Steel sheets are typically coated with a thin layer of oily residue that's a by-product of their manufacture. Use damp paper towels and dish liquid to remove the black coating — it may take several passes. Finally, dry with a clean paper towel.
Sarah Busby
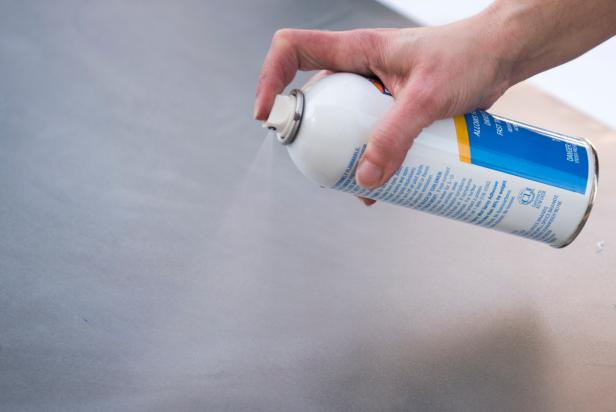
Attach Map
Protect your work surface with a disposable material, like newspaper or a plastic drop cloth. Place the steel sheet, cleaned side up, on top. Cover the metal surface with a layer of spray adhesive, give the glue a minute or so to tack up, then carefully attach map, starting in one corner and working your way across the steel sheet, gently smoothing out any bubbles or wrinkles as you press the paper onto the glue.
Sarah Busby
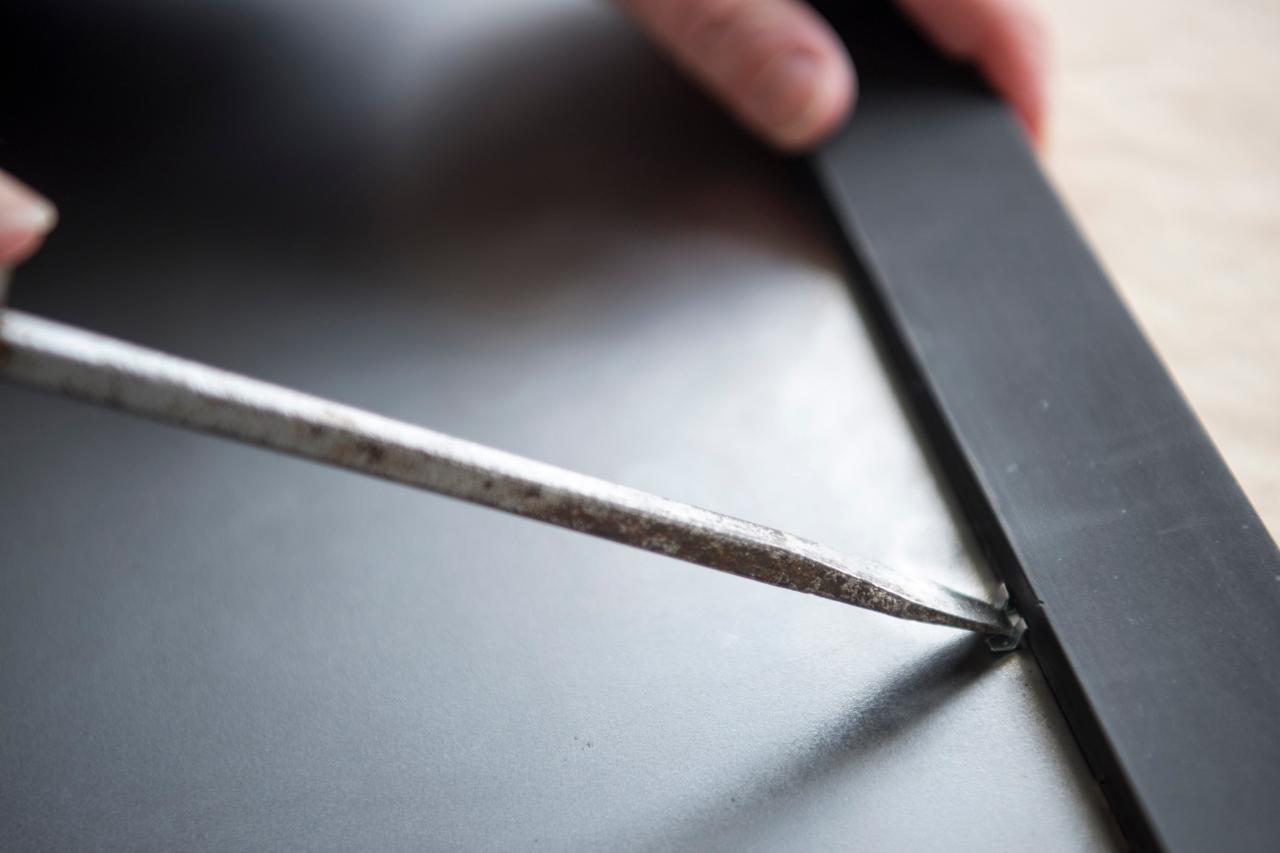
Frame Map
Flip frame over, place map within the open-back frame and use glazier's points and a wide, flat edge (like a screwdriver or putty knife) to push the point's sharpened ends into the frame to secure the metal sheet. Tip: If your frame has included metal tabs, use those instead — or you may need to remove the included tabs in order to fit the steel sheet into the frame (as we did).

Sarah Busby
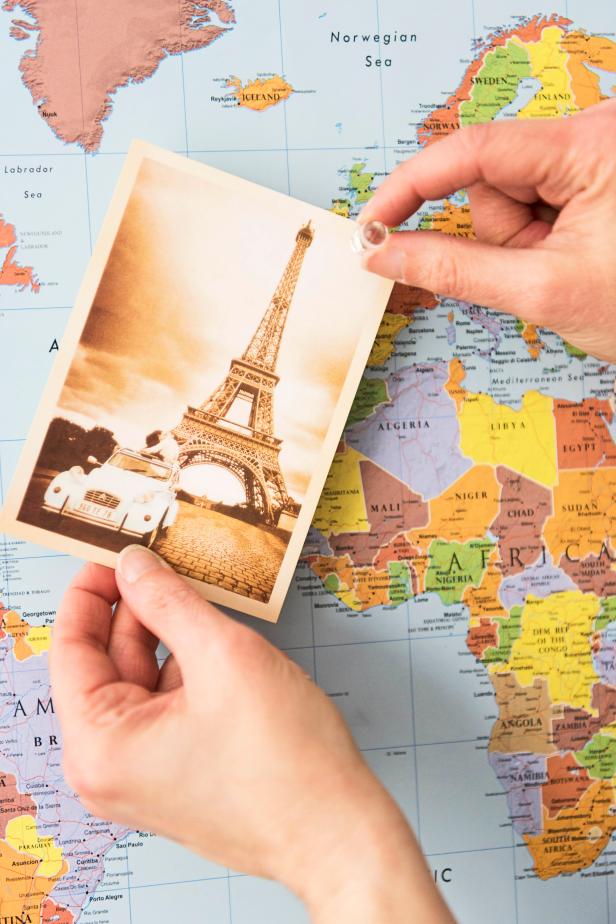
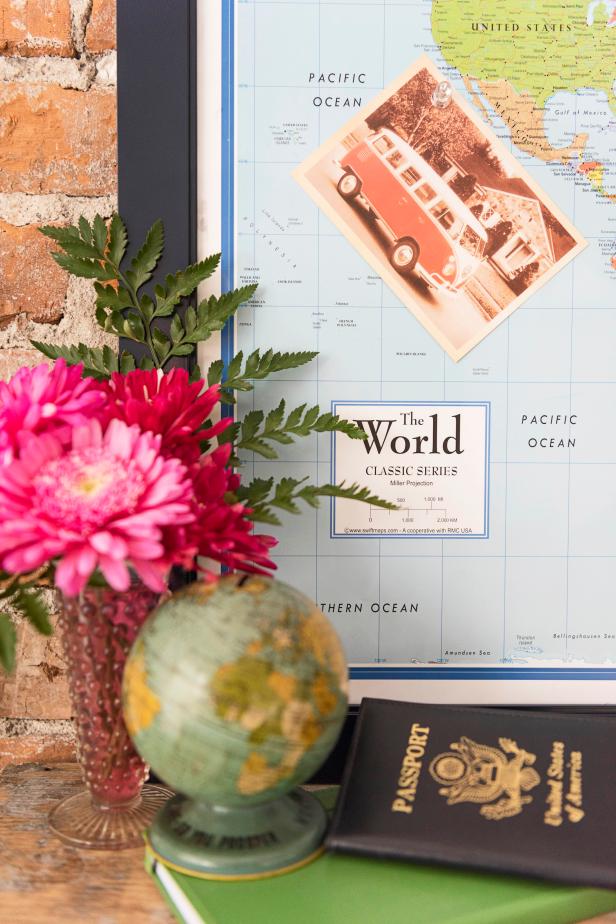
Show Off Your Jet-Setting Adventures
Use the magnetic map to display lightweight souvenirs, like train tickets and postcards (Images 1-3).
Sarah Busby; Styling by H. Camille Smith
Sarah Busby; Styling by H. Camille Smith
Sarah Busby; Styling by H. Camille Smith
Show Off Souvenirs With a Magnetic Wall Map
Chart your adventures or highlight your family's ancestry with this easy-to-craft wall map.
Photo By: Sarah Busby; Styling by H. Camille Smith
Show Off Souvenirs With a Magnetic Wall Map
Chart your adventures or highlight your family's ancestry with this easy-to-craft wall map.
Photo By: Sarah Busby; Styling by H. Camille Smith
Show Off Souvenirs With a Magnetic Wall Map
Chart your adventures or highlight your family's ancestry with this easy-to-craft wall map.
Photo By: Sarah Busby; Styling by H. Camille Smith
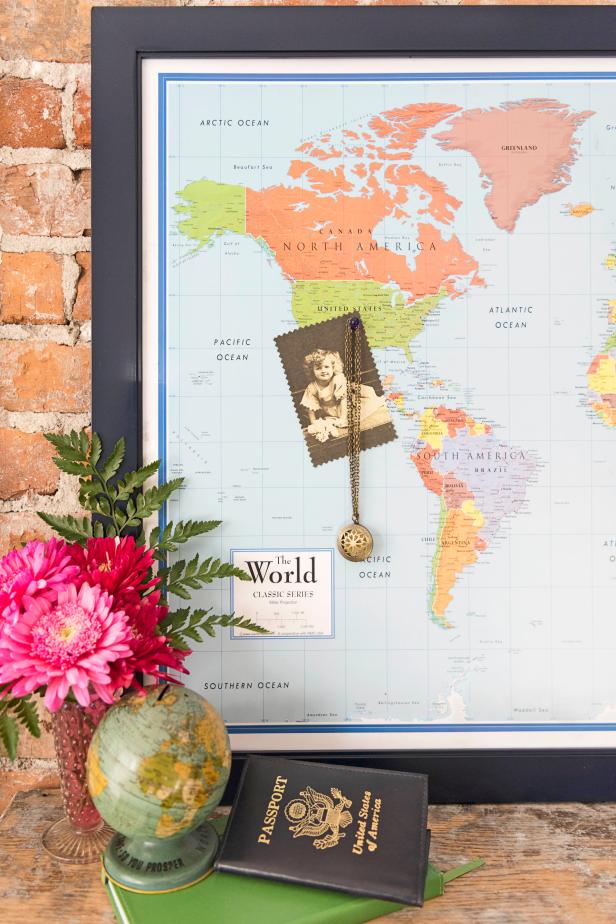
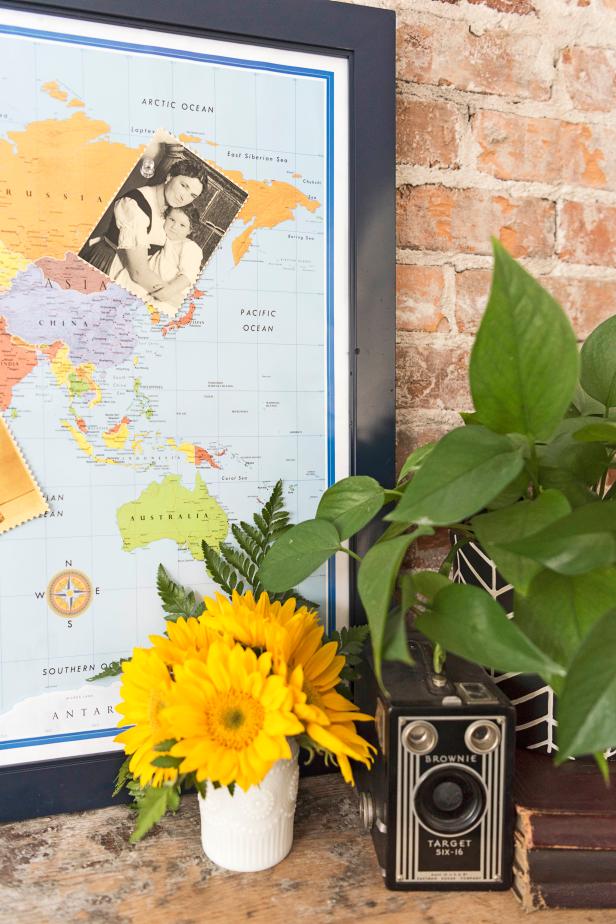
Or, Highlight Your Family's History
This large framed map is also great for displaying family photos and small mementos that showcase your family's ancestry and countries of origin (Images 1-3).
Sarah Busby; Styling by H. Camille Smith
Sarah Busby; Styling by H. Camille Smith

Sarah Busby; Styling by H. Camille Smith
Show Off Souvenirs With a Magnetic Wall Map
Chart your adventures or highlight your family's ancestry with this easy-to-craft wall map.
Photo By: Sarah Busby; Styling by H. Camille Smith
Show Off Souvenirs With a Magnetic Wall Map
Chart your adventures or highlight your family's ancestry with this easy-to-craft wall map.
Photo By: Sarah Busby; Styling by H. Camille Smith
Show Off Souvenirs With a Magnetic Wall Map
Chart your adventures or highlight your family's ancestry with this easy-to-craft wall map.
Photo By: Sarah Busby; Styling by H. Camille Smith


