


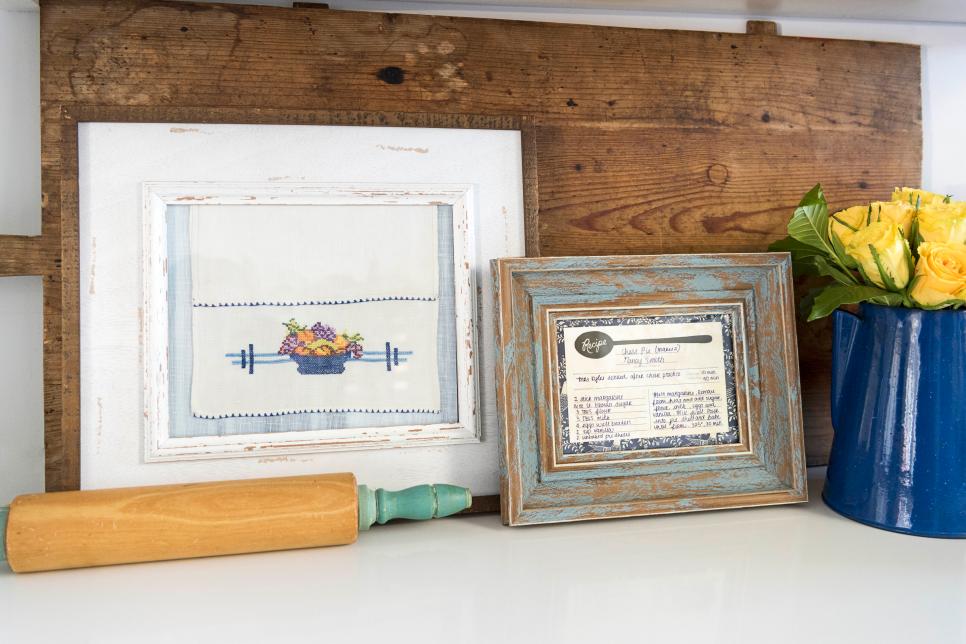
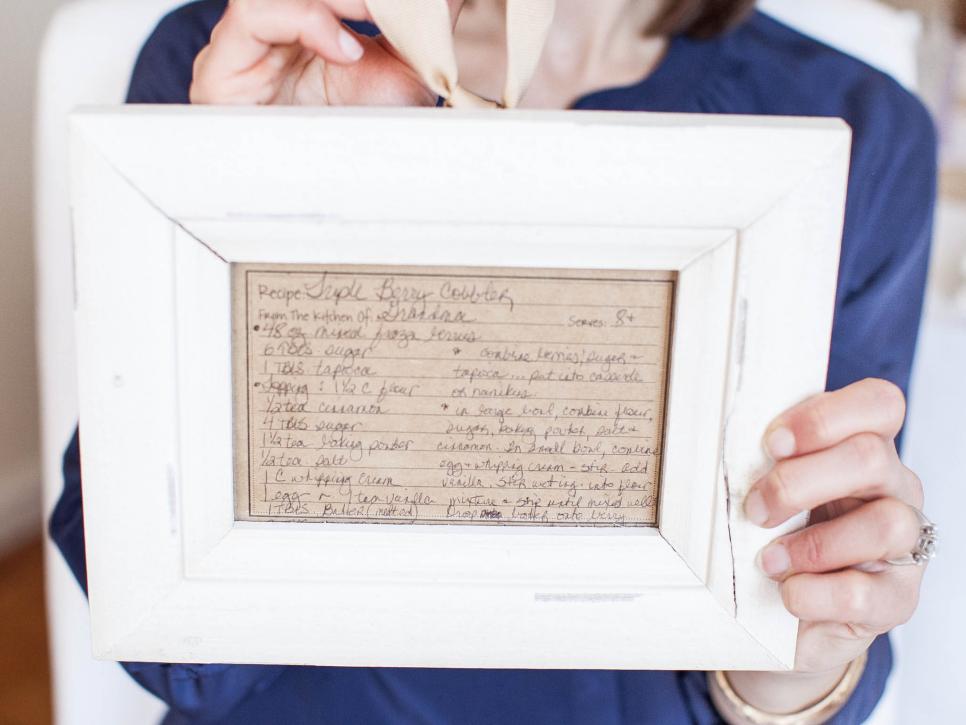
Turn Your Favorite Recipe Into Rustic-Chic Wall Art
Put a cherished family recipe on display by transforming it into an inexpensive, farmhouse-inspired work of art.


Photo by: Cassidy Garcia
Cassidy Garcia
What You'll Need
- 1/4" 2x4 plywood board cut to size
- 24x36" (poster-size) picture frame
- computer with internet access
- white chalk paint or matte paint
- decoupage or school glue
- oil-based interior wood stain in weathered oak
- paper towels
- fine-grit sanding block
- 2 wide foam paint brushes
- staple gun
- matte decoupage glue
Before You Start
Save time by getting your plywood cut at the hardware store. We bought a standard 1/4"-thick 2x4 plywood board and had it cut down to poster size — 24x36 inches. It takes 5 minutes tops and is free at most hardware stores.
Create Your Recipe

Cassidy Garcia
Using graphic design software or a word processor, choose a poster-size template and type up your recipe in an antique-style font that mimics vintage typography (font shown here is Special Elite). We used Canva.com because it's free and extremely user-friendly even for those of us (like me) who know nothing about graphic design. Play around with the recipe until you achieve the look you want. A couple of design tips:
- Number each recipe step.
- Don't use periods at the end of sentences.
- Adjust the letter spacing, font size and line height until the recipe fills the entire page.
- Choose a black font — we'll make it look weathered later.
If you don't want to create your own recipe: download ours here.
Print It Out

Photo by: Cassidy Garcia
Cassidy Garcia
Download and save your design as a PDF, then have it printed at your local drugstore or print shop. I got mine printed at Walgreens and used a coupon, so it only cost around $15. A couple of things to note: make sure the print size is set to "poster" or 24x36 inches. The standard, glossy print is fine and typically the cheapest option. We'll rough it up and remove the shine later.
Paint Plywood
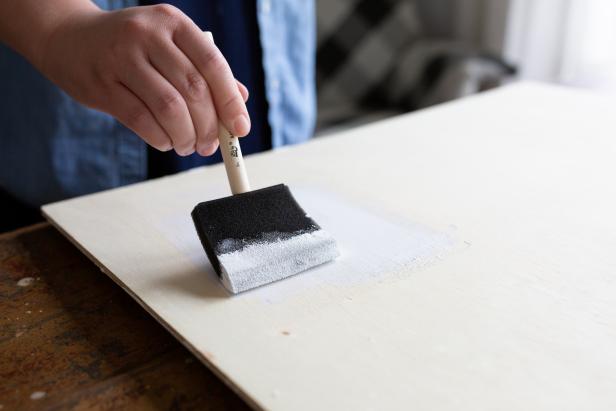
Cassidy Garcia
Cover plywood board in one coat of chalk paint or matte white paint. No need to make it perfect. This step is just to ensure none of the plywood shows through the poster later on.
Attach Poster
Cassidy Garcia
Working fast so glue doesn't dry, slather entire board in decoupage or school glue. Line up the bottom edges of the poster with the bottom of the board and carefully roll the poster upward, smoothing with your hand as you go to prevent air pockets. Smooth over entire surface one last time to release any bubbles, then let glue dry overnight. Pro tip: sit heavy books on each corner of the board to keep corners from rolling up.
Add Some Character

Cassidy Garcia

Cassidy Garcia
Cassidy Garcia
Photo By: Cassidy Garcia
Now let's make that shiny, new poster board look like a well-loved, vintage recipe you've seen your grandma pull out of her recipe box a million times. Dip a paper towel into a small jar of gray, oil-based wood stain (we used this one), blot it off onto another paper towel and, working in small sections, smear the stain across the poster until it soaks in and isn't sitting on top. I'd suggest testing a small corner section first to decide how much stain you'll need to achieve your desired look. It's best to start with less than you think, then add more if necessary. We used a very small amount for this project. For an authentic appearance, leave some streaks and blotches behind. We then went back with an artist's brush and flicked a few spots of stain randomly across the surface.
Let it dry for a few hours, then go over the entire board with a fine-grit sanding block, focusing your efforts in a few key places for a distressed look. Wipe away dust with a dry cloth.
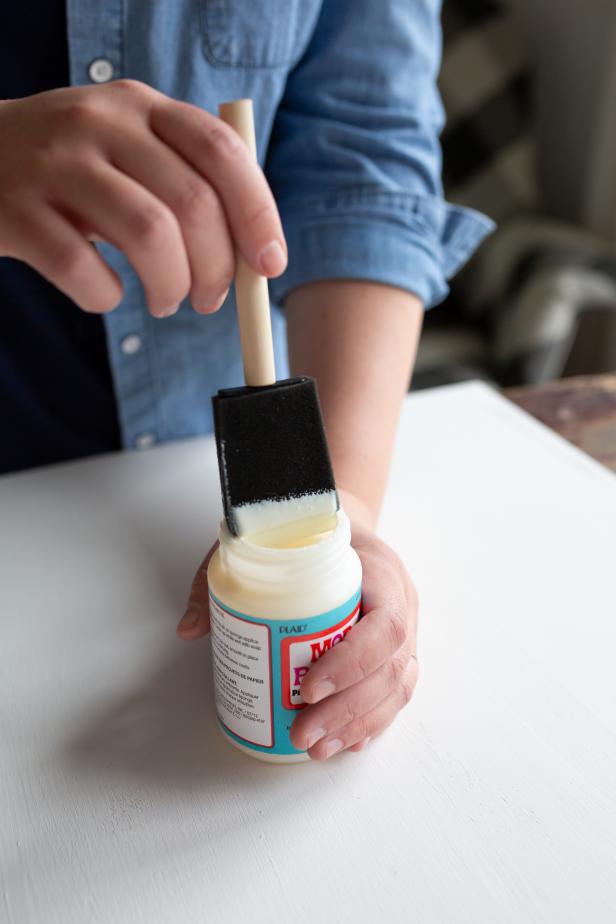
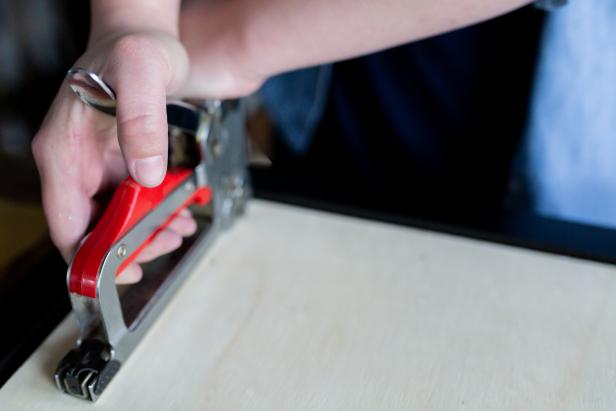
Seal & Frame

Cassidy Garcia
Cassidy Garcia
Using a foam brush, seal the poster with one coat of matte decoupage glue. Once dry, turn the board over and carefully fit into a glass-less picture frame. Secure the back of all four corners to the lip of the frame with a staple gun. Pro tip: grab a friend to keep the frame steady as you staple.
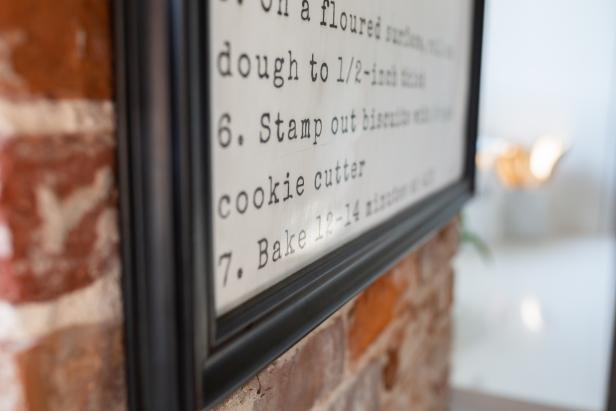
Gift or Display

DIY Oversized Recipe Wall Art
Photo by: Cassidy Garcia
Cassidy Garcia
This special, original piece of art makes a heartfelt Mother's Day or Christmas gift and fits perfectly into any farmhouse or country kitchen decor. Bon appétit!


