


Bring on the Bubbles: DIY Bath Tray
A must-have accessory for any bath lover, this easy-to-make relaxation station is about to make the top of your DIY to-do list.


Nothing is more relaxing than a nice, warm bubble bath. But add a candle, a good book and maybe a glass of wine, and you just upped your relaxation game tenfold. Create the perfect bathtub shelf in a day with enough time to enjoy a luxurious evening bath.
Materials Needed
- wood piece
- ruler
- tape measure
- pencil
- woodworking clamps
- drill + spade bit
- drill bit
- screws
- quick square (optional)
- jigsaw
- sanding block
- wood stain + cloth
- metal handles
- screwdriver
Measure Wood Cuts

Jalynn Baker
The first step in creating a bath tray is to measure the width of your tub. You'll want to have a piece of wood cut to slightly larger than the bathtub width so that it hangs over each side slightly. Our tray is 32 inches. In addition to the wood for the tray base, you will also need two 7-inch pieces of wood that will aid in the structure of the tray. The measurement of these pieces may vary depending on the width of the tray you're creating. These will be used in a later step.
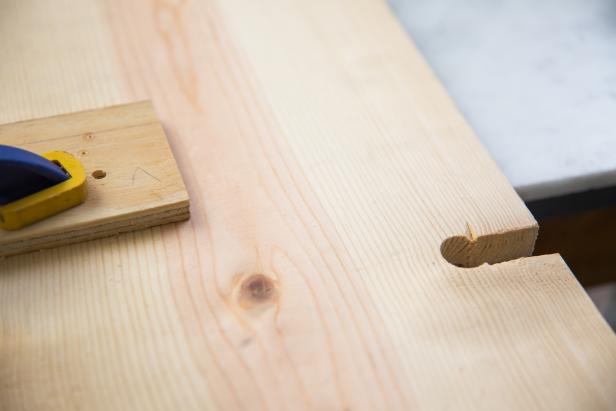
Carve Glass Rest

Jalynn Baker

Jalynn Baker

Jalynn Baker
Jalynn Baker
Next, create a place to hold your wine glass. We measured 7 inches from the short side and 2 inches in from the long side. Clamp the tray to a sturdy surface, and drill a hole at your mark using a spade bit. Mark straight lines from both sides of the hole, and use a jigsaw to cut along the lines, creating an easy spot to slide your wine stem in. Sand down any rough edges.
Stain Wood

Jalynn Baker
Place all the wood pieces on a covered work surface, and cover with wood stain using a brush or cloth. Let dry overnight.
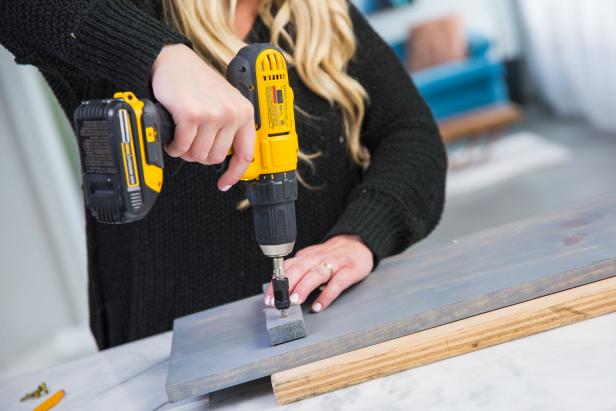
Finish Structure
Jalynn Baker
Decide which side of the tray will be the bottom. Measure and mark 5 inches from the edge on both ends of the tray. Place one of the 7-inch wood piece on the mark and hold securely to the tray while drilling two holes through the piece and into the tray base. Next, secure the wood piece to the tray with wood screws. Repeat on the opposite side. Now you won't have to worry about your tray sliding from side to side.
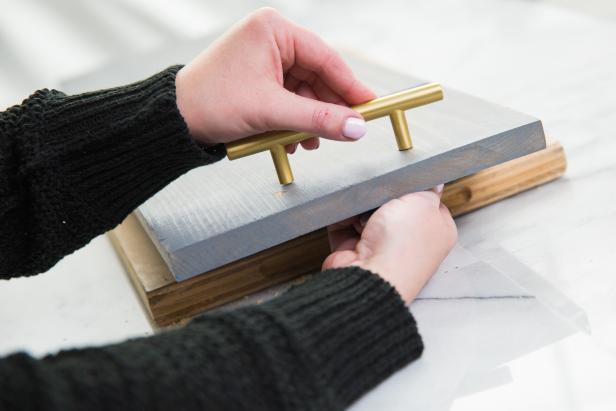
Attach Handles
Jalynn Baker
Now that the tray structure has been completed, it's time to add the handles. Measure the desired placement for the handles, and create two small marks where the screws will go. Drill the holes, and secure the handles with screws. Repeat on the opposite side of the tray.
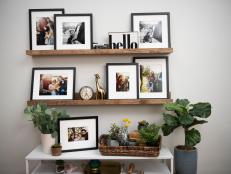
Bring on the Bubbles

Jalynn Baker
Now all that’s left is to enjoy your new bath tray. Fill the tub with bubbles, pour a glass of wine, and you’re ready for a wonderfully relaxing night in.

Jalynn Baker


