


How to Make a Stylish, Cane-Back Serving Tray
Weave this throwback trend into your decor with our easy DIY.

Kristin Guy, Dine X Design

Cane furniture and decor is having a major spotlight moment in interior design right now and we want in on the action! Investing in a large piece such as a statement chair might not be in the budget, but you can still integrate this woven look into your home decor with ease. This DIY serving tray is the perfect way to add a touch of trend to your entertaining style.

Kristin Guy, Dine X Design
Materials + Tools
- 11" x 14" floating wooden picture frame
- 11" x 14" plexiglass sheet
- roll of open cane webbing (can be found at most craft or fabric stores)
- brass cabinet pulls
- scissors
- marker
- drill and drill bit to match cabinet-pull screws
Prep Caning Material
Flatten your roll of cane webbing and cut an 11" x 14" piece. Set aside. Pro tip: use the 11" x 14" plexiglass sheet as a guide.

Kristin Guy, Dine X Design
Mark + Drill Holes for Hardware
Using a marker, map out drilling points for your cabinet hardware on the plexiglass sheet, making sure they are evenly placed on each side. Using a drill bit that matches the diameter of your brass hardware, drill four holes.

Kristin Guy, Dine X Design

Kristin Guy, Dine X Design
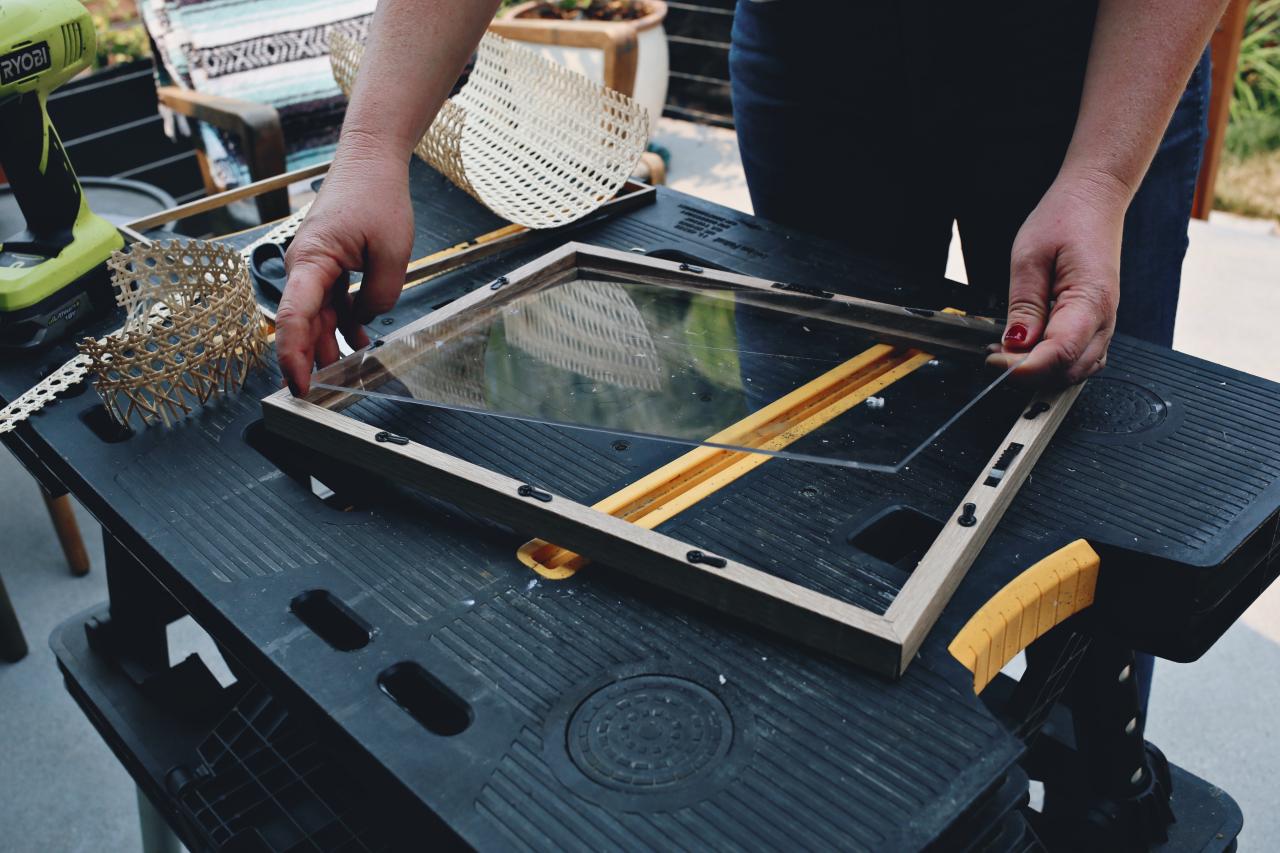
Prep Picture Frame
Remove any glass or matting from your floating frame and place plexiglass inside.

Kristin Guy, Dine X Design
Add Caning
Add cane webbing and snap into place using the floating frame hardware clips.

Kristin Guy, Dine X Design
Finish With Handles
Poke cabinet pull screws through the back side of cane webbing and plexiglass and secure tightly to the brass pull on the front of the frame (top of tray). If the screws for your hardware are too long for the frame you’re using, simply swap out with a shorter screw in the same diameter.

Kristin Guy, Dine X Design
Enjoy!
Style your new tray on a dining or coffee table and enjoy all the compliments your trendy accent piece is sure to receive.

Kristin Guy, Dine X Design


