


How to Make a Rustic Hanging Frame
Display your cherished memories in style with this simple and sweet DIY rustic photo board.

By:
HGTV Happy

Loading Video...
Dress up your empty wall space and display your photos with a little rustic flair with these quick and stylish photo hanging boards.
Materials Needed
- 16"- x -10" wood board
- 2" -x- 10" wood pieces
- wood glue
- ruler
- pencil
- drill + drill bit
- wood stain
- sponge brush
- cloth
- metal clip
- super glue
- eye hooks
- chains
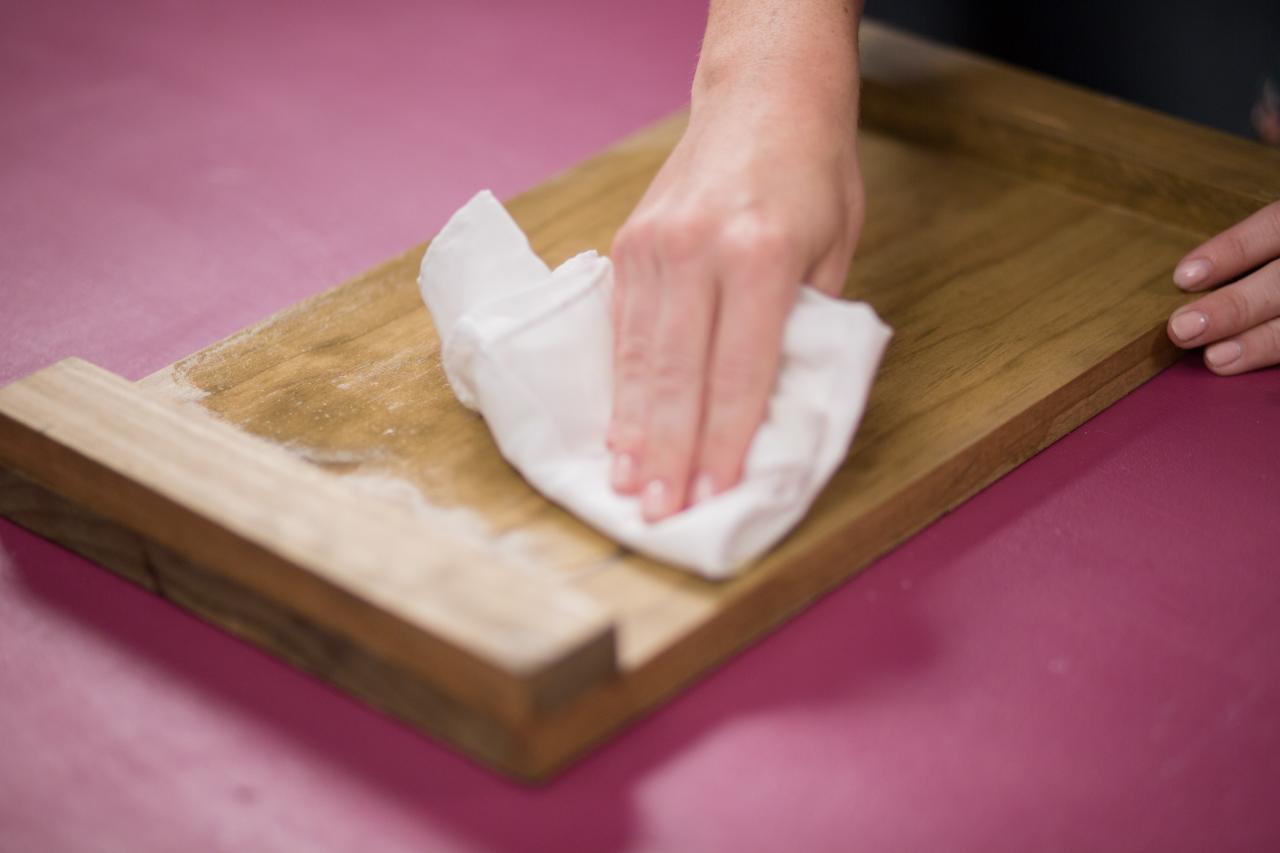
Assemble and Stain

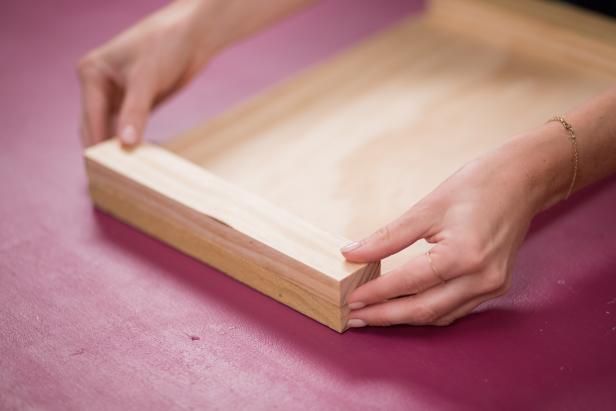
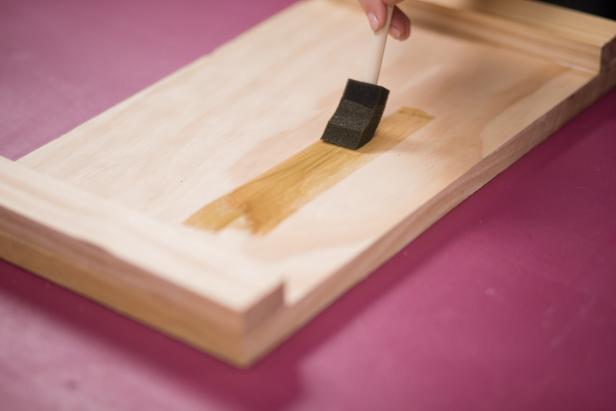


Attach the 2"-x-10" wood pieces to the top and bottom of the board with wood glue. Brush on the wood stain with a paint brush or sponge, and blend well with a cloth. Measure and mark the center of the top of the board, and use super glue to attach the metal clip.
Finish and Hang

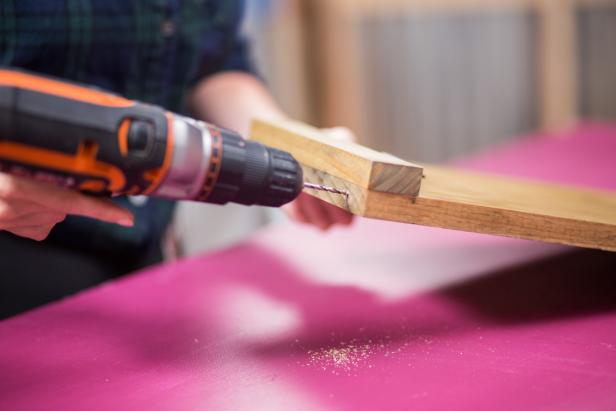

Measure and mark 1 inch from the edge on both sides of the top board. Drill a hole in each of the marks, and screw in the two eye hooks. Attach the chains to the eye hooks, clip on a favorite photo, and you're ready to hang!

Next Up

Easy-to-Make Modern Fall Wreath
Take a simple, yet stylish, approach to fall porch decor with this easy DIY wreath.

How to Make a Colorful Holiday Pom-Pom Wreath
Celebrate the ho-ho-holidays with this festive pom-pom wreath that’s as merry and bright as Rudolph’s nose.

How to Make a Paper Airplane
Learn the simple steps for high-flying fun with this tutorial on five basic paper airplane patterns.
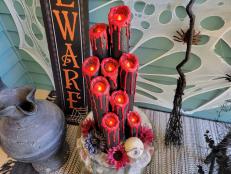
How to Make Scary Halloween Candles Out of Pool Noodles
Learn how to inexpensively make a haunted-house-worthy spooky candelabra using pool noodles, battery operated candles and a few basic craft supplies.

How to Make a Macrame Plant Hanger
By using basic supplies from the hardware store, you can make this easy DIY macrame hanger to display your favorite houseplant. This project can be adjusted to fit any planter, and since the rope is polyester, you can also hang this project outdoors.
How to Frost Glass and Other Ways to Make Windows More Private
Wish you could turn transparent glass into opaque glass? Whether it's for privacy or style, or if you're a homeowner or a renter, and no matter your budget, we've got ideas, tips and product suggestions to help you do it.

How to Make a Carpenter Bee Trap
Build a carpenter bee trap that will put an end to the carpenter bees' destructive doings.

How to Make DIY Reusable Produce Bags
Make a sustainable change by crafting your own reusable produce bags to bring to the grocery store or farmer’s market. This is an easy sewing project, perfect for DIY beginners who are just learning how to use a sewing machine.

How to Make a DIY Holiday Card Holder
Show off your holiday cards with this fun DIY project from HGTV Magazine.

How to Make DIY Dishwasher Detergent
A homemade solution that'll leave your dinnerware shining! Learn how to make your own loose powder or dishwasher tabs.


