


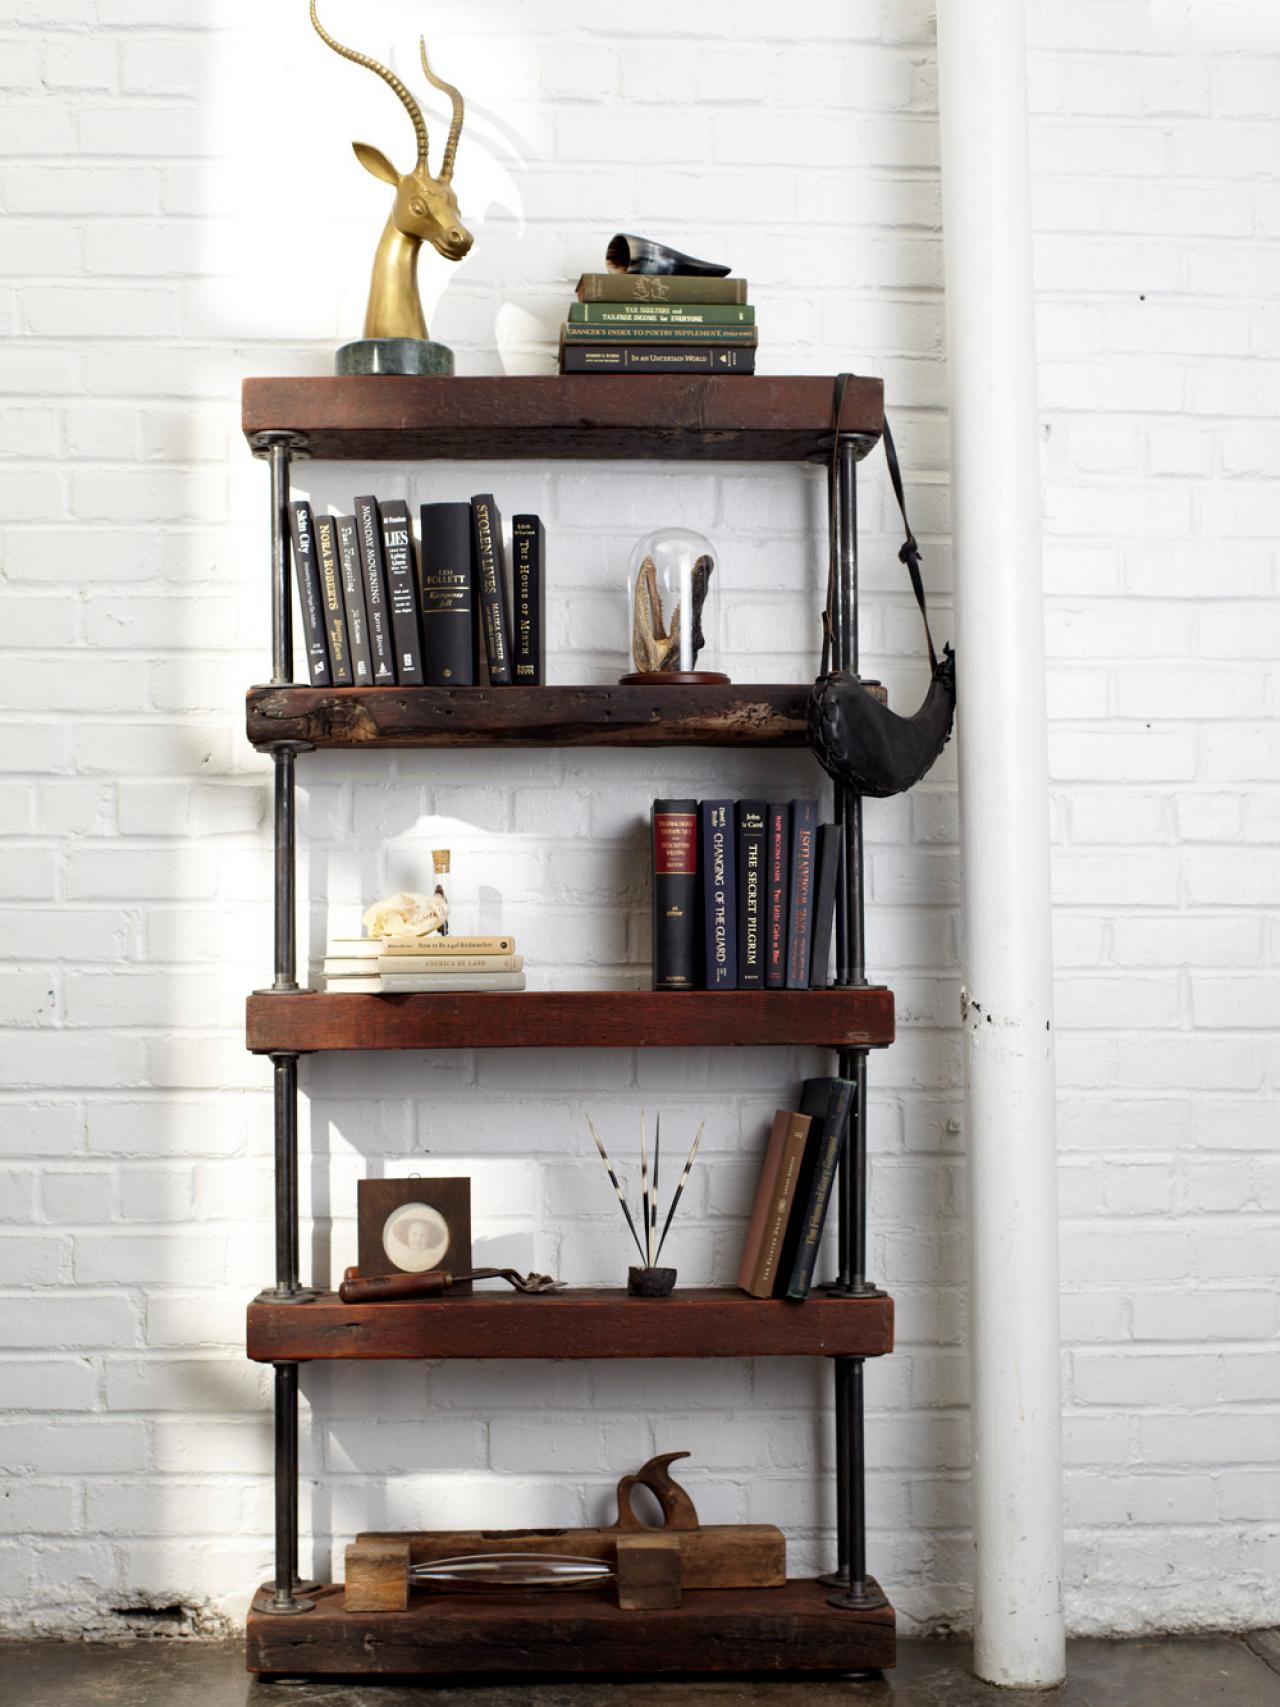
Industrial Rustic Bookshelf


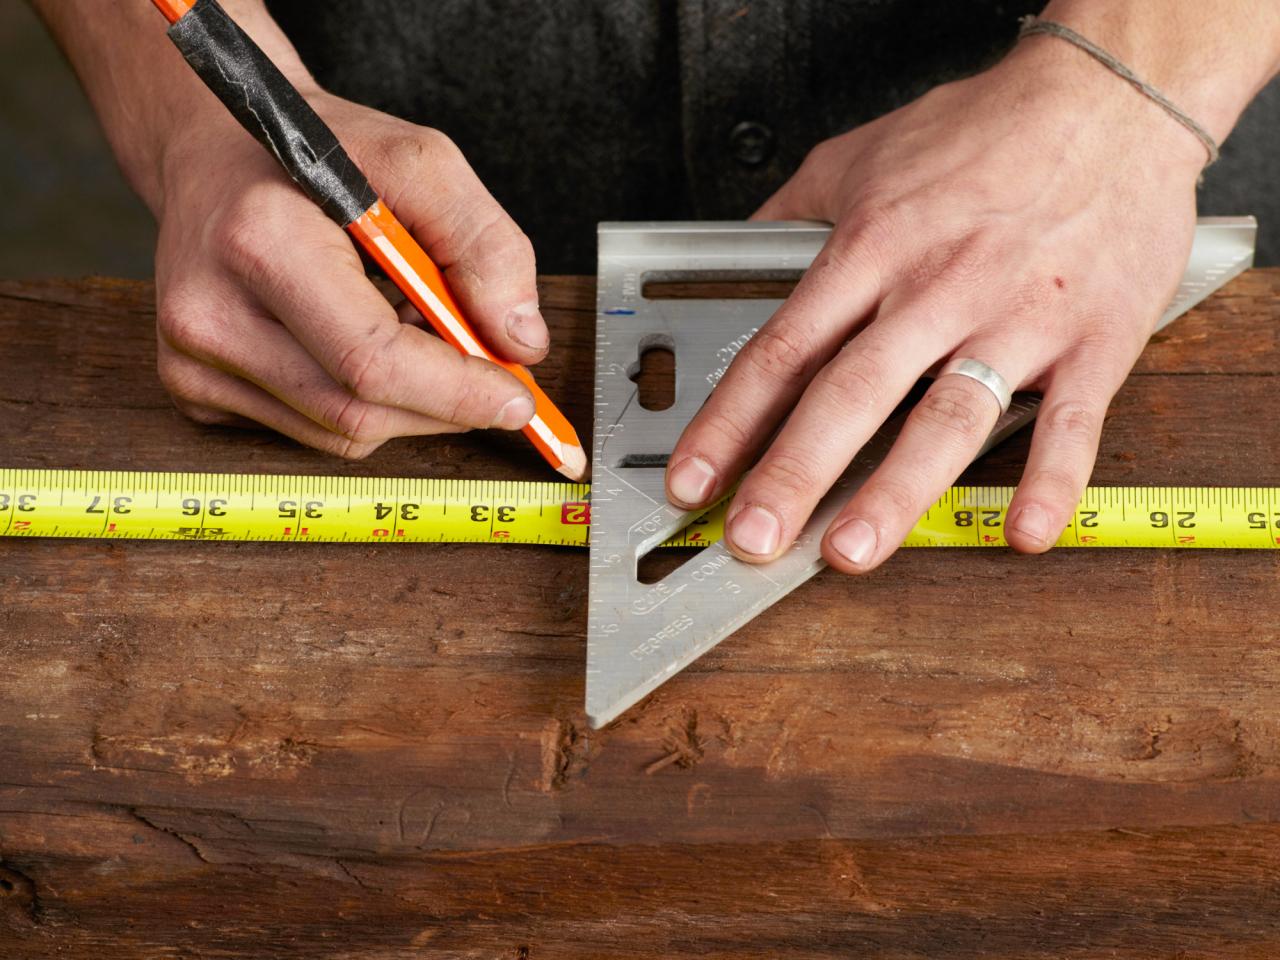
Cut Wood
Measure, mark and cut five pieces of wood at 32 inches. Make sure to clamp down the wood when you cut it with a circular saw.

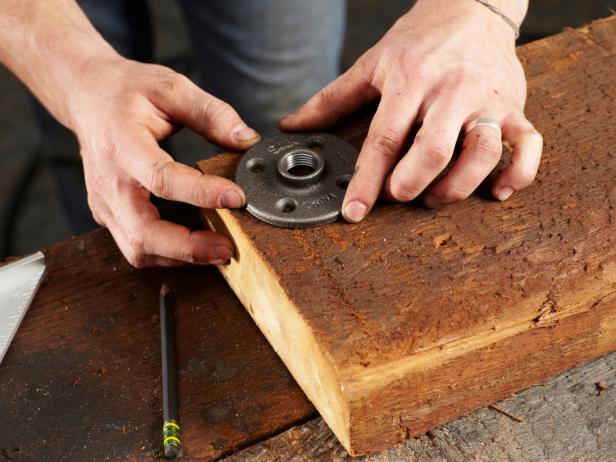
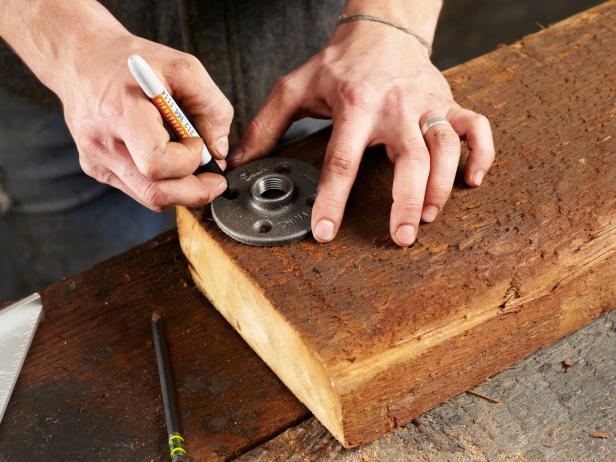
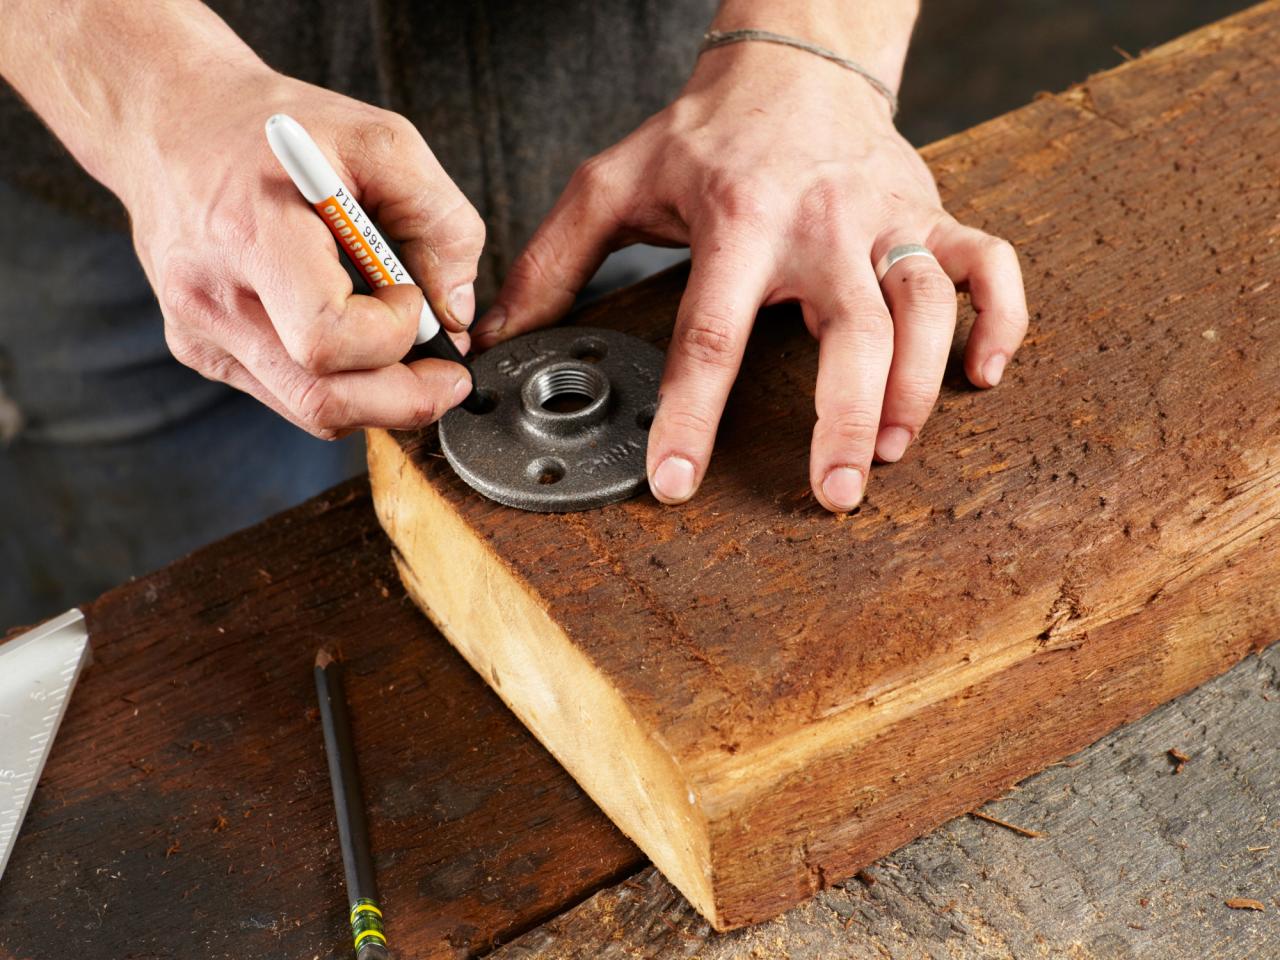
Mark for Flanges
Using a speed square and a pencil, mark one inch in from each corner. Then, pencil in a line vertically at one inch and horizontally at one inch. Lay the flange over the line, making sure the holes are aligned with the lines you've made. Repeat on all four corners. On the center shelves, mark your flange positions on the top and bottom of the wood. For the top and bottom shelves, you only need to mark flange positions on one side.
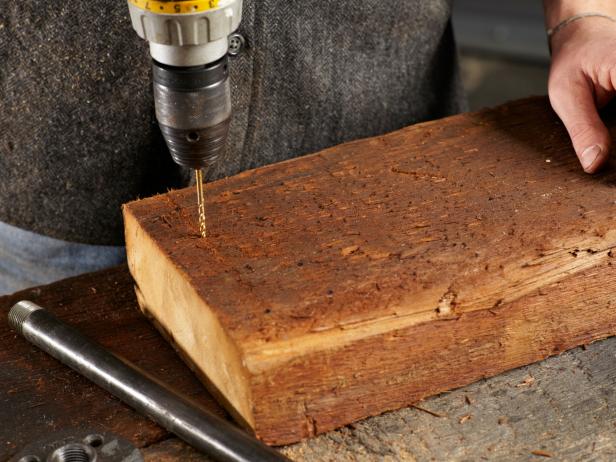
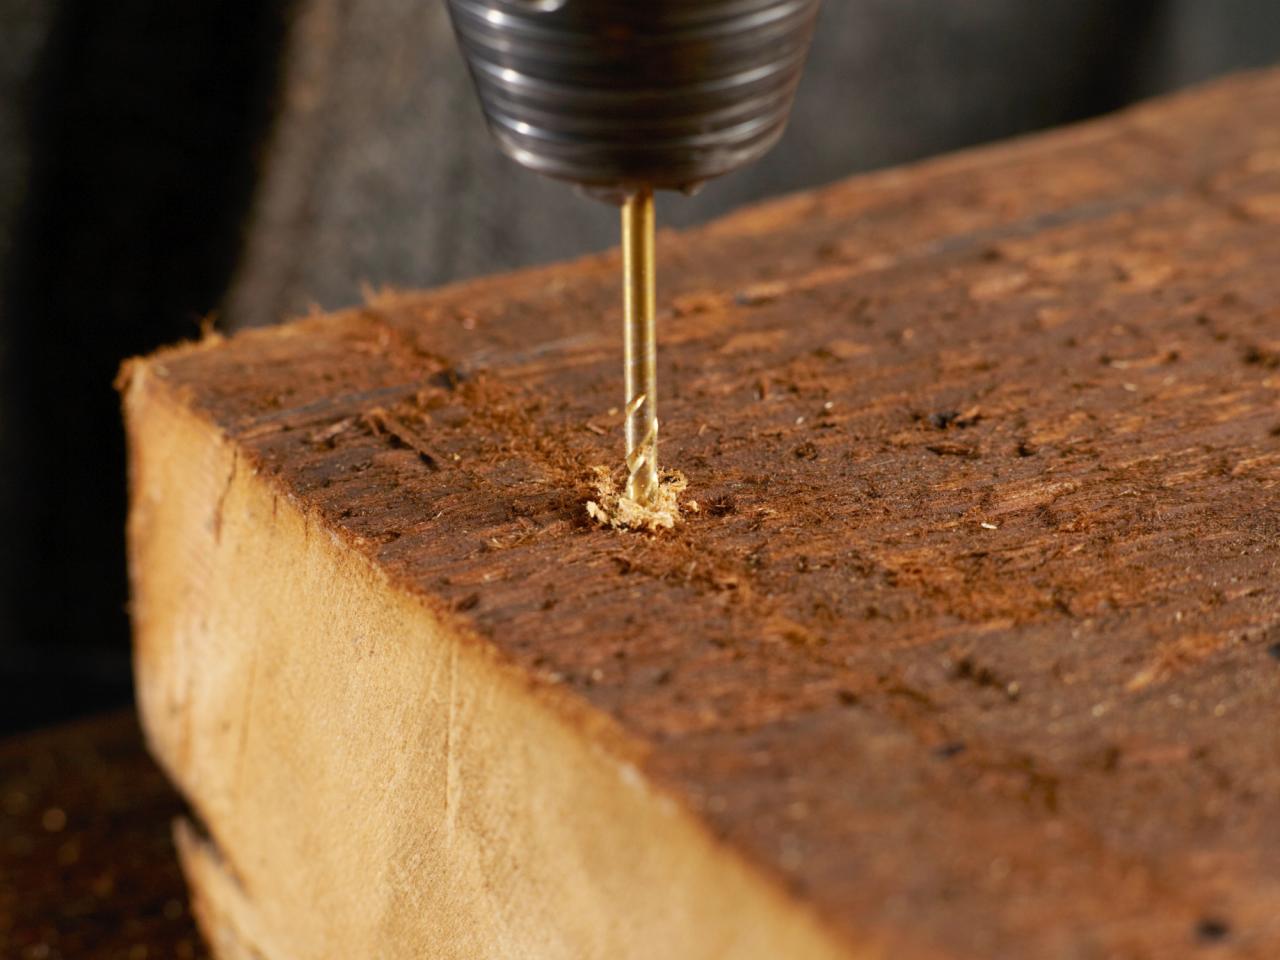
Pre-Drill Holes
Pre-drill holes over each mark for the flange screws.

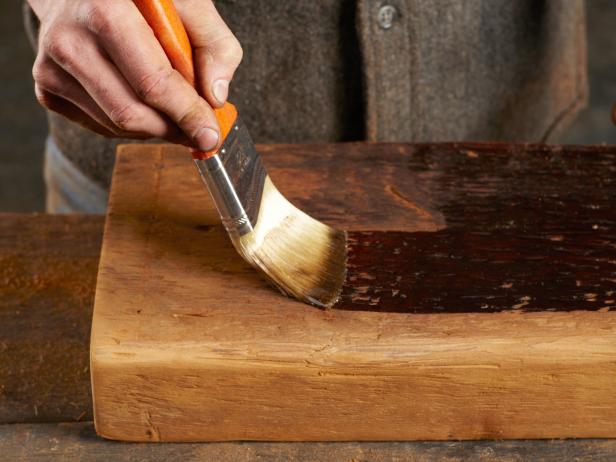
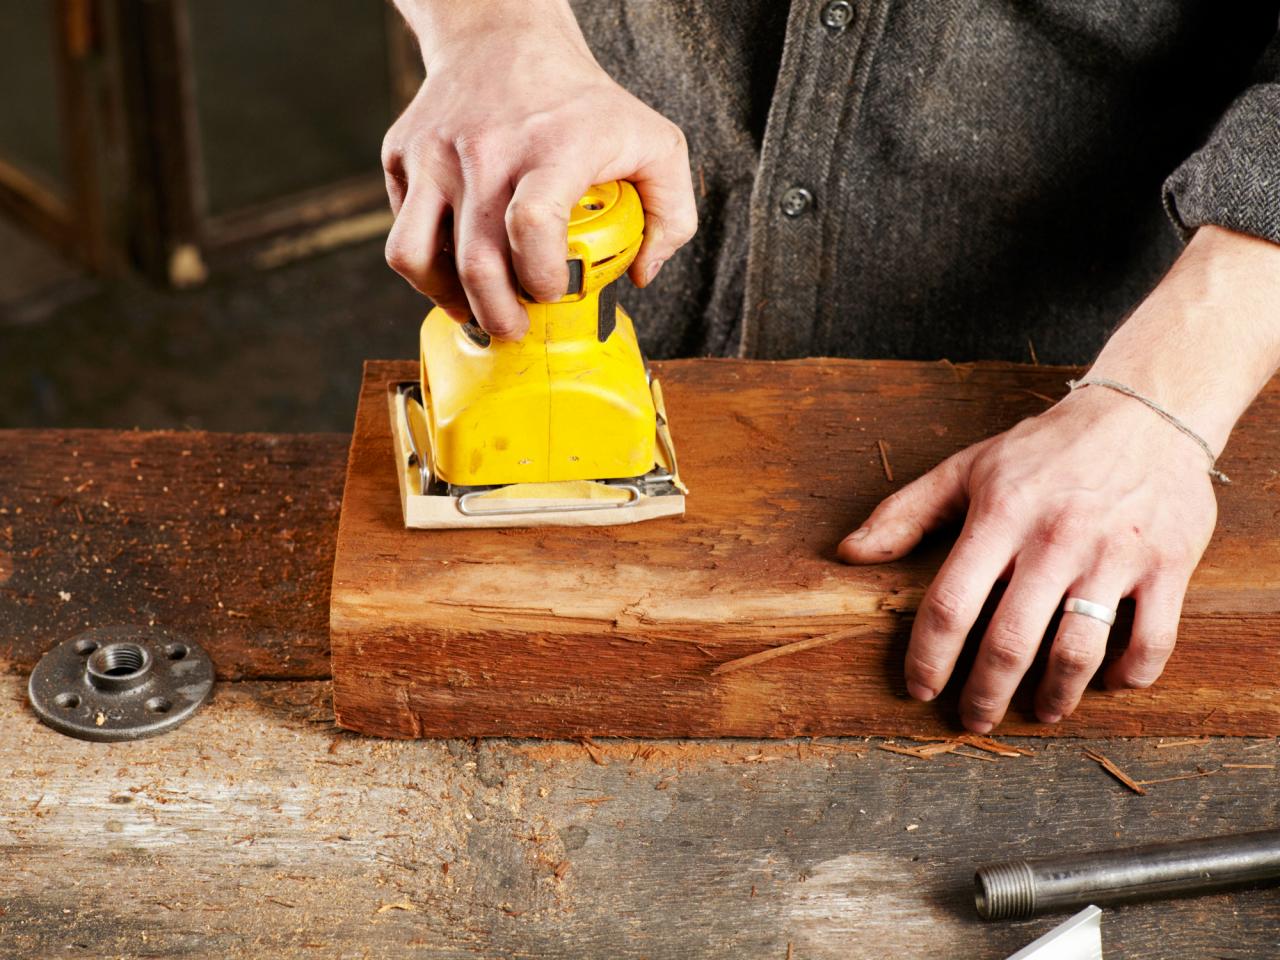
Sand and Stain
Sand the surfaces of all the wood pieces. Stain or paint the wood as desired. Allow the pieces to dry for four to six hours.

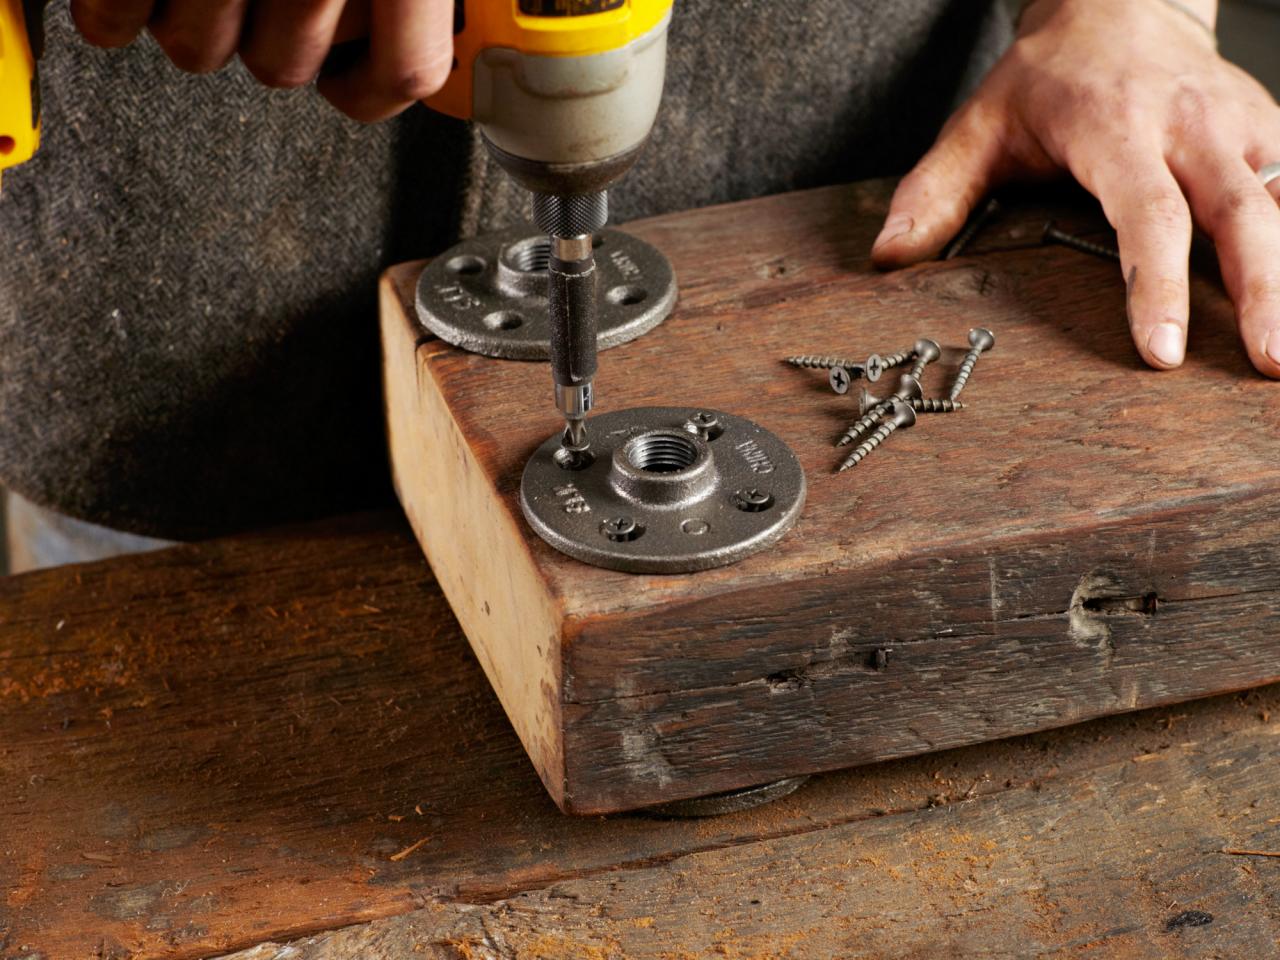
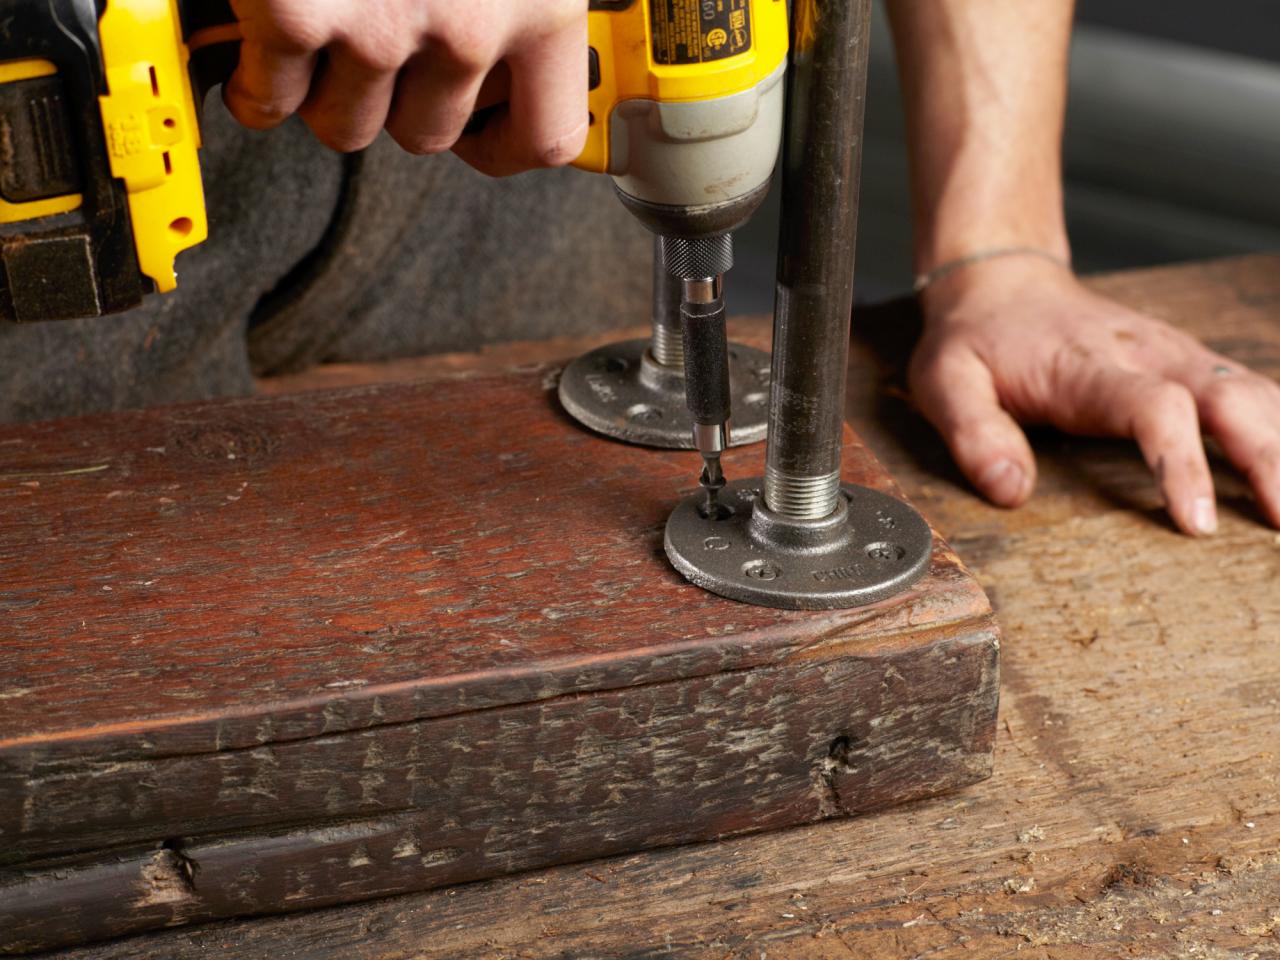
Attach Flanges
Starting with the bottom shelf, screw down each flange. Tip: Do not drive the screws in all the way. Leave a little room to level off the shelf when you attach the galvanized black pipes.

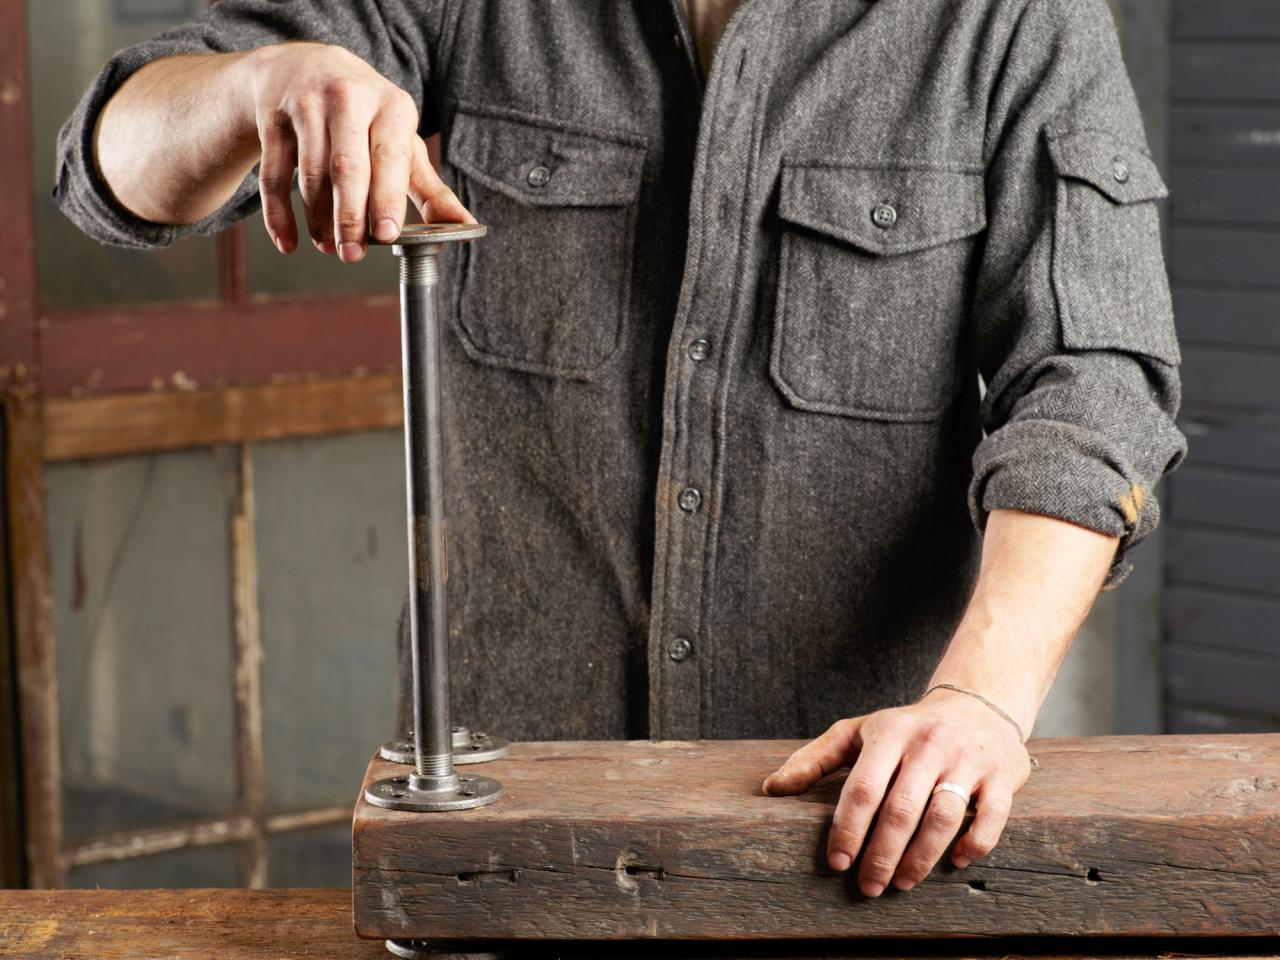
Attach Pipes
Attach the galvanized black pipes into the flanges on the bottom shelf. Tip: For the top flanges, attach them to the pipe first so it will be easier to screw them down to the second shelf.

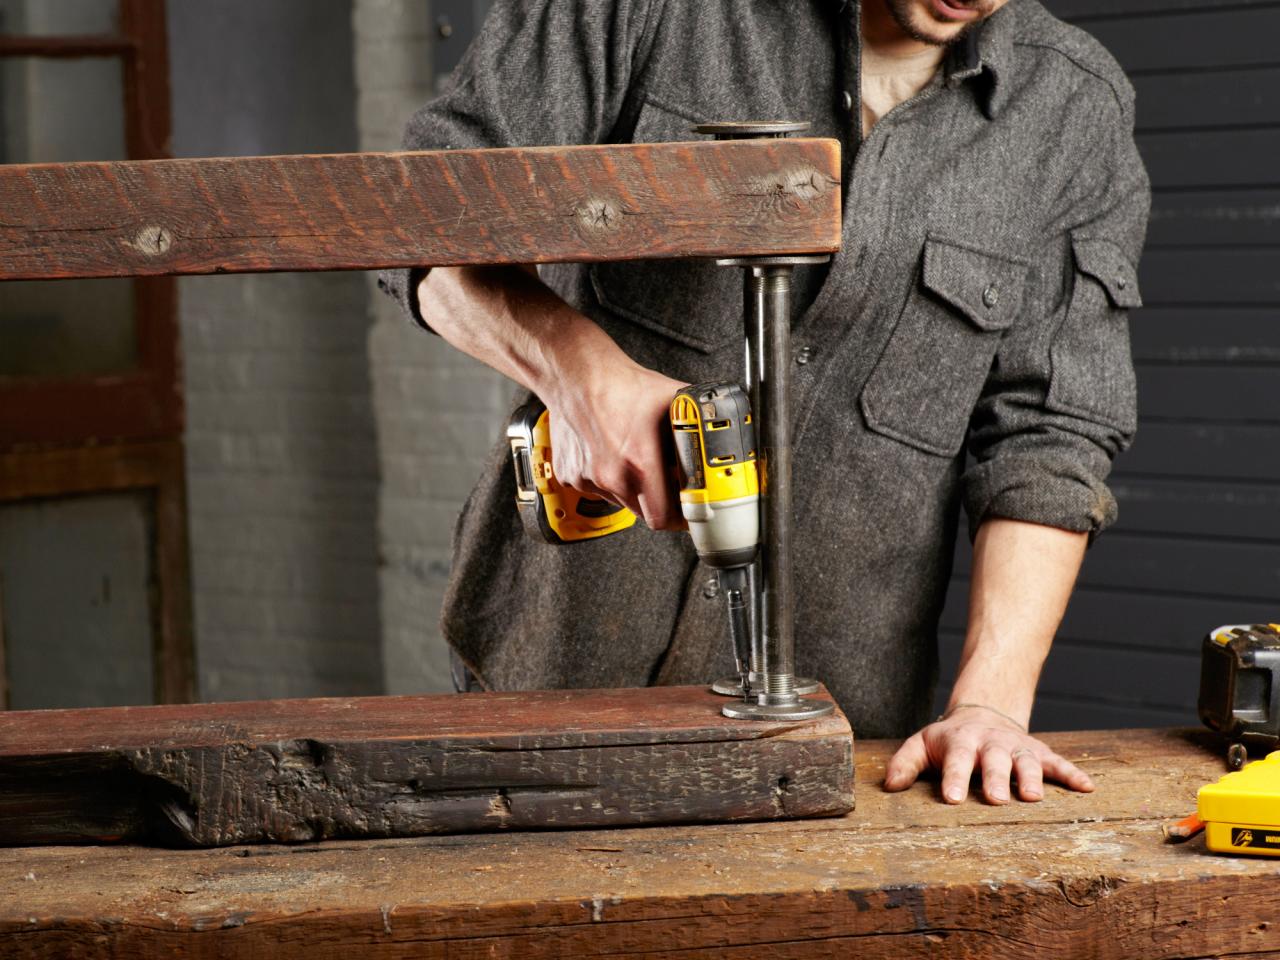
Attach to Next Shelf
Flip the bottom shelf over so it rests on the second shelf. Screw the flanges into place. Tip: You may want to add four flanges positioned upside down on the bottom shelf to provide a level surface for the shelf.

Secure Remaining Tiers
Attach the flanges and galvanized pipes to the remaining tiers. Check to make sure all the screws are tightened down and secure.

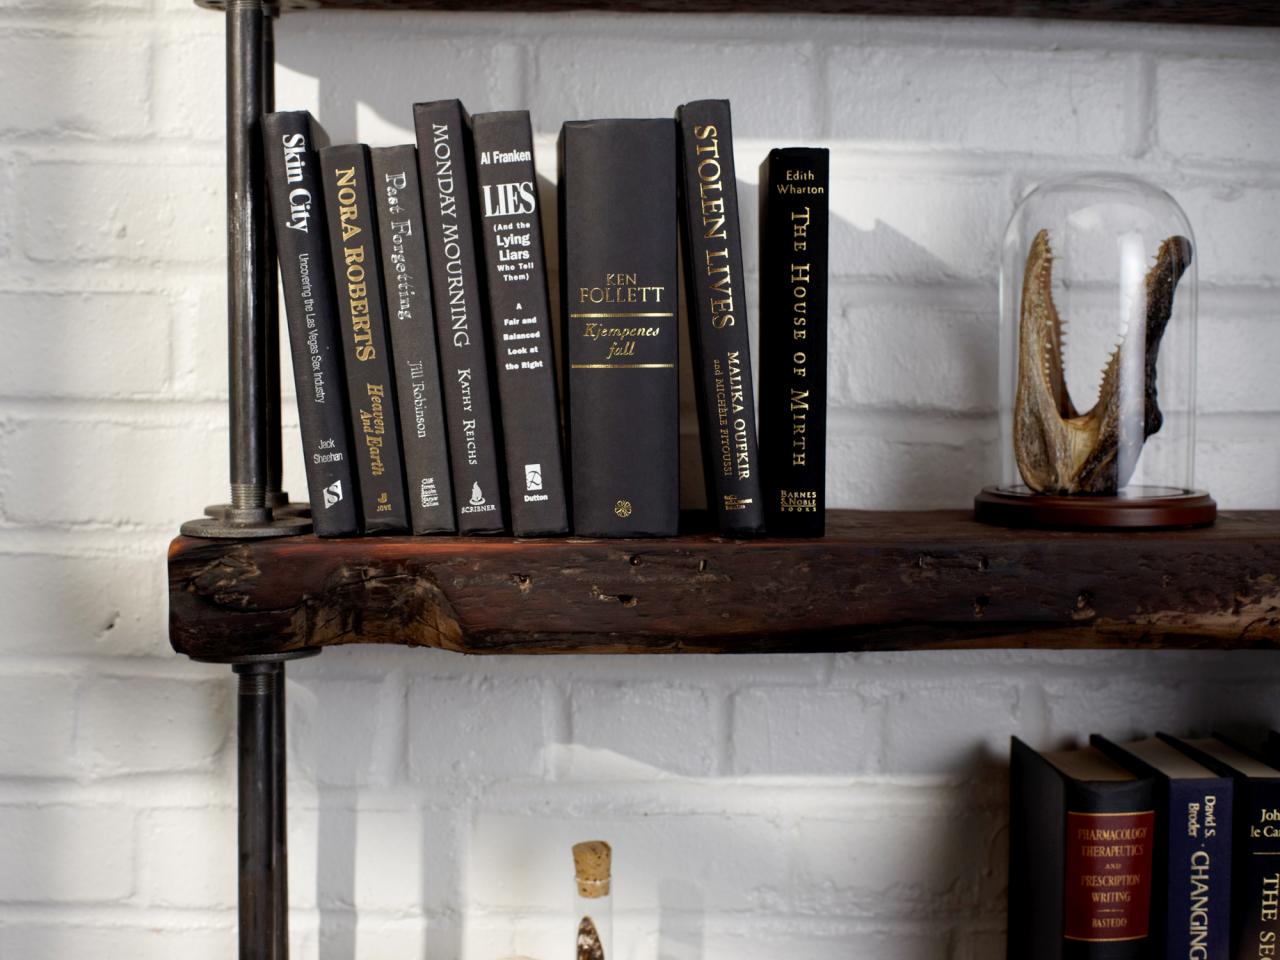
Set Up Bookshelf
Once all the screws are in place, set up the bookshelf in desired location and display favorite books and collectibles.


