


DIY Wood Slice Dessert Stand
Serve your sweets in style with a rustic-meets-glam dessert stand you can easily make yourself.

There’s nothing that can transform the atmosphere of your table and add depth to your setting like a simple dessert stand. Whether you are looking for an affordable, last-minute decor option, or you have been searching for a way to upcycle old candle tins, this is the DIY for you.

Kamron & Ellie Sanders
Materials Needed
- wood slice
- used candle tin
- cleaning cloth
- 1/2" screws
- washers
- drill + drill bit
- screwdriver
Prep Base

Kamron & Ellie Sanders

Kamron & Ellie Sanders

Kamron & Ellie Sanders
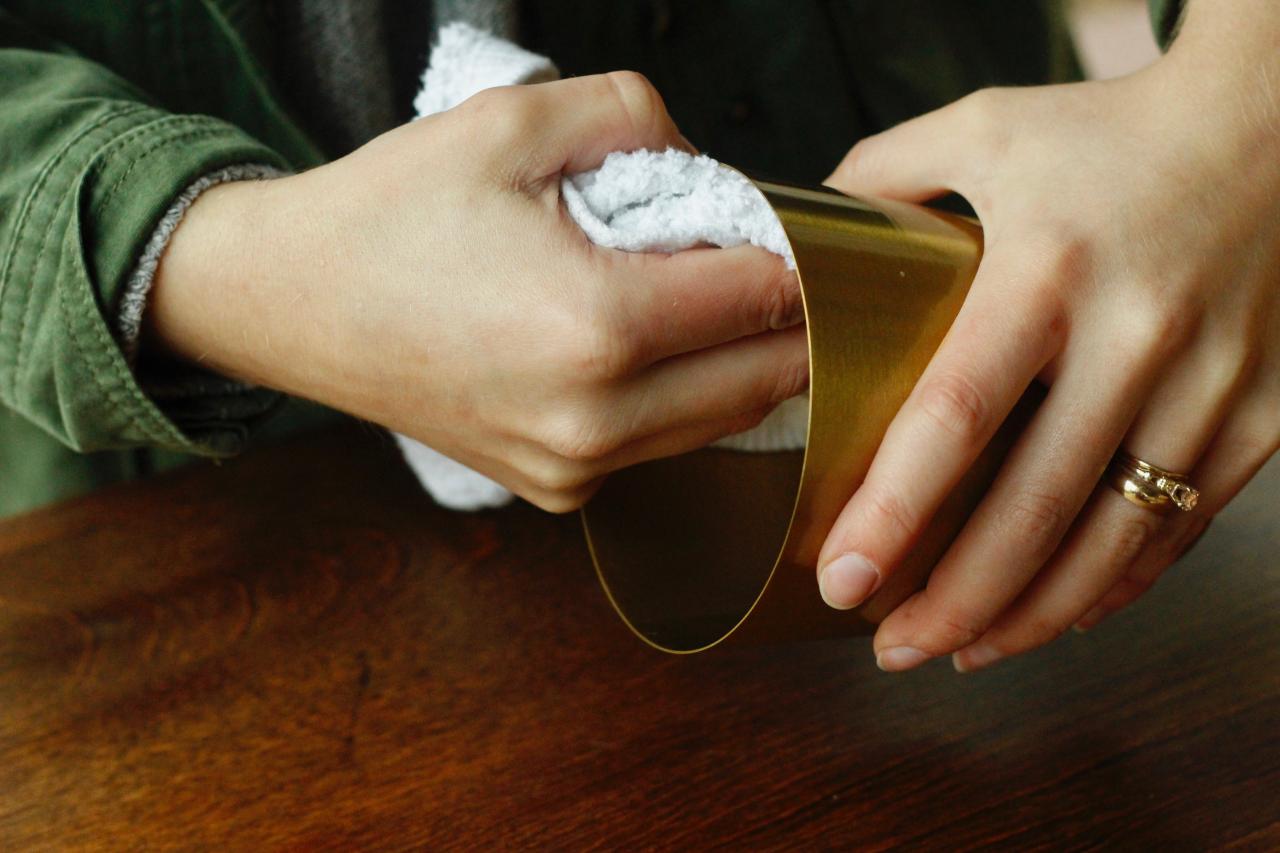
When creating our dessert stand, we chose to use an old candle tin. To prepare the tin for use, start by ridding the container of all remaining wax. The most efficient way to do so is to freeze the tin. After freezing for several hours, the wax will simply fall out of the container. Wipe out any lingering wax residue or soot with a cloth. Any persisting labels should also be removed so that you have a clean base to build from.
Pro Tip: Although we chose to upcycle an old candle, a wooden pedestal, inexpensive candlestick or anything similar would also work well.
Prep Top
Kamron & Ellie Sanders

Kamron & Ellie Sanders
To create the top, find a round, level piece of wood at least as large as the average Bundt cake. We purchased our top pre-stained and sanded, but you can also cut and cure your own. Just be sure to sand it well and seal with a thin layer of butcher block oil every now and then. If you would prefer to purchase your wood slice, they can easily be sourced from craft and home goods stores. Remember to remove any stickers or rubber feet from the underside of your purchased wood slice.
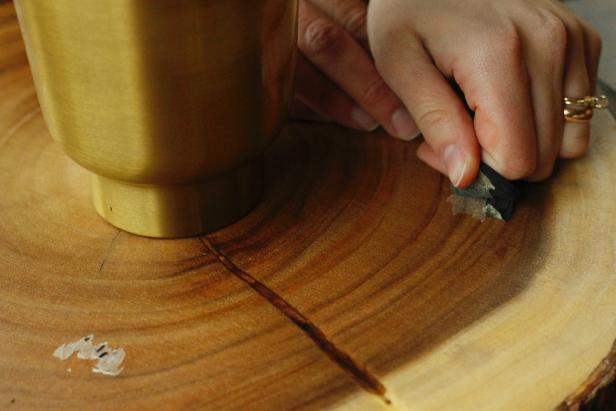
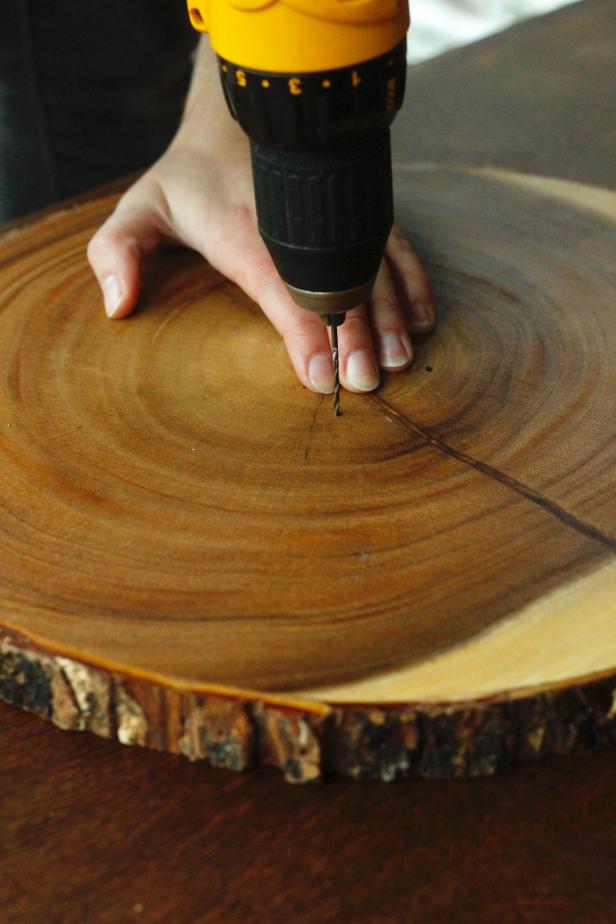
Drill Holes

Kamron & Ellie Sanders

Kamron & Ellie Sanders
Kamron & Ellie Sanders
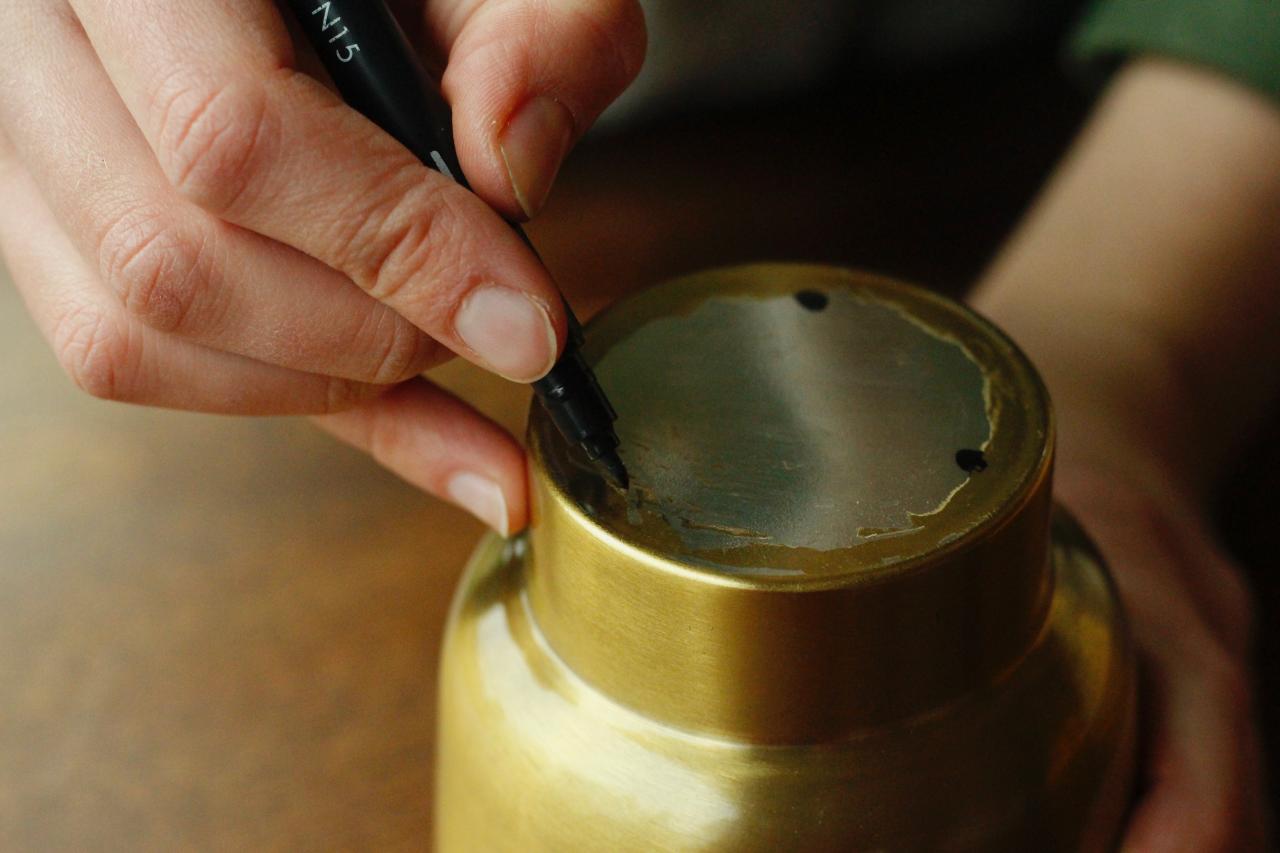
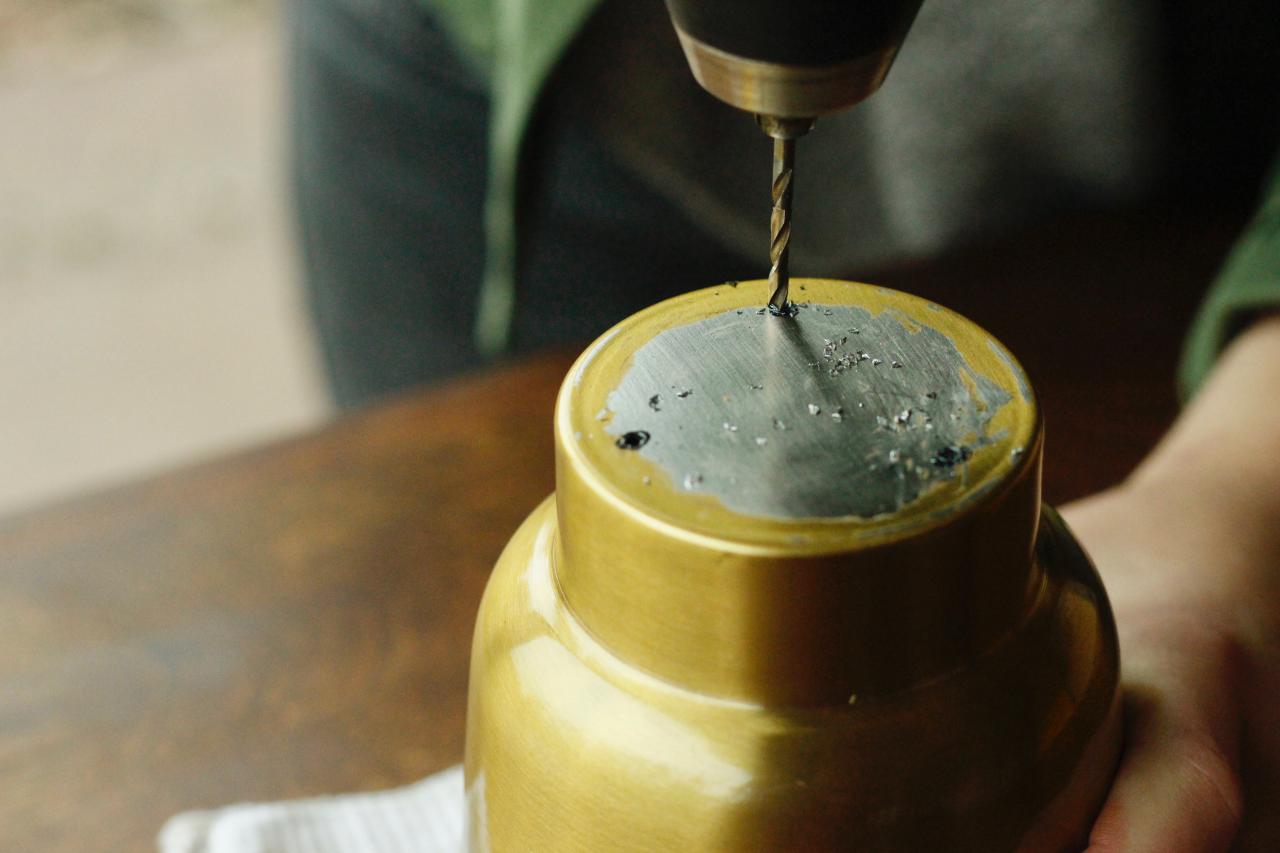
Once you've found the perfect base and top, it's time to assemble your fortress of fondant. On your base, mark three evenly-spaced dots for drilling. Drill through the base, and then place the top upside down on a flat surface. Using your base as a stencil, mark the three holes on the bottom center of your top. Drill shallow holes to ensure a proper path for your screws.
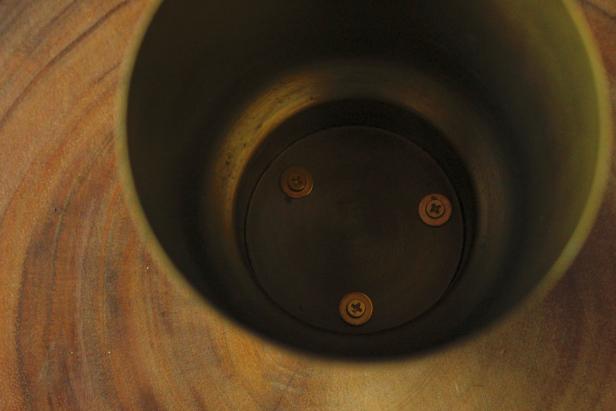
Complete Stand

Kamron & Ellie Sanders
Kamron & Ellie Sanders

Kamron & Ellie Sanders
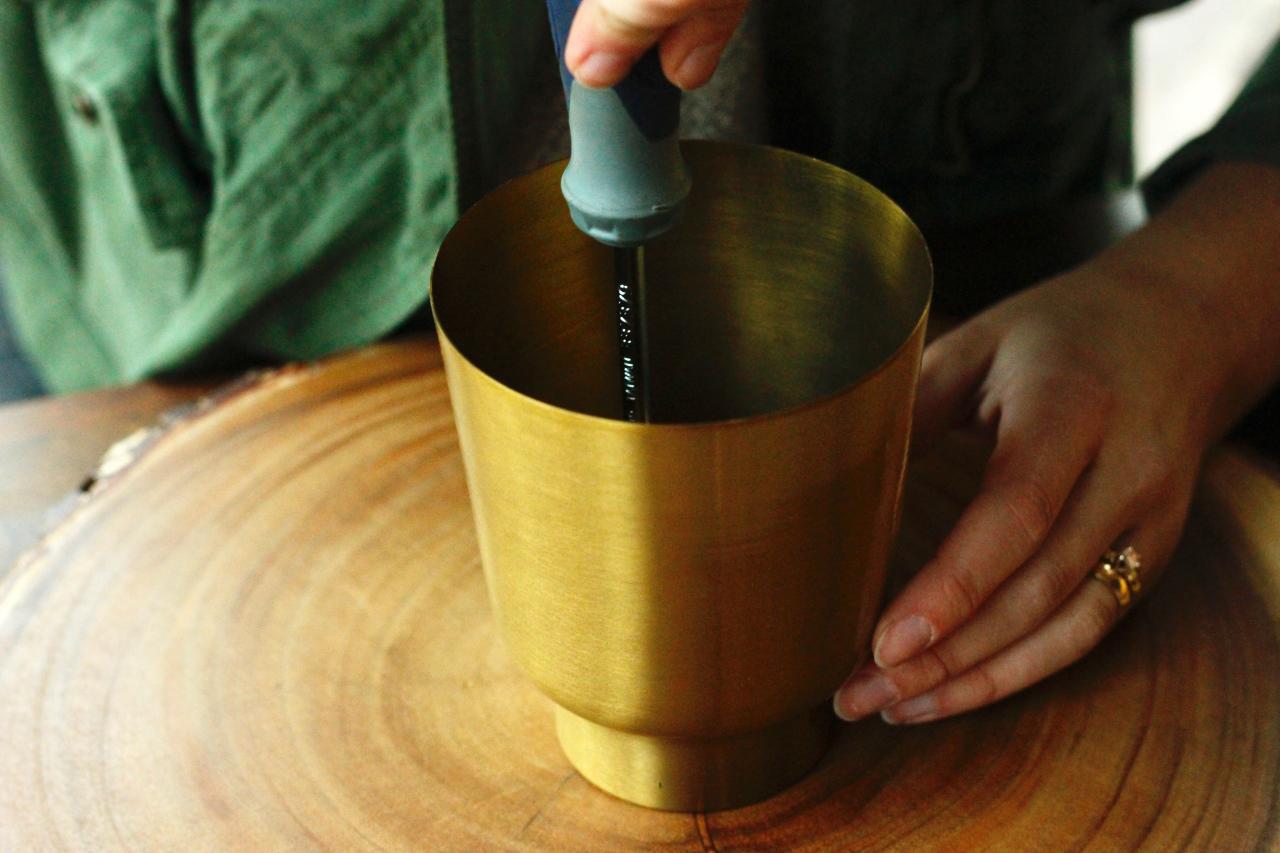
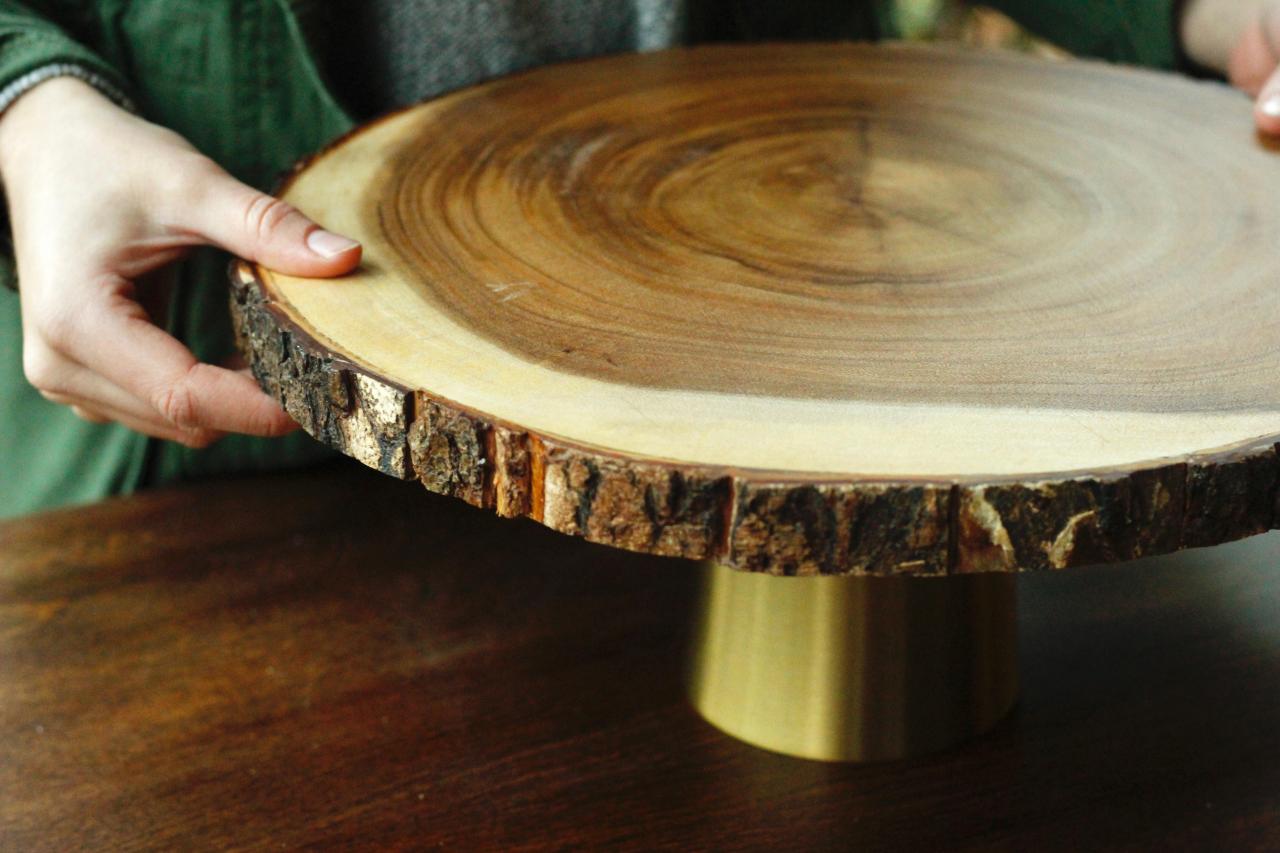
Make sure the drilled holes are aligned, and set the base on top of the wood slice. Insert the screws into the holes and tighten. We chose a screwdriver rather than our drill to account for space restrictions, but also for the control it gave us with the delicate wood. You may also want to add a washer between the screw head and the base to provide additional support and restrict any potential movement. Once attached, turn the stand upright to make certain that the pieces are fully secured to one another. Add more screws if needed.
Set the Stage

Kamron & Ellie Sanders
Whether you are setting the scene for a large family gathering or setting the table for an intimate dinner, a dessert stand like this can transform your space entirely. After placing the stand in the center of the table, use some simple greenery and festive blooms to build a floral tablescape out from the dessert stand. When not in use, consider using your dessert stand elsewhere. An elevated stack of books in a study or a display of candles in varying heights and styles are two creative options that are sure to make a statement.


