


How to Make DIY Reusable Produce Bags
Make a sustainable change by crafting your own reusable produce bags to bring to the grocery store or farmer’s market. This is an easy sewing project, perfect for DIY beginners who are just learning how to use a sewing machine.

Karen Kavett

Skip plastic and paper bags at the grocery store and put your sustainable crafting skills to use by making these DIY reusable produce bags. Whether you're new to sewing or are a seasoned vet, this easy sewing project will help you save money and the environment.
Materials + Supplies
- cotton and/or mesh fabric
- scissors
- ruler
- sewing machine
- pins or sewing clips
- macramé cord
- safety pin
Cut Your Fabric
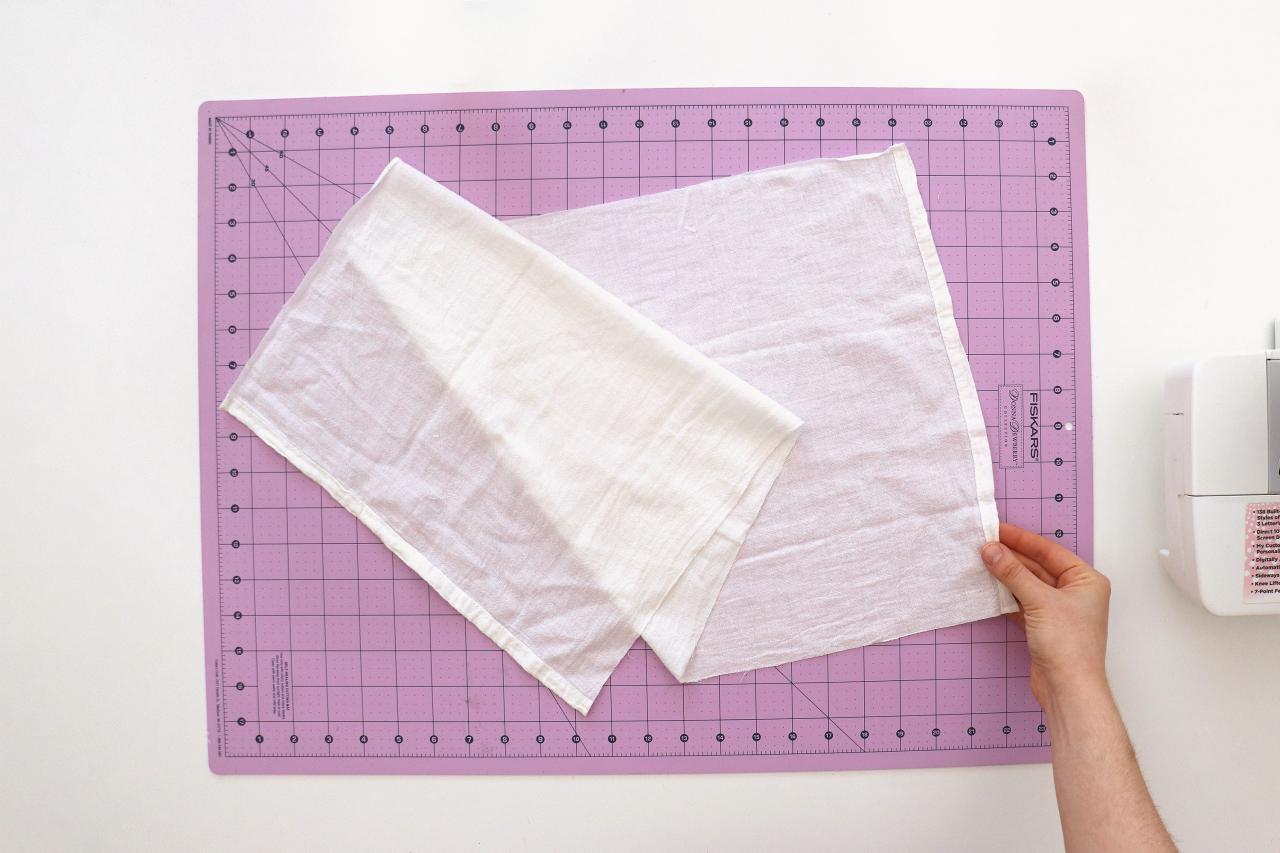
Cut your fabric into a long rectangle. Ours measures 28 x 14 inches, but you don’t need precise measurements for this project. You can make bags in a variety of sizes based on the type and amount of produce you buy.
Keep in mind that you should use a material that doesn’t fray when cut. We’re repurposing a cotton dish towel for our example.

Karen Kavett
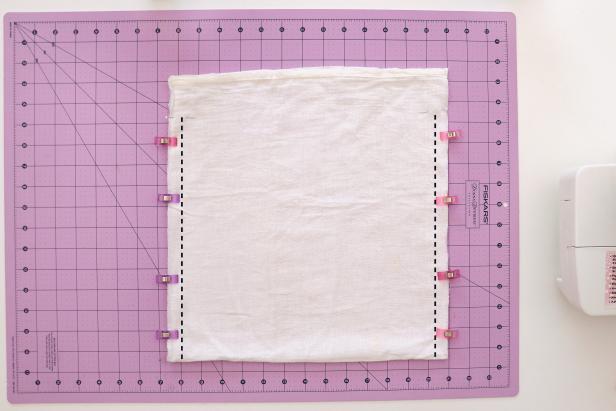
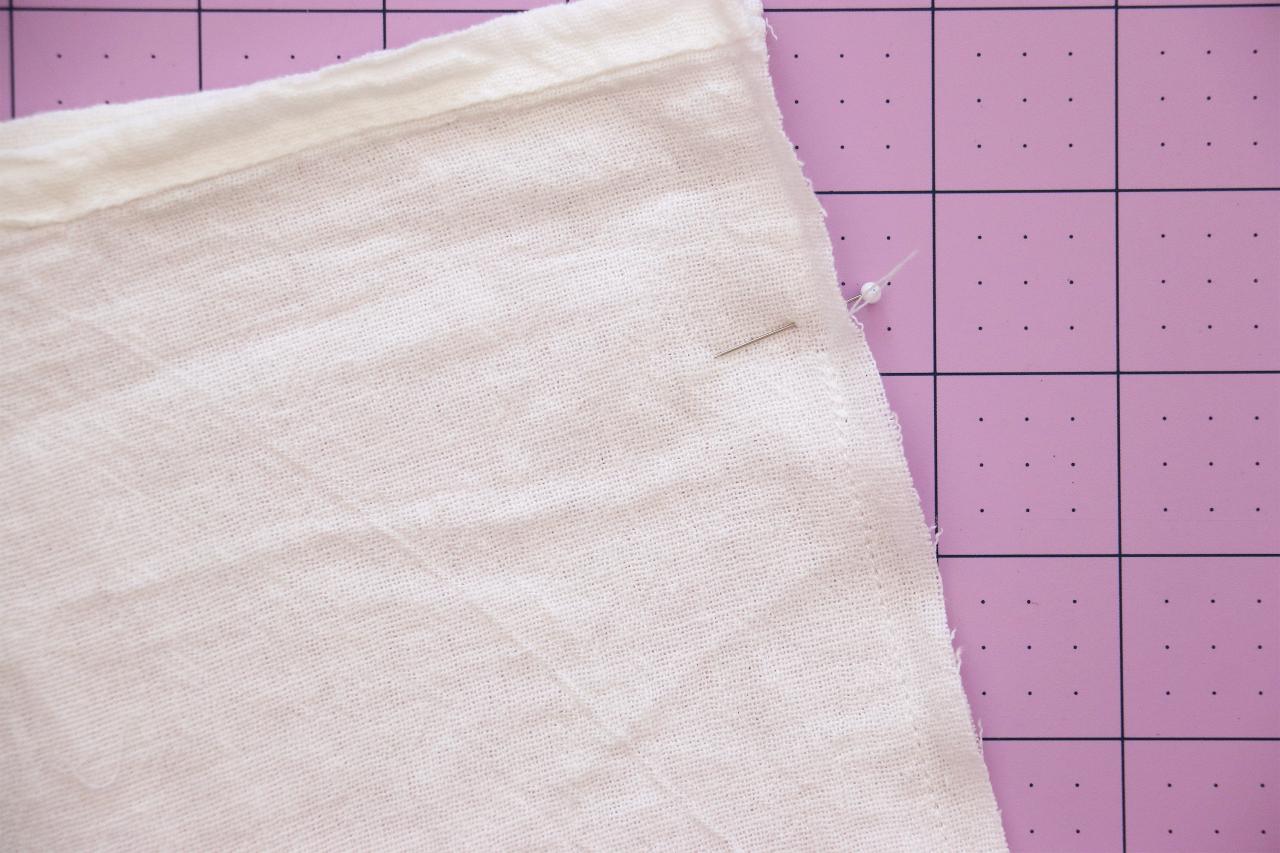
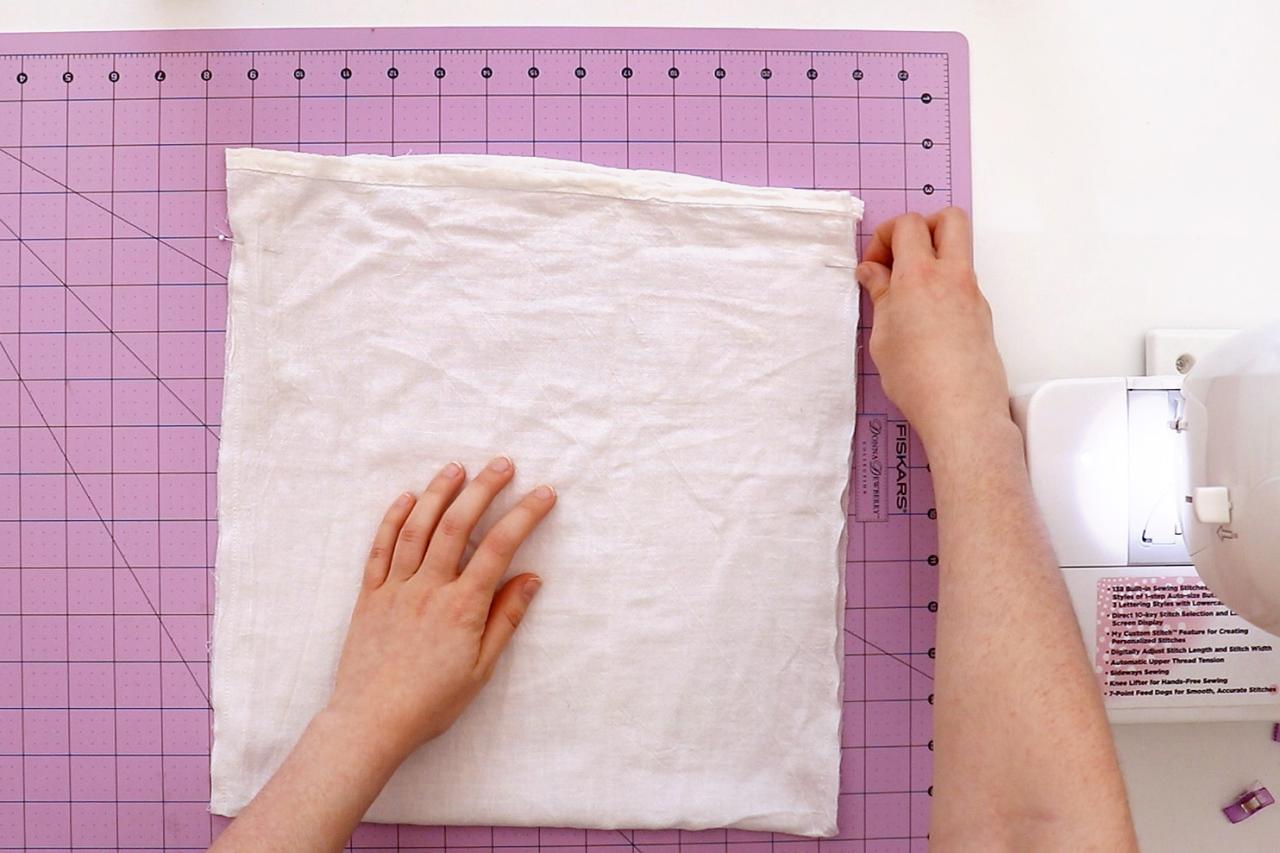
Place Your Pins
Fold your fabric in half with the right sides facing each other and pin or clip in place (Image 1). Leave 2 inches unpinned at the top and mark this spot with a pin (Image 2).

Karen Kavett

Karen Kavett
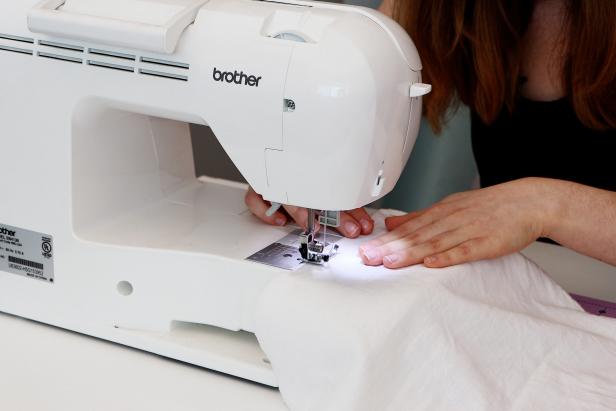
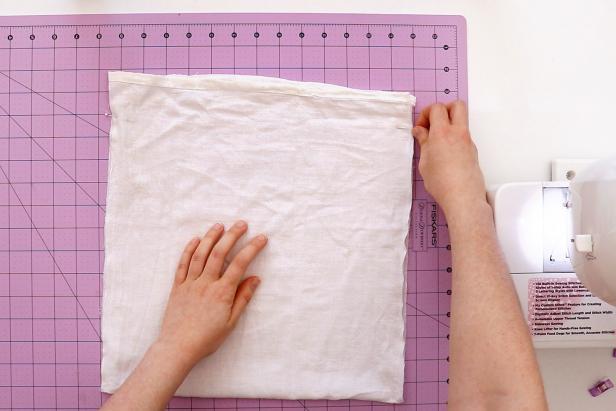
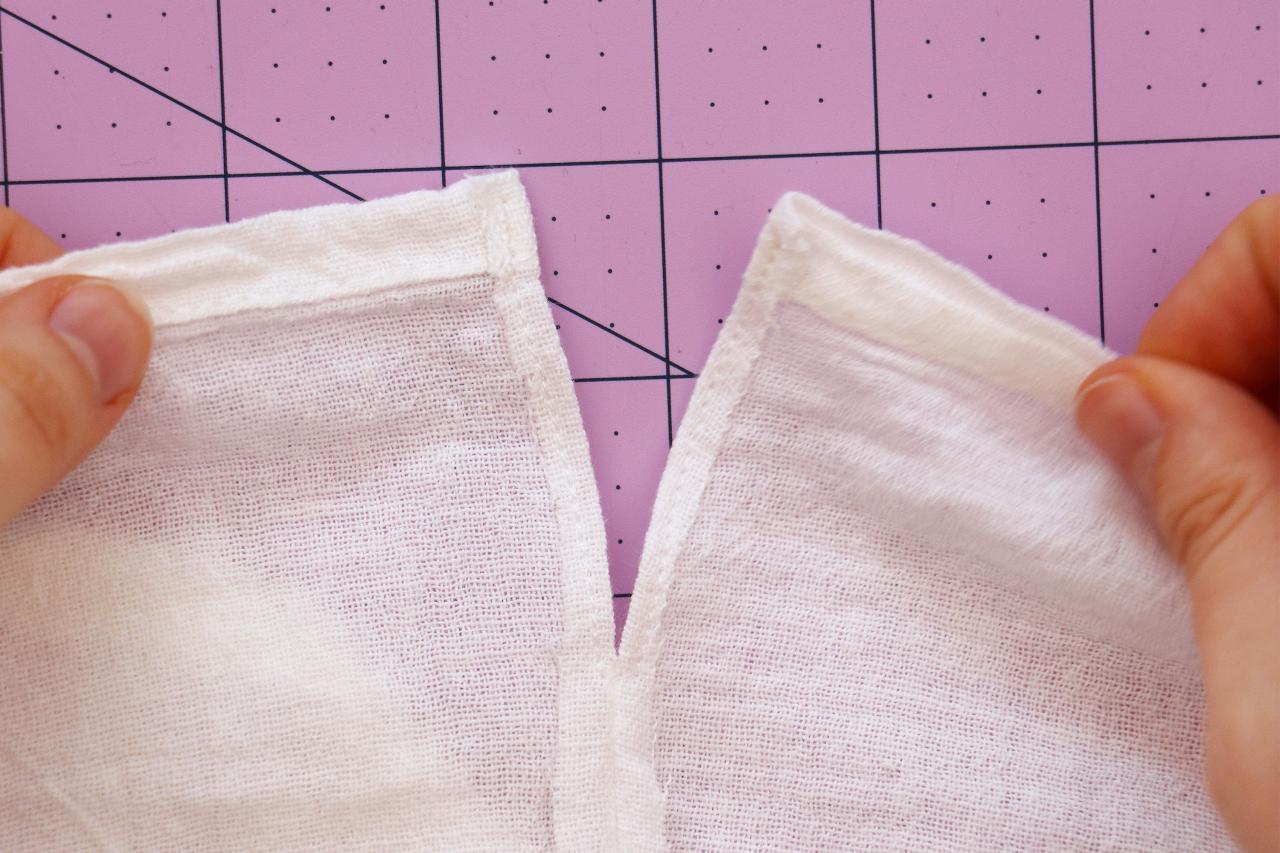
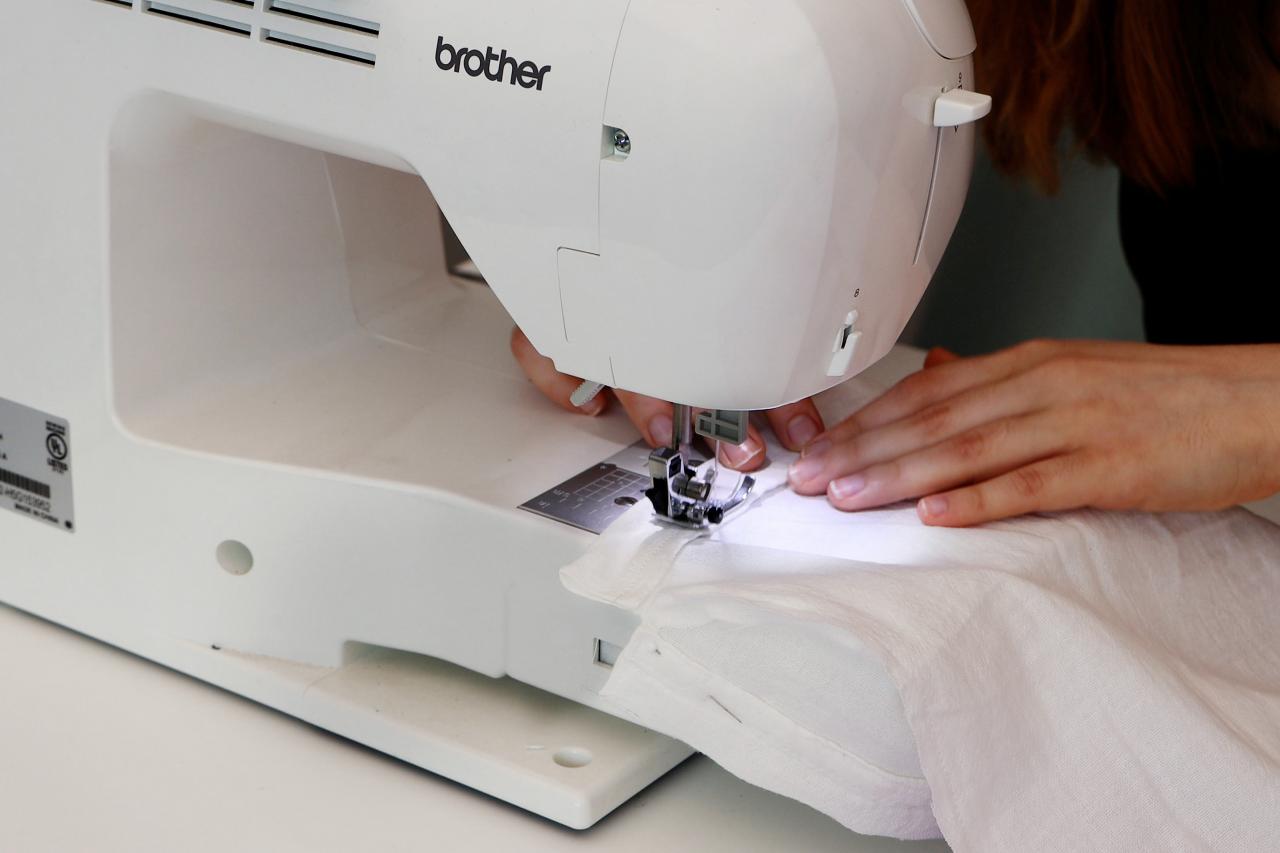
Start Sewing Your Reusable Produce Bag
Sew up each side, stopping at the pin so you leave the top 2 inches open (Image 1 - 3). Remove the pins (Image 4).
Karen Kavett
Karen Kavett

Karen Kavett
Karen Kavett
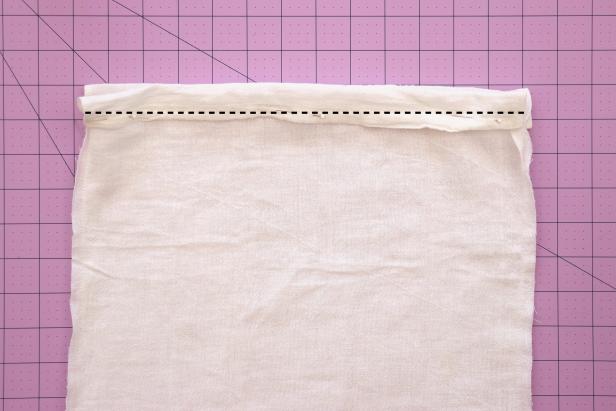
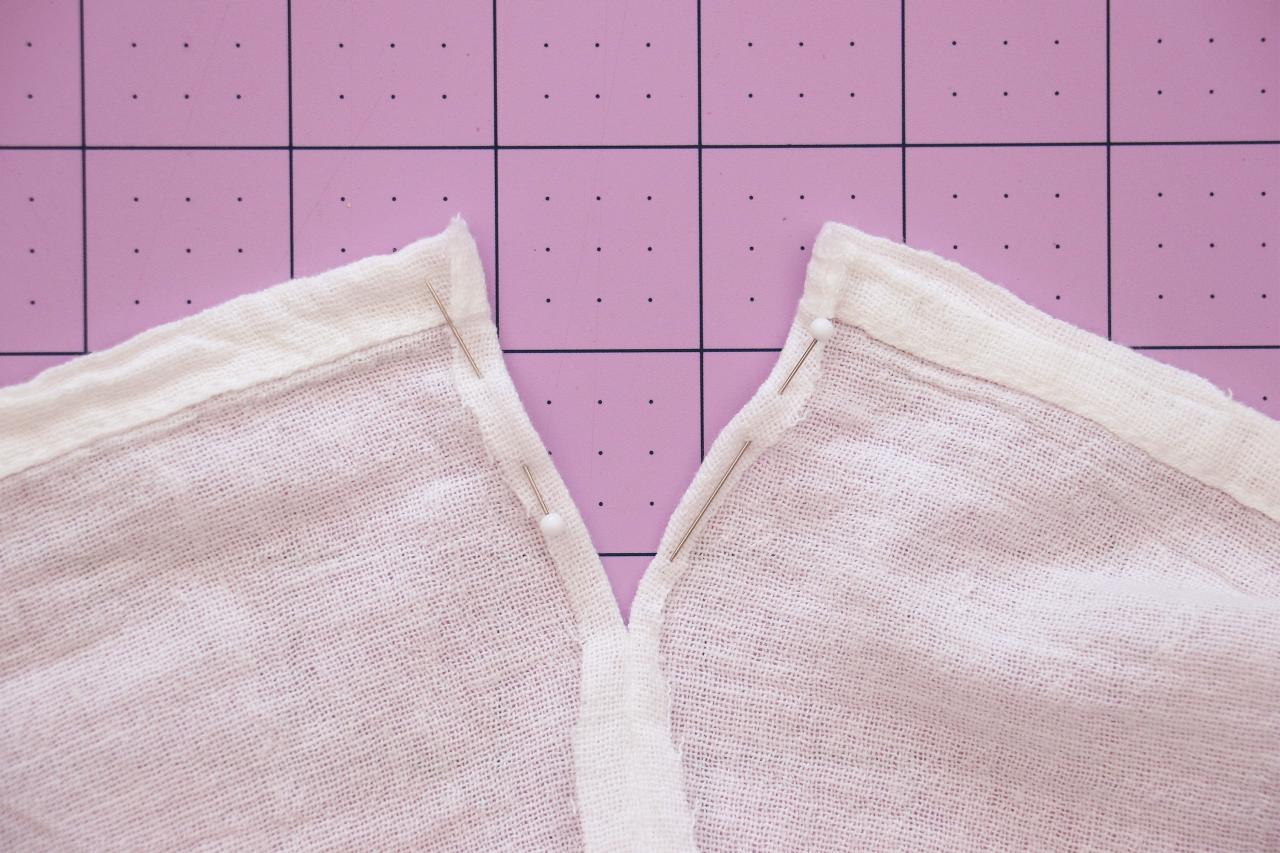
Line Up the Fabric With the Side Seam
Use your fingers to lay the side seam flat, and then pin the remaining fabric on each side so they line up with the side seam (Image 1 + 2). Sew around this V shape. Repeat on the other side (Image 3 + 4).

Karen Kavett

Karen Kavett
Karen Kavett

Karen Kavett
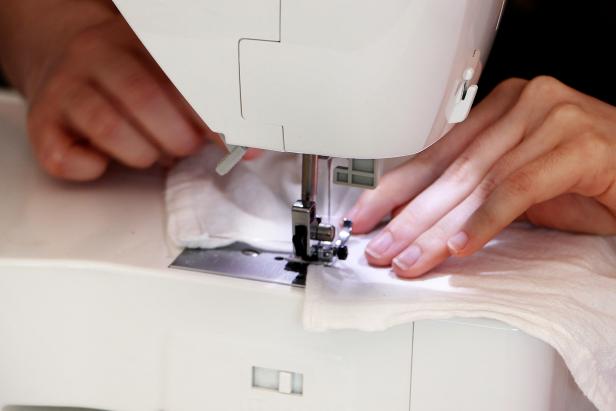
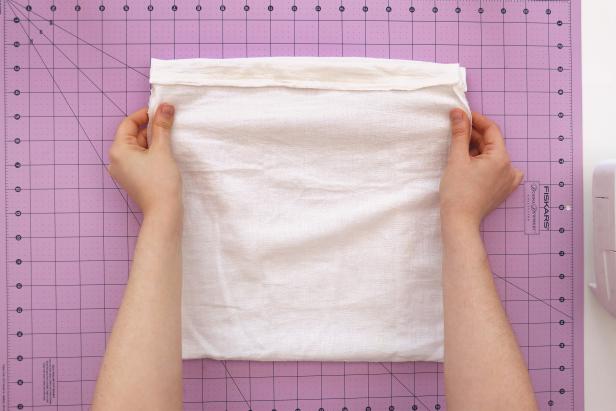
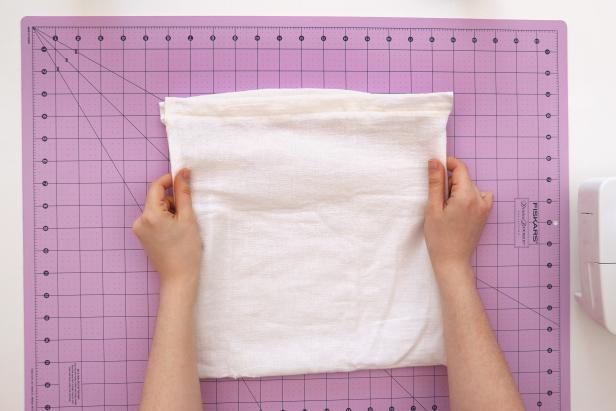
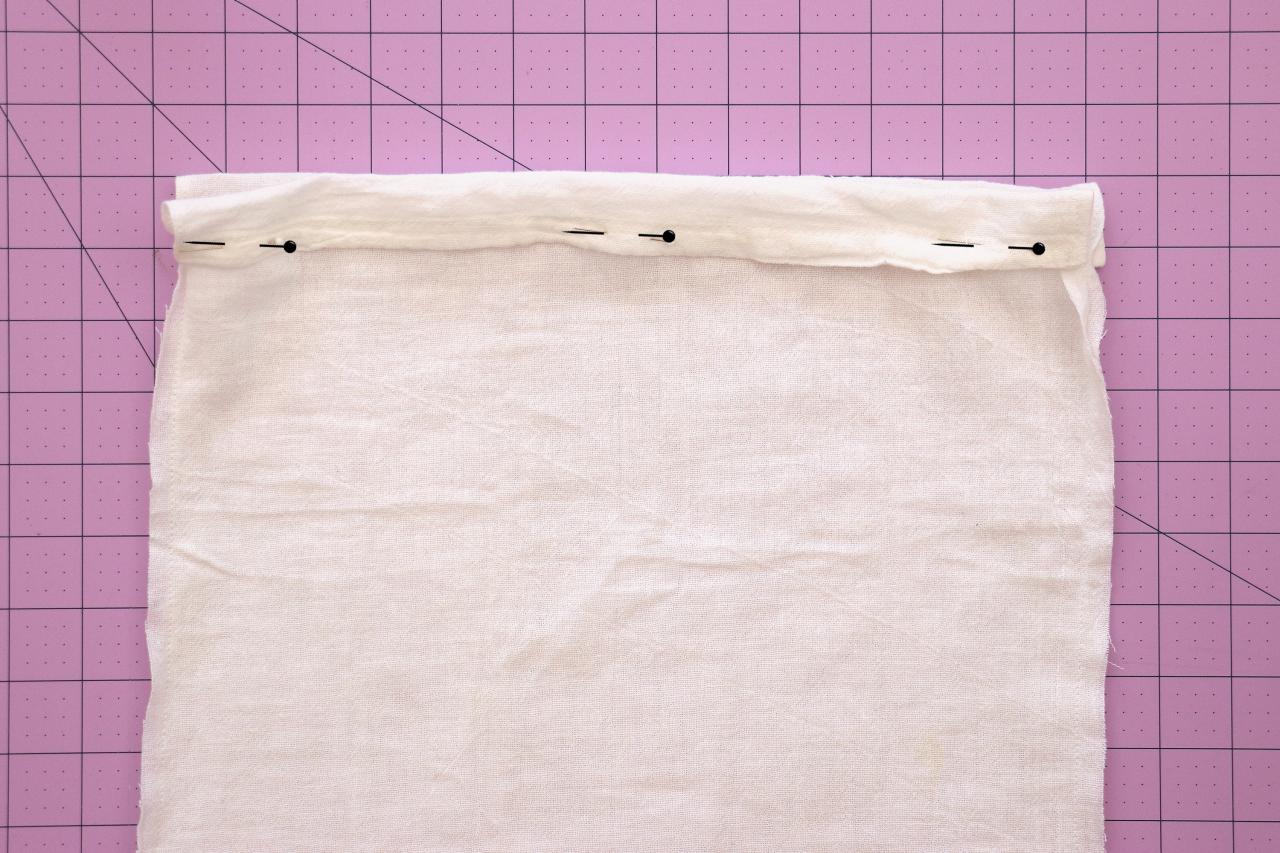
Fold and Sew
Fold down the top inch of the bag so it lines up with the split in the fabric. Pin or clip in place and sew it down (Image 1 - 3). Repeat on the other side (Image 4). Turn your bag inside out (Image 5).

Karen Kavett
Karen Kavett

Karen Kavett
Karen Kavett
Karen Kavett
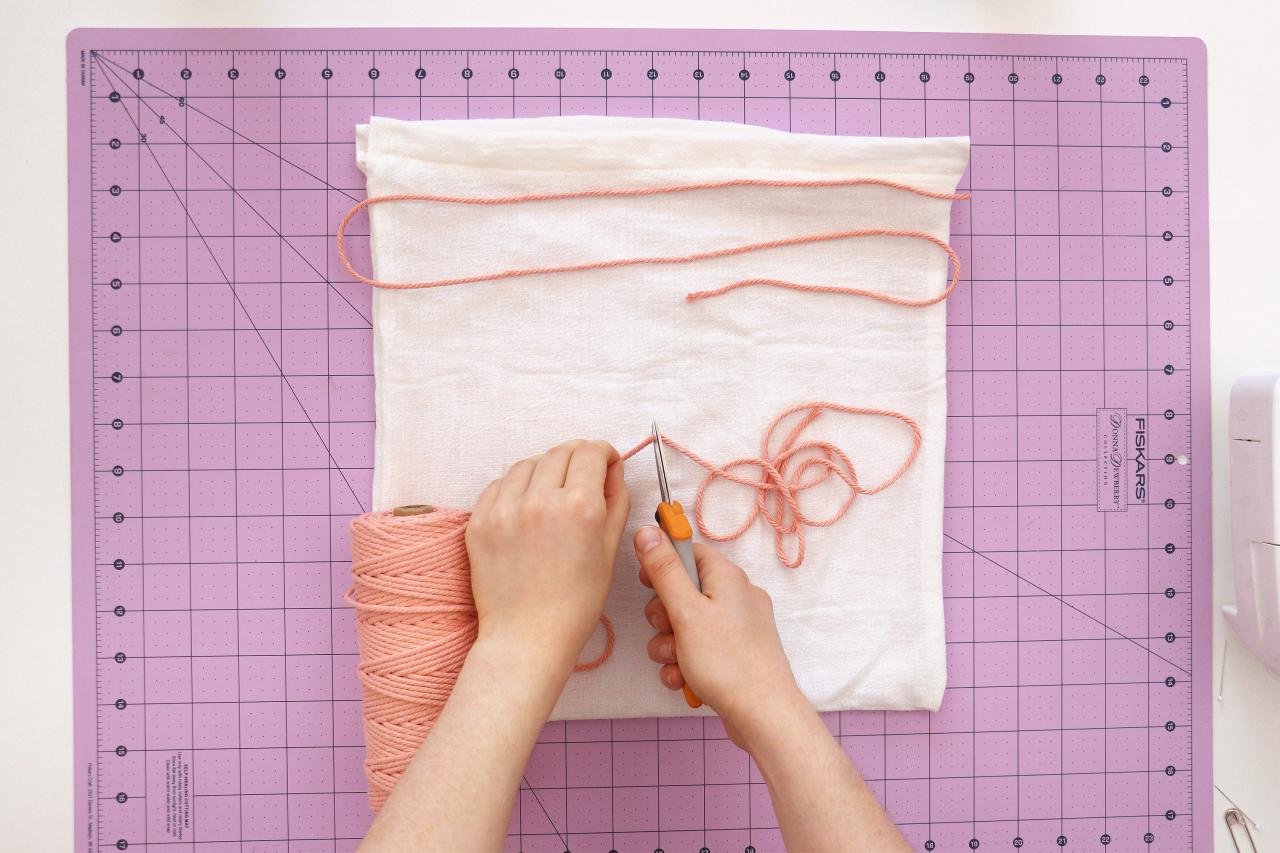
Cut the Cord
Cut two pieces of cord that are each about 8 inches longer than double the width of the bag. For our 14-inch-wide bag, our cords were 36 inches. If you don’t have macramé cord, feel free to use shoelaces or any thick string you already have.

Karen Kavett
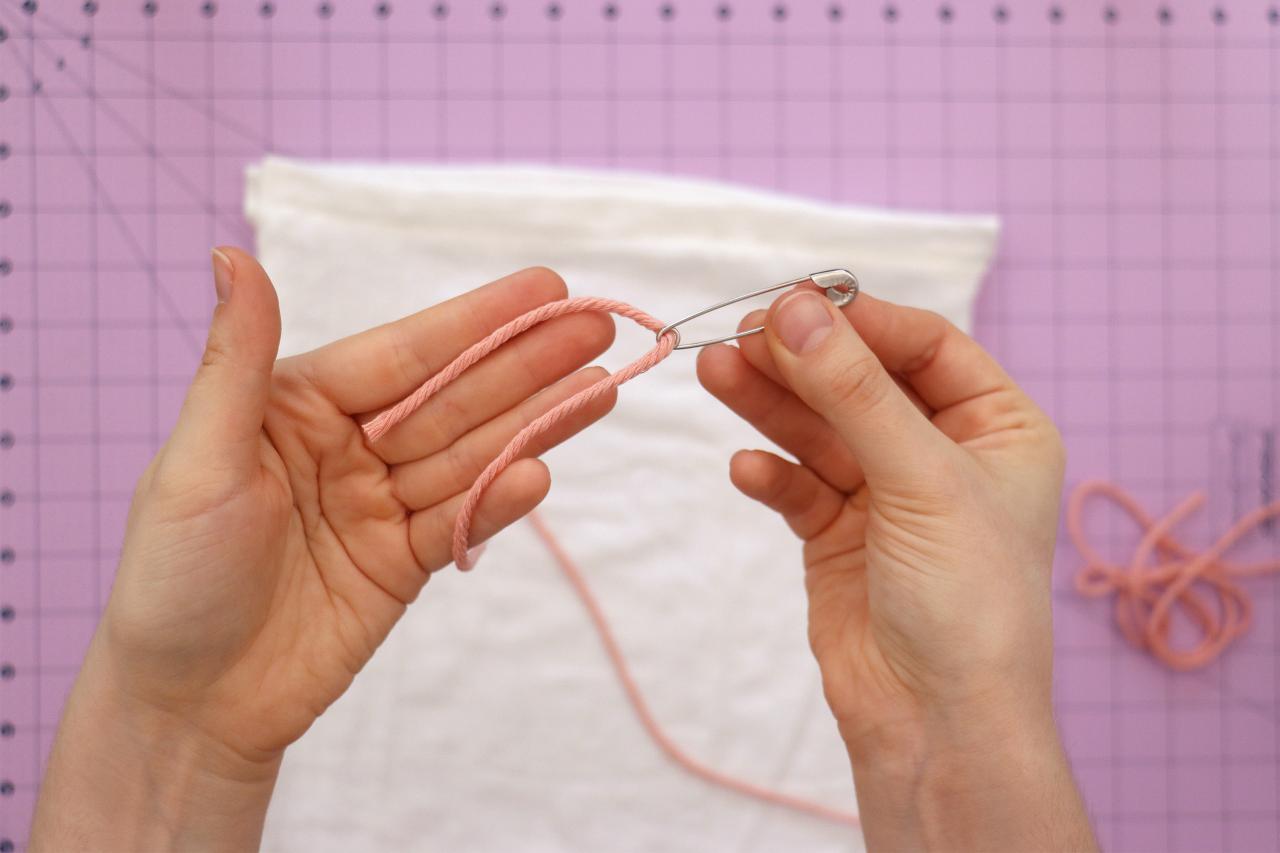
Place Your String
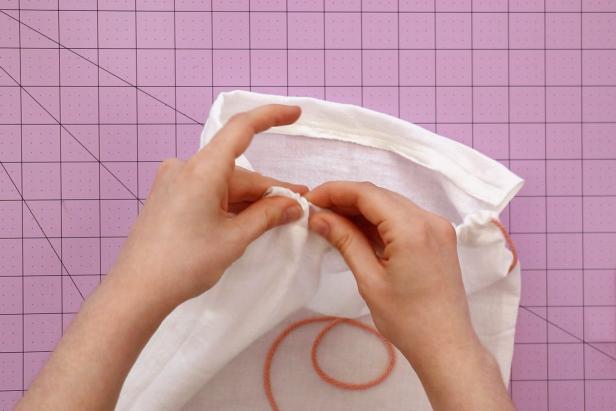
Push one piece of string through a large safety pin and feed it all the way around the bag (Image 1 + 2). Tie the ends in a knot (Image 3). Repeat with the other piece of string, starting and ending on the other side (Image 4).

Karen Kavett
Karen Kavett

Karen Kavett
Karen Kavett
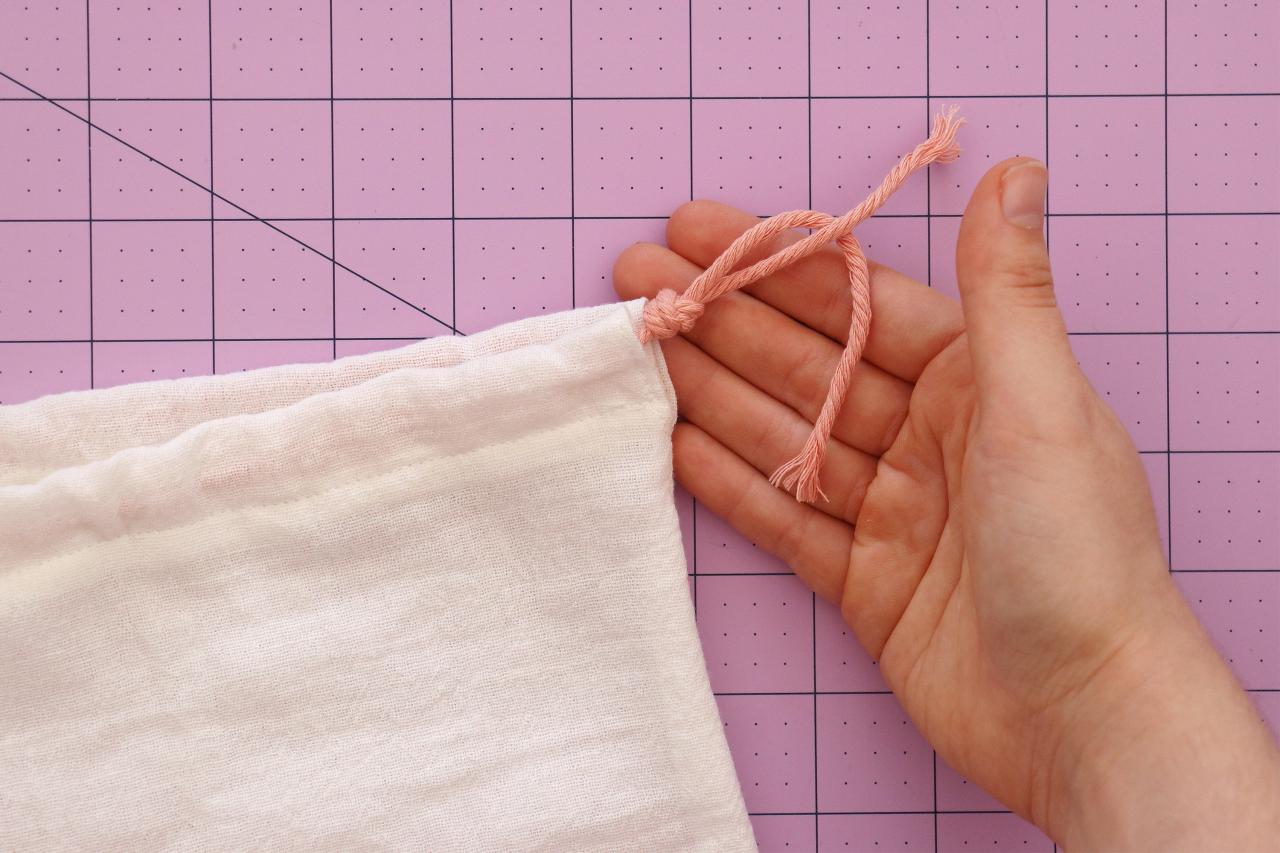
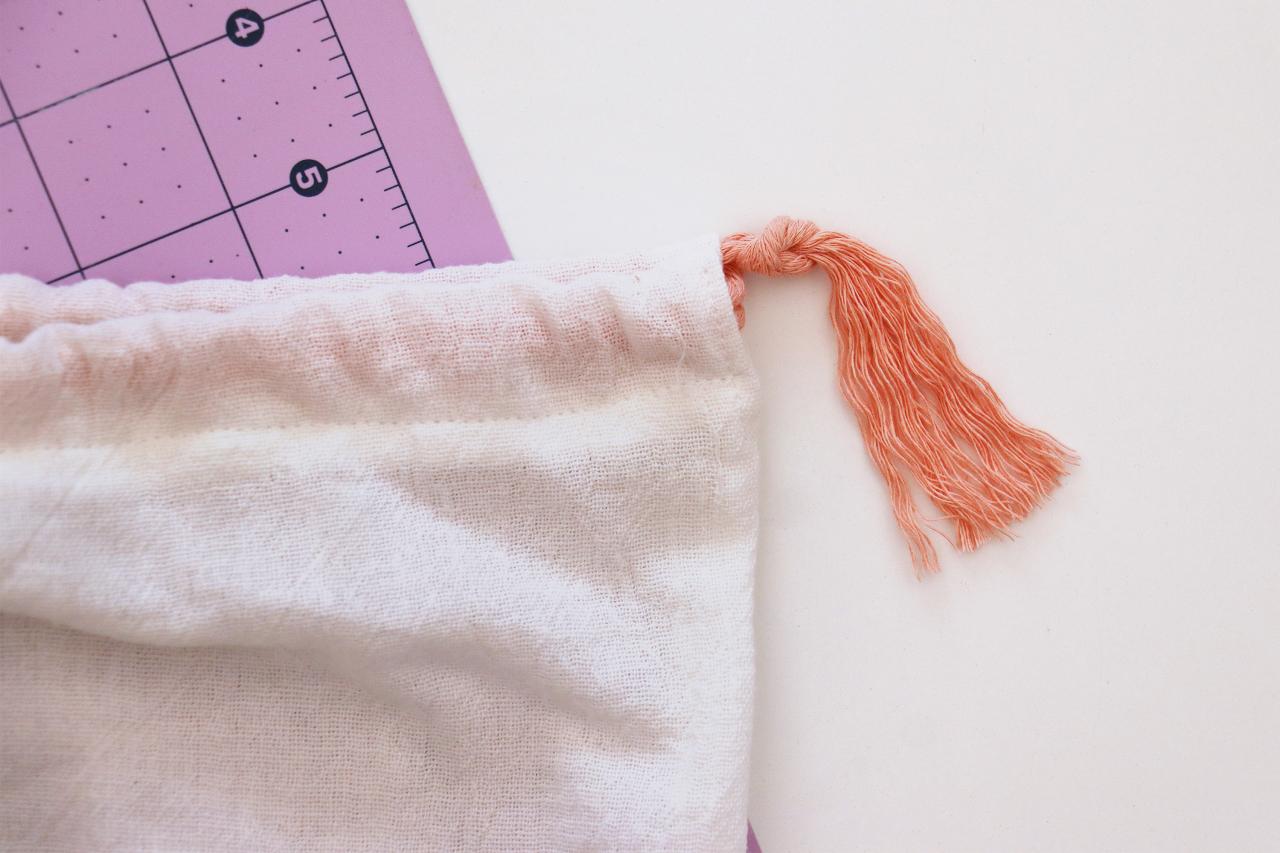
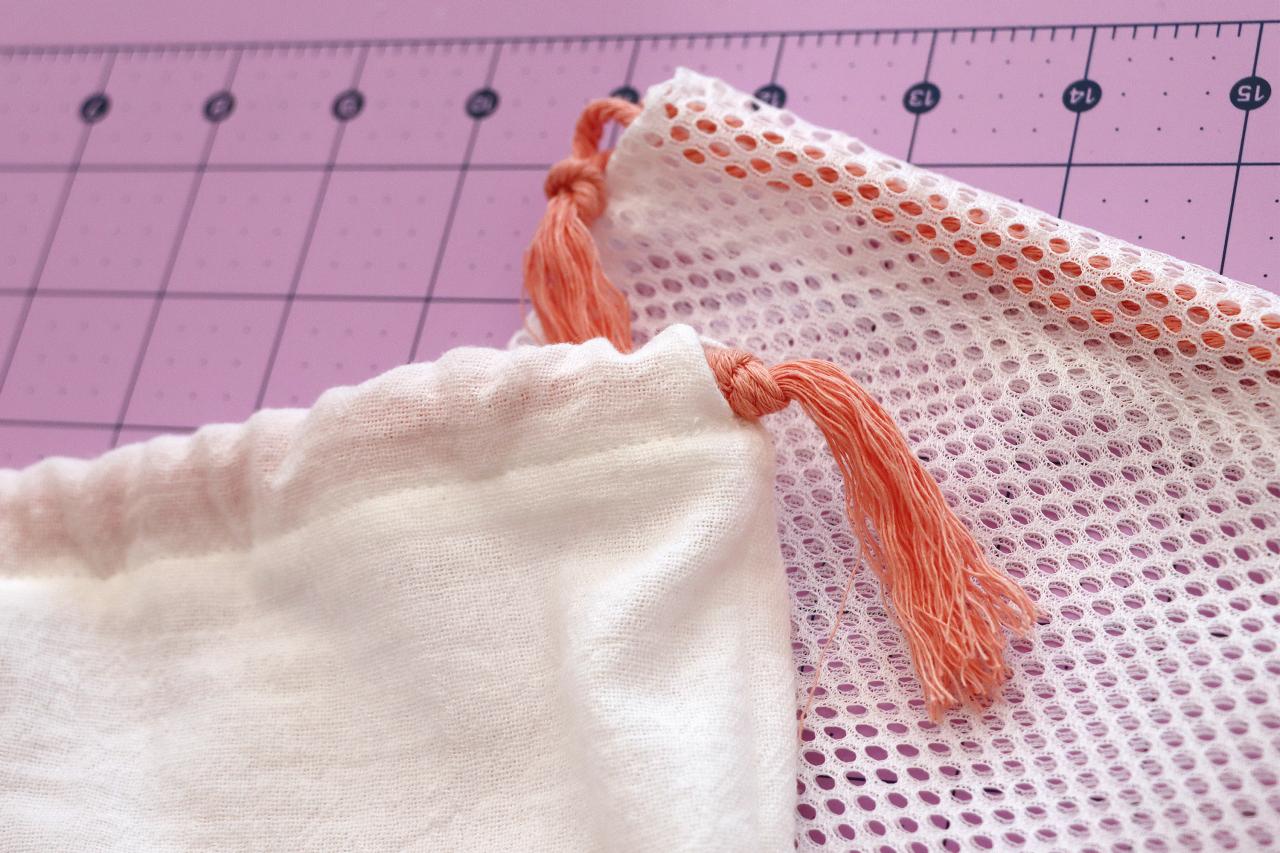
Add the Finishing Touches
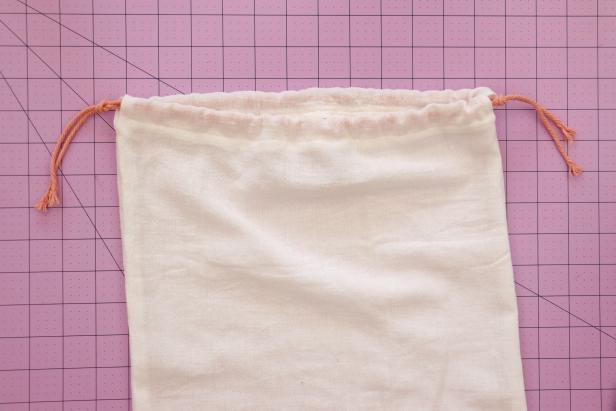
Trim the ends of the cord to be the same length. Optionally, untwist and comb out the ends to make a tassel (Image 1 + 2).

Karen Kavett

Karen Kavett
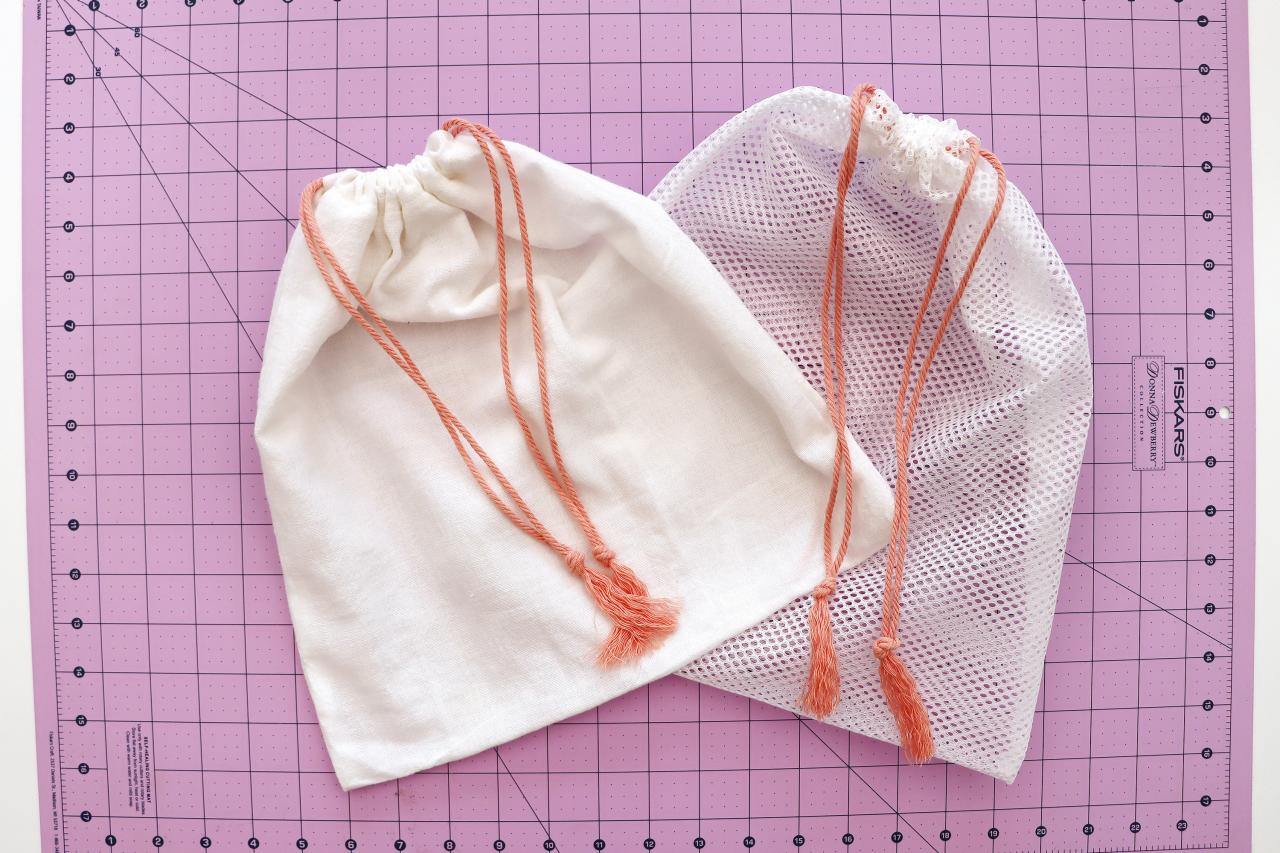
Make More DIY Reusable Produce Bags
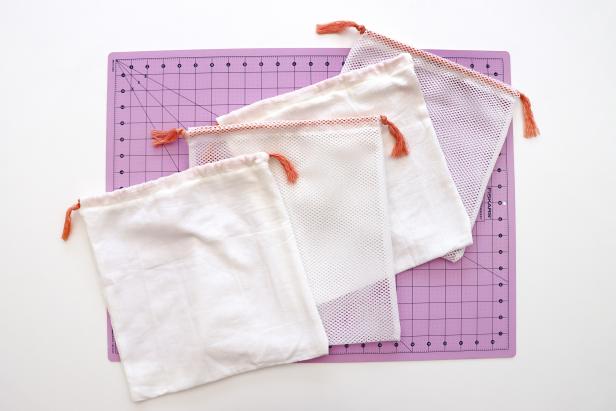
Repeat all of these steps with mesh fabric and with different sizes of fabric to make a variety of bags (Image 1 - 3). Wash the bags before using.
Karen Kavett

Karen Kavett

Karen Kavett
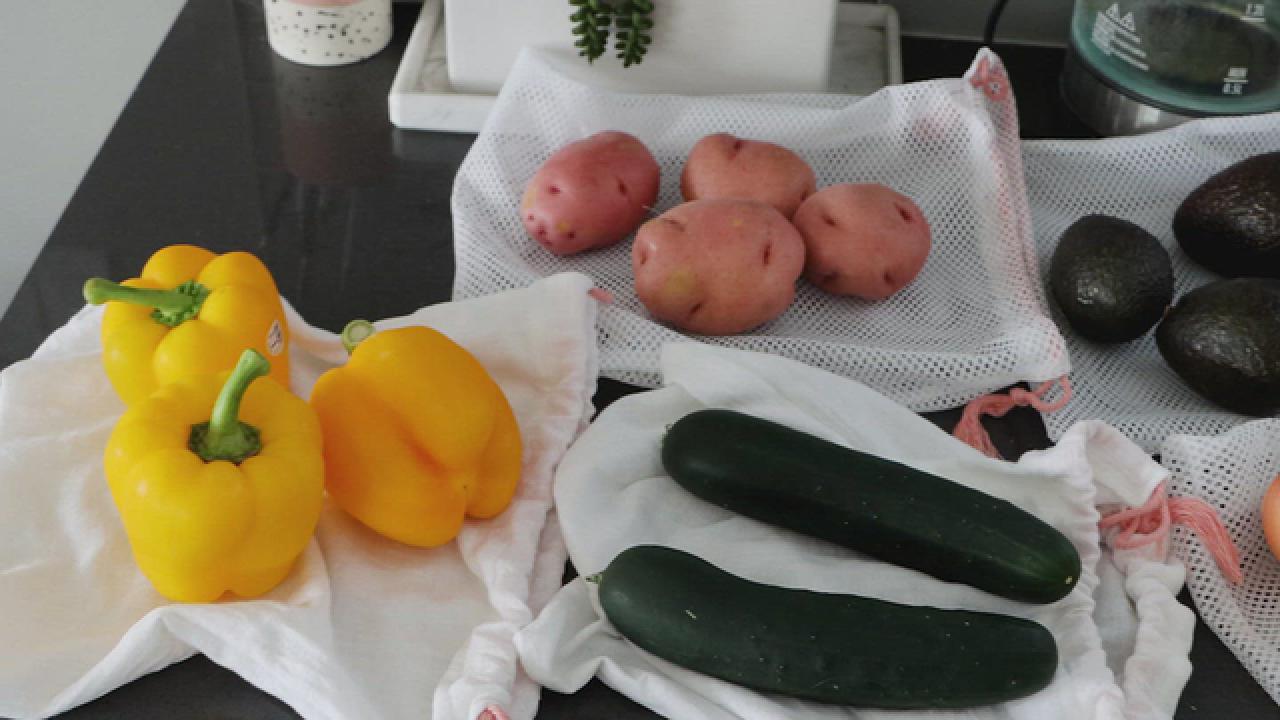
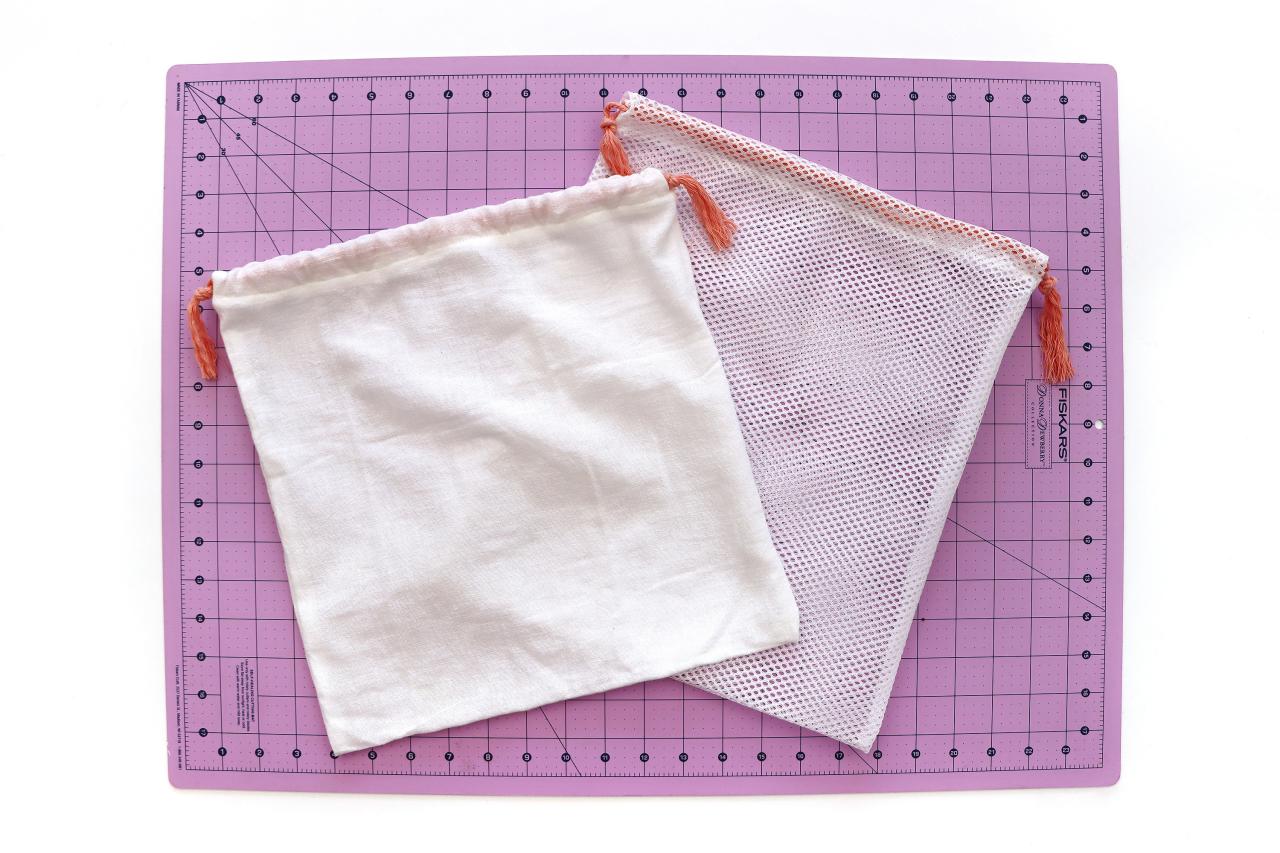
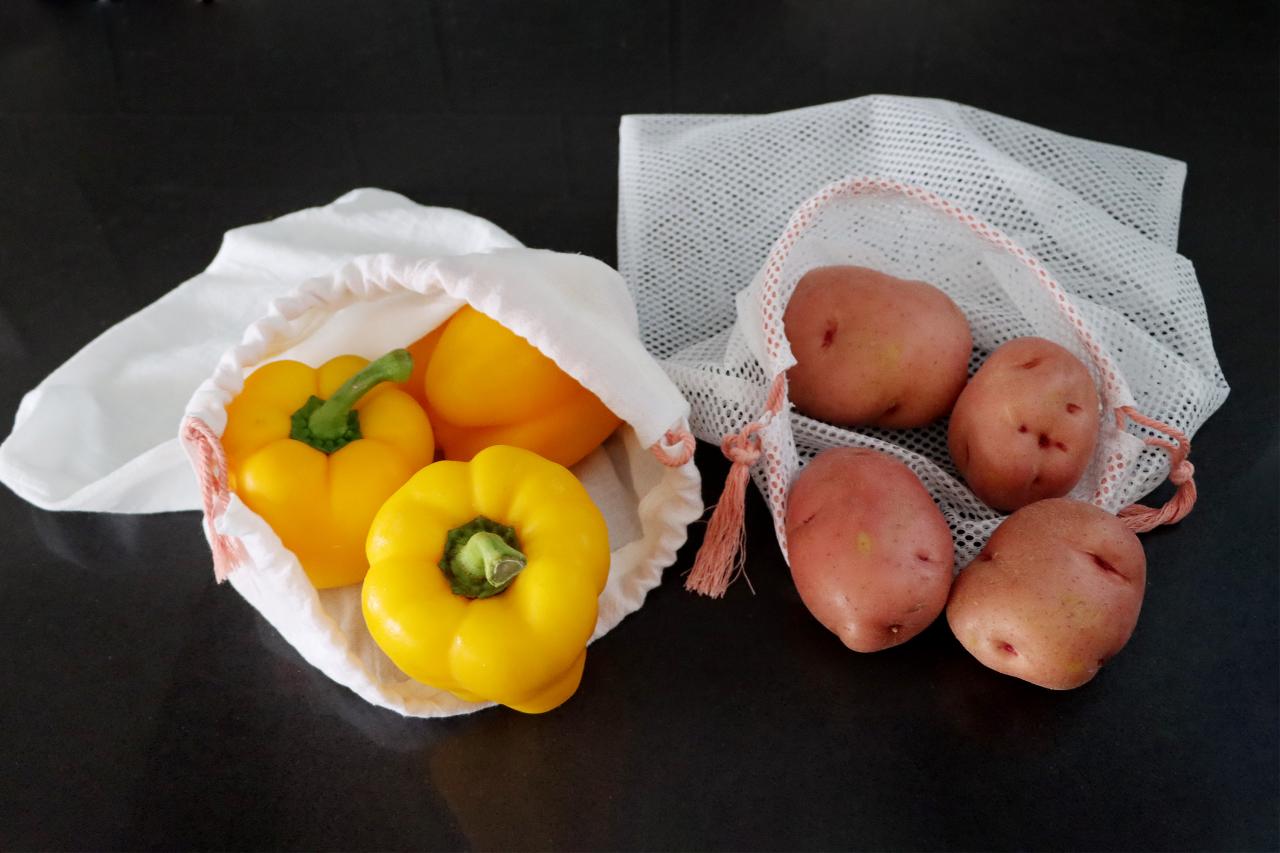
Using the Right Bag
You can use the mesh bags for foods that will be cooked or with inedible rinds (such as avocados or onions), and the cotton bags for foods that are fully edible (such as cucumbers or bell peppers) (Image 1 - 3). That way, the food you eat will not come into contact with the shopping cart or conveyor belt.

Karen Kavett

Karen Kavett

Karen Kavett
Recycling Crafts + How-Tos

15 Creative Ways to Upcycle Old T-Shirts 15 Photos
When your shirts have hit their expiration date, breathe new life into them with these fun DIYs.

DIY Tufted Pool Noodle Headboard
Pool noodles in the bedroom? Yes, it sounds sketchy but trust us — if you can handle a staple gun, you can make this dreamy DIY headboard. Dive on in!

Make a Bookend Vase From an Old Cereal Box
This trendy DIY upcycled bookend vase looks like clay, but it’s actually made of cardboard! Transform an old cereal box to give your bookshelf a boho-chic look for cheap.


