


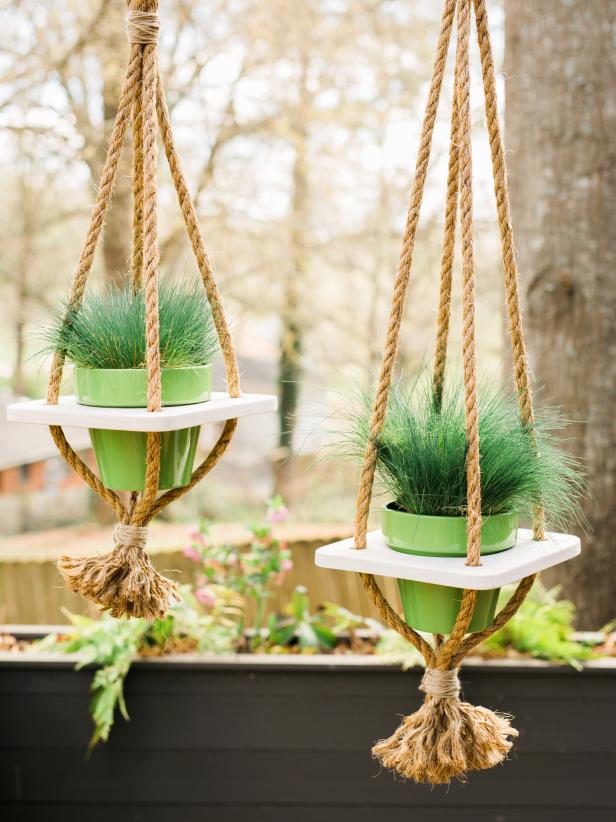
Make Your Own Hanging Rope Planters

Brian Patrick Flynn

Materials Needed
12x1 x 4' board
drill
3/4" drill bit
pencil
jigsaw
level
spool of sisal rope
knife
8" zip ties
2" metal ring
spool of twine
2" wood screws
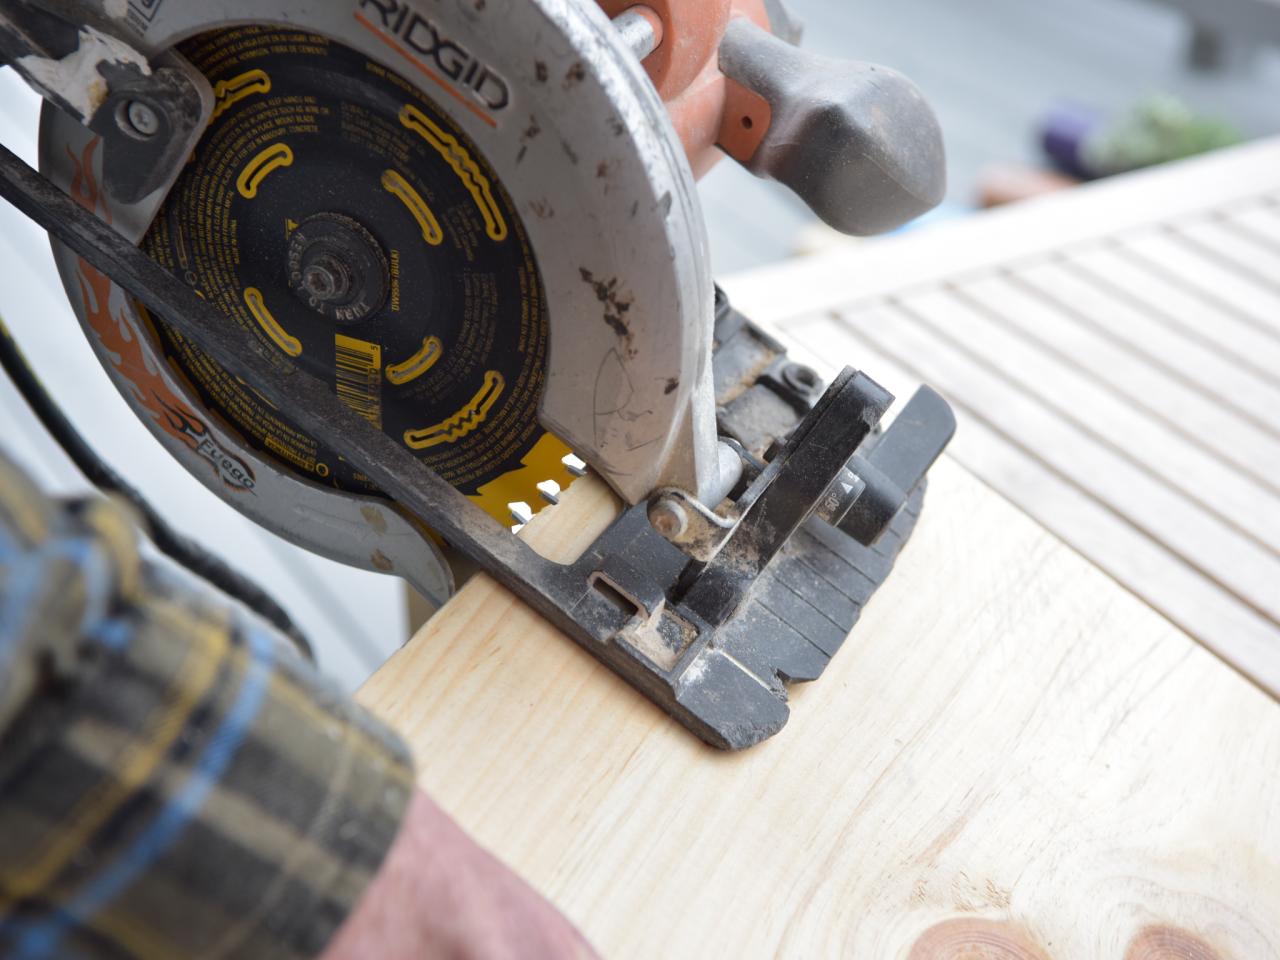
Measure, Mark and Cut Wood
Based on the size of the plant vessel, measure, mark and cut the plank to size adding an additional 3 inches to all sides. Once cut, use the top of the vessel to trace a rounded edge to all four corners of the board.

Brian Patrick Flynn
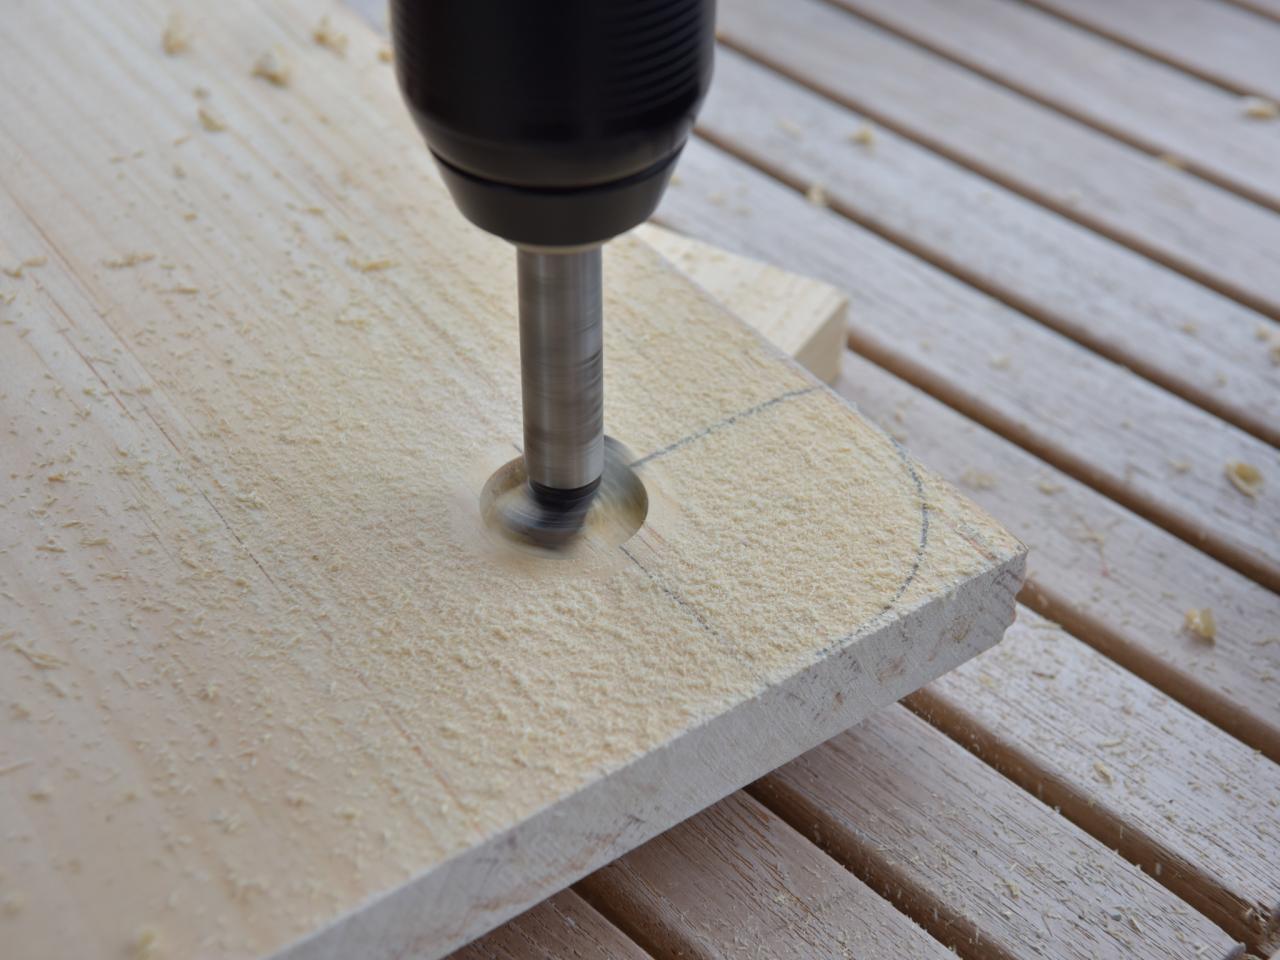
Add Pilot Hole for Rope
Add marks approximately 2 inches in from the edges of the board. Drill a hole through one of the marks.

Brian Patrick Flynn
Drill All Holes
Once the pilot hole has been created, stack each cut plank on top of the other. Next, drill through all the planks until all holes have been added.
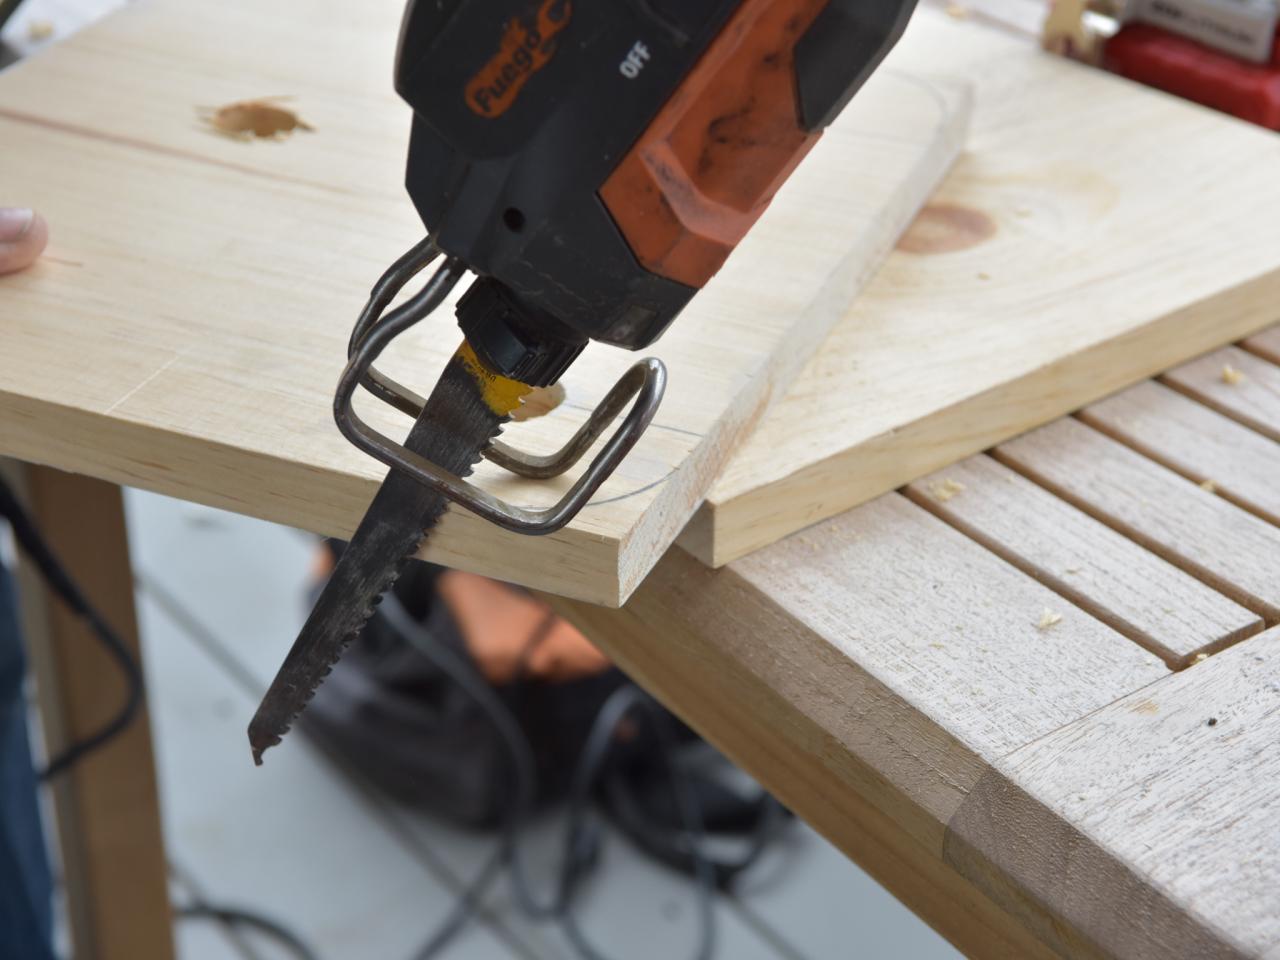
Round Edges
Use the jigsaw to round the edges of each plank.

Brian Patrick Flynn
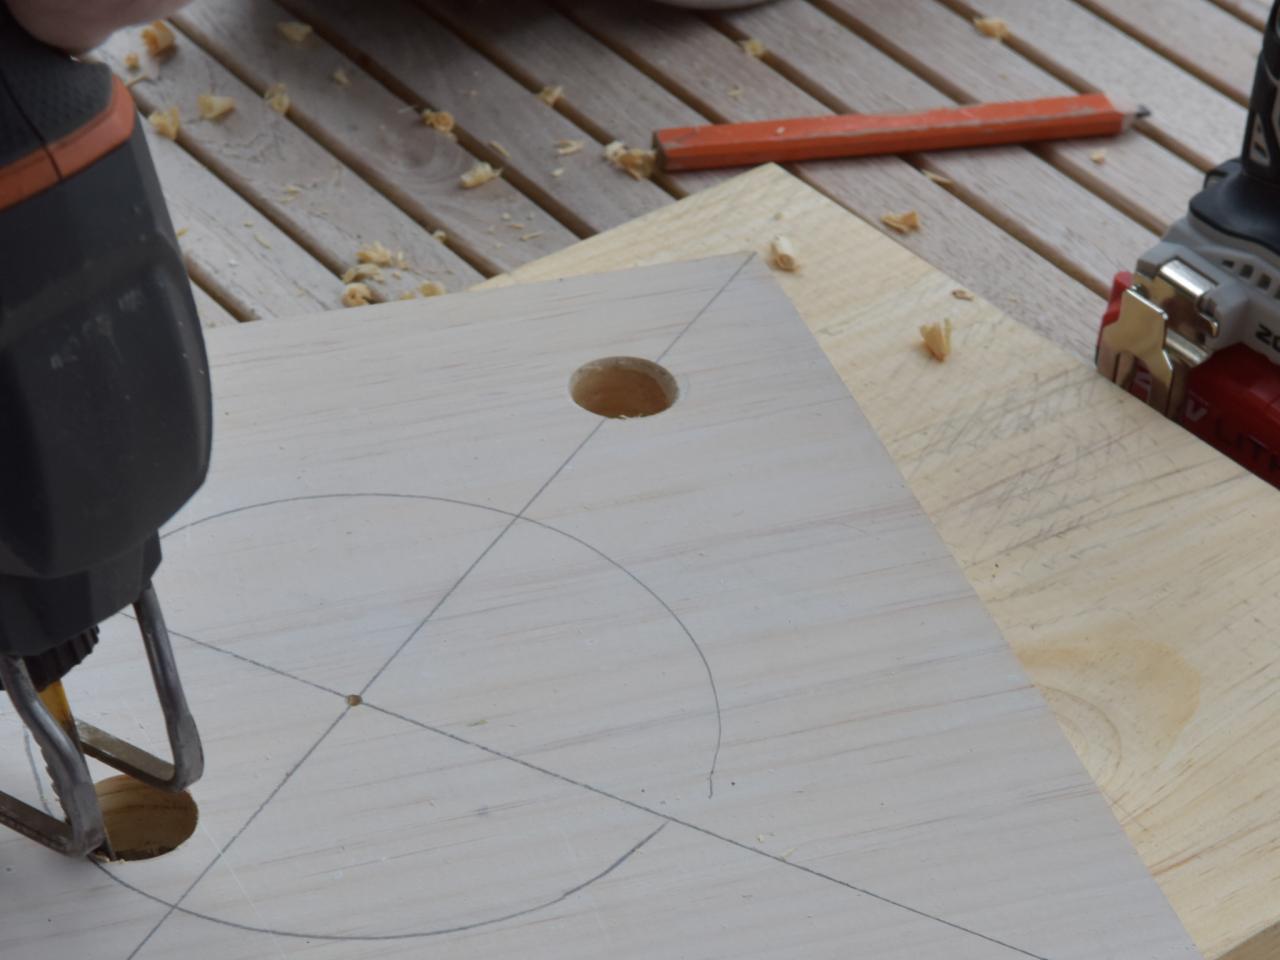
Trace Vessel
Use a pencil and level to trace a crosshair onto the plank. The crosshair will help mark where to cut so the vessel can be placed directly inside the shelf. Repeat this step for each plank.
Cut Out Center
To remove the center of the shelf, create a small hole using a drill. Then, insert the jigsaw into the hole and cut the traced crosshair. Repeat this step for each plank.

Brian Patrick Flynn
Cut Rope and Add Ring
Determine the overall height needed from the ceiling to the bottom of the hanging planter, then double it. Use this measurement to cut the sisal rope into two equal strands. Each strand will be threaded through the 2-inch metal ring, then threaded through two holes in each shelf. Once threaded through the bottom shelf, both ends of both strands will be knotted together.

Brian Patrick Flynn
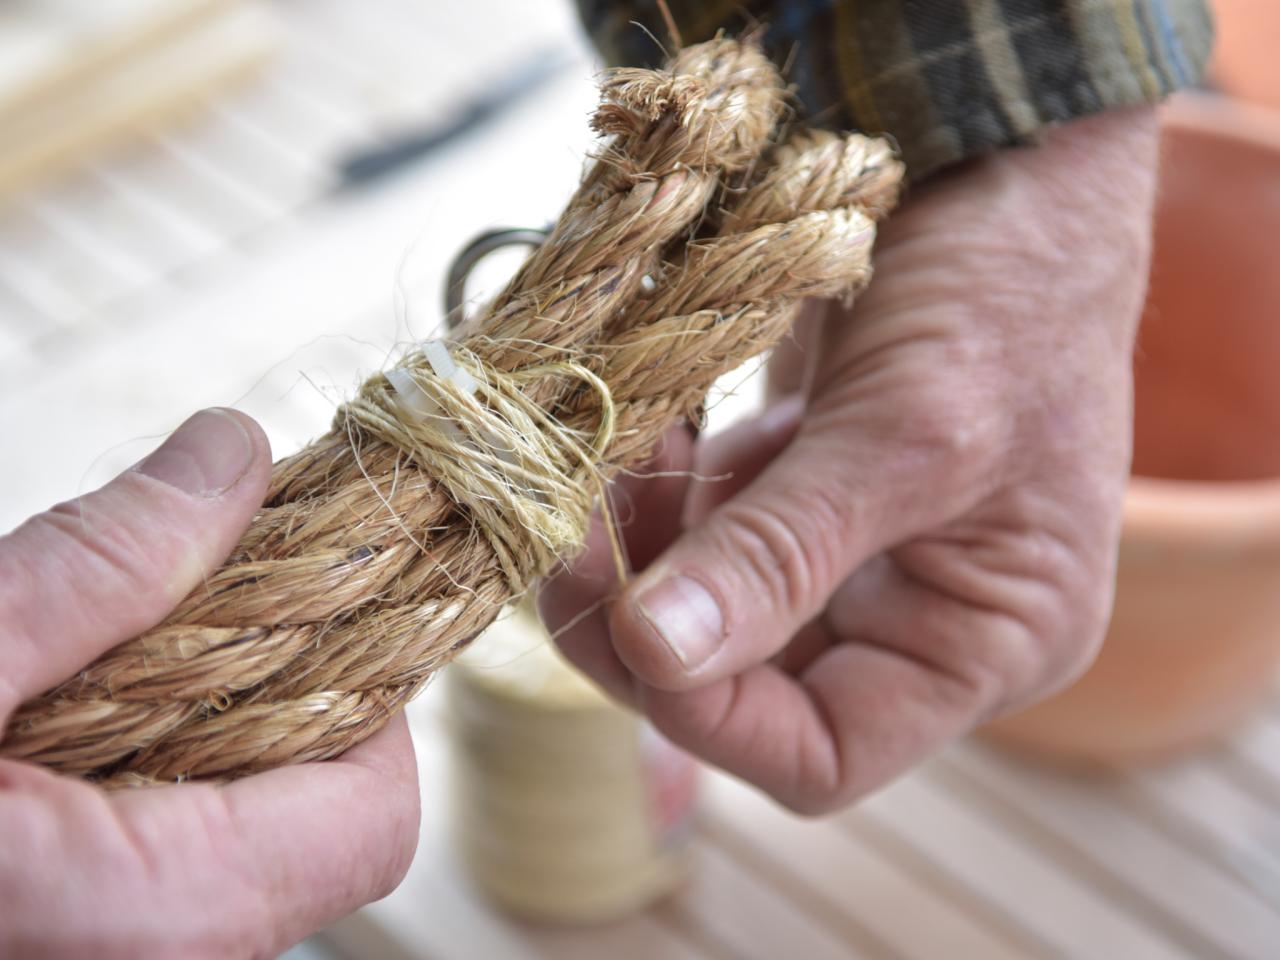
Secure Rope at Top
To secure the strands of rope together just below the metal ring, add two zip ties, then cut them to size. Next, cover the zip ties by wrapping them with several layers of twine.

Brian Patrick Flynn
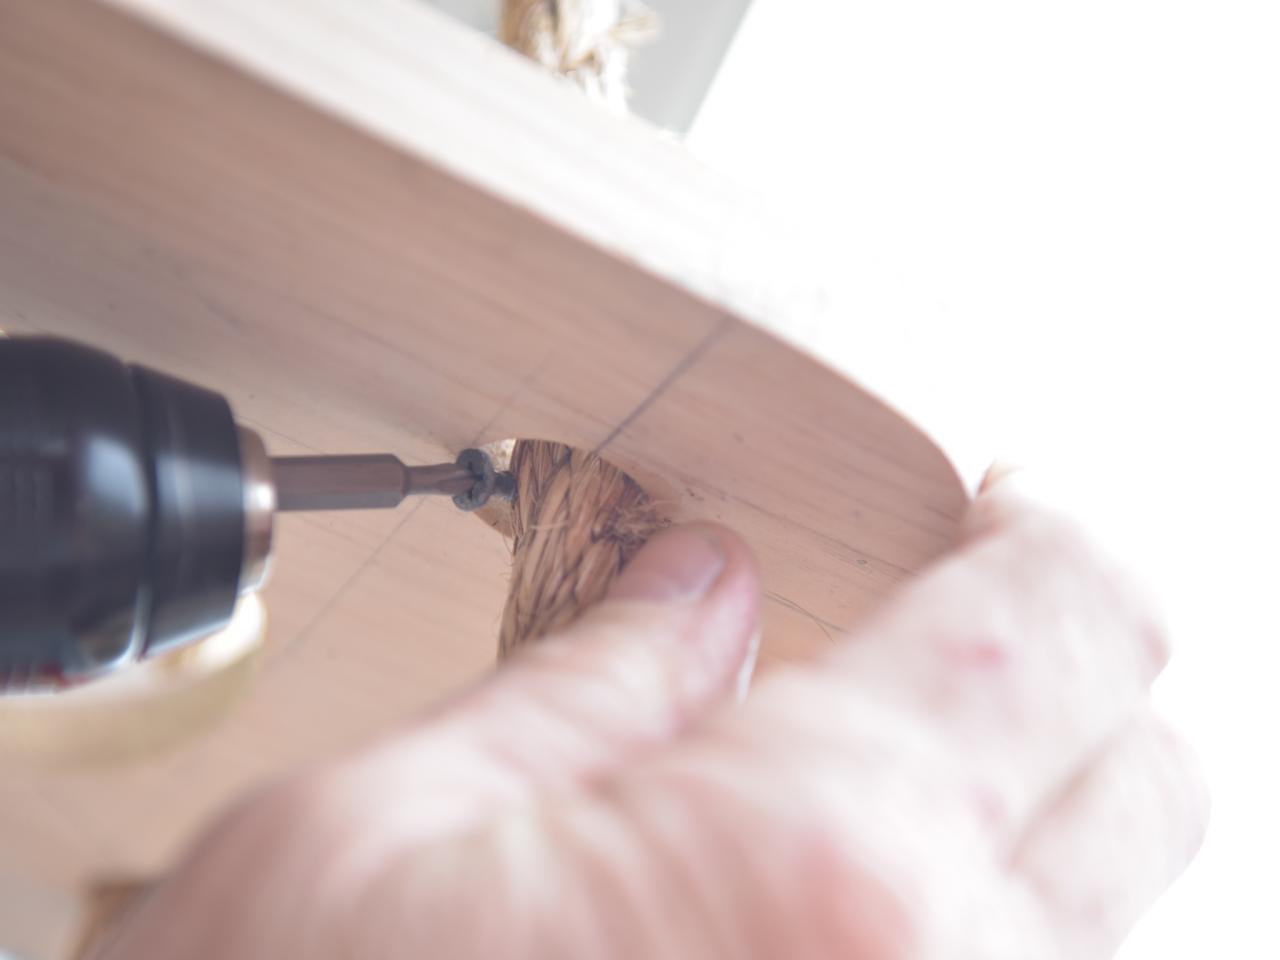
Secure Rope to Shelf
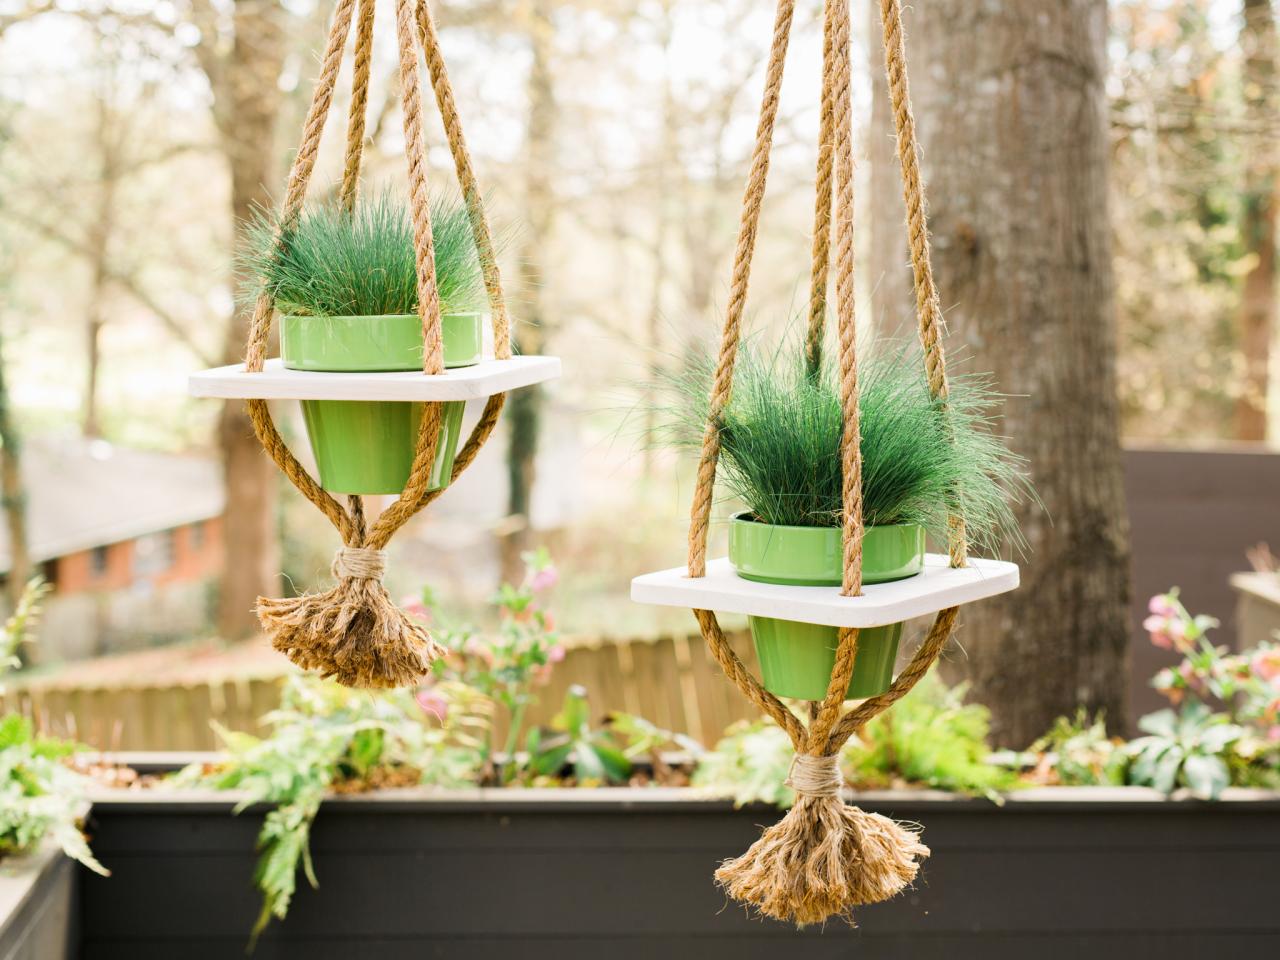
To keep each shelf properly secured to the rope, use the drill to add a 2-inch wood screw through the rope and into the drilled hole. Once secure, place the vessels into the shelves and hang.

Brian Patrick Flynn
Brian Patrick Flynn

Brian Patrick Flynn


