


How to Turn a Plastic Bucket Into a Stylish Stool
The budget storage solution you've been looking for.

If you’re like us, you’re always on the lookout for stylish storage options, which is why we love this simple DIY project. With just a couple of low-cost materials, you can transform a plastic bucket into a padded stool with a secret storage compartment. It’s the perfect project for weekend crafters to try. Here’s how to do it:
Materials
- plastic bucket
- spray adhesive
- polyester batting
- foam batting
- fabric
- staple gun
- ribbon
- construction adhesive
- screws
- 4 legs for stool
- 3 wooden discs
Spray Adhesive

Johnson Giles of Loch & Key Productions
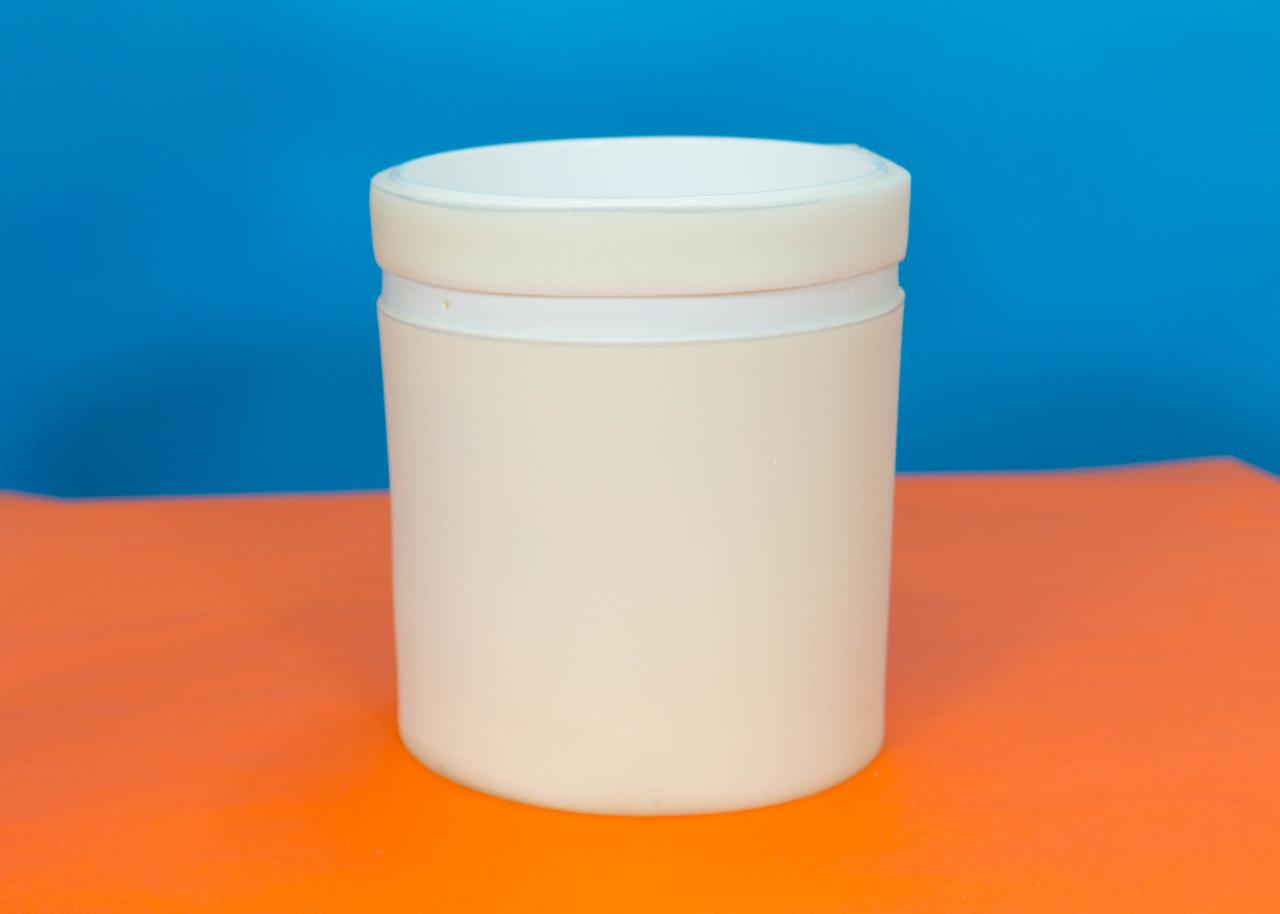
Start with the typical plastic bucket that you would find at any big box hardware store and set it outside. Next, cover the exterior of the bucket with spray adhesive.
Foam

Johnson Giles of Loch & Key Productions
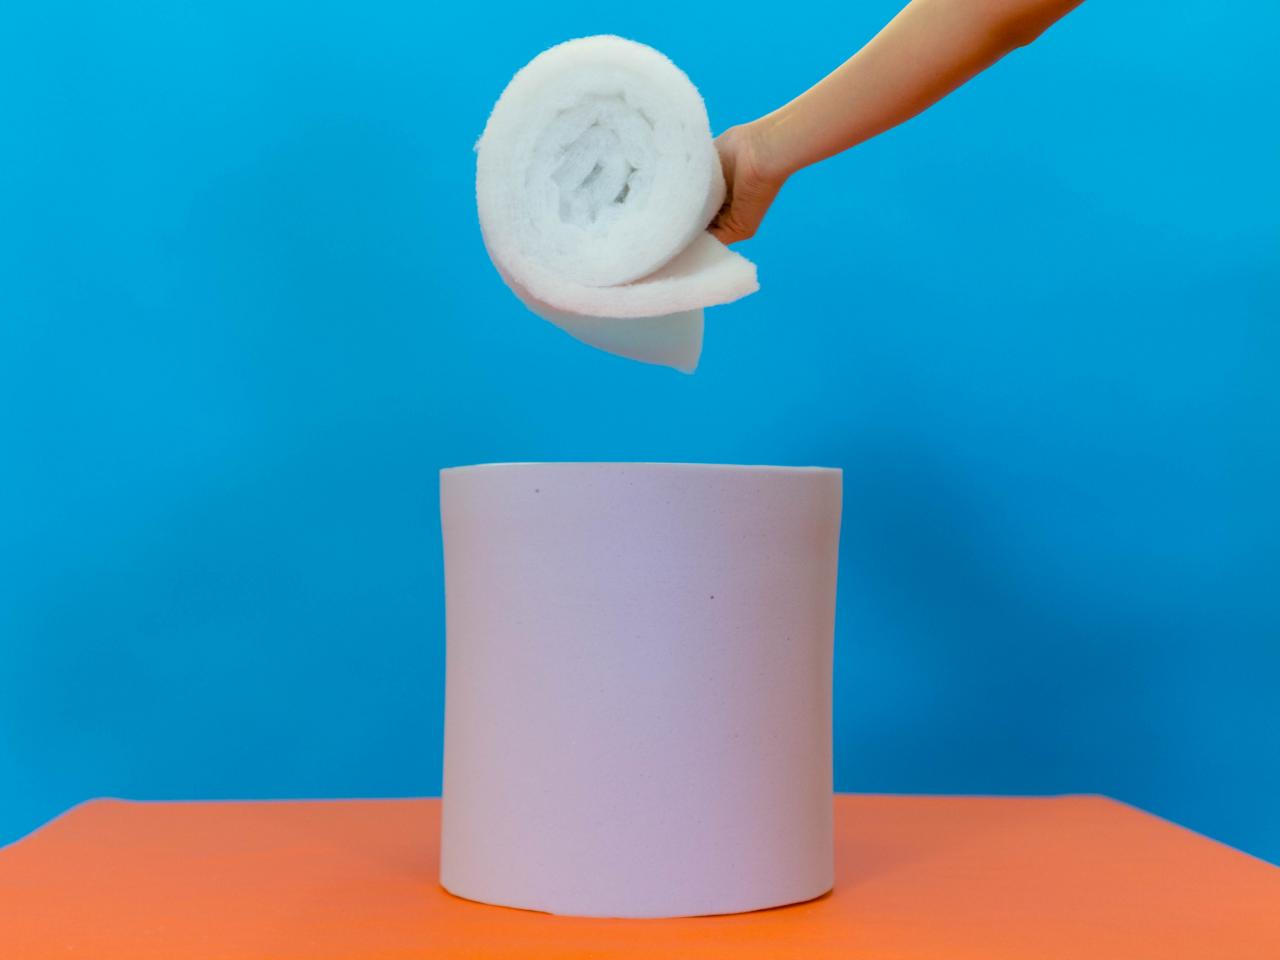
Cover two layers of foam with spray adhesive and apply them to the exterior of the bucket.

Johnson Giles of Loch & Key Productions
Attach polyester batting to the top and bottom of the bucket using a staple gun. When you’re finished with this step, the bucket should look like a big marshmallow.

Johnson Giles of Loch & Key Productions
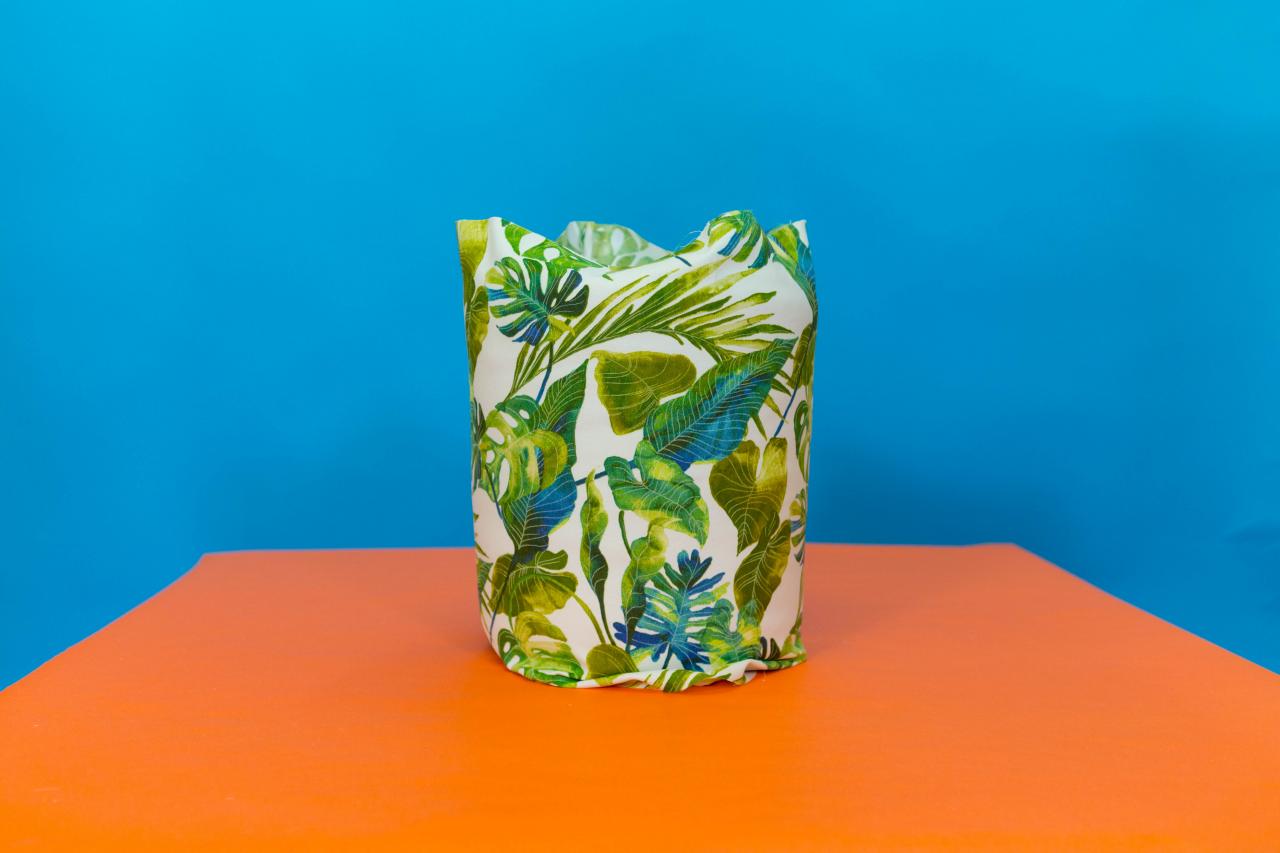
Fabric

Johnson Giles of Loch & Key Productions
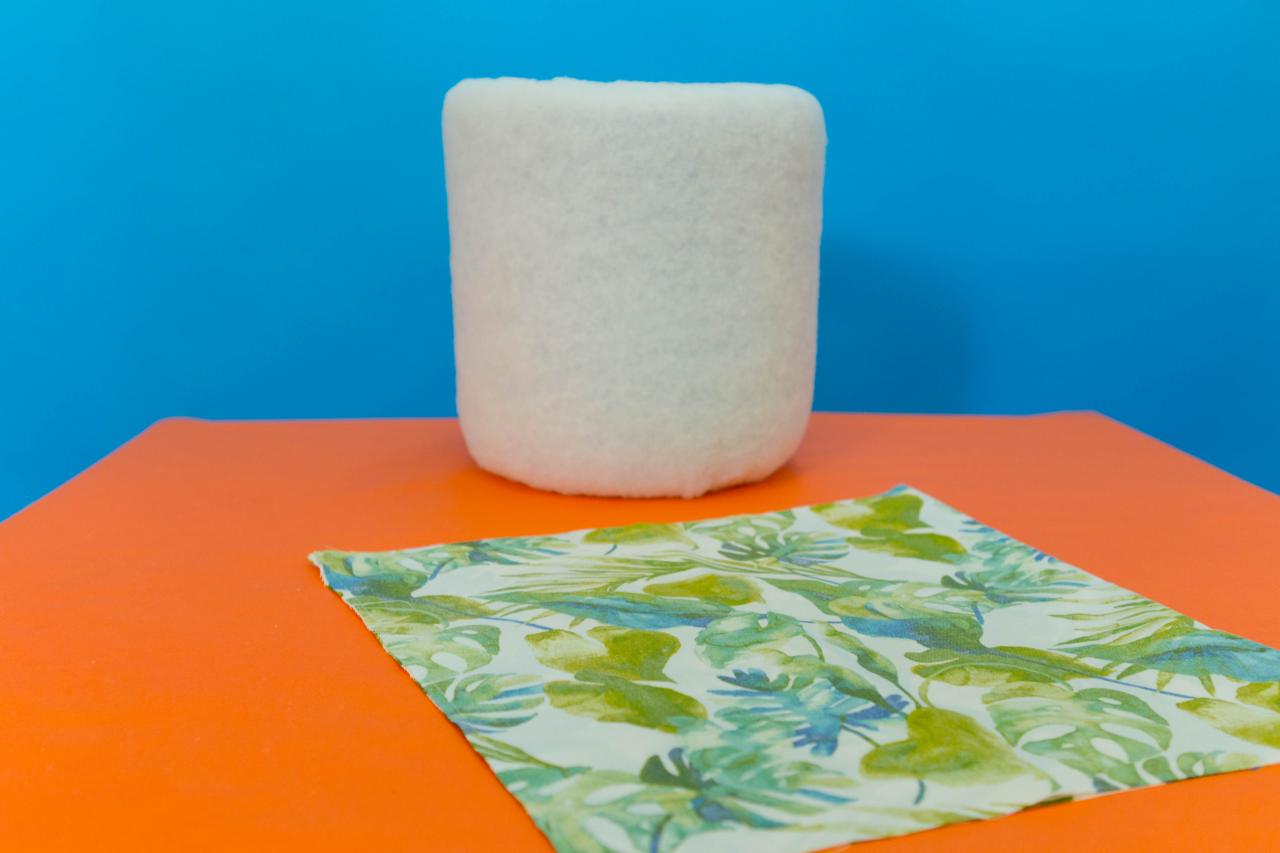
This is your chance to get creative! Choose a pattern that suits your style and sew the fabric to the dimensions of the bucket.

Johnson Giles of Loch & Key Productions
When you’re finished, cover the bucket in the fabric and fold the excess over the opening of the bucket. Use a staple gun to secure the excess fabric to the bucket and apply a ribbon to cover all of the staples. Flip the bucket over and staple the excess fabric to the bottom of the bucket.

Johnson Giles of Loch & Key Productions
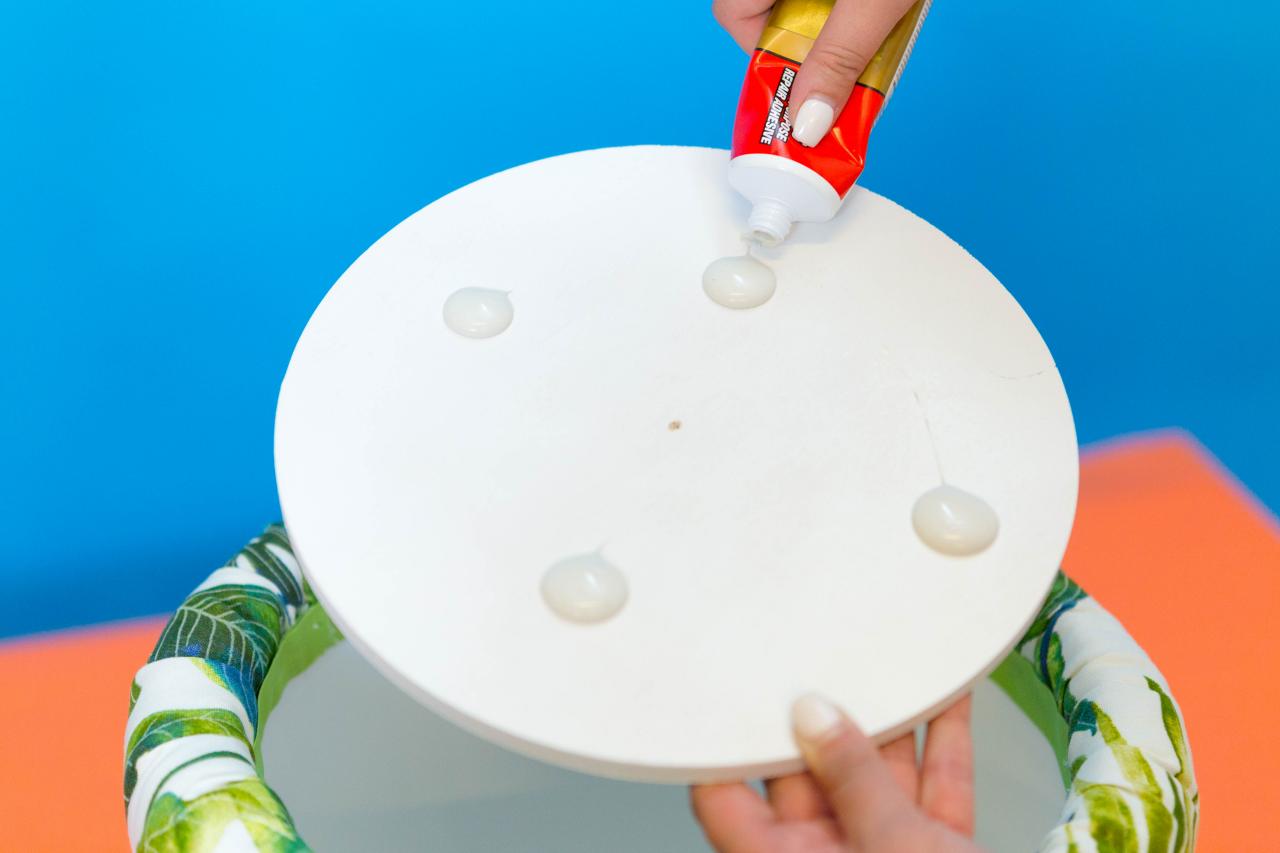
Wooden Discs

Johnson Giles of Loch & Key Productions
Apply construction adhesive to a wooden disc and place it inside of the bucket. Allow it to dry overnight. Apply construction adhesive to another wooden disc and place it on the bottom of the bucket. This will add extra support to the stool. Drill a couple of screws into the disc on the bottom to make sure it is firmly attached.

Johnson Giles of Loch & Key Productions
Add Legs

Johnson Giles of Loch & Key Productions
Using a power drill and screws, attach four legs to the wooden disc on the bottom of the bucket.
Lid

Johnson Giles of Loch & Key Productions
Cut out a fabric square larger than one of the wooden discs and lay it on a table. Add a piece of batting and foam similar in size to the fabric on top. Set a wooden disc down in the middle of the materials and staple everything in place. Add four screws around the edge of the wooden disc to make sure all of the materials are secure.
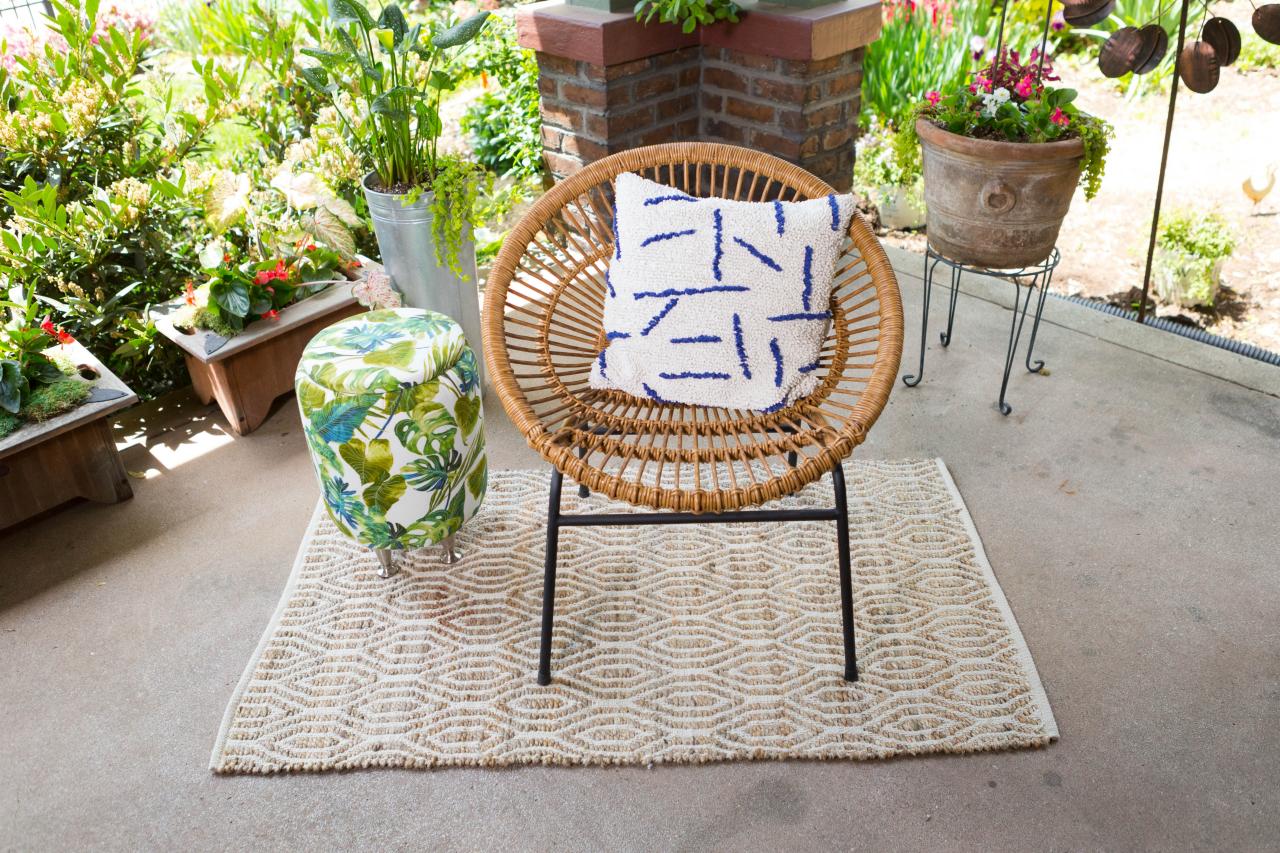
Finish

Johnson Giles of Loch & Key Productions
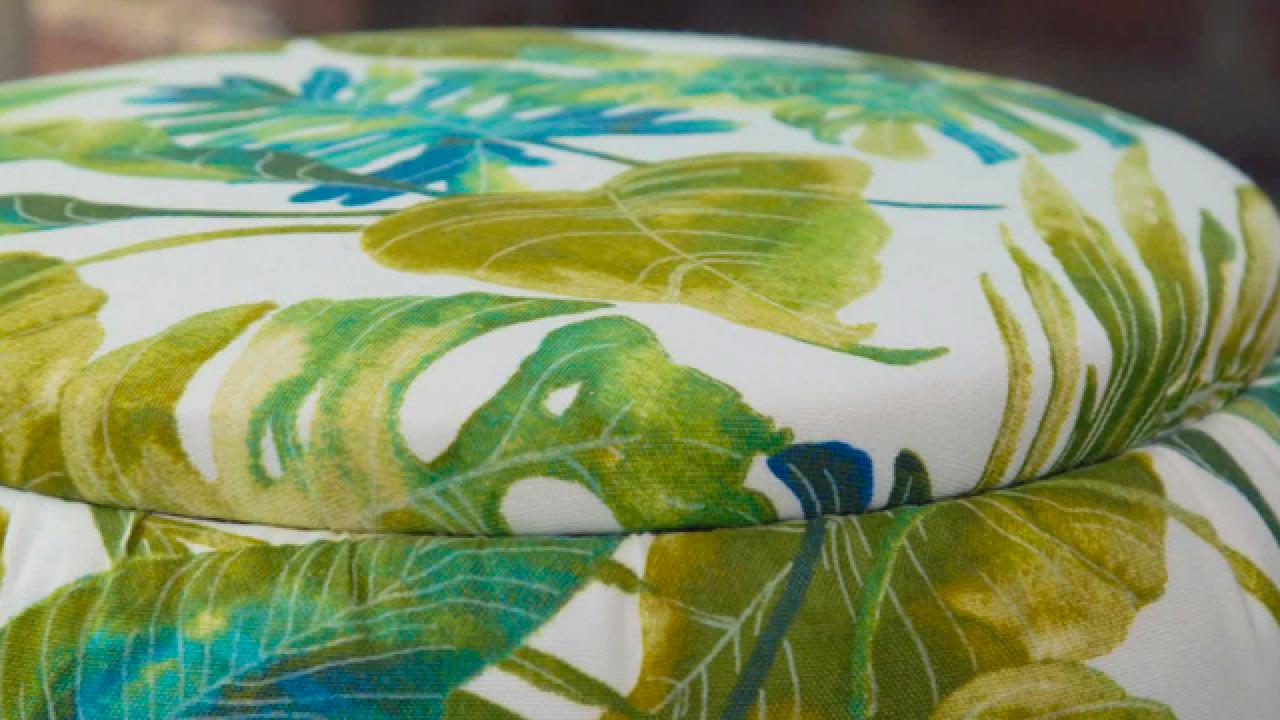
Set the lid on top of your new stool and place the finished project in your favorite room. We recommend an outdoor patio, but the possibilities are endless!

Johnson Giles of Loch & Key Productions


