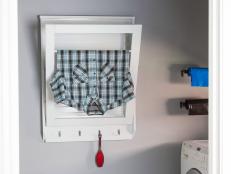
Upcycle a Baby Crib Into a Drying Rack

Hang your laundry out to dry with this clever DIY project.

We're sorry, there seems to be an issue playing this video. Please refresh the page or try again in a moment. If you continue to have issues, please contact us here.

DIY Stowaway Drying Rack
Loading Video...

Not sure what to do with your crib now that your baby has graduated to a full-size bed? How about upcycling it into a handy stowaway drying rack for your laundry room? The process may appear daunting at first but trust us, you got this. Here’s how it’s done:

Upcycled Crib Drying Rack

Upcycled Crib Drying Rack

Photo by: Johnson Giles of Loch & Key Productions

Johnson Giles of Loch & Key Productions

Note: Since cribs vary in size, our measurements may not work for your project. Use them as an approximation.

Materials

  • crib slat
  • jig saw
  • metal hinges
  • 2 magnet
  • ribbon
  • painted plywood
  • 1x1 wood
  • hanger screws
Upcycled Crib Drying Rack Materials

Upcycled Crib Drying Rack Materials

Photo by: Johnson Giles of Loch & Key Productions

Johnson Giles of Loch & Key Productions

Saw Off Ends

Upcycled Crib Drying Rack

Upcycled Crib Drying Rack

Photo by: Johnson Giles of Loch & Key Productions

Johnson Giles of Loch & Key Productions

Select one slat from an old crib and lay it down flat. Using a jig saw, cut off the ends of the crib making them flush with the last rung.
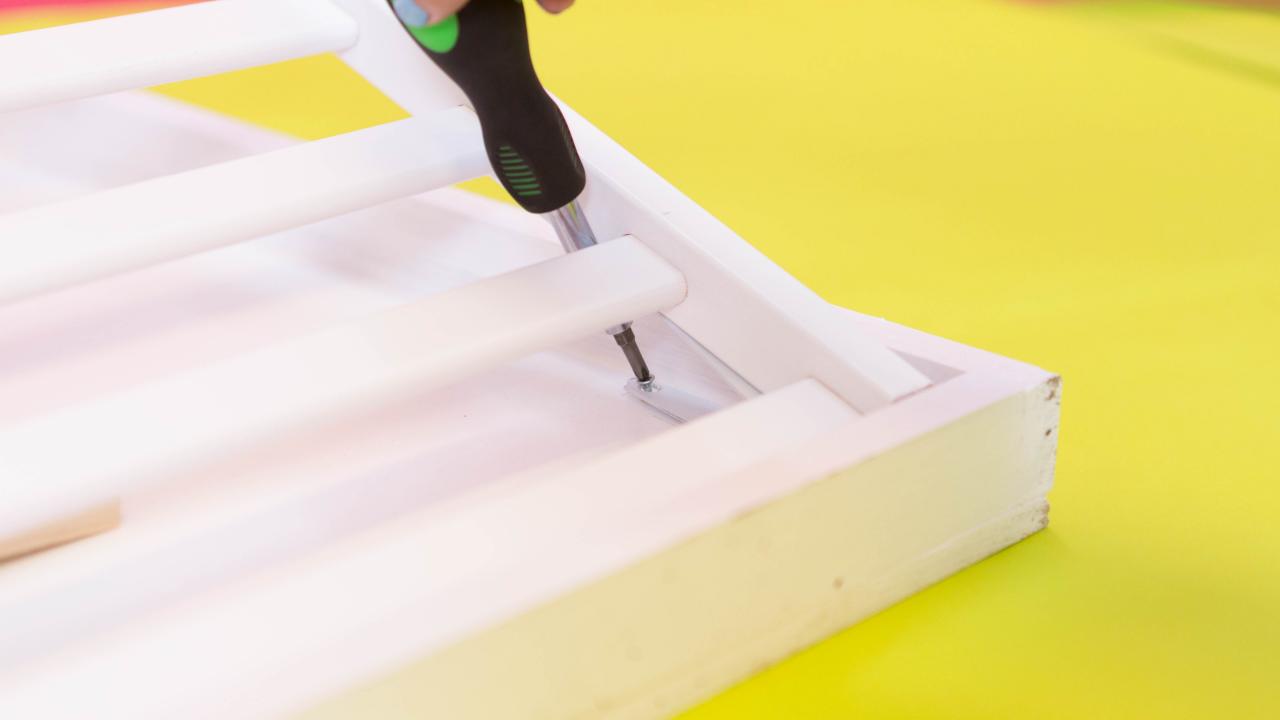
Attach Hinges

Upcycled Crib Drying Rack

Upcycled Crib Drying Rack

Photo by: Johnson Giles of Loch & Key Productions

Johnson Giles of Loch & Key Productions

Use a screwdriver and attach hinges to both sides of the crib at the bottom.

Magnets

Upcycled Crib Drying Rack

Upcycled Crib Drying Rack

Photo by: Johnson Giles of Loch & Key Productions

Johnson Giles of Loch & Key Productions

Next, apply silicone to two magnets and attach them to the top of the crib (opposite end of the hinges) somewhere in the middle of the rung but spaced a few inches apart.

Ribbon

Upcycled Crib Drying Rack

Upcycled Crib Drying Rack

Photo by: Johnson Giles of Loch & Key Productions

Johnson Giles of Loch & Key Productions

About a quarter of the way down from the top of the crib, use a staple gun to attach ribbons to each side.

Build a Frame

Upcycled Crib Drying Rack

Upcycled Crib Drying Rack

Photo by: Johnson Giles of Loch & Key Productions

Johnson Giles of Loch & Key Productions

Set the rack to the side for now and lay down a plywood base. Next, build a frame around the plywood base with wood.

More Hinges + Ribbon

Upcycled Crib Drying Rack

Upcycled Crib Drying Rack

Photo by: Johnson Giles of Loch & Key Productions

Johnson Giles of Loch & Key Productions

Attach hinges so they are flush with the bottom where the crib meets the frame and use a staple gun to attach ribbon as well. For ours, we stapled the ribbon 1 inch down on the inside of the frame with 12 inches of give. Attach the other side of the ribbon about 6 inches down on the crib.

Upcycled Crib Drying Rack

Upcycled Crib Drying Rack

Photo by: Johnson Giles of Loch & Key Productions

Johnson Giles of Loch & Key Productions

Closure

Upcycled Crib Drying Rack

Upcycled Crib Drying Rack

Photo by: Johnson Giles of Loch & Key Productions

Johnson Giles of Loch & Key Productions

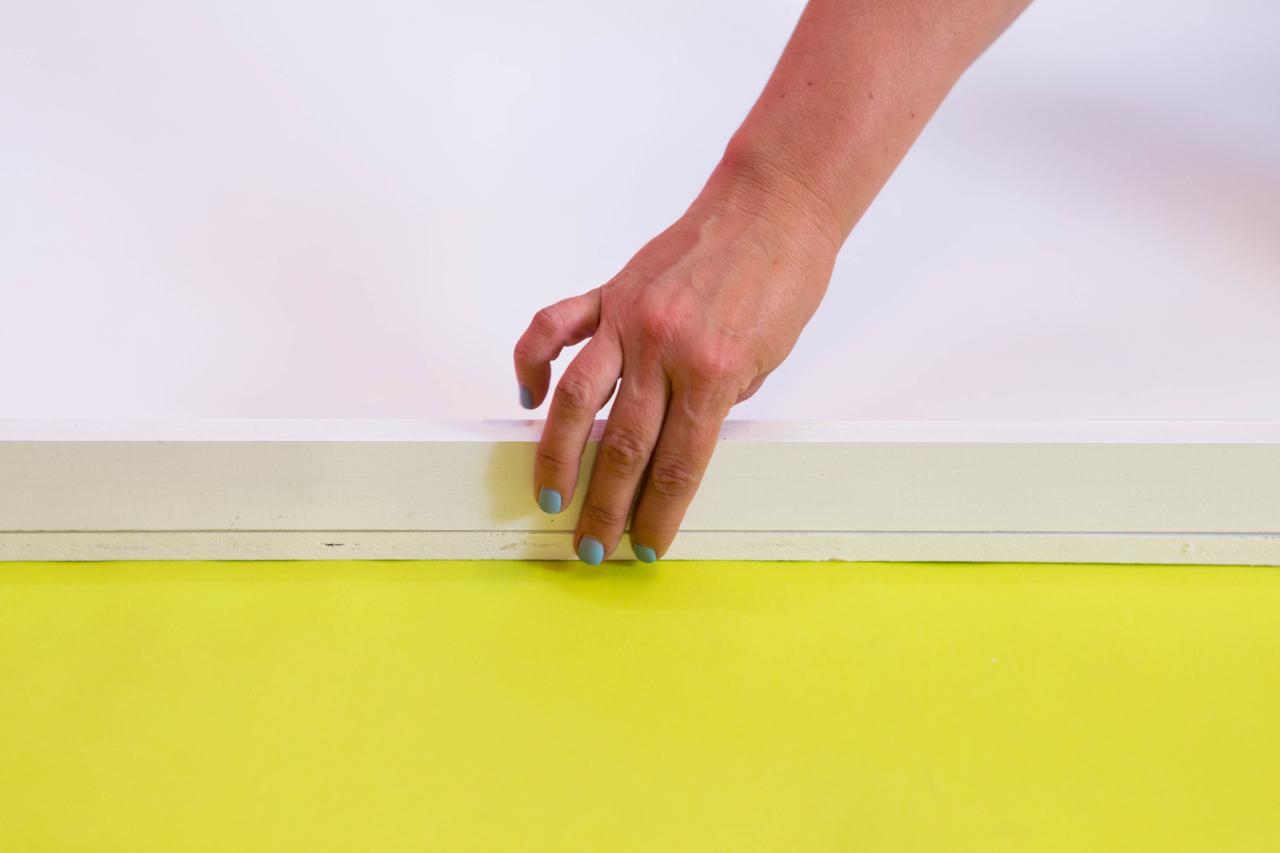
Add two screws to the top of the base. The magnets will stick to the screws and help to keep the rack closed.

Paint

Add paint to the magnets so that they blend with the rest of the rack and make sure they still make contact with the screws and keep the entire rack compact.

Add Wire

Upcycled Crib Drying Rack

Upcycled Crib Drying Rack

Photo by: Johnson Giles of Loch & Key Productions

Johnson Giles of Loch & Key Productions

Use your hanger screws and add a wire to the back of the plywood base. This will help you hang the entire rack on the wall for easy use.

Upcycled Crib Drying Rack

Upcycled Crib Drying Rack

Photo by: Johnson Giles of Loch & Key Productions

Johnson Giles of Loch & Key Productions

Next Up

Upgrade Your Laundry Room With This DIY Fold-Down Drying Rack

Make laundry day a little easier with this space-saving clothes drying rack. It drops down when you need it, and folds away when you don’t. With adjustable levels, you can determine how far you want to extend it.

How to Make Homemade Laundry Detergent Pods

Keep chemicals out of your home with these homemade organic laundry detergent pods that work.

How to Make a DIY Tufted Headboard From Pool Noodles

Pool noodles in the bedroom? Yes, it sounds sketchy but trust us — if you can handle a staple gun, you can make this dreamy DIY headboard. Dive on in!

Upcycle an End Table Into a Cute and Cozy Dog Bed

Transform a thrifted table into a comfy retreat for your pup that’ll look great in your living room or bedroom.

DIY Rainbow Headboard

This whimsical headboard is budget-friendly, renter-friendly and so incredibly cute.

DIY Two-Tiered Garage Storage Stand With Ramp

Double your garage or shed storage space with this two-tiered stand ideal for wheelbarrows and utility carts.

How to Make an Upholstered Headboard

HGTV Magazine helped decorate one of the bedrooms in the 2016 DIY Network Blog Cabin. Here's how to recreate the headboard in your own home.

How to Make Wire Shelf Covers That Look Just Like Floating Shelves

This renter and homeowner-friendly hack transforms tricky wire shelves into stylish, faux floating wood shelves.

Repurpose a Ladder Into a DIY Drying Rack

Once and for all, free your shower rods, doorknobs and chairs from hanging laundry, and finally make use of that wonderful fifth wall.

DIY Laundry Storage

Create unique DIY storage solutions for your laundry room.

More from:

Easy Does It

What's New in Handmade

Follow Us Everywhere

Join the party! Don't miss HGTV in your favorite social media feeds.