


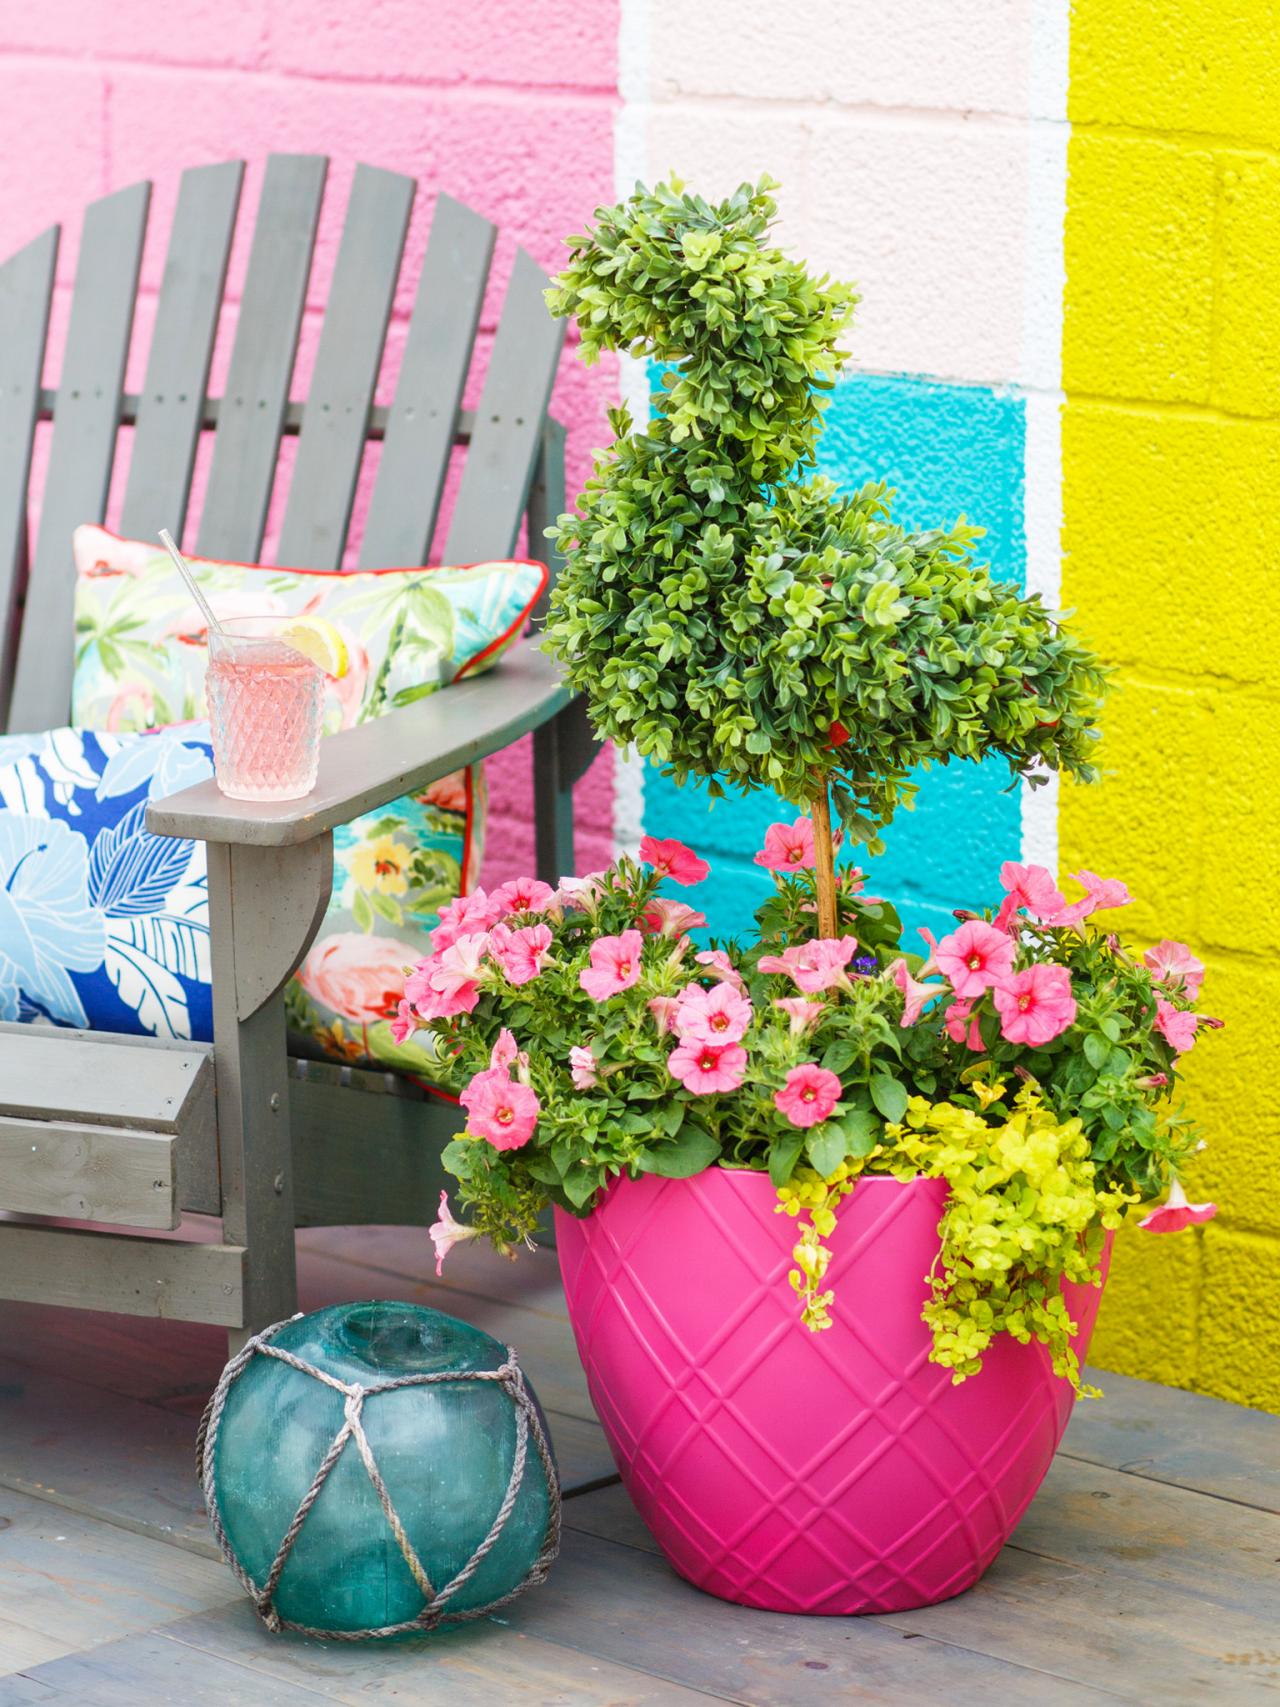
Kitschy-Cool: How to Craft a Faux Boxwood Flamingo
Add a tropical twist to your front porch or back patio with this crafty flamingo topiary that needs no maintenance to keep its playful good looks.


Materials and Tools
- plastic pink flamingo
- bamboo garden stake, cut to your desired height
- faux boxwood garland
- fishnet tights
- 2-part exterior epoxy
- scissors
- wide rubber bands
- drill and drill bit (that's just a bit larger than garden stake)
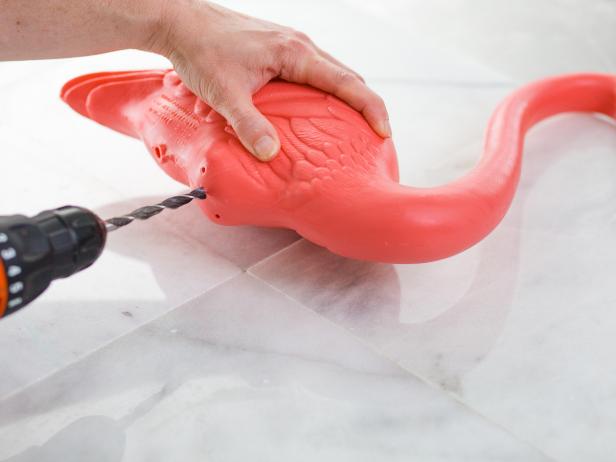
Drill Hole for Garden Stake
Cassidy Garcia
Select a drill bit that's just a bit bigger than the garden stake, and drill a hole in the center of the flamingo's underside. This will accomodate the bamboo garden stake, which will function as the topiary's trunk.
Create Framework

Cassidy Garcia

Cassidy Garcia

Cassidy Garcia

Cassidy Garcia
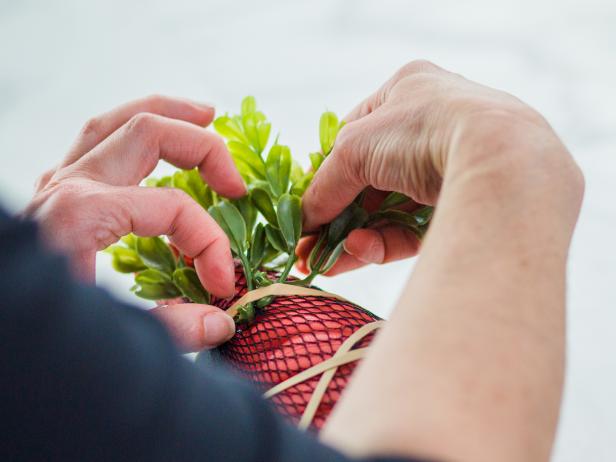
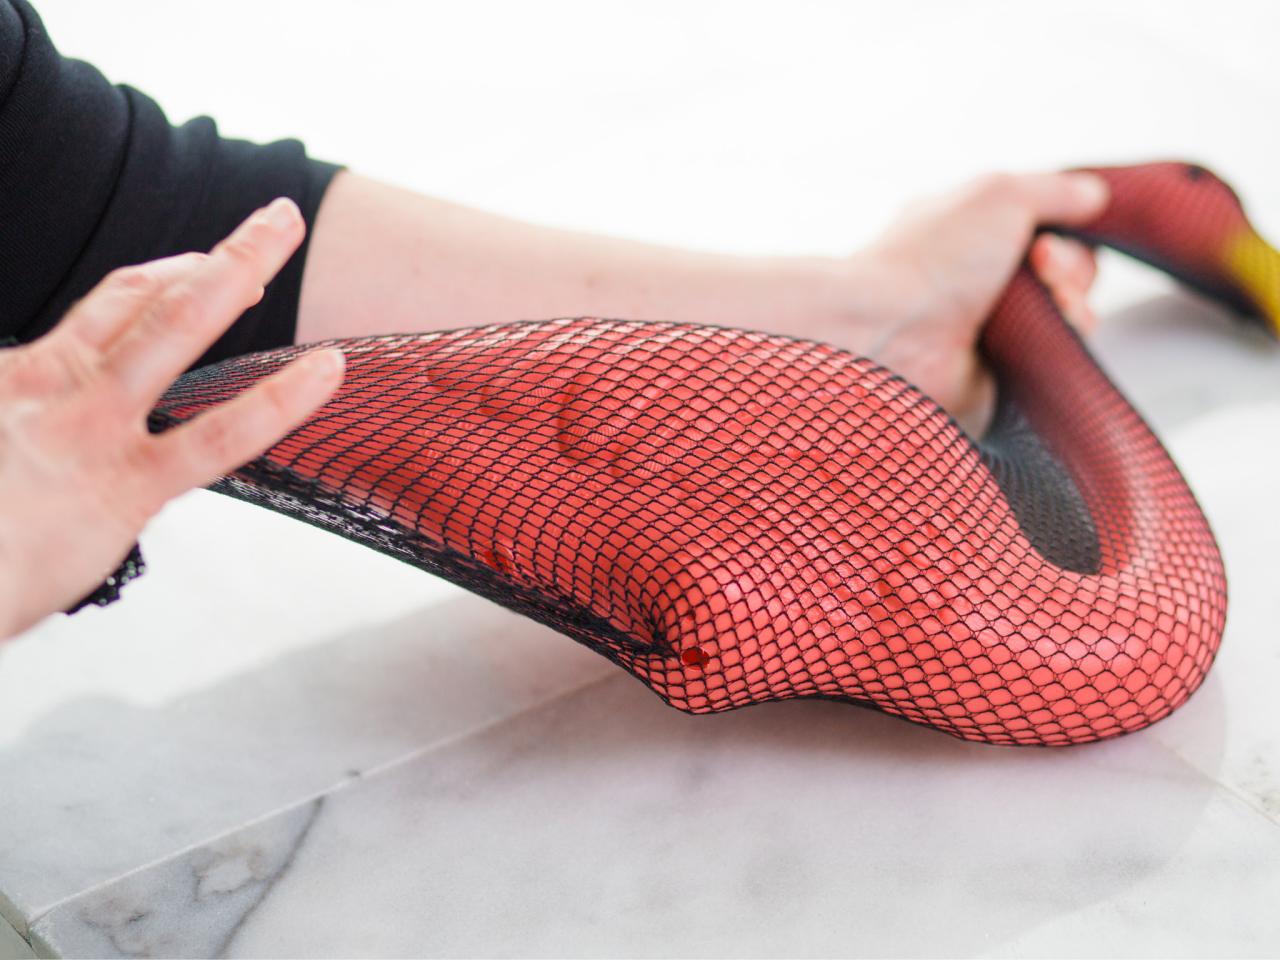
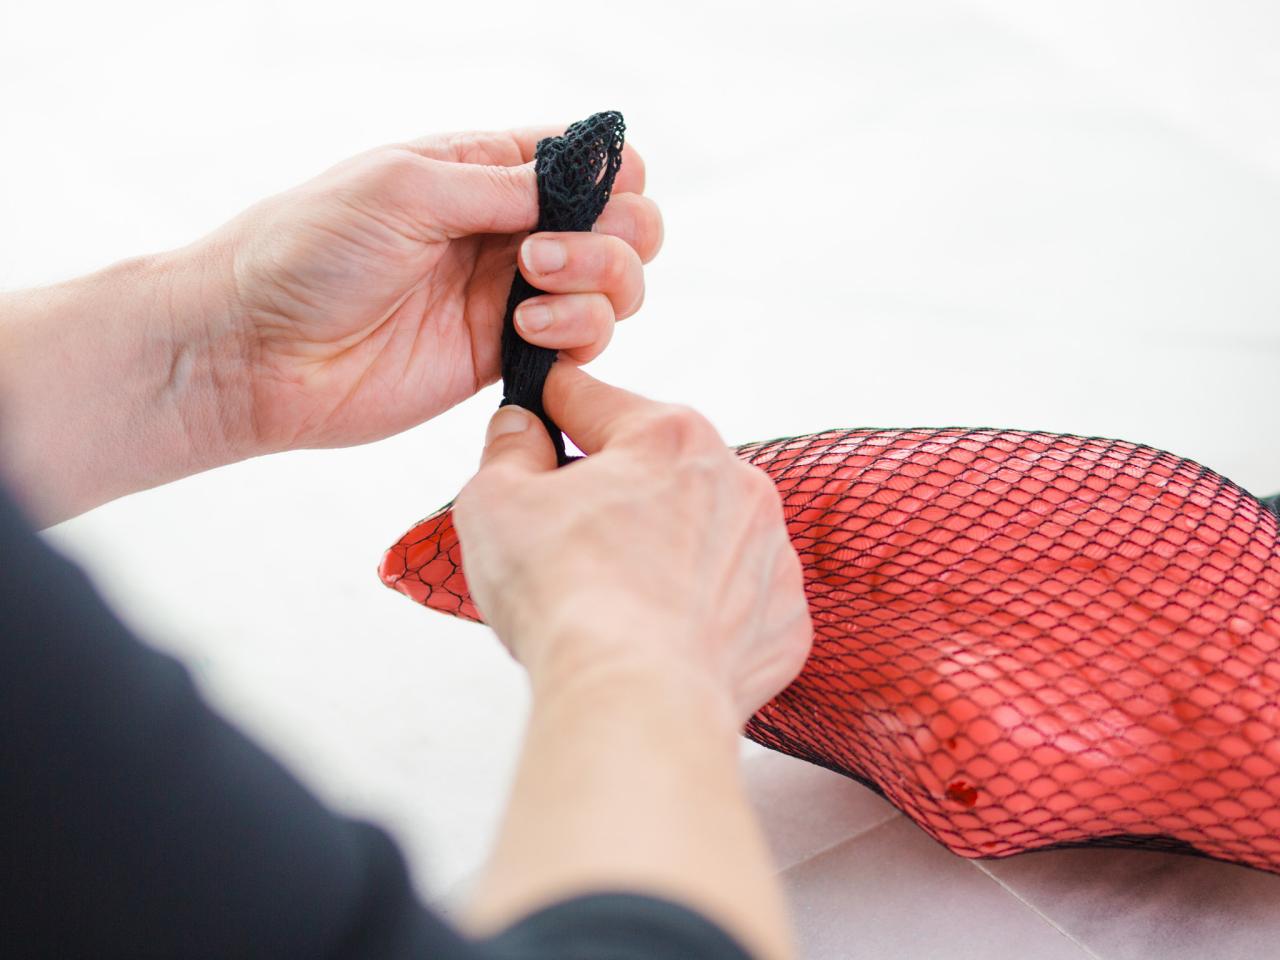
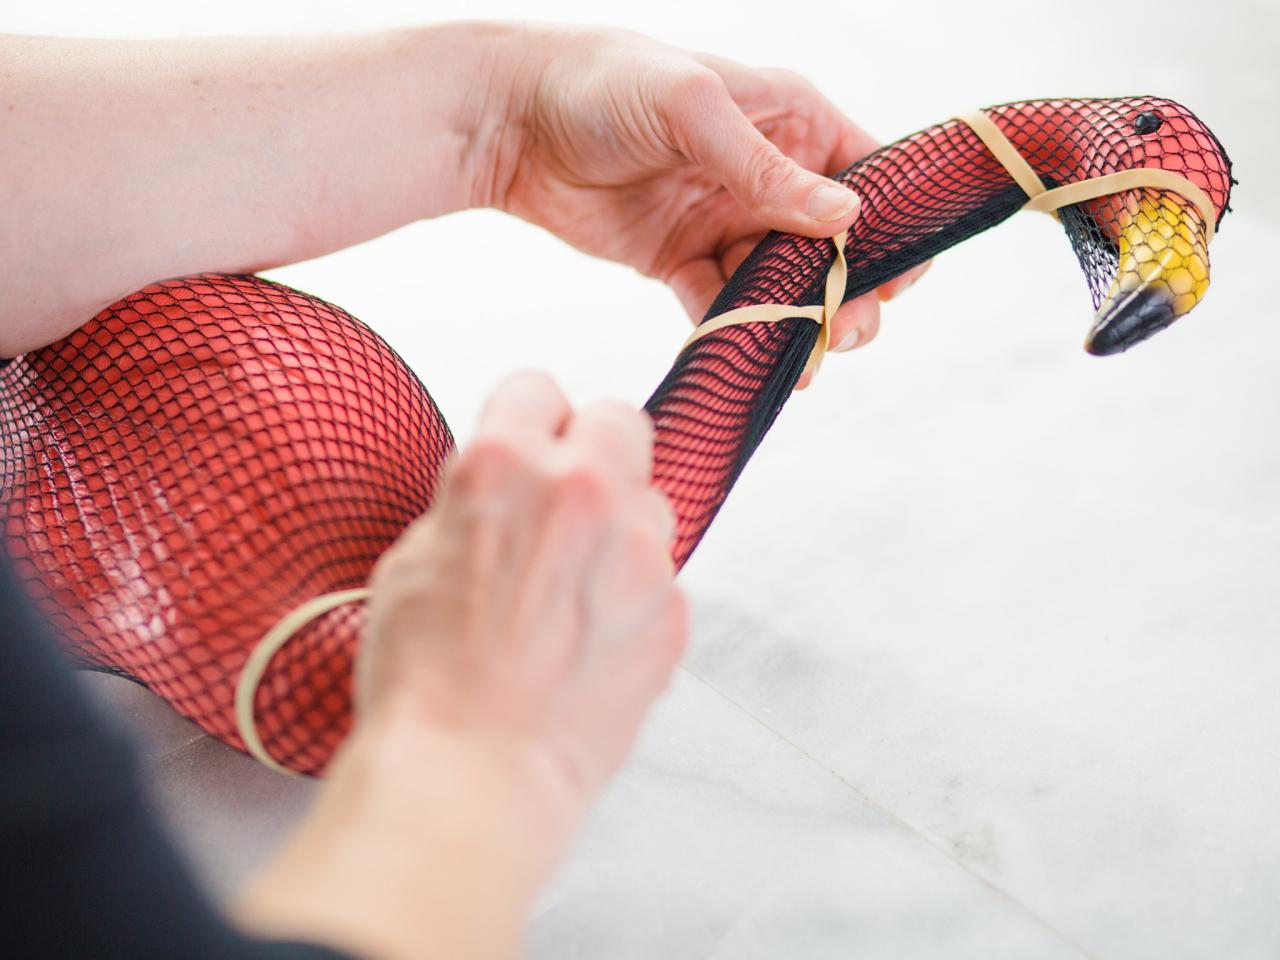
Outdoor epoxy will be the main means of securing the faux boxwood to the plastic flamingo, but a framework of rubber bands and fishnet tights will hold the glued sections in place while the glue cures. Starting at the flamingo's head, cover with one leg of fishnet tights (Image 1), knotting at the back (Image 2) and trimming off excess. Next, tightly wrap with rubber bands (Image 3), crisscrossing them to create a framework (Image 4).
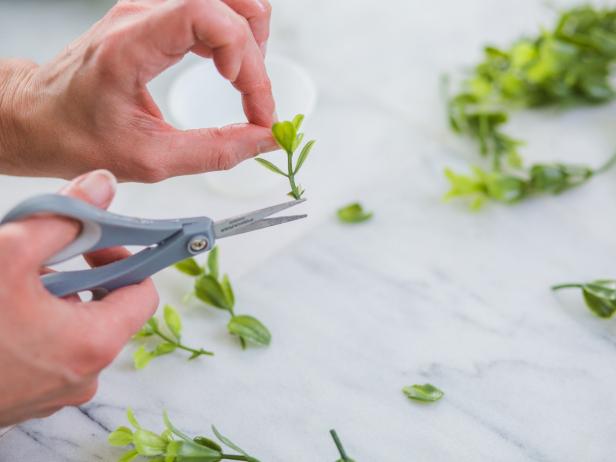
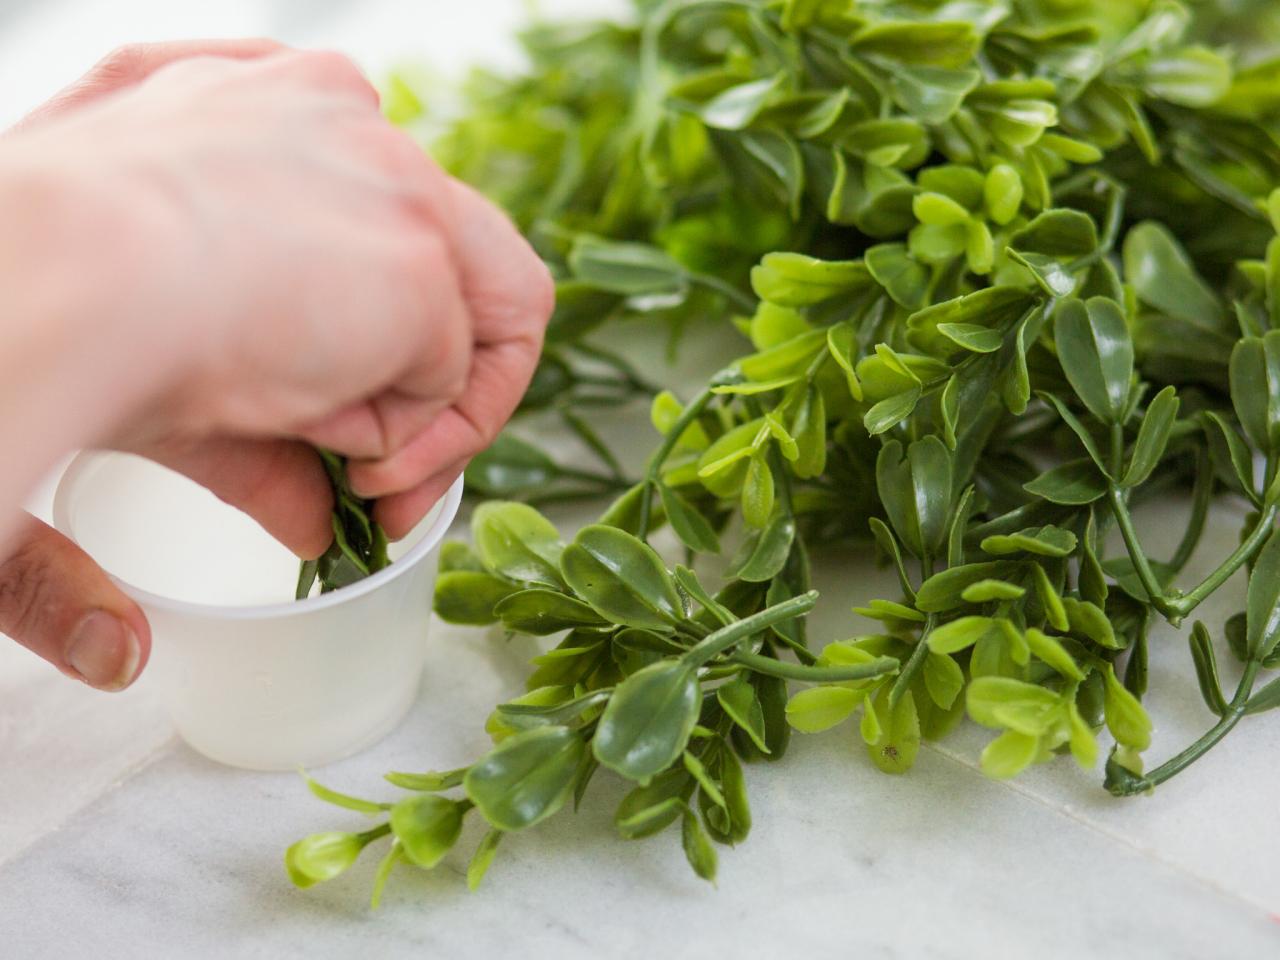
Cut Faux Boxwood Sections

Cassidy Garcia
Using scissors, cut boxwood garland apart to create large sections (3-4 stems) for the flamingo's body and smaller sections (1-2 stems) for the flamingo's neck and head.
Attach Faux Boxwood to Flamingo
Cassidy Garcia

Cassidy Garcia

Cassidy Garcia
Cassidy Garcia
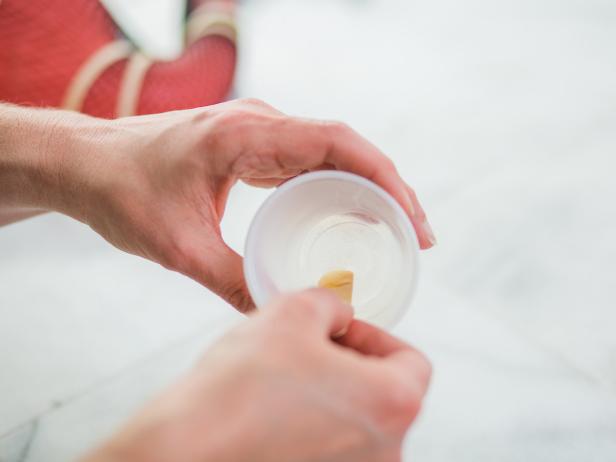
Following manufacturers' instructions, mix a small amount of 2-part epoxy (Image 1), and immediately begin dipping the large sections into glue (Image 2) and attaching to flamingo, starting at the bird's tail and working toward the head (Image 3). Tip: Tuck glue-covered boxwood under rubber band or fishnet framework to hold each piece in place while the glue sets up (Image 4). Note: Overlapping each section in this way will also ensure the rubber bands aren't visible on the finished topiary.
Continue With Neck and Head
Cassidy Garcia
Continue working your way toward the flamingo's head, adding smaller and smaller sections of faux boxwood to prevent the topiary from becoming so bushy that you lose the flamingo's signature shape. To give the head and neck a slender shape, cut, then attach very small faux boxwood pieces. Tip: This is where the fishnet tights come in particularly handy, allowing you to slide each small piece under the framework while the glue sets up.
Finishing Touches
Cassidy Garcia

Cassidy Garcia
Photo By: Cassidy Garcia
Photo By: Cassidy Garcia
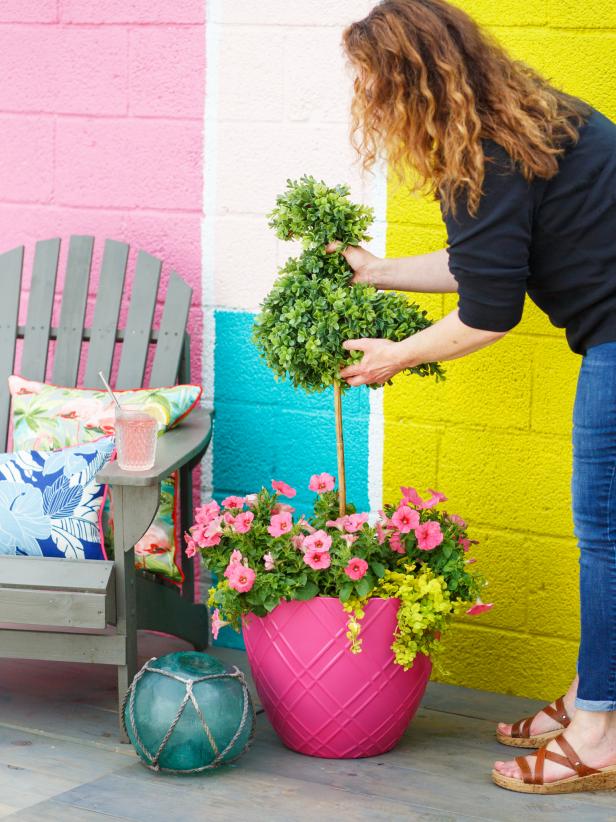
Allow all glue to fully cure for outdoor use following manufacturers' instructions (typically 1-3 days). Center and securely insert bamboo stake into a garden bed or container; then slide faux boxwood flamingo onto stake (Image 1). Proudly display your finished kitschy creation (Image 2).


