


Fall For This Quirky DIY Pumpkin Gnome
Our no-carve pumpkin gnome is an easy fall DIY that is quick to assemble and sure to add a touch of whimsy to your autumn decor.

Sarah Busby

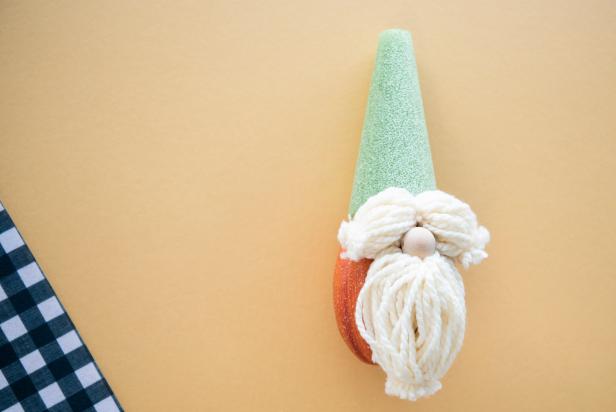
Autumn weather and crunchy leaves go hand in hand with cottagecore, gnomes and toadstools. This adorable fall-themed gnome has a pumpkin body, a wooden bead nose and a floral cone hat. Note that the pumpkin for this project is tall and slim instead of short and wide. Choose a pumpkin that will leave you enough space for the eyebrows, nose and beard.

60+ No-Carve Halloween Pumpkin Ideas 64 Photos
From ghoulish to glam, we have a pumpkin decorating project for everyone — no carving tools required.
Materials + Tools
- pumpkin
- floral cone
- wooden bead
- yarn
- scissors
- low-temp hot glue gun + glue sticks
- felt or fabric scrap
- wood disc
- craft knife

Sarah Busby
1. Prep the Pumpkin
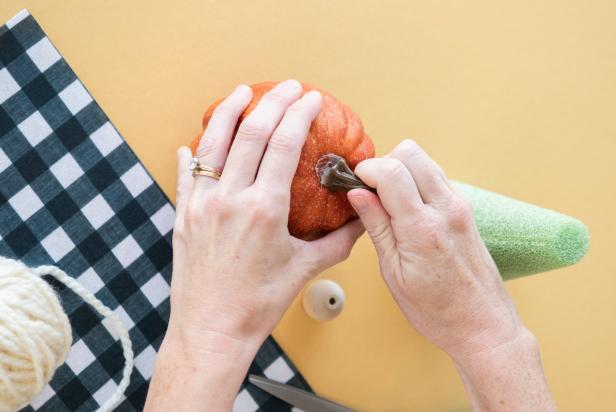
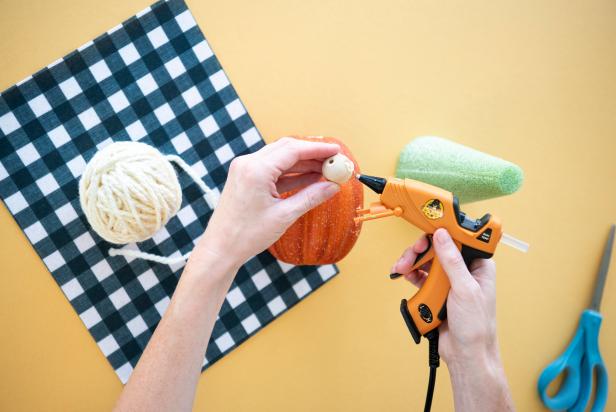
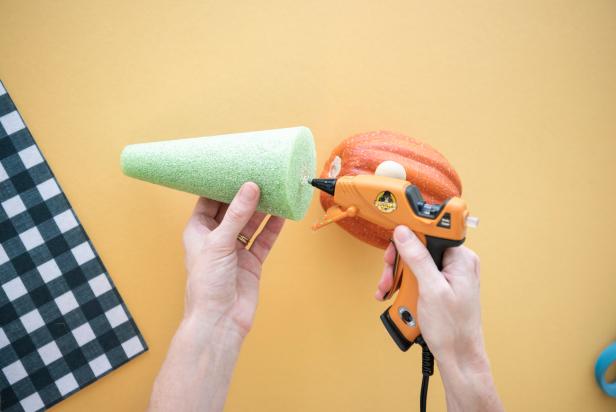
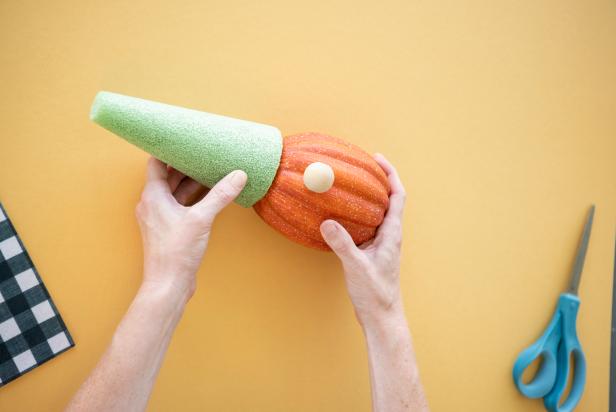
First, carefully remove the pumpkin stem so you will have a mostly level surface for the hat (Image 1). Next, attach the nose by hot-gluing the wooden bead in the center of the pumpkin about two-thirds up from the bottom (Image 2). Then, hot-glue the floral cone to the top of the pumpkin (Image 3 + 4).
Sarah Busby
Sarah Busby
Sarah Busby
Sarah Busby
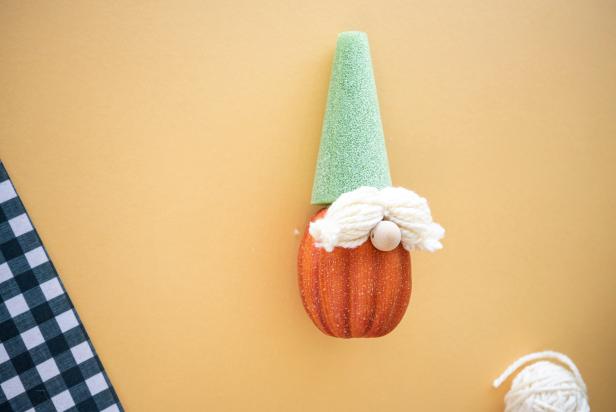
2. Make the Eyebrows
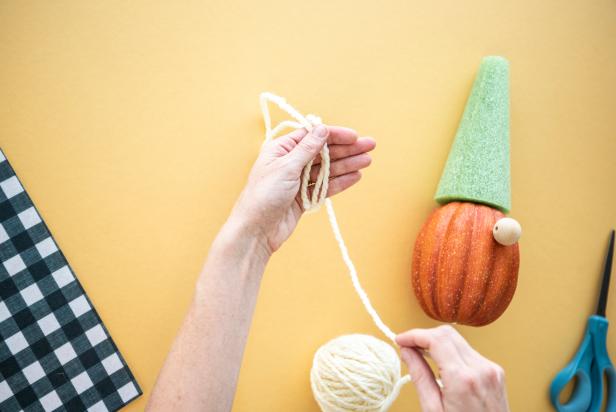
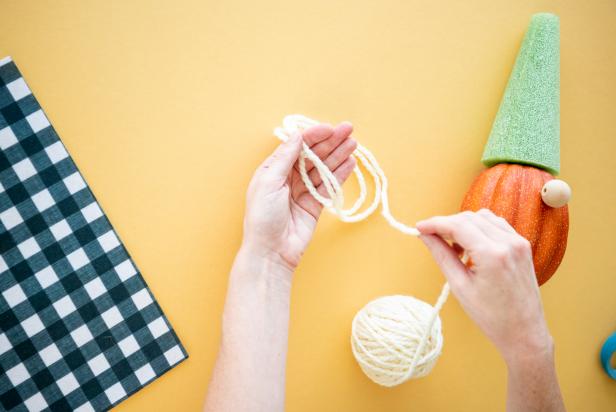
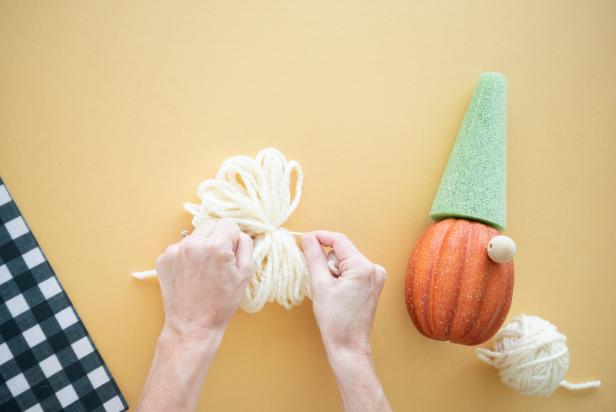
Yarn serves as the eyebrows and beard for the gnome. To make the eyebrows, loosely wrap the yarn around four of your fingers in a loop. Once you have enough yarn (it’s totally subjective and completely up to you) to make bushy eyebrows, cut the yarn’s tail to sever it from the skein (Image 1 + 2). Slide the yarn off your hand and onto your work surface. Cut a few more inches of yarn from the skein and tie it around the center of the yarn pile to serve as the divider between the eyebrows (Image 3).
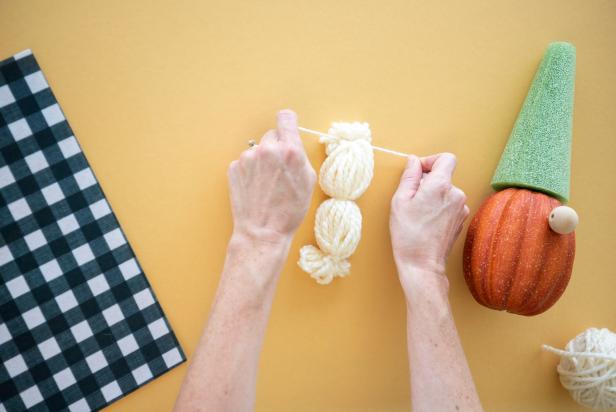
Tie more yarn about half an inch from the end of the yarn bundle. Trim the closed loops at each end of the yarn bundle to fringe the ends and give the eyebrows a bushy look (Image 4). Once you’re satisfied with the eyebrows, hot-glue the eyebrow piece between the wooden bead and the top of the pumpkin (Image 5).
Sarah Busby
Sarah Busby
Sarah Busby
Sarah Busby
Sarah Busby
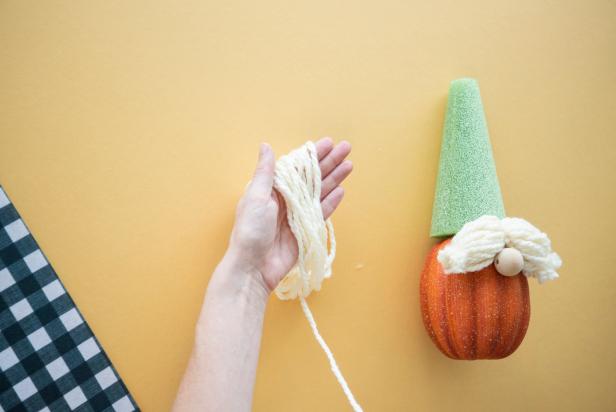
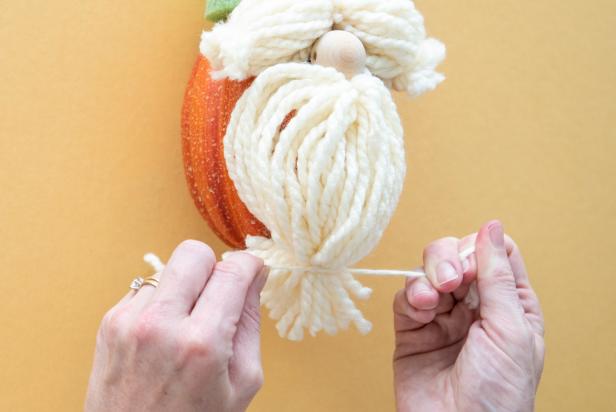
3. Make a Tassel Beard
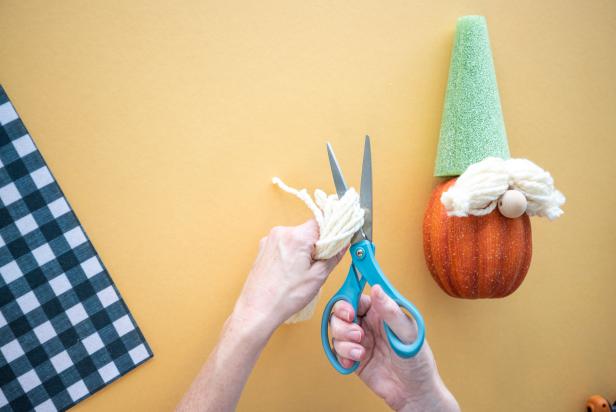
Like the eyebrows, begin the beard by loosely wrapping yarn around four of your fingers in a loop (Image 1). Once you have enough yarn, cut the yarn’s tail to sever it from the skein and slide the yarn off your hand and onto your work surface. Cut a few more inches of yarn from the skein and thread it through the center of the yarn bundle and tie it off. Pick the bundle up by the knot you just made. Using scissors, carefully cut through the yarn so that the beard pieces hang long and free on each side of the knot (Image 2).
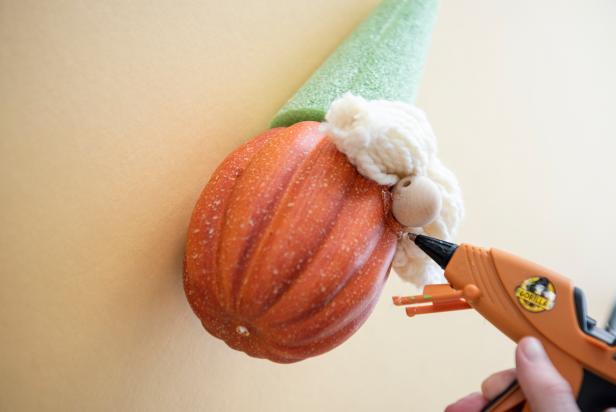
Apply hot glue just under the wooden bead nose and press the knot in the center of the beard strands into the glue. You may need to use some more glue around the nose to make the beard spread out a bit wider for the full gnome effect (Image 3).
Once the beard is secured, take another few inches of yarn and tie them around the hanging beard ends. Trim the ends and fluff the beard (Image 4 + 5).
Sarah Busby
Sarah Busby
Sarah Busby
Sarah Busby
Sarah Busby
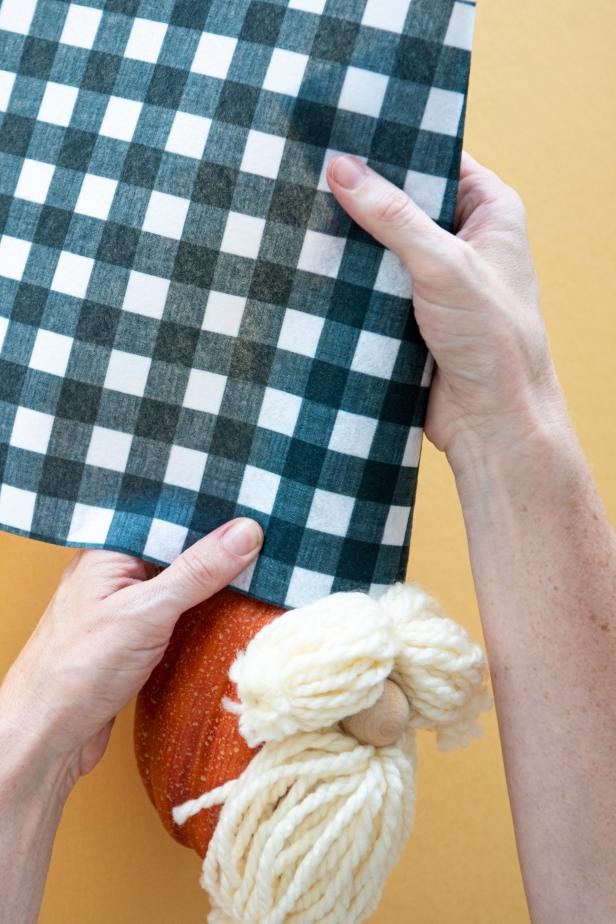
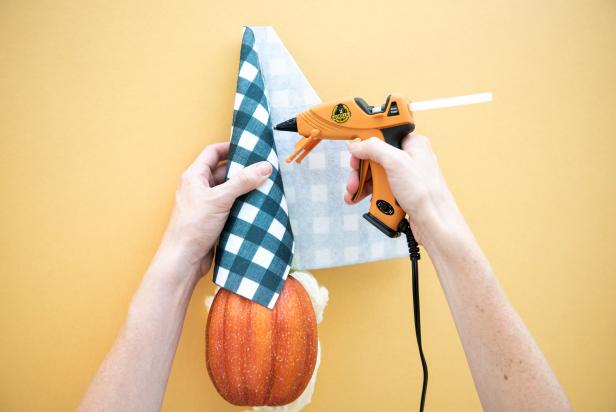
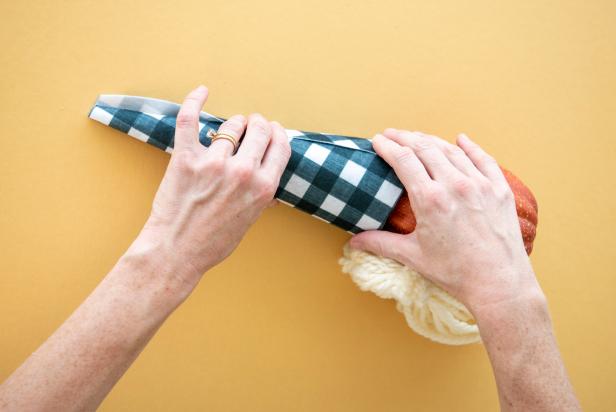
4. Wrap the Felt Around the Floral Cone
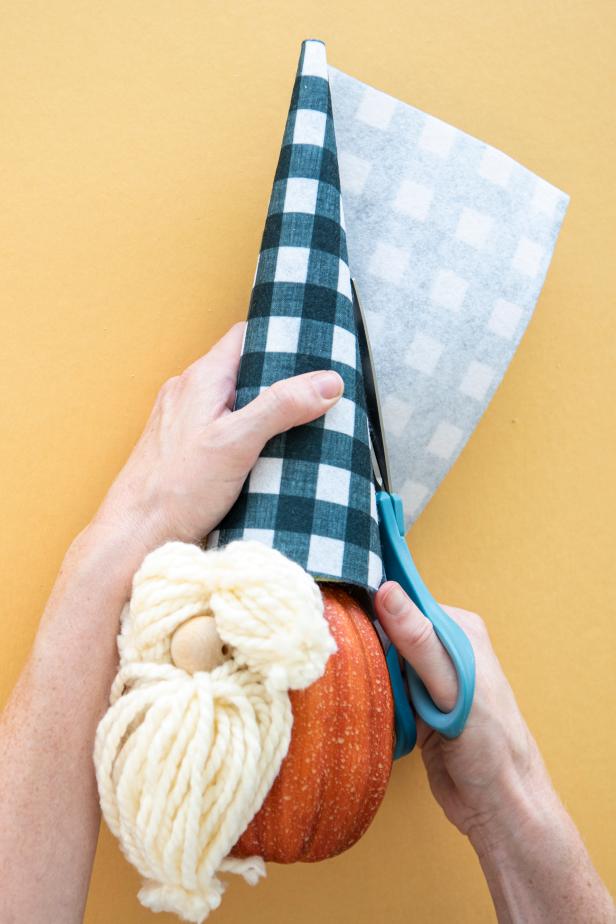
With a long side of the rectangle felt piece parallel to the gnome’s eyebrows, wrap the felt around the floral cone (Image 1). Trim the excess felt off leaving about 2 inches of overlap (Image 2). Use two lines of hot glue about an inch apart to secure the felt to the cone (Image 3 + 4).
Sarah Busby
Sarah Busby
Sarah Busby
Sarah Busby
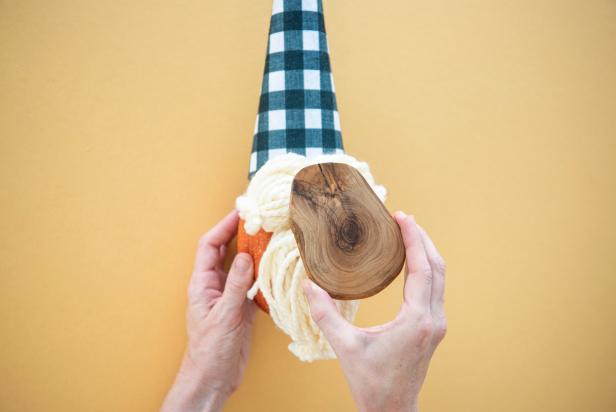
5. Attach the Pumpkin to the Wood Disc
Dispense a generous circle of hot glue onto the wooden disc and press the pumpkin into it. Allow it to dry (Image 1 + 2).
Sarah Busby
Sarah Busby
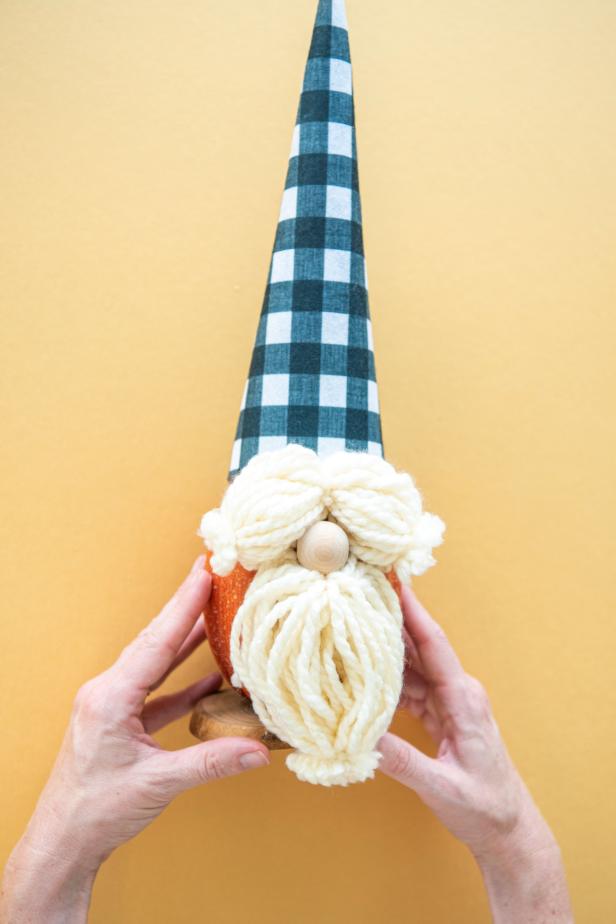
6. Display and Accept Compliments
Pumpkin gnomes look great on side tables, bookshelves, mantels or in centerpieces. Want to go for a different look or create a whole gnome family? Customize it by switching up the yarn color, fabric pattern or size of the pumpkin.

Sarah Busby
Gnome DIYs

DIY Garden Gnome Halloween Costume
No costume ideas? "Gnome" problem. With a few common craft items and some everyday clothing pieces, you can quickly transform yourself and your plus one into the perfect garden-guarding pair.

Make Festive Tomato Cage Yard Gnomes for Christmas
Add whimsy and cheer to your holiday decor by creating no-sew, larger-than-life gnomes out of tomato cages.

DIY Gnome Garden Getaway
Gnomes and fairies need weekend getaways too! Create this camping-inspired garden in your favorite vintage lunchbox in just a few simple steps.


