


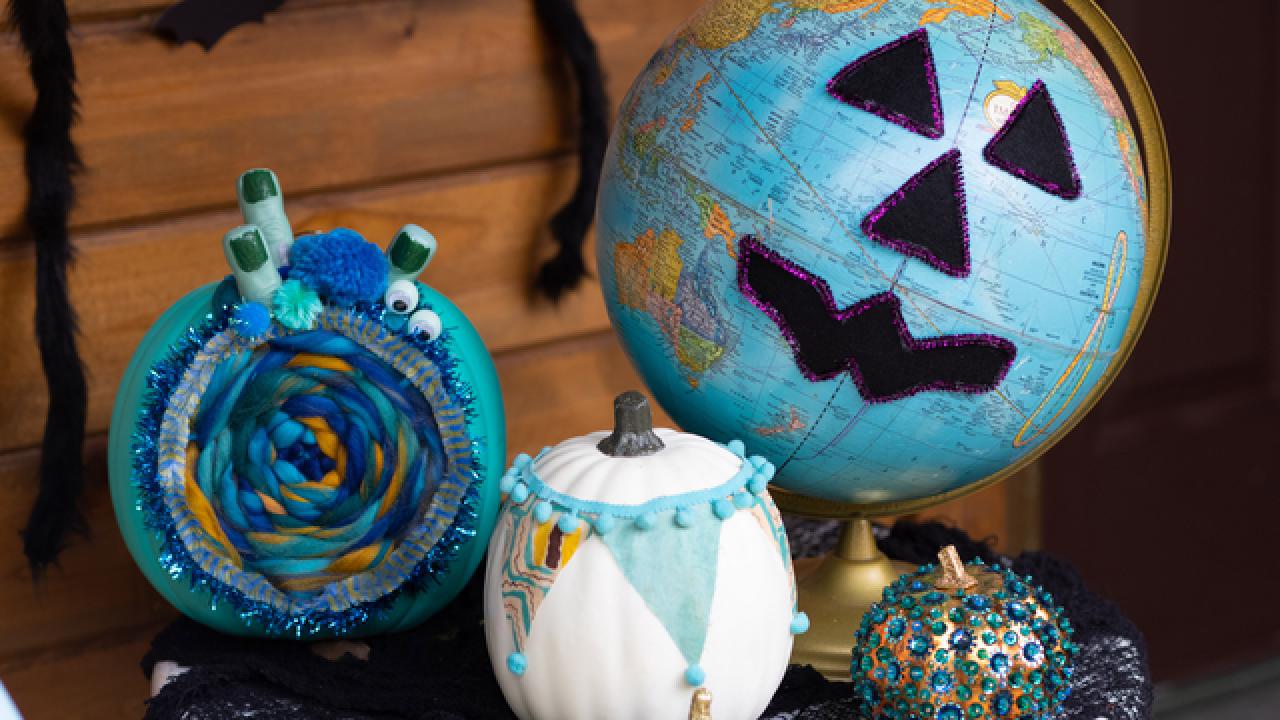
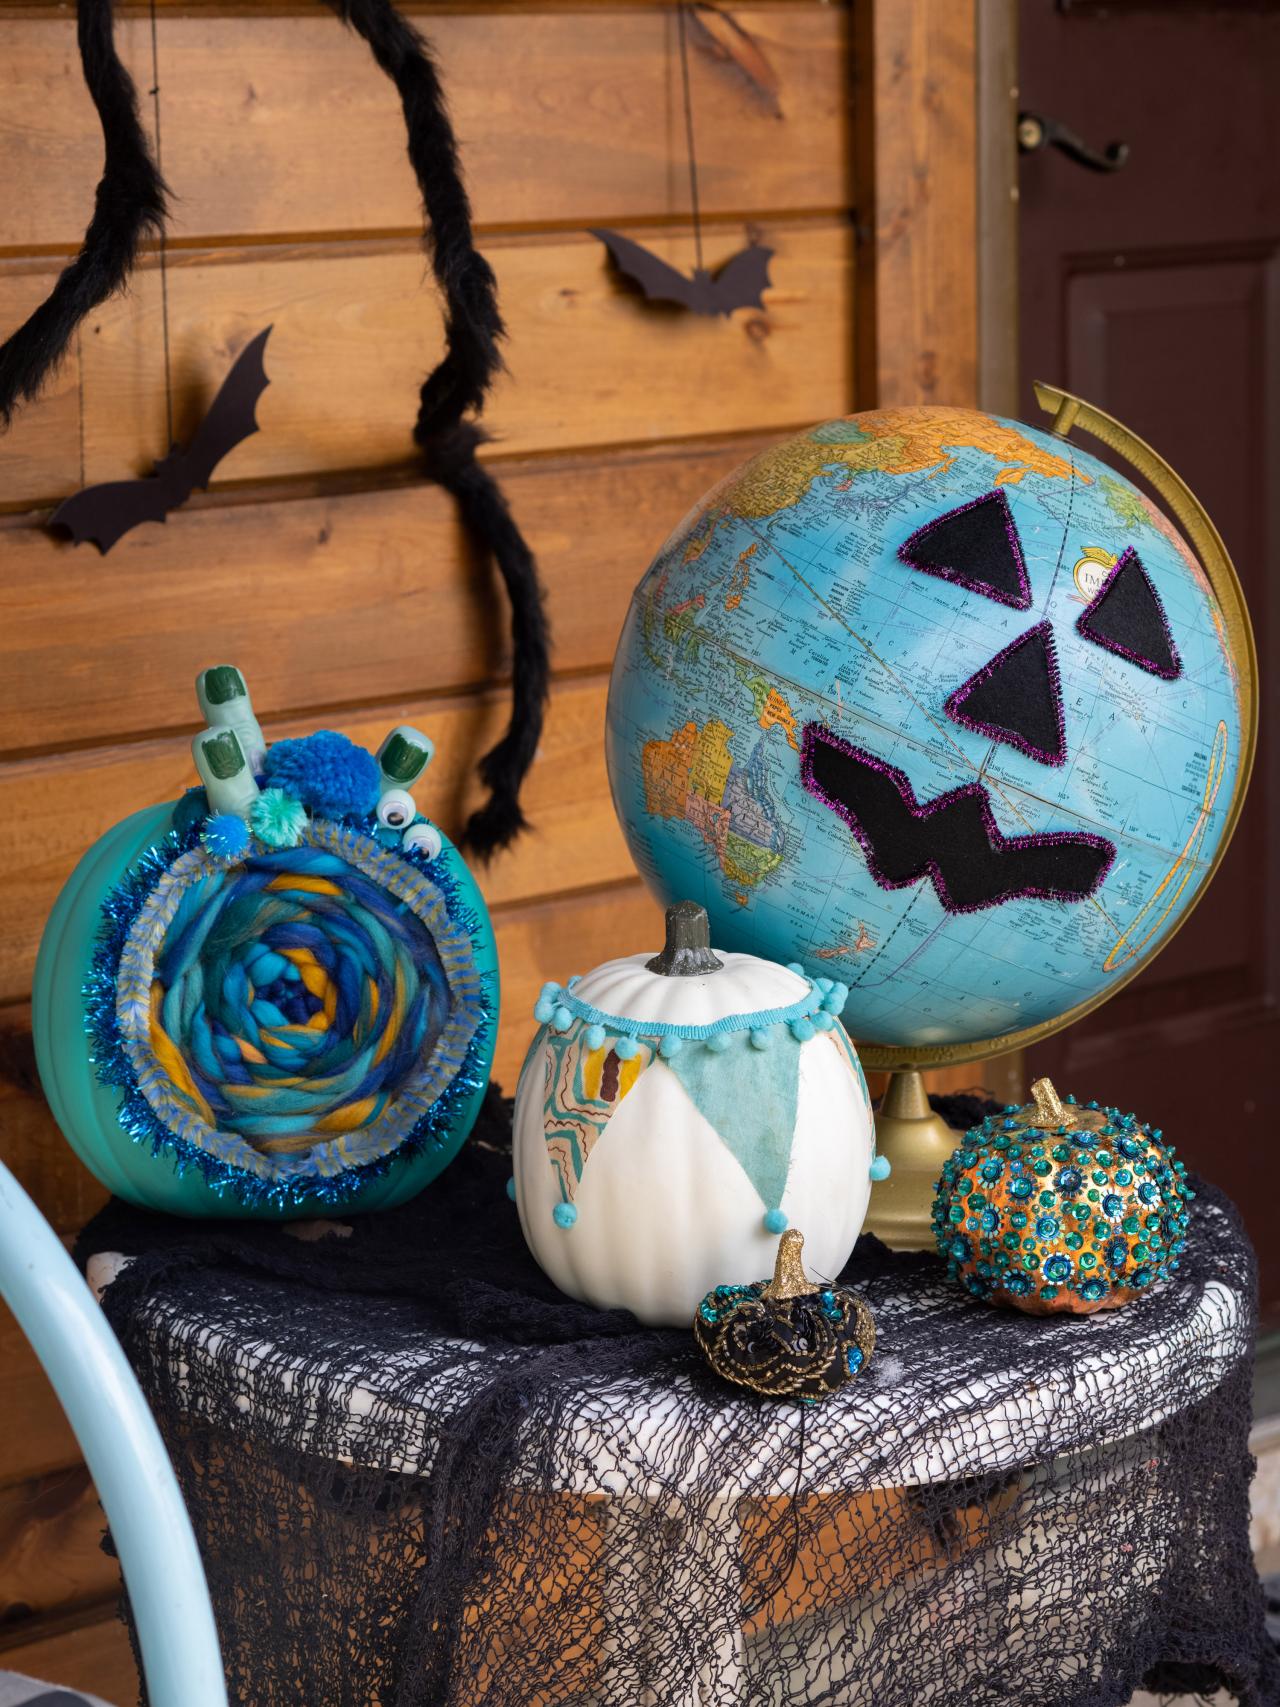
DIY Teal Pumpkins Three Ways
Make sure no child, even those with food allergies, is left out of trick-or-treating by displaying one of these three DIY teal pumpkins that let everyone know that you have non-food treats available.

Best Wishes Studio

To ensure every child experiences the fun and magic of Halloween night, the Teal Pumpkin Project formed a bright idea. Teal pumpkins are placed on your doorstep for trick-or-treaters with food allergies to know that you have candy alternatives available. This way, no child feels left out just because they can’t have the same candy as everyone else. After you choose which teal pumpkin to place on your porch, stock up on alternative items like vampire teeth, glow-in-the-dark bouncy balls, stickers and more. Here are three teal pumpkin ideas to get you started.
Woven Monster Pumpkin
Materials Needed
- teal diorama pumpkin
- small embroidery hoop
- teal yarn
- thick variegated teal yarn
- scissors
- hot glue gun + sticks
- thick teal pipe cleaner
- teal decorative trim
- assorted pom-poms
- plastic monster fingers and eyeballs
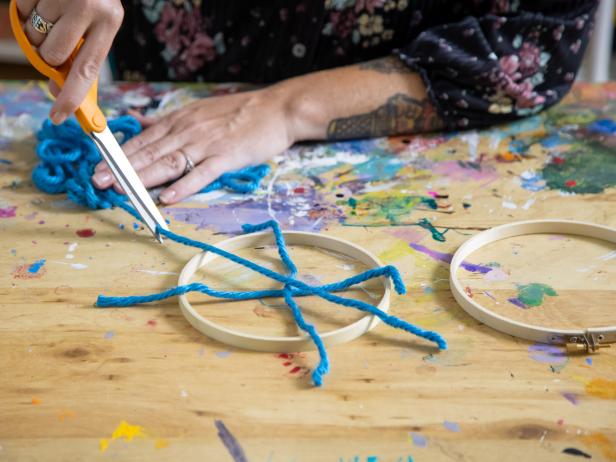
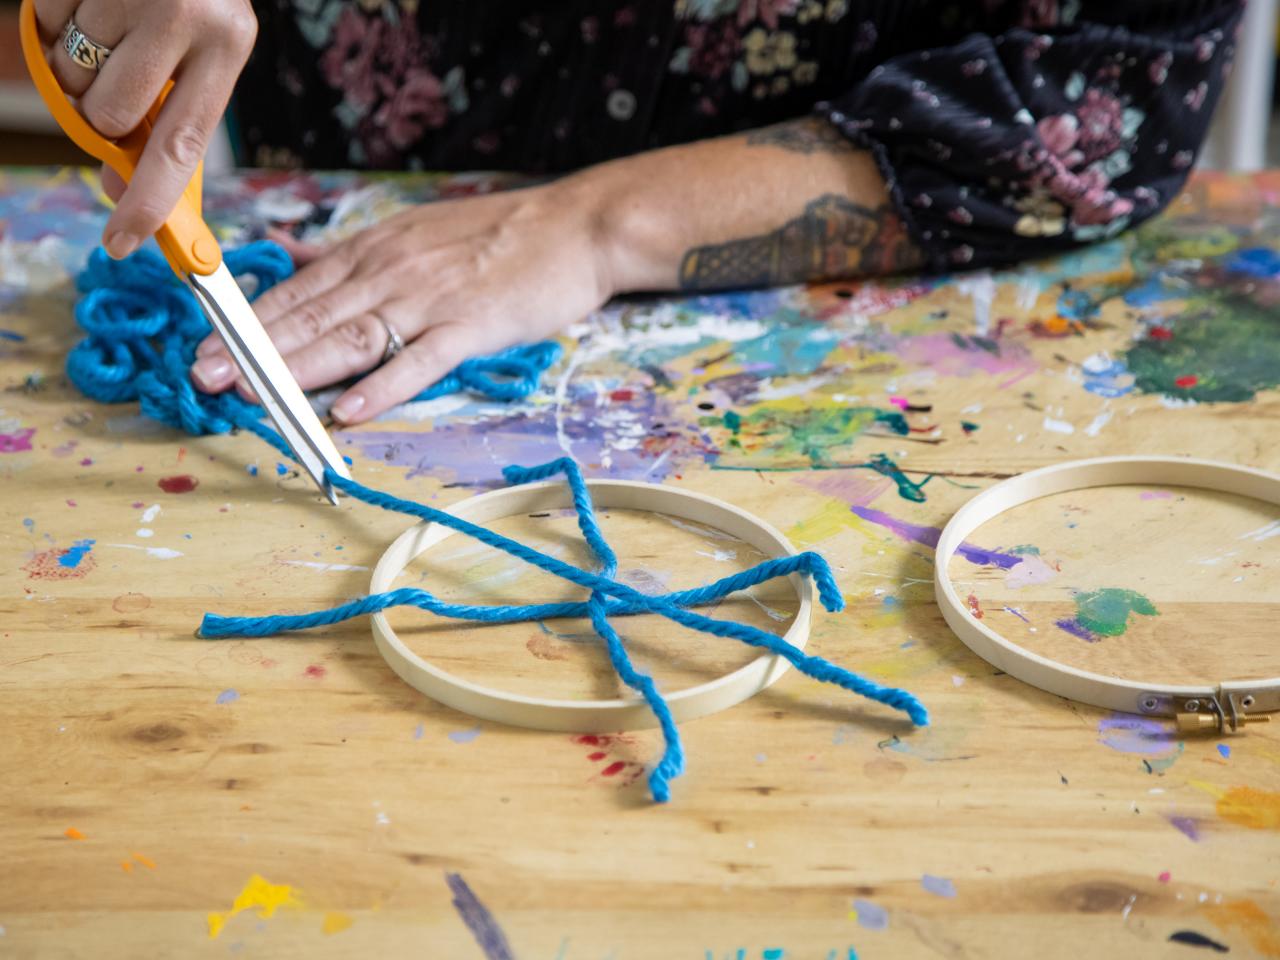
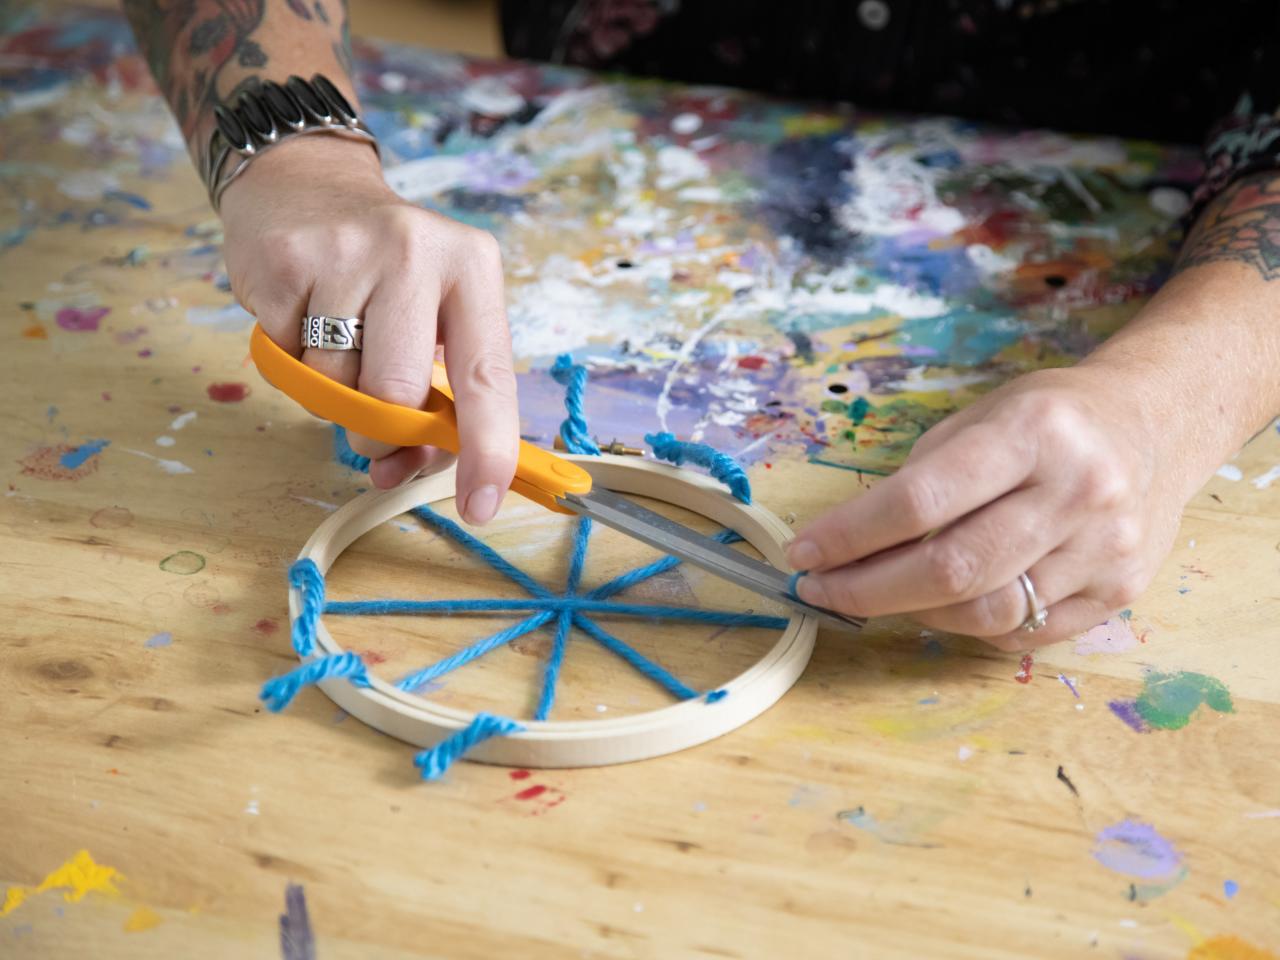
Place Yarn on Embroidery Hoop
Take apart an embroidery hoop and place the inner hoop on a flat work surface. Cut four sections of yarn approximately 4 inches longer than the hoop’s diameter. Place the first two pieces of yarn on the hoop to form a plus sign leaving 2 inches of excess on each end, then place the next two on top in an X shape. This will serve as your loom.
Best Wishes Studio
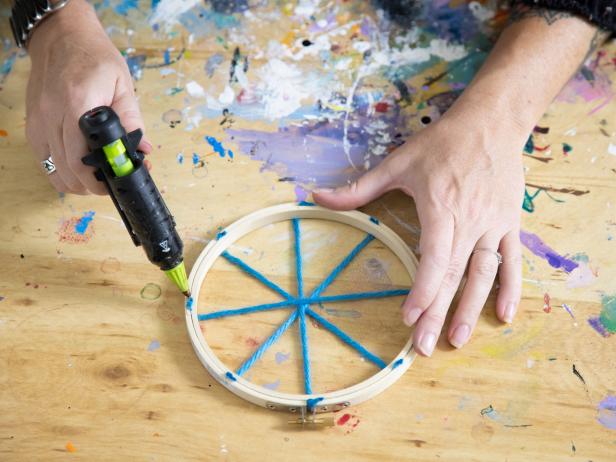
Reinstall Outer Hoop
Reinstall the outer hoop and tug the yarn tightly as you tighten the hoop’s hardware. The end result should be a tight spiderweb pattern. Trim off the excess yarn and hot glue the cut ends to help hold it in place (Images 1 & 2).

Best Wishes Studio
Best Wishes Studio
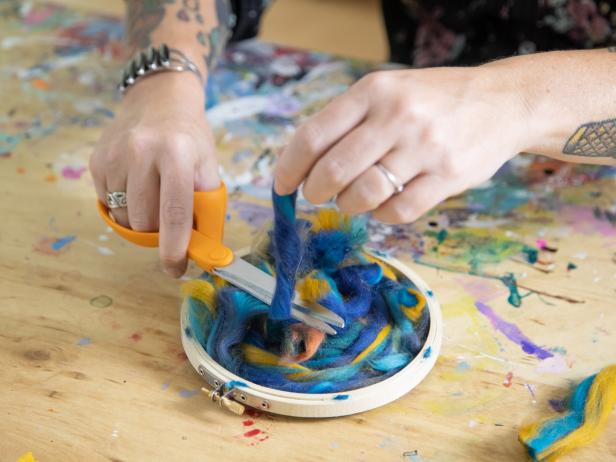
Weave Yarn
Using small sections of thick variegated teal yarn, begin weaving starting at the center (Image 1). Weave around the circle using an over and under pattern until the entire surface is covered (Image 2). Trim off any excess and hot glue the ends to the back of the embroidery hoop (Image 3).

Best Wishes Studio

Best Wishes Studio
Best Wishes Studio
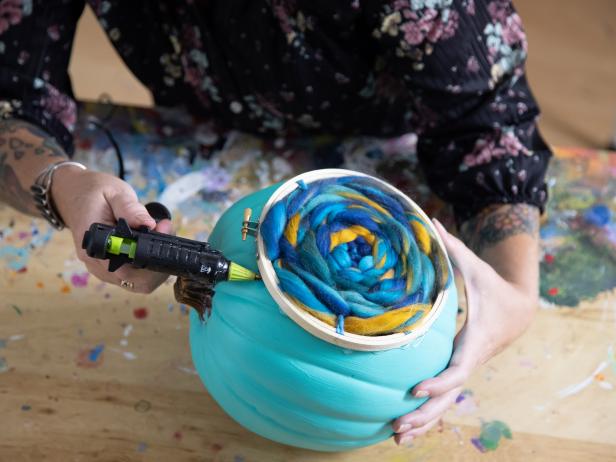
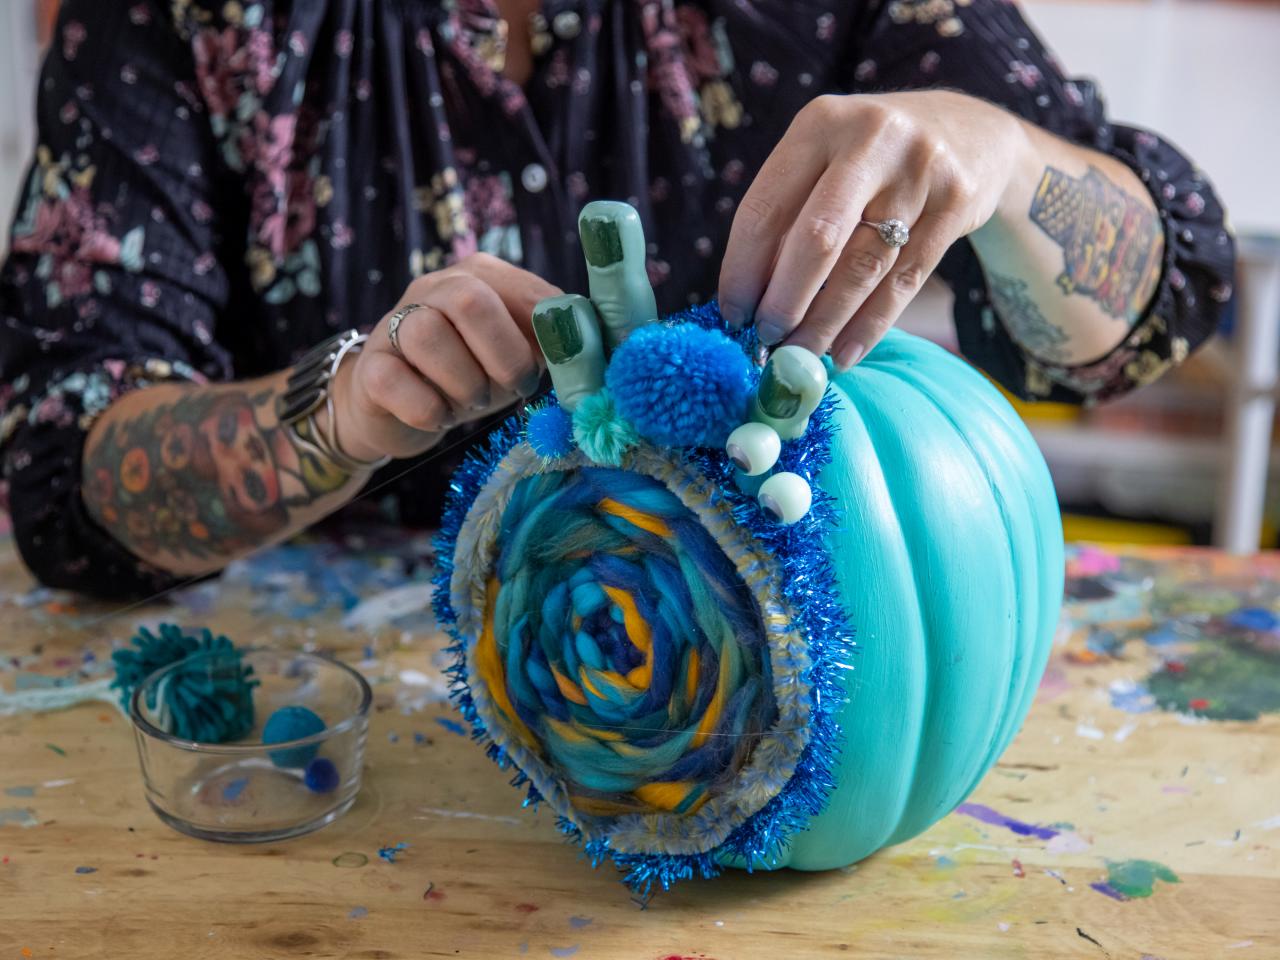
Connect Hoop to Pumpkin
Apply hot glue around the hole of a diorama pumpkin and press the embroidery hoop into place with hardware at the top, holding until the glue cools and sets.
Best Wishes Studio
Hide Embroidery Hoop
To conceal the wood of the hoop, hot glue a thick teal pipe cleaner and decorative trim around the edge.

Best Wishes Studio
Hide Hoop Hardware
To hide the hardware, hot glue monster fingers, pom-poms and eyeballs over the top of the embroidery hoop.

Best Wishes Studio
Fabric Scrap Pumpkin
Materials Needed
- plastic pumpkin
- fabric scraps in two patterns
- scissors
- decoupage glue
- craft paintbrush
- teal pom-pom trim
- hot glue gun + sticks
Cut Fabric
Cut two patterns of teal fabric scraps into six small triangles or three of each pattern. The exact size of the triangles will depend on your specific faux pumpkin.
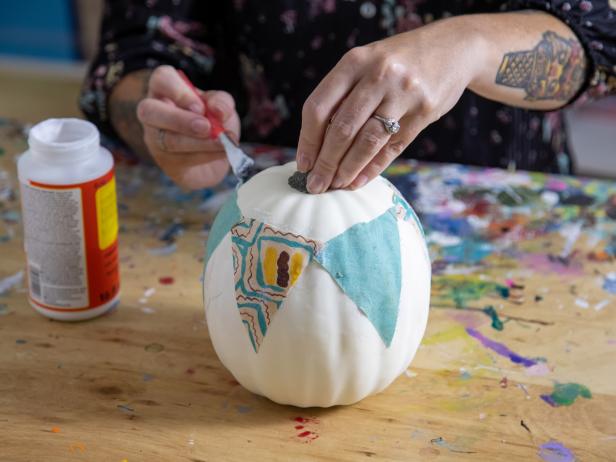
Attach Triangles
Use decoupage glue to add the fabric triangles to your pumpkin, joining the triangles at the corner and wrapping around the entirety of the pumpkin. Wipe away any excess glue and allow the triangles to dry in place.
Best Wishes Studio
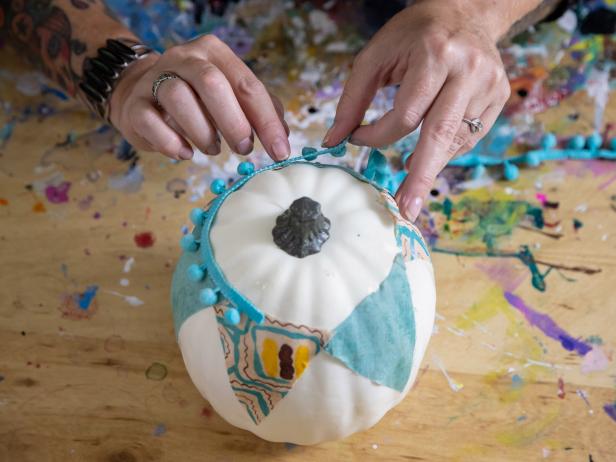
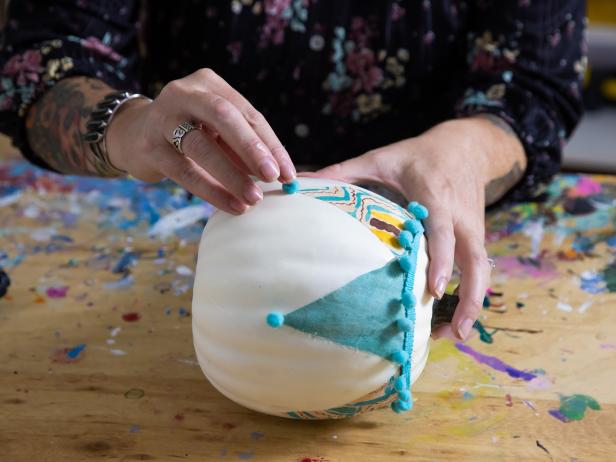
Add Pom-Pom Trim and Pom-Poms
Across the top of the triangles, hot glue decorative teal pom-pom trim (Image 1). This will hide any imperfections and rough edges. With the excess trim, cut off a pom-pom for each bottom triangle tip and hot glue in place (Image 2).
Best Wishes Studio
Best Wishes Studio
Globe Pumpkin
Materials Needed
- teal globe
- black felt adhesive
- pen
- scissors
- pipe cleaners
- hot glue gun + sticks
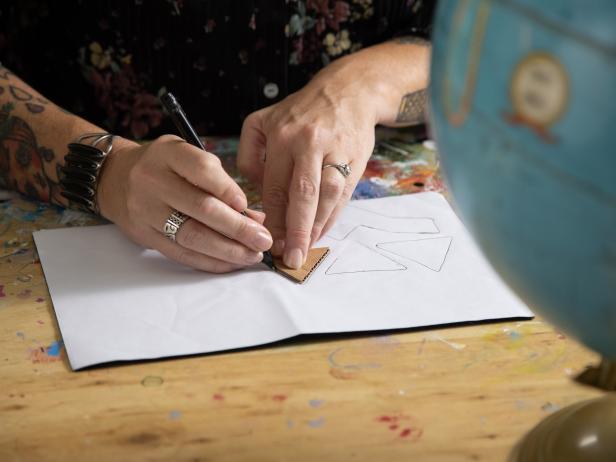
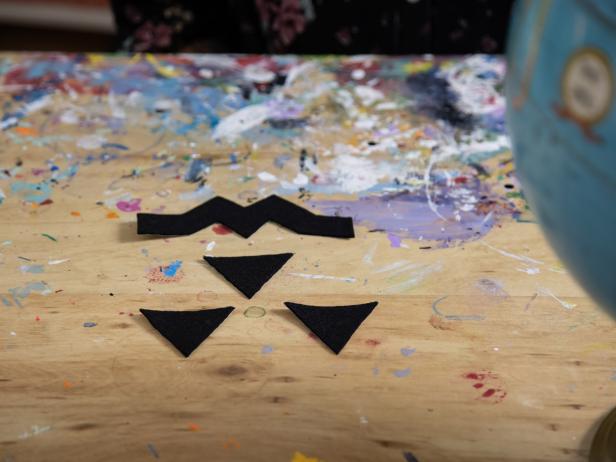
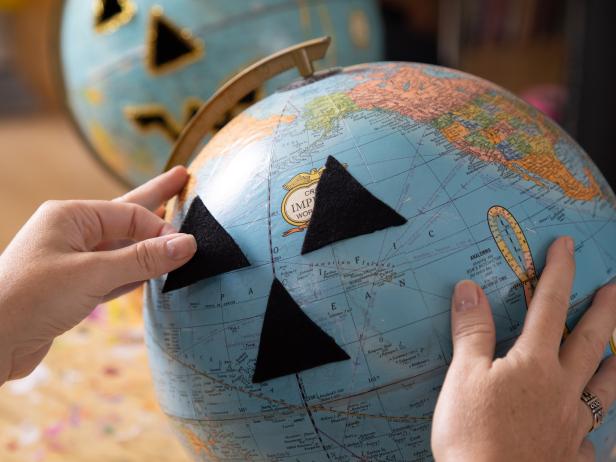
Create Jack-O'-Lantern Face
Draw a traditional jack-o'-lantern face on the paper backing of black adhesive felt and cut out the shapes using scissors (Images 1 & 2). Peel off the paper backing and place the shapes on your globe (Image 3).
Best Wishes Studio
Best Wishes Studio
Best Wishes Studio
Attach Pipe Cleaners
Hot glue pipe cleaners around each of the jack-o'-lantern's facial features to highlight and contrast the shapes, trimming any excess with scissors.

Best Wishes Studio
Display
Display your completed globe pumpkin with the other DIY teal pumpkins for a color-coordinated display.
Best Wishes Studio


