


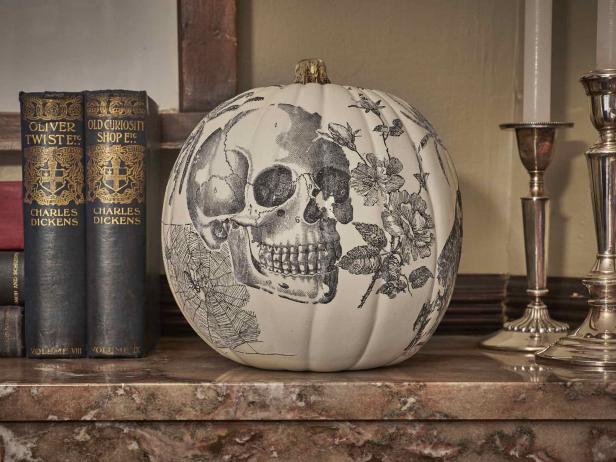
How to Make an Image Transfer Pumpkin
This old-school image transfer technique gives pumpkins an imperfect, antiqued look that is just the thing to dress up your porch, mantel or indoor Halloween display.

Materials Needed
- white foam pumpkin
- printed black and white images
- matte decoupage glue
- scissors or a craft knife
- foam brush
- sponge
- bowl for water or spray bottle
- paper towels
- clear acrylic seal spray (optional)
Print Out Images
First things first, find a good collection of Halloween-themed imagery and print it out. Black-and-white imagery tends to work best with this technique. And while any printer works, a laser printer will work best.
In recent years, "royalty-free images" have become pretty abundant on the internet. These are images that you can use without having to worry about paying fees. Tip: If any of your imagery has words, you'll need to reflect the image before printing it out. If the word reads backward on paper, it will read correctly when transferred.
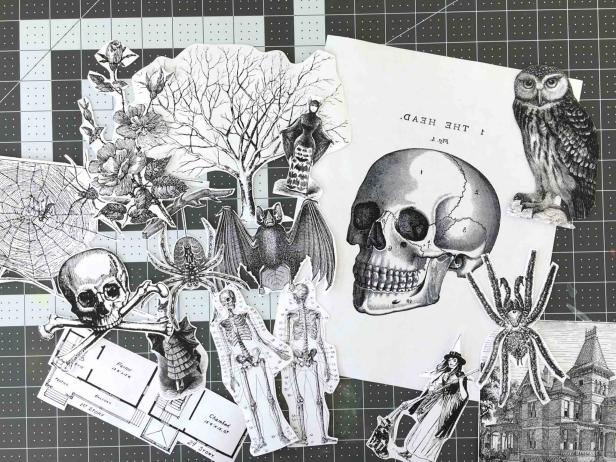
Cut Out Images
Next, use scissors to cut out the images. When cutting, get as close to the black lines as possible.

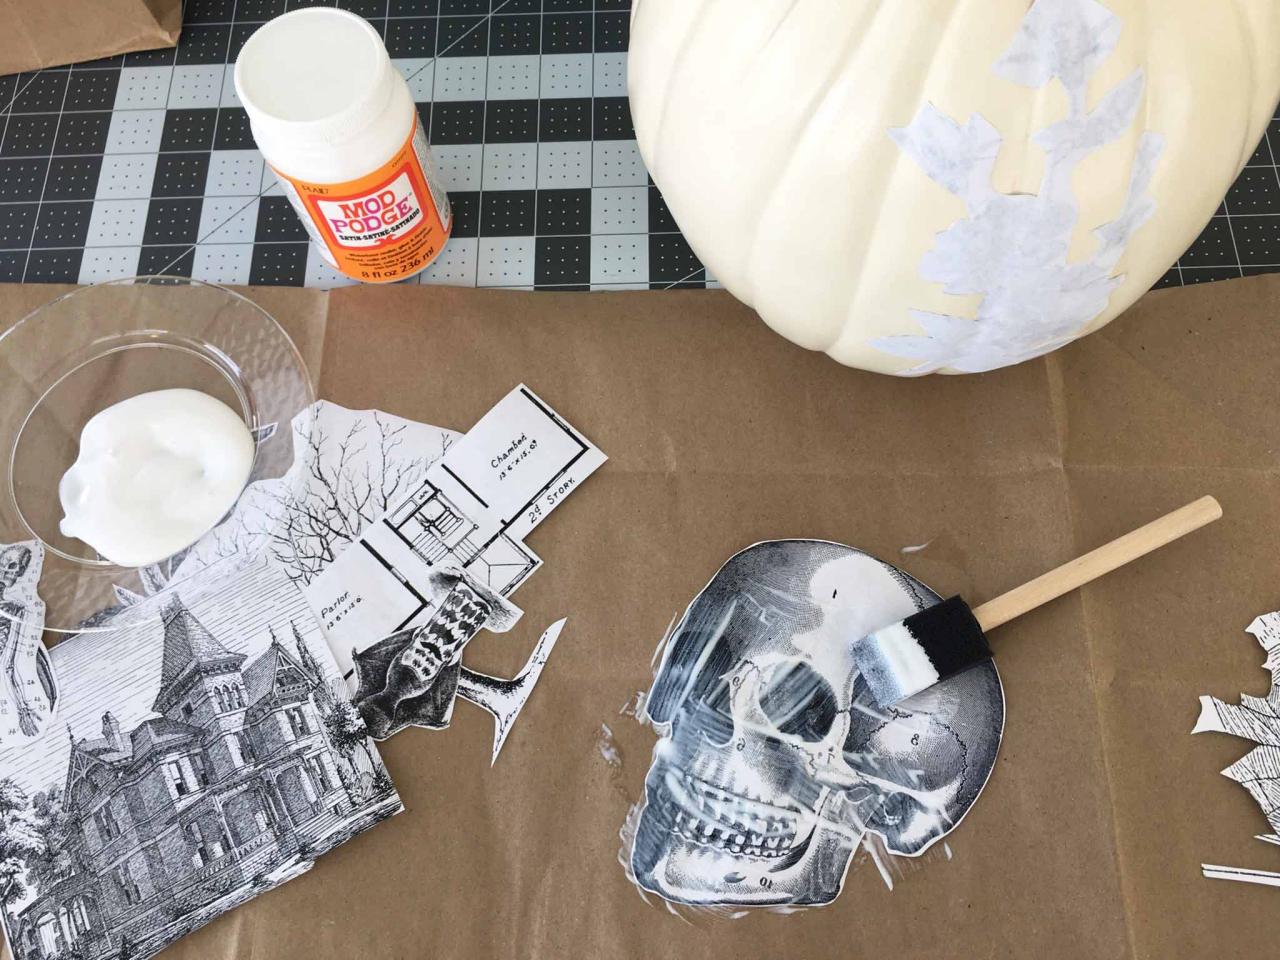
Glue
Using your foam brush, cover the printed surface with decoupage glue (Image 1). Then, place the image face/glue side down on your pumpkin. Be aware that if you have two pieces of paper overlapping, only the bottom image will show up. Let dry for one hour (Image 2).


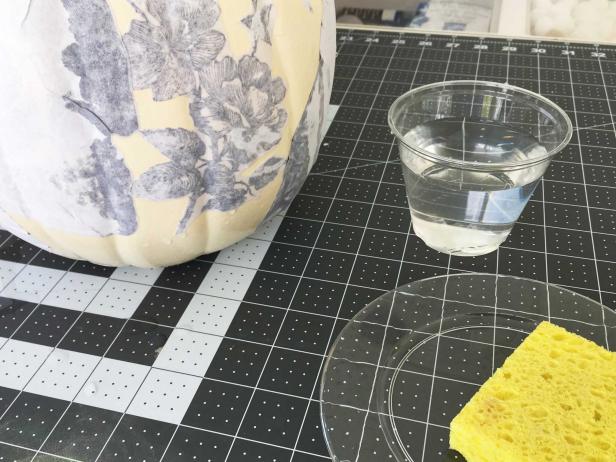
Apply Water
Use a damp sponge or spray bottle full of water to soak a small area of paper (Image 1). Gently begin to rub away the paper with your finger (Image 2). You'll notice the black image has transferred to the pumpkin. This may take a few moments so be sure to keep the area damp. Repeat on small areas until as much white has been removed as possible.
Keep the pumpkin clean during this process by working in small areas, changing out the water in which you're dipping your sponge and wiping off excess paper pulp. This is key to the best-looking finished product. If you aren't sure how you did, check your pumpkin an hour or two after you finish. If you're still seeing a lot of excess white, repeat this step.

Seal It
If you plan on keeping your decoupaged foam pumpkin for next year, spray it with a clear acrylic sealer to protect the transferred images.
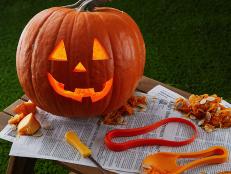
More No-Carve Pumpkin Ideas to Try

50+ No-Carve Halloween Pumpkin Ideas 64 Photos
From ghoulish to glam, we have a pumpkin decorating project for everyone — no carving tools required.


