


How to Make a Felt Poinsettia

Vertical Hanging Garland With Fabric Poinsettias
Add holiday flair both inside and outside your windows with a fabric poinsettia window garland. Cut ribbon to the proper size of your window or blinds. Next, create fabric poinsettias by tracing leaf silhouettes onto felt and cutting each one out with scissors. Layer the leaves together with a needle and thread, then fasten a button to the center. Stitch or hot-glue each poinsettia directly to the ribbon and place along the vertical lines of the blinds for a seamless, tailored look.

Materials Needed:
- colored felt by the yard
- chalk or marker
- tape measure
- fabric scissors
- needle
- spool of thread
- hot glue
- buttons
- thick craft paper
- rhinestones or crystals
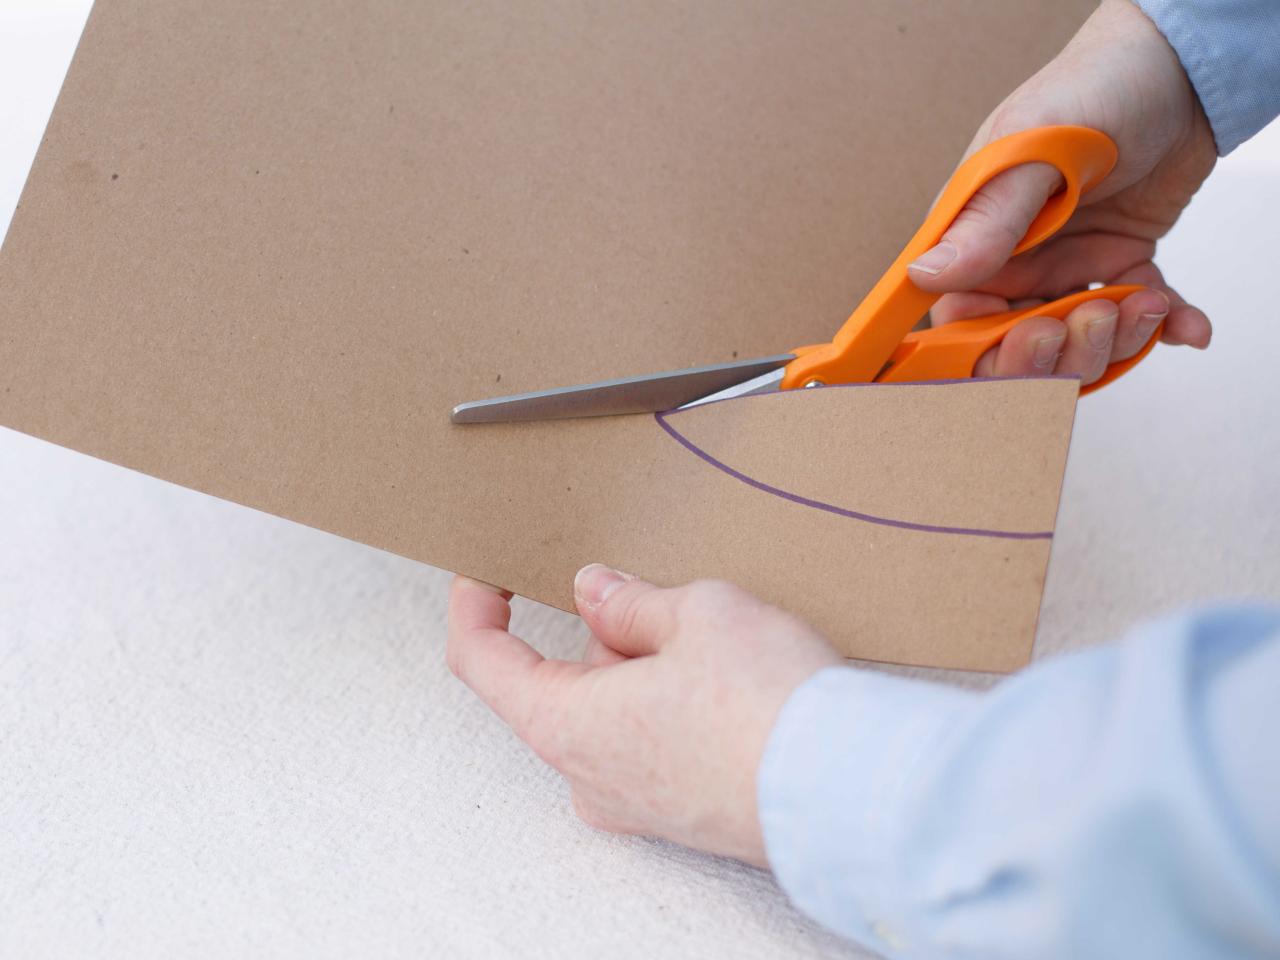
Draw a Leaf Stencil and Cut Out
Place craft paper on a flat, level surface. Use marker or chalk to trace a leaf pattern directly onto the craft paper. Tip: If you're not confident free-handing a leaf silhouette, grab a dry leaf from the yard, lay it flat onto the craft paper and trace around the edges. Using the traced silhouette as your guide, cut out the leaf stencil from the craft paper with scissors.
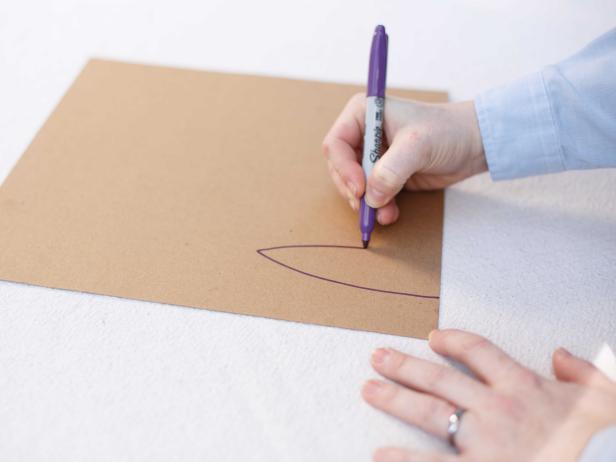

Draw a Stencil for Uniform Cutouts
A marker or chalk can be used to trace a stencil onto paper or cardboard, aiding in creating uniform cutouts.
Cut Out a Stencil
By using a stencil, it's easy to replicate the same size for a more uniform design.
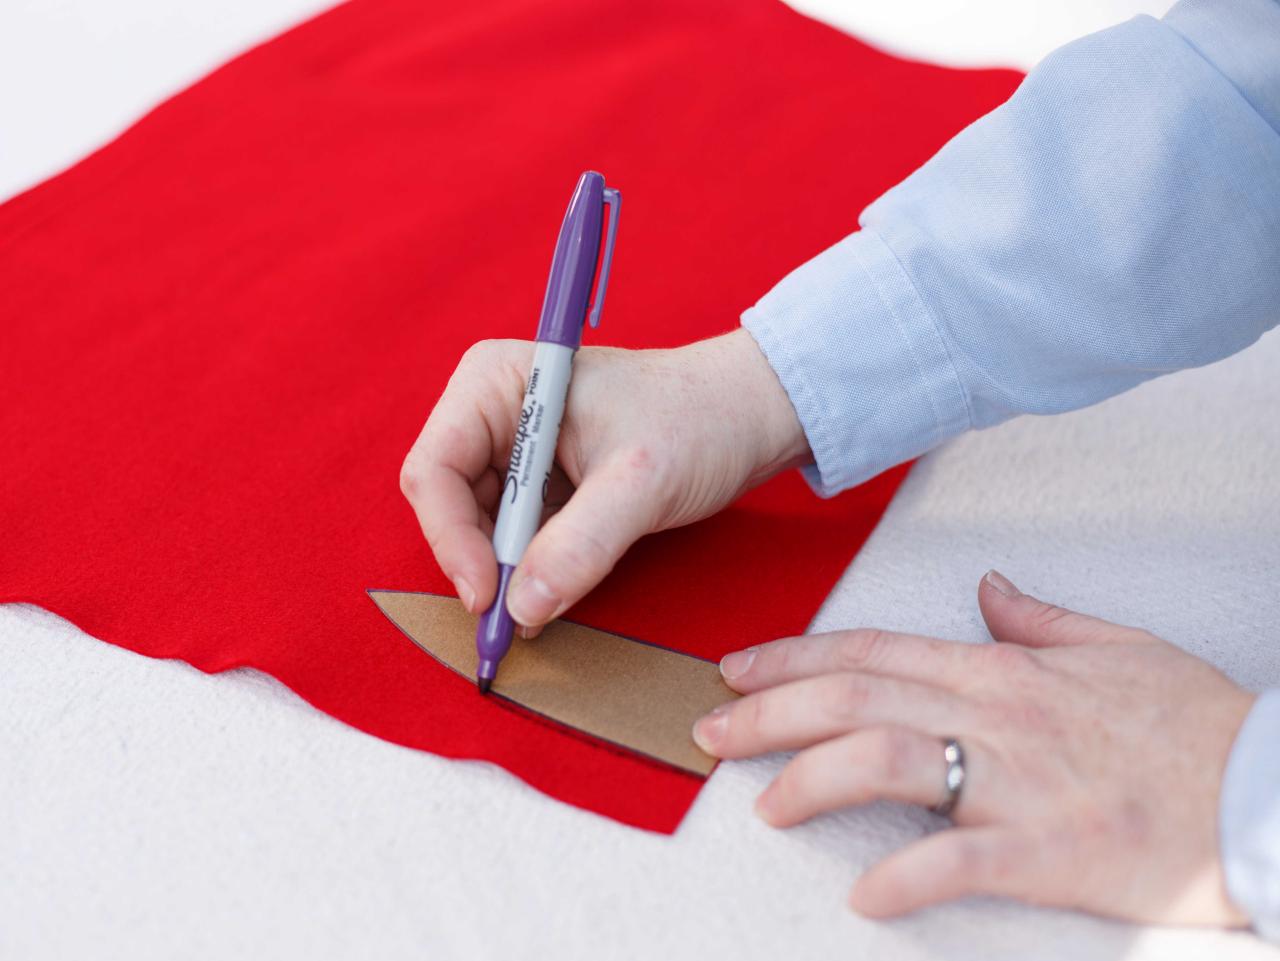
Trace Leaf Stencil Onto Felt and Cut Out
Once leaf stencil has been cut and removed from sheet of thick craft paper, place it directly onto the felt. Trace along the outside edges of the stencil with chalk or marker. Cut the traced leaf silhouette from the felt with fabric scissors.

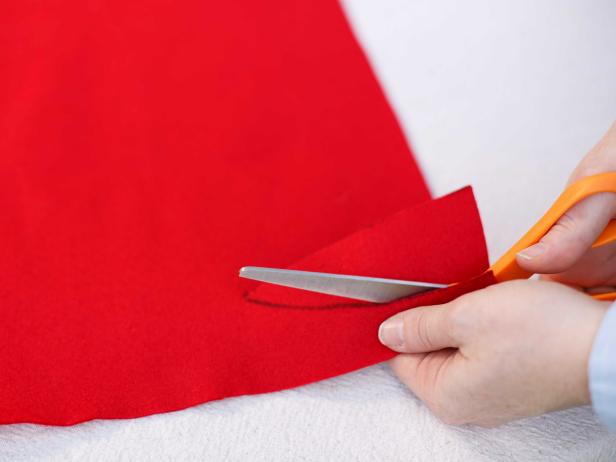
Petals for a Homemade Poinsettia
Use a stencil to trace an outline for the petals on a homemade felt poinsettia.
Trace a Leaf Stencil
Using a stencil helps guide scissors when cutting out the design on this sheet of red felt.
Repeat Tracing and Cutting
Repeat steps 1 and 2 until all leaf silhouettes have been cut from felt. Tip: For proper symmetry and scale, it's best to give each poinsettia 5 or 6 leaves.

Cutting Out Petals for a Handmade Poinsettia
A stencil can be used to trace petals on red felt for a homemade poinsettia decoration.
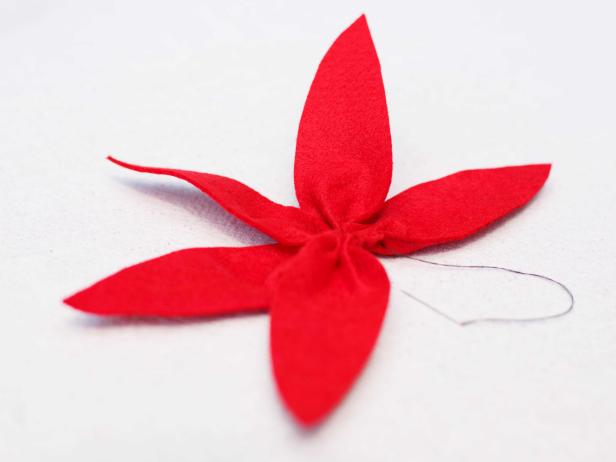
Stitch Leaves Together
Using needle and spool of thread, attach each of the cut-out felt leaves together in a circular formation. As several felt poinsettia leaves are stitched together, ensure a snug fit by pulling the thread tight and checking the bottom tip of each leaf for proper, consistent bunching.
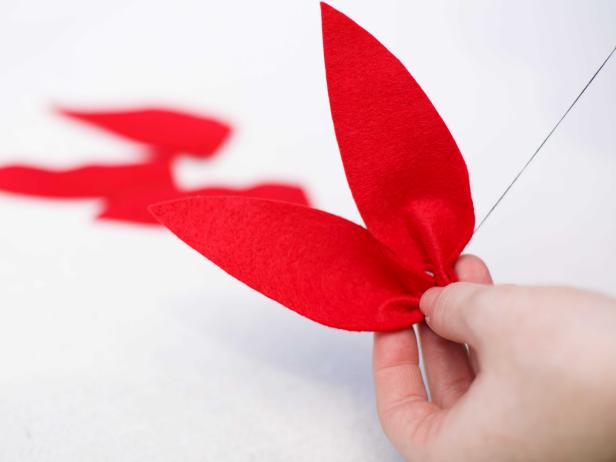
Stitch Leaves Together
While creating a felt poinsettia, use a needle and spool of thread to attach each of the cut-out felt leaves together.
Original_Brian-Patrick-Flynn-Holiday-House-Handmade-Poinsettia-Step6b_s4x3
As several felt poinsettia leaves are stitched together, ensure a snug fit by pulling the thread tight and checking the bottom tip of each leaf for proper, consistent bunching.
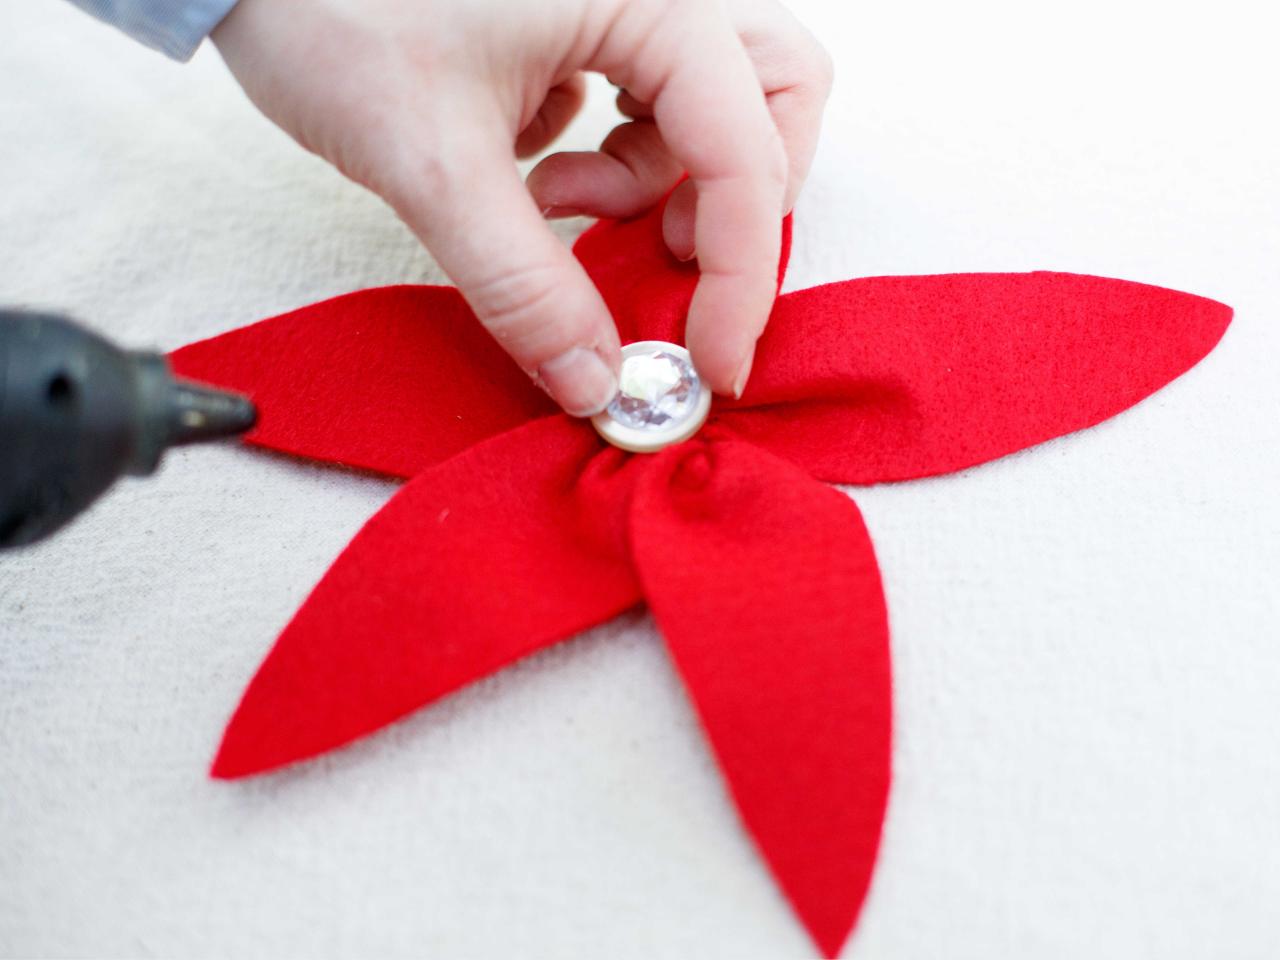
Add Buttons
To cover up the stitch marks on each leaf while also adding an extra layer of visual interest, place a button in the center of the poinsettia, keeping it held in place with hot glue.

Button to Hide Sewing Marks
Place a button in the center of the poinsettia to cover up the stitch marks on each leaf while also adding an extra layer of visual interest.
Add Crystals or Rhinestones
Give your poinsettia a finished, sparkly look by adding a small crystal or rhinestone directly to the center of the button with hot glue.

Add Crystals or Rhinestones to a Decoration
Give a felt poinsettia a finished, sparkly look by adding a small crystal or rhinestone directly to the center of the button with hot glue.


