How to Make Sheet Music Christmas Trees
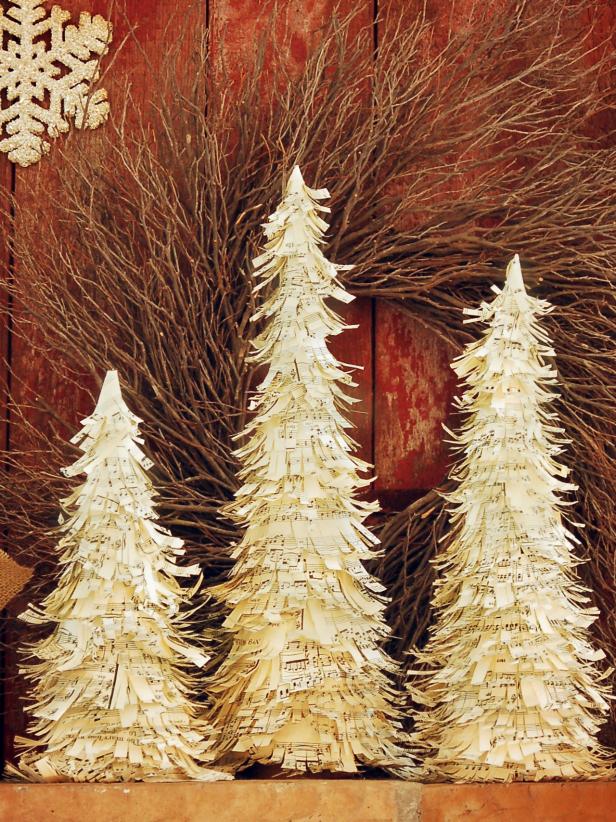

Materials Needed:
- papier-mache or Styrofoam cones in varying sizes
- sheet music, approximately 3-4 sheets per cone
- paper cutter
- scissors
- hot glue gun
- hot glue sticks
Cut Sheet Music
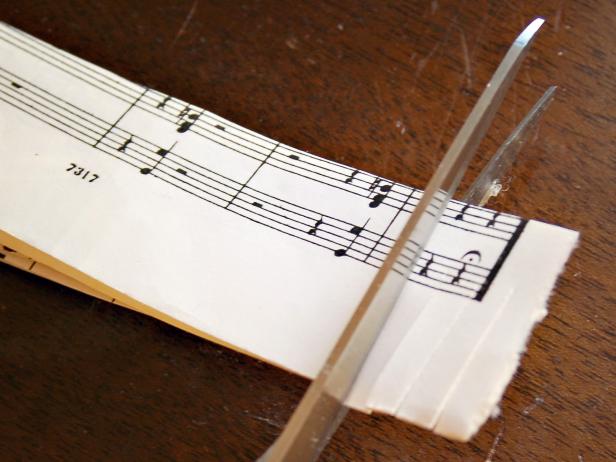
Use scissors or a paper cutter to cut sheet music into approximately 1-1/2-inch-wide strips (Image 1). Cut "fringe" that is approximately 1 inch long and 1/4 inch wide along one side of each sheet music strip (Image 2). Be careful not to cut all the way through the sheet music.

Create 'Eyelashes'
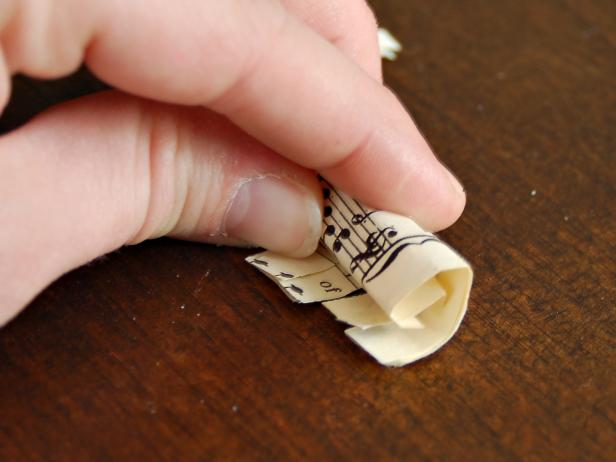
Roll each fringed sheet music strip into a tight cylinder (Image 1). Unroll and gently use your fingers to separate the fringe (Image 2).

Glue Music
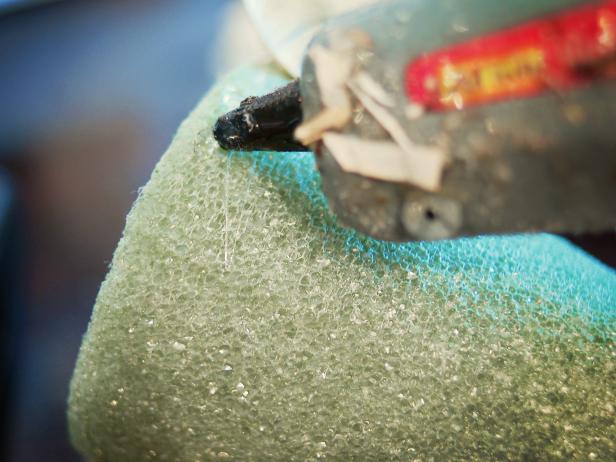
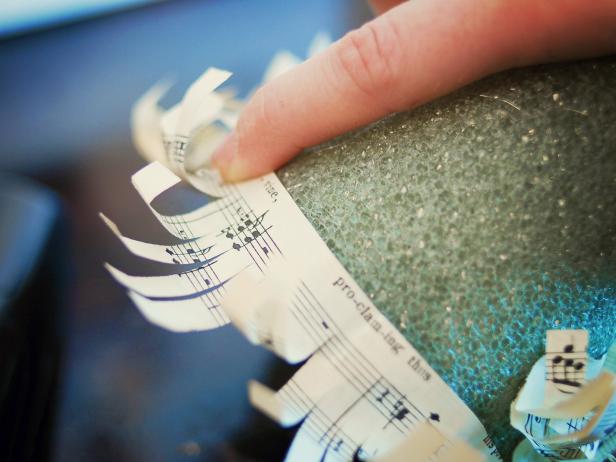
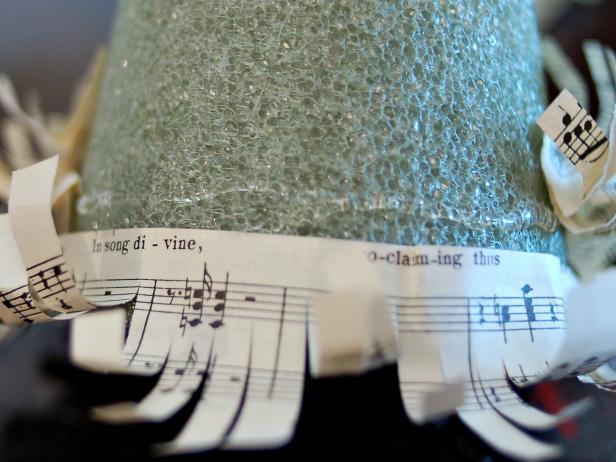
Using a preheated hot glue gun, apply glue to the base of the tree form (Image 1). Immediately press top edge of a sheet music strip onto hot glue. Hold for a few seconds until glue hardens and cools (Image 2). Tip: Hot glue can burn skin, so wear thin work gloves to protect your skin, if desired.
Cover Tree
Continue to apply glue and sheet music in rows around and up tree (Images 1 and 2). Use smaller strips of sheet music when working toward top of tree (Image 3). Overlap each row slightly to achieve a fuller look. For a pleasing arrangement, use three trees of varying heights. Tip: Why stop at sheet music? Use scrapbook papers, newsprint, tissue paper or wrapping paper.


Display Trees
Group the trees on an entry table or a mantel for a charming holiday display (Images 1 and 2).
