


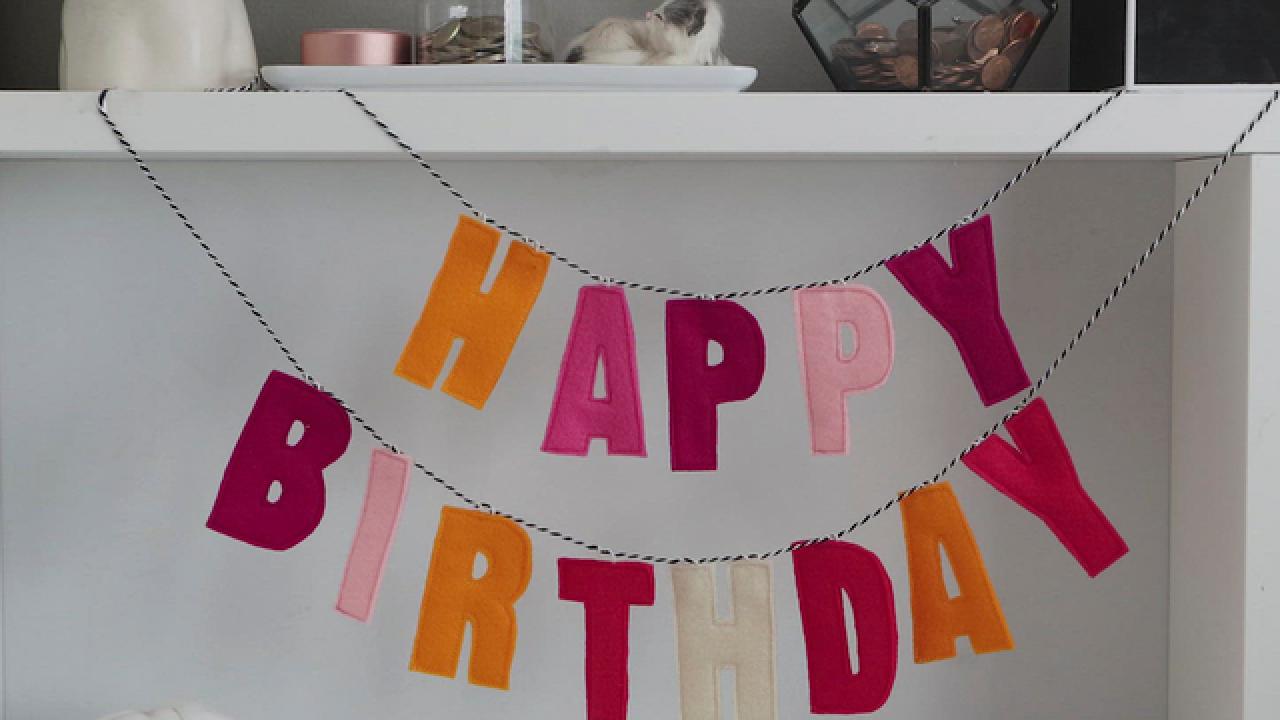
Customizable DIY Felt Letter Banner
Make a different banner for every holiday of the year with these cute DIY letters made out of nothing more than felt and string.

Karen Kavett

Looking for a creative and crafty way to surprise someone on their birthday? Or celebrate your kid finally graduating? Whatever the occasion, this cool — and completely customizable — DIY felt letter banner is the perfect way to show someone you care. Not to mention, it’s super easy to make yourself.
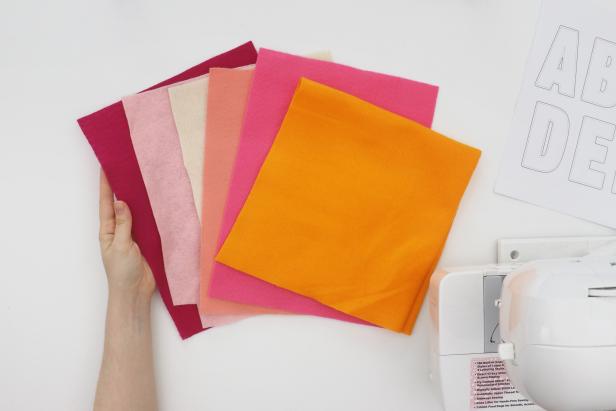
Materials + Supplies
- felt
- printable pattern
- sewing machine
- scissors
- pencil
- string
Gather Your Supplies
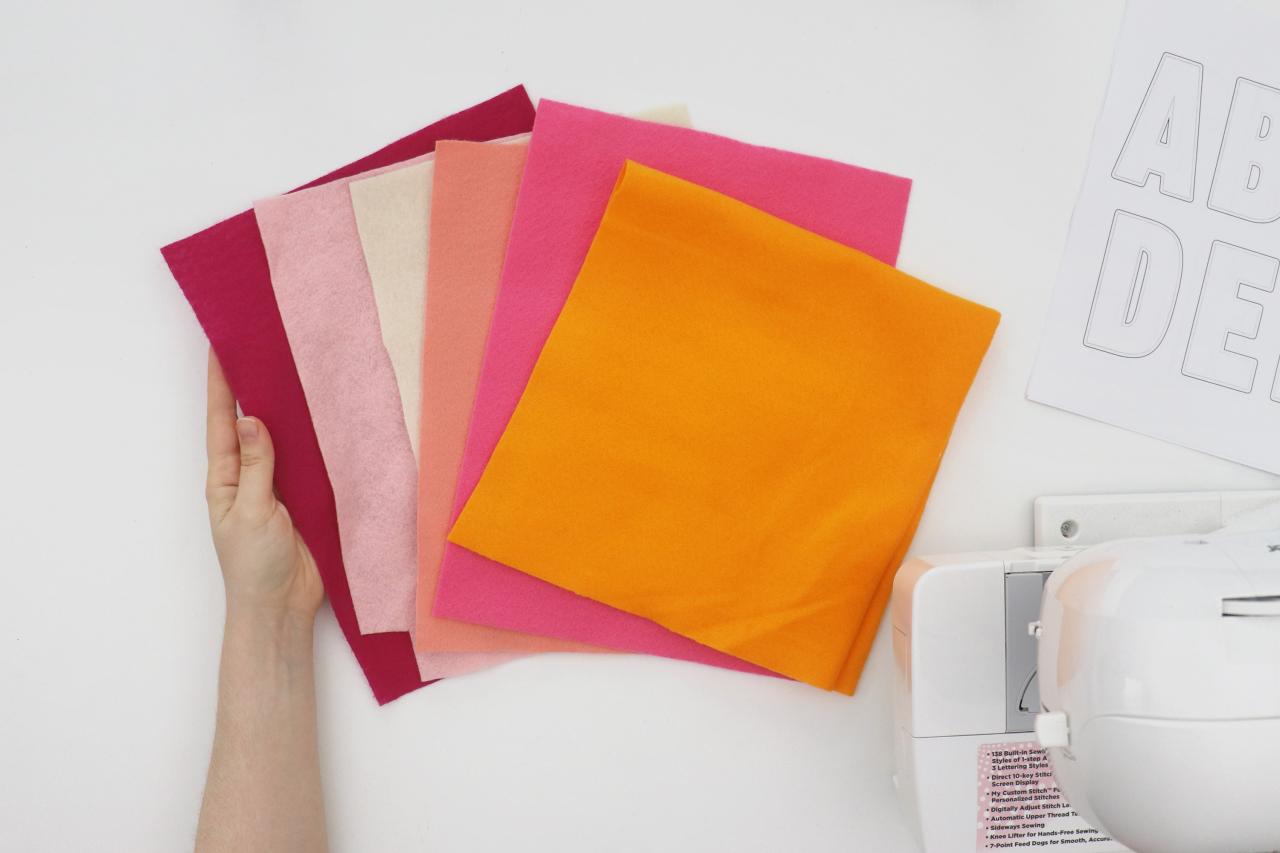
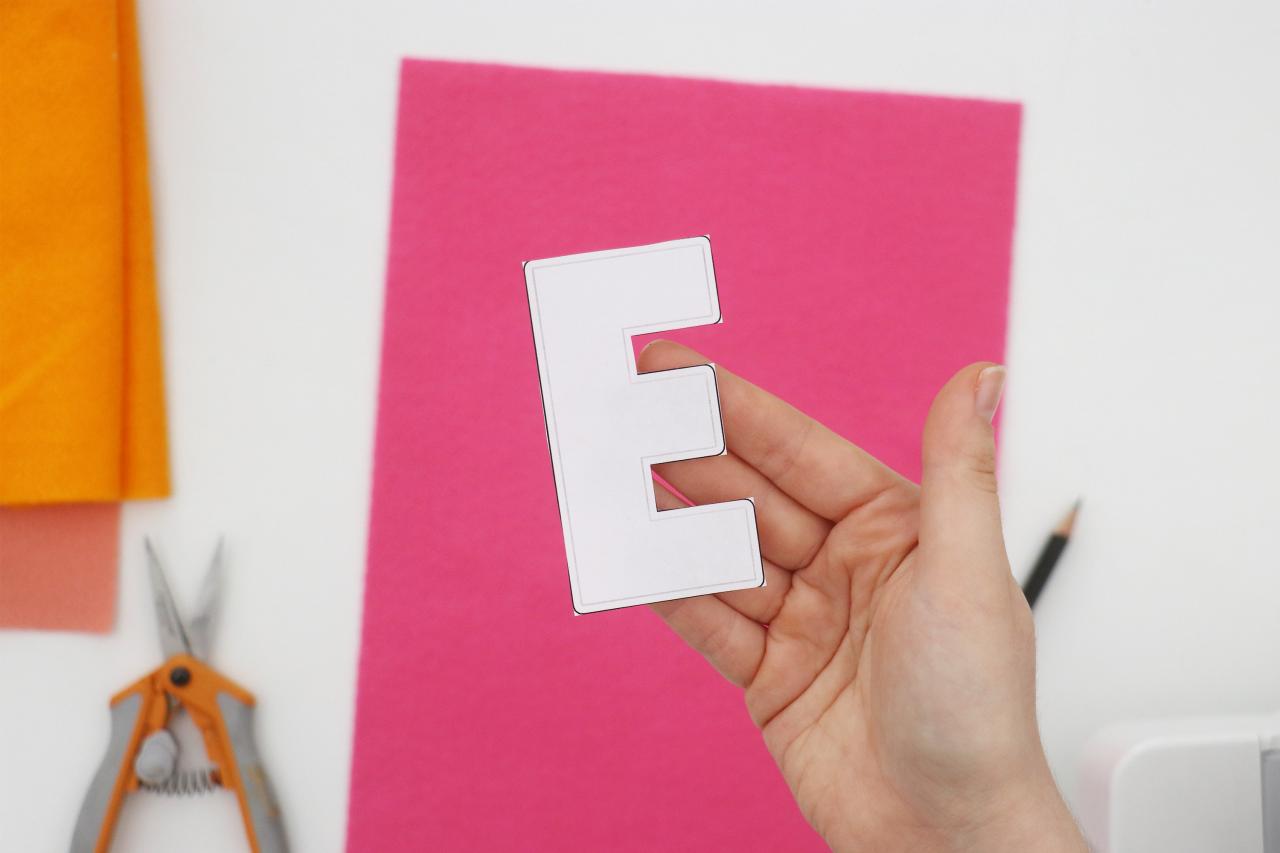
Gather several colors of felt and print out the letter pattern (Image 1 + 2). Choose which letter you want to make first and cut it out (Image 3).
Karen Kavett

Karen Kavett

Karen Kavett
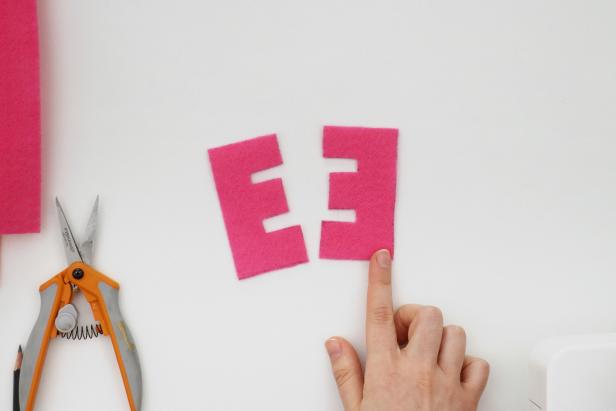
Trace Letters Onto Felt
Trace the pattern onto felt, and then flip it over and trace it again so you have two letters mirror-imaged from each other (Image 1-3). Cut them out (Image 4).

Karen Kavett

Karen Kavett

Karen Kavett
Karen Kavett
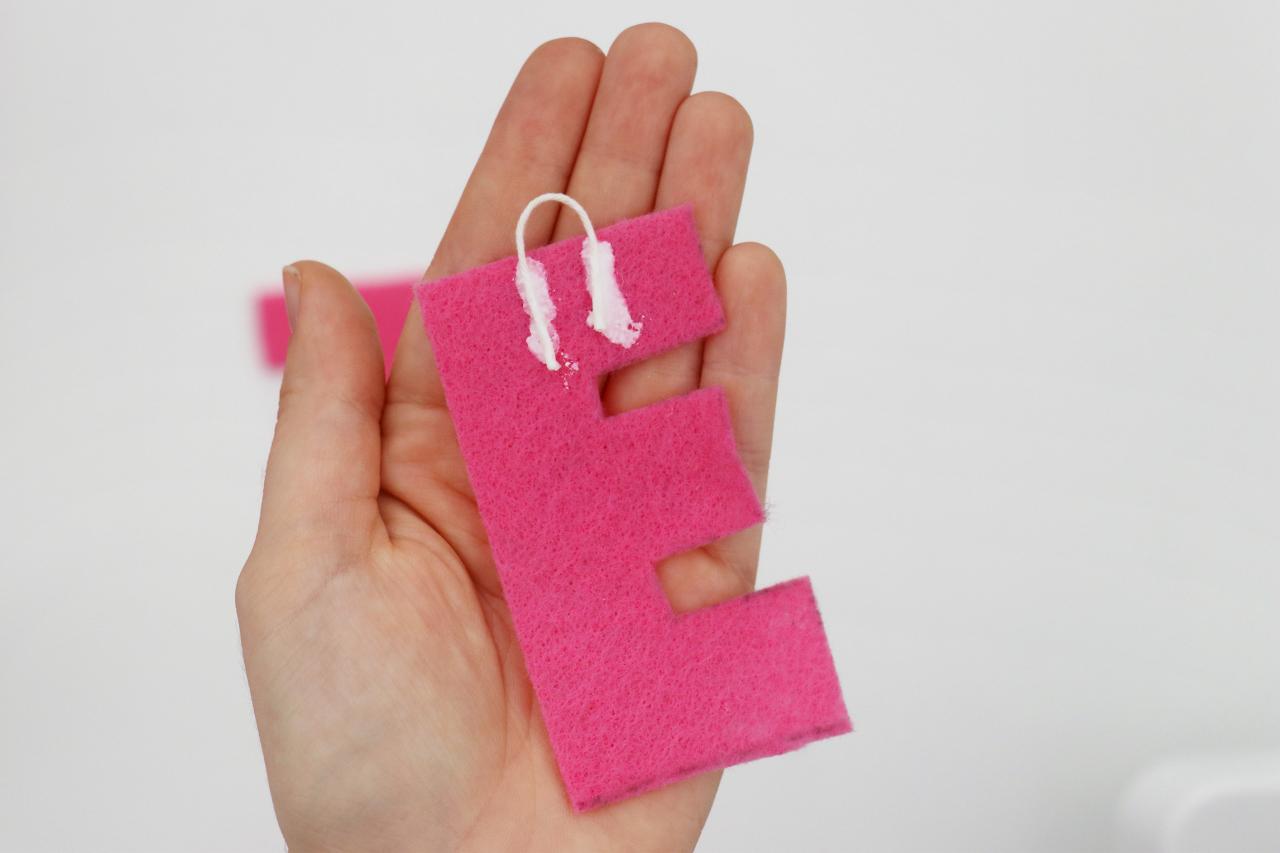
Add a Hanger
Cut a piece of light-colored string 1 to 2 inches in length. Add two lines of glue to the back letter and press the string into place to make a looped hanger (Image 1). Let dry (Image 2).

Karen Kavett

Karen Kavett
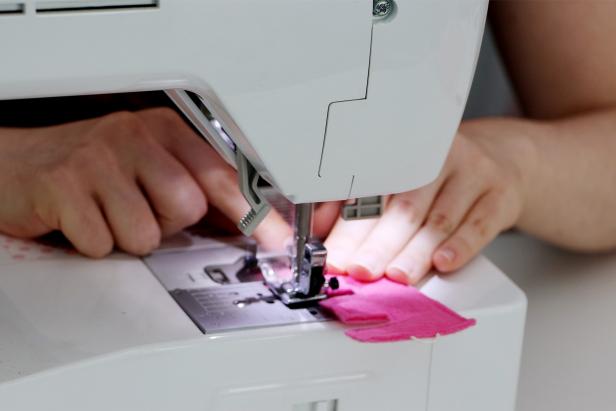
Sew the Edges of Your DIY Felt Letter
Stack the two letters on top of each other and sew around the edge on your sewing machine (Image 1 + 2). Use thread that is a similar color to the felt (Image 3).

Karen Kavett
Karen Kavett

Karen Kavett
Trim the Edges
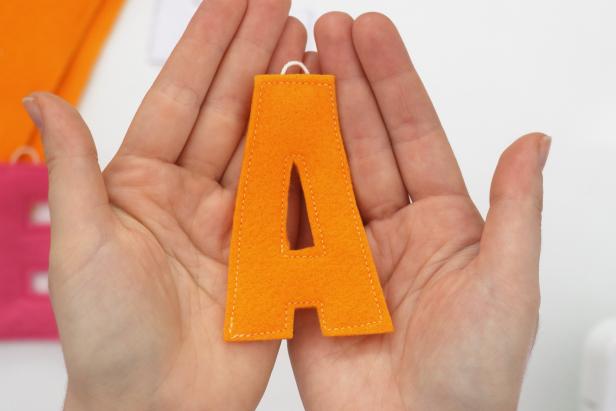
Trim the loose threads and the edges of the felt where they don’t perfectly line up with each other (Image 1) to finish up the first letter (Image 2).

Karen Kavett

Karen Kavett
Make More Letters
Make as many letters as you want, including some duplicates of common letters (Image 1 + 2). Keep the patterns so if you need extra letters for a future banner, you can make them easily (Image 3).

Karen Kavett

Karen Kavett

Karen Kavett
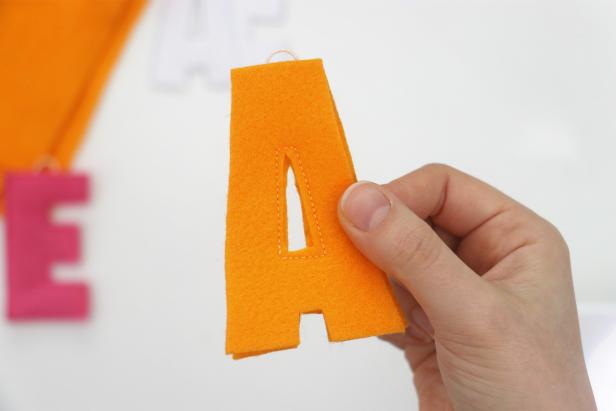
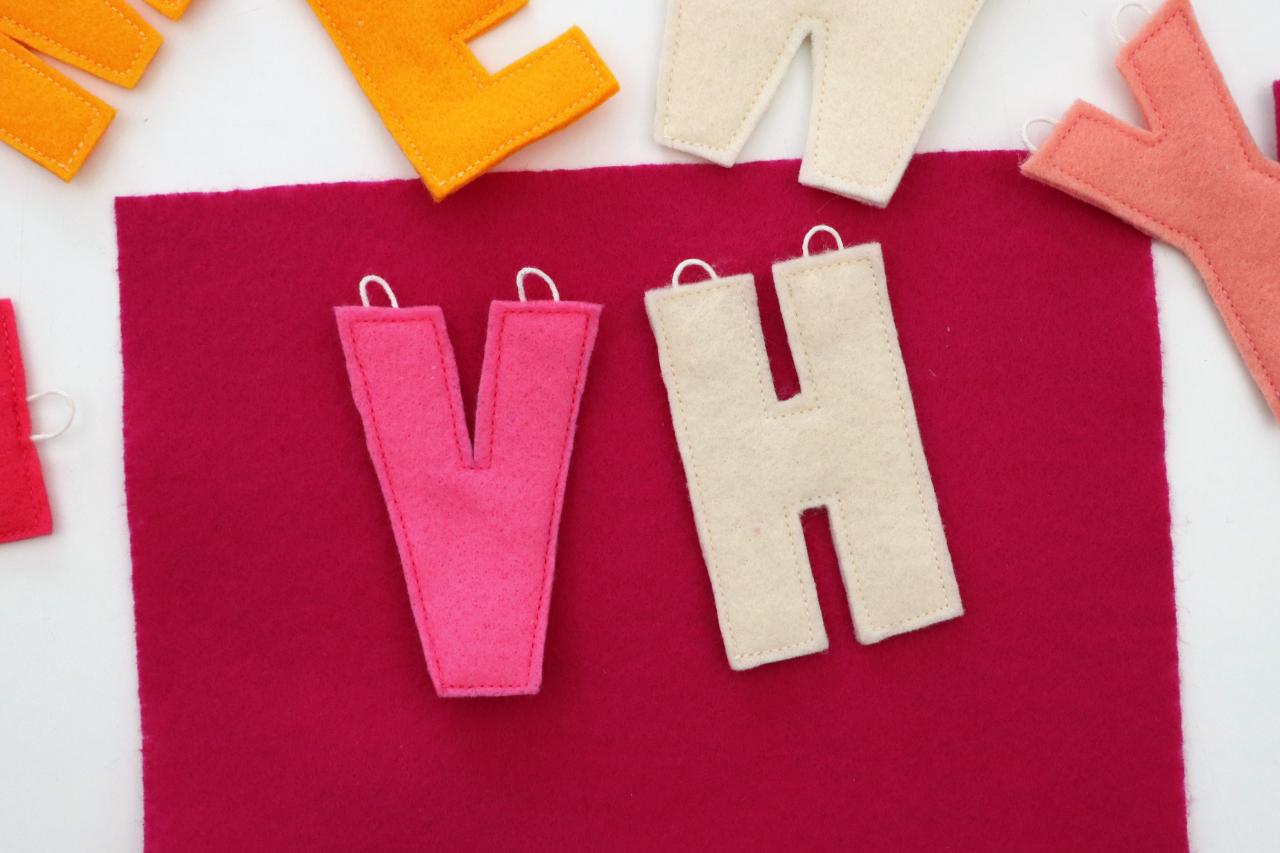
Of course, some letters will be easier than others. If your letter has an inside shape, like an A, sew that first before sewing around the outside (Image 1 + 2). If the letter has curves like R, S or an ampersand (&), be extra careful sewing around them, taking your time to keep your border size as even as possible around the entire shape (Image 3). If your letter has two stems at the top, like V or H, add a hanger to each stem so that the letter hangs evenly (Image 4).
Karen Kavett
Karen Kavett

Karen Kavett

Karen Kavett
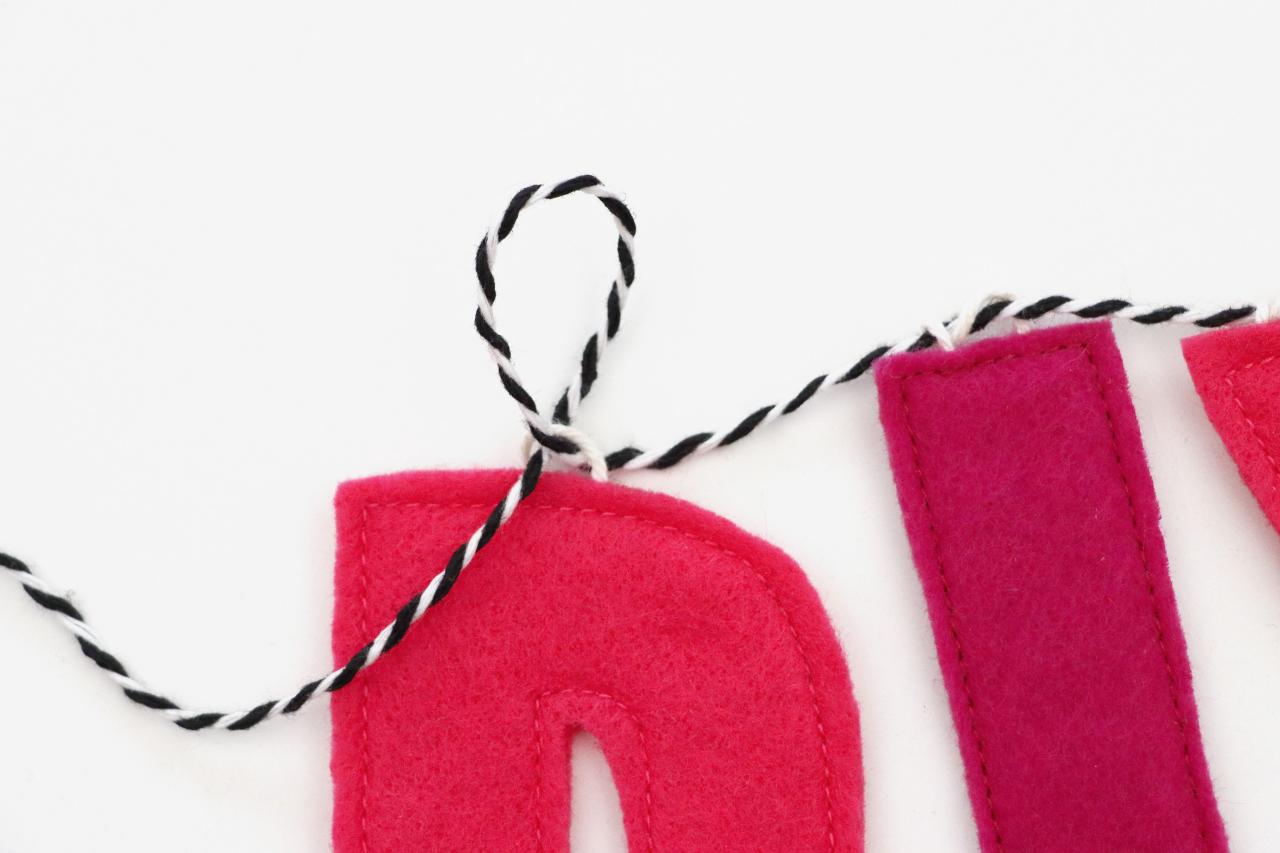
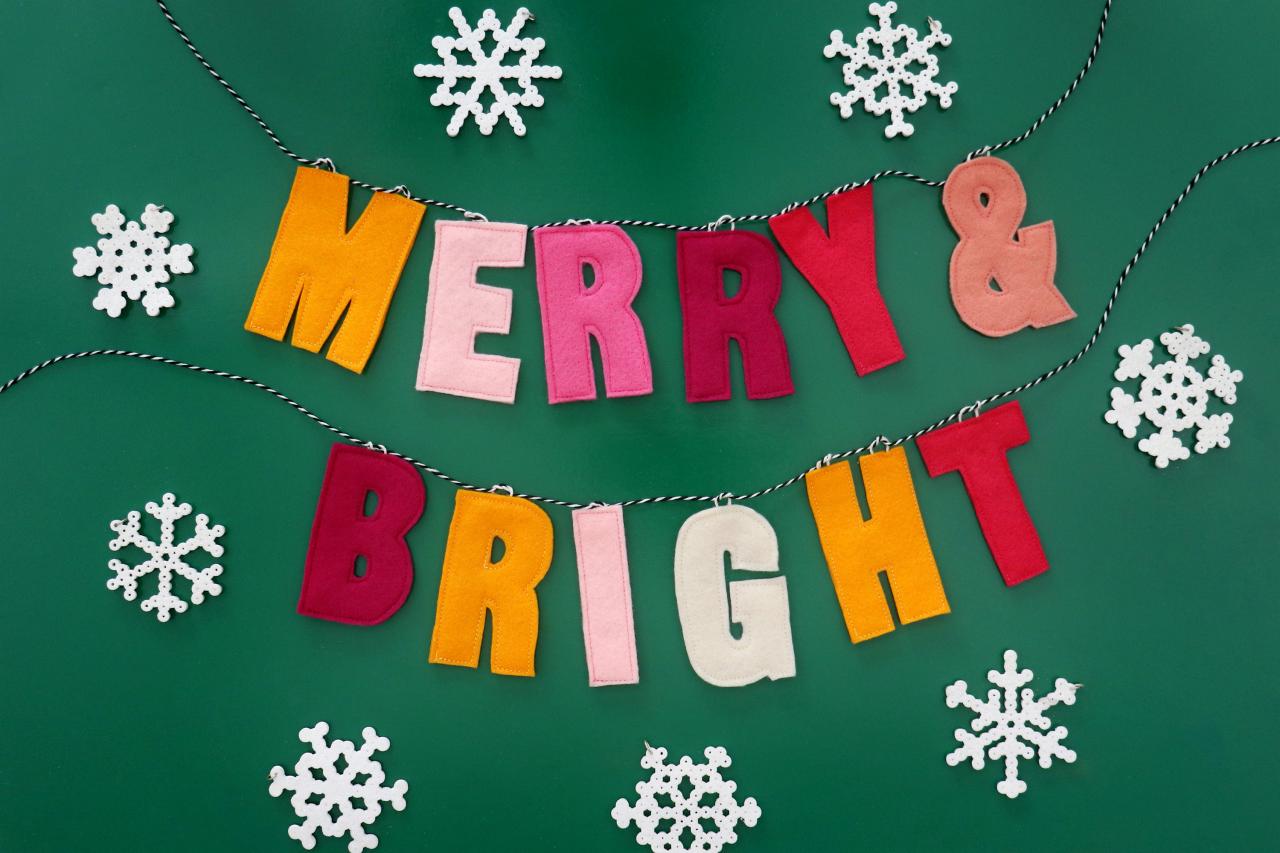
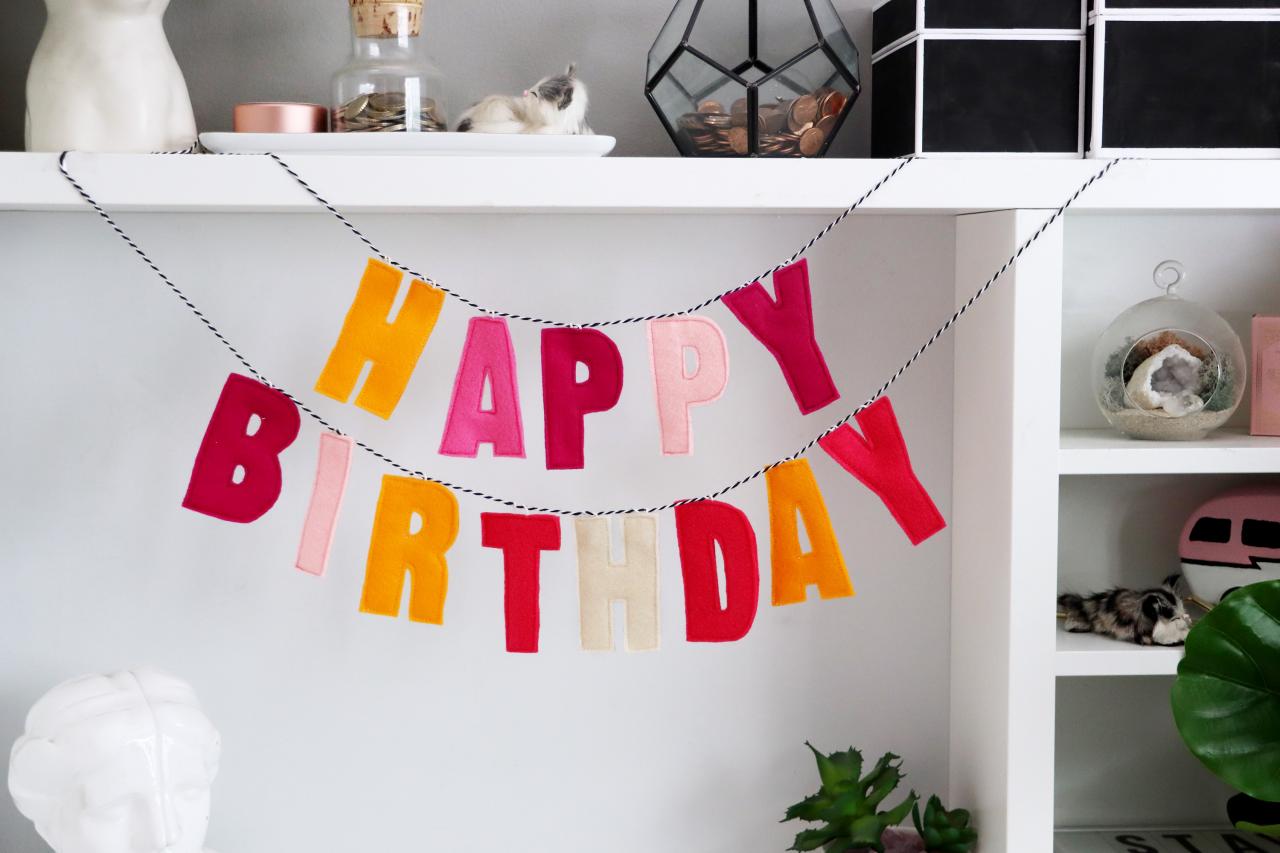
Make a Phrase + String It Up
To string the letters onto the banner, cut a long piece of string and wrap it twice around each hanger (Image 1). Make any phrase you want (Image 2 + 3). Hang it up on a shelf, wall or any other place you deem appropriate (Image 4).

Karen Kavett
Karen Kavett

Karen Kavett

Karen Kavett
Cardmaking and DIY Party Decor

Make a Folding Heart Card
Just like magic, this handmade card unfolds to reveal photos of all your precious memories together.

Confetti Paper Crafts, 3 Ways
Make every day a party with these colorful confetti decorating projects.

Make Paper Teacup Gift Boxes With This Free Printable Pattern
These adorable, handmade gift boxes are perfect for Mother’s Day or favors at a tea party.


