


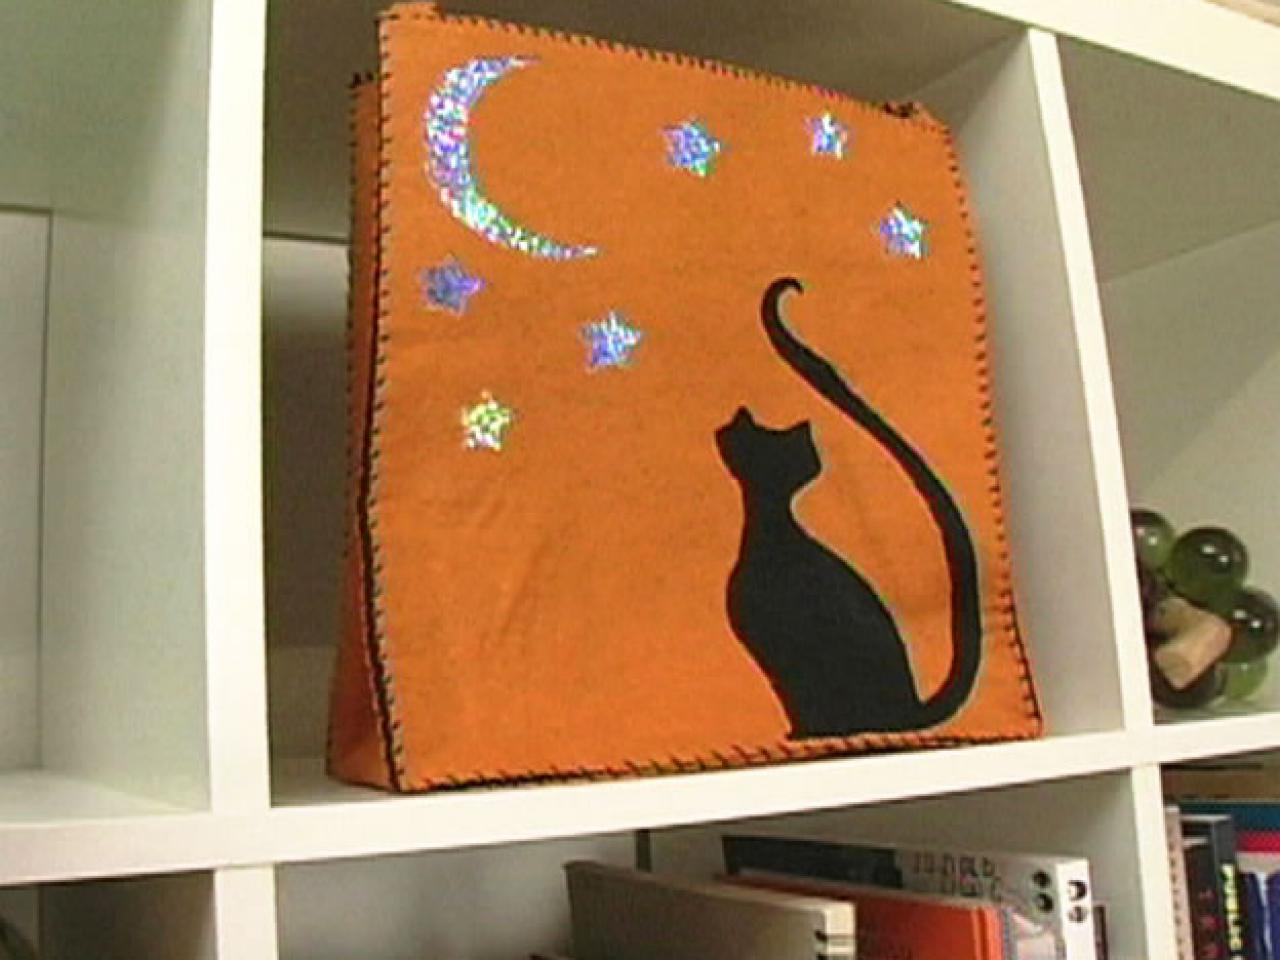
How to Sew a Felt Trick-or-Treat Halloween Bag

When Claire Chauvin got the crafting bug, she began by making handbags and then added some holiday spirit for her Halloween-inspired versions, like the felt trick-or-treat bag she designed for her daughter, Eleanor.
Materials and Tools:
orange and black wool felt
self-stick reflective Mylar
embroidery floss and embroidery needle
fabric glue
nylon cord
small scissors
craft knife
ruler
cutting mat
black pen
paper template with cat, moon and star design (front of bag)
paper template with star design (back of bag)
Steps:
1. Cut four 10" x 12" rectangular pieces of felt:
- Cut two out of the orange felt and two out of the black felt — for the front and back of the bag
- Cut one 4" x 34" rectangular piece each of the orange felt and black felt for the bottom and sides of the bag
- Cut two extra-skinny 1" x 18" rectangular pieces of orange felt for the handles.


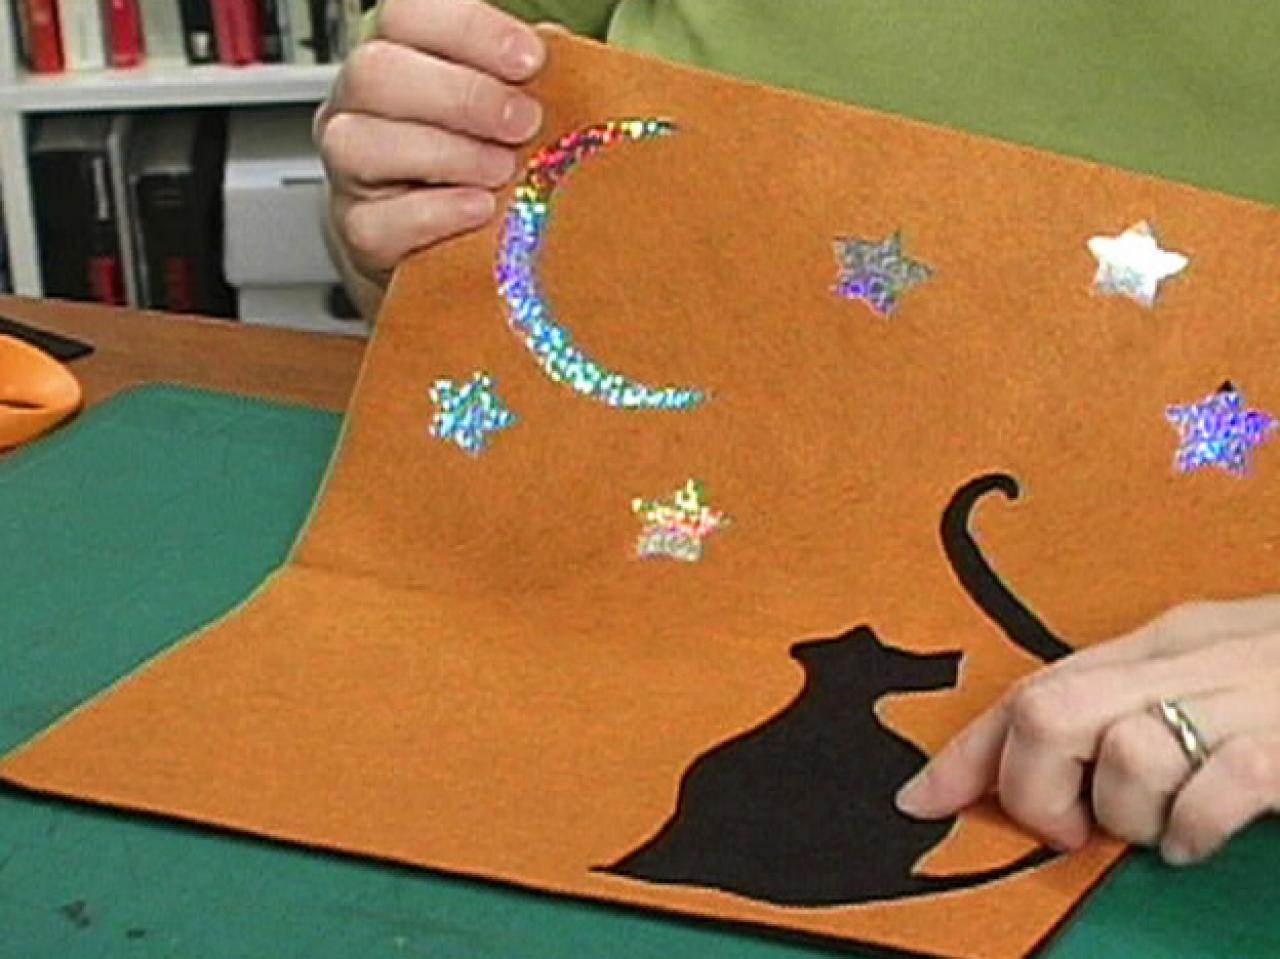
2. Using the design template for the front of the trick-or-treat bag, draw the design on the back side of the orange felt and then cut the pieces out using very small scissors for the detailed cuts.
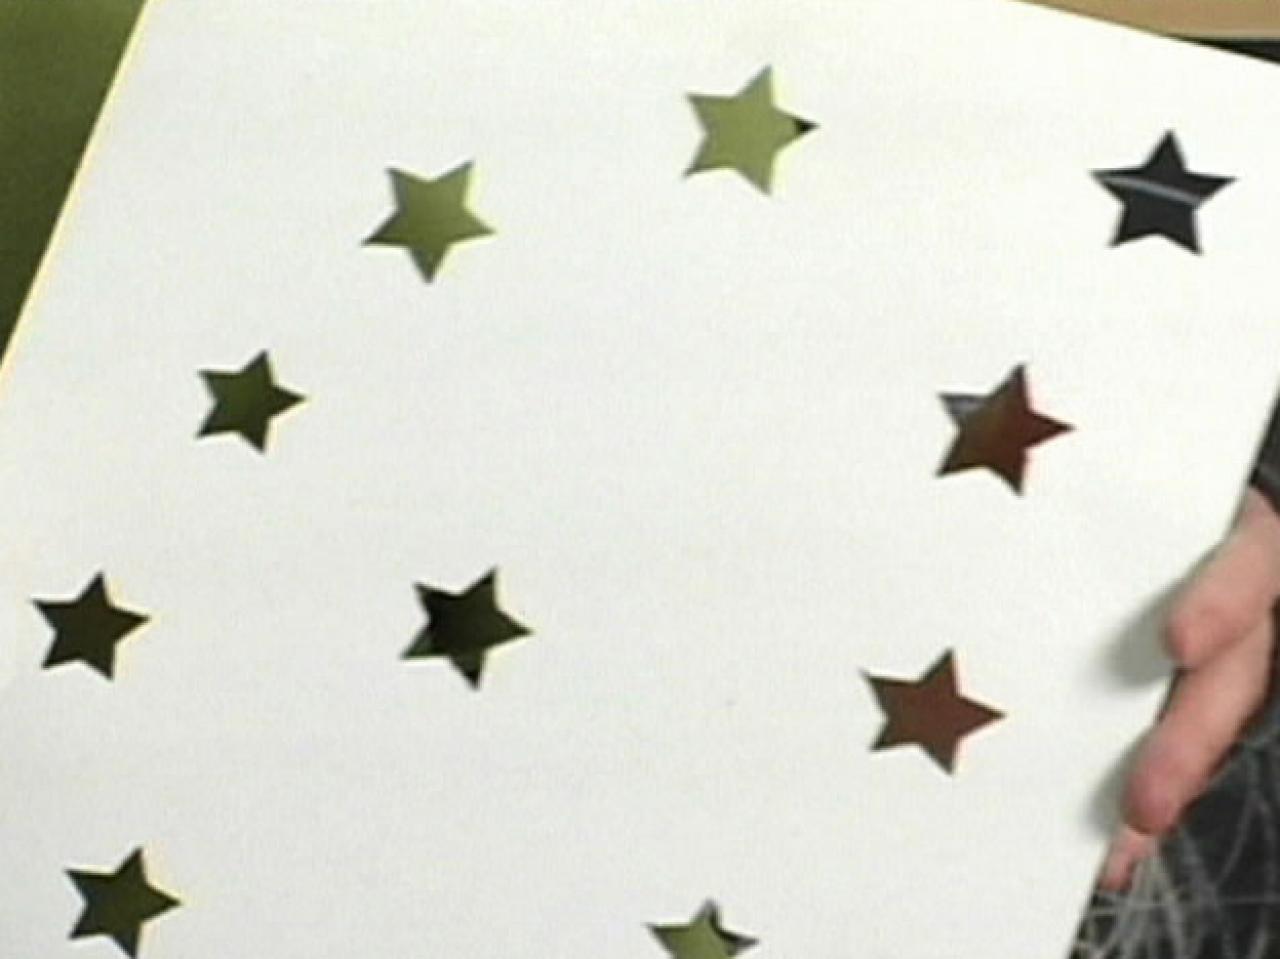
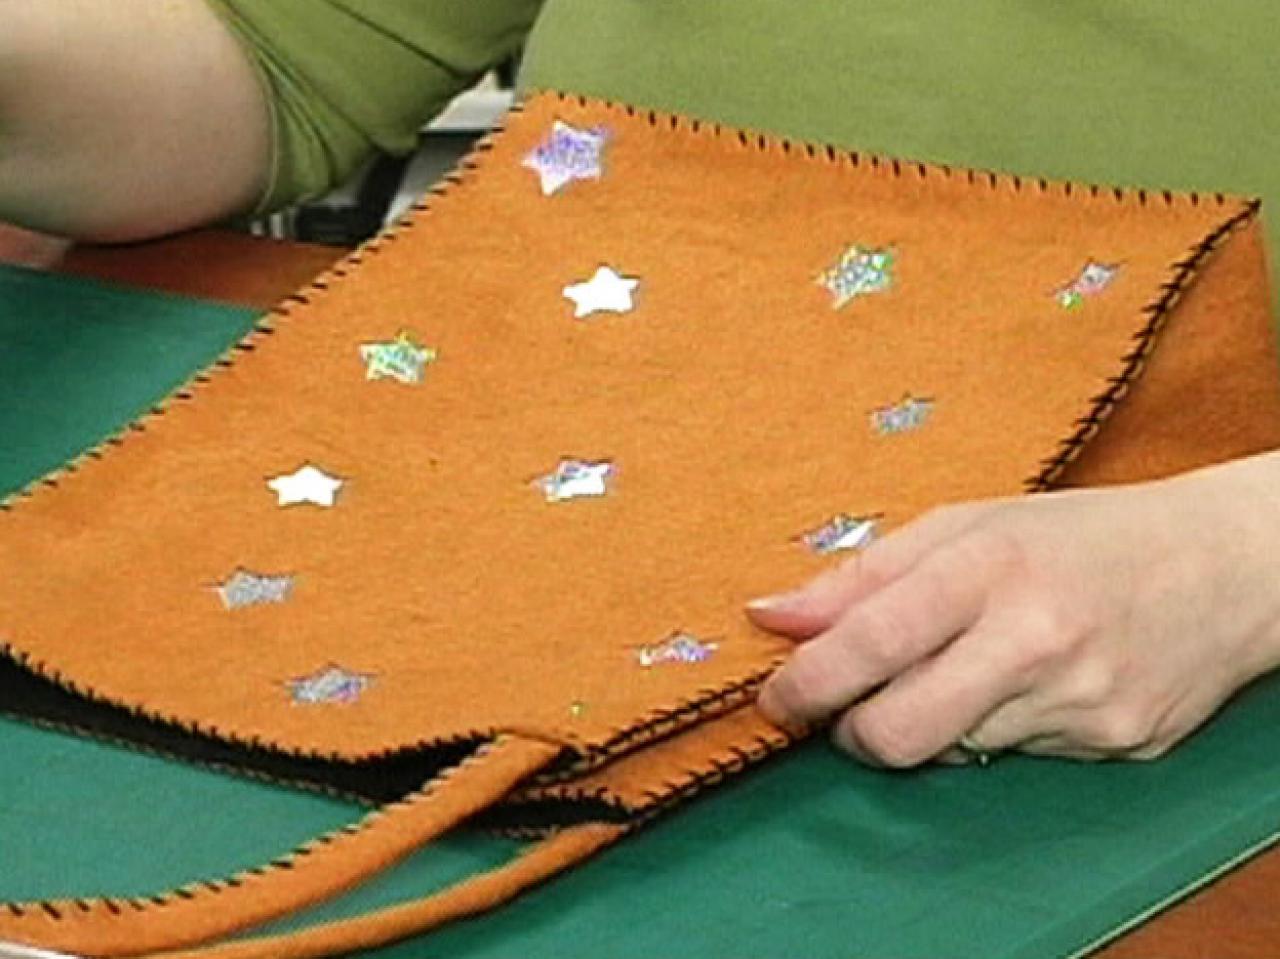
3. Place the design template for the back of the trick-or-treat bag on the back side of the second orange felt piece and draw the design. Cut out the stars with small scissors.

4. Place both the front and back orange felt pieces on the two black felt pieces.
5. Cut squares of self-adhesive silver sparkle paper and adhere them behind the moon and star designs on the front and back. Stick the paper to the black felt layer underneath the orange felt. Do not fill in the area behind the cat cutout.

6. Spray adhesive underneath each cut edge of the design to secure it to the layer of black felt.
7. Apply fabric glue to one side of the 4" x 34" side/bottom piece of orange felt and glue it to the same size black felt piece. Let dry.
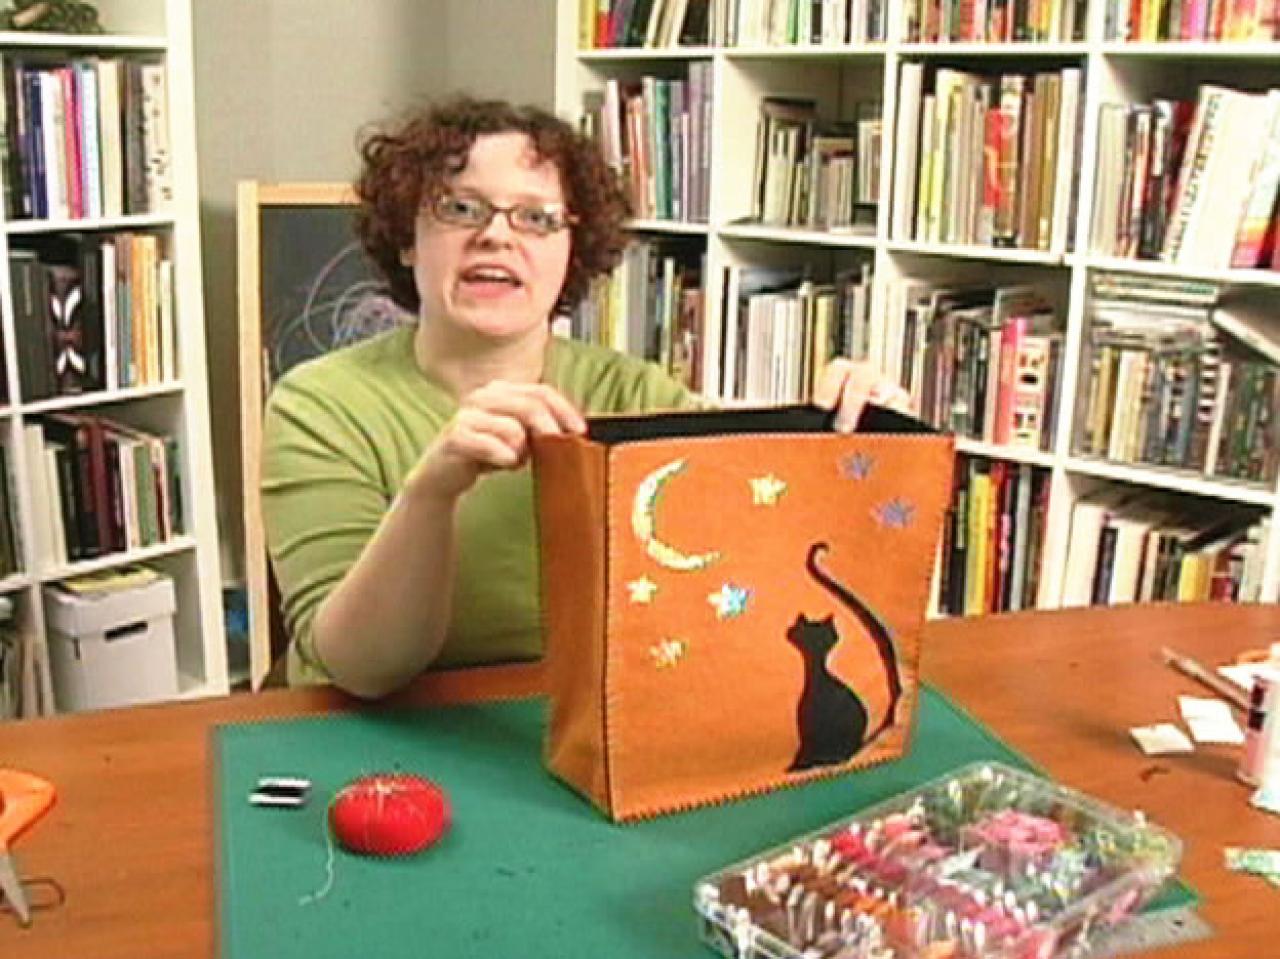
8. With wrong sides together, pin the front of the trick-or-treat bag to the side/bottom. Whip-stitch the sides and bottom to the front using black embroidery floss.

9. With wrong sides together, pin the back of the bag to the side/bottom piece and whip-stitch the pieces together the same way the front was attached. Leave the top edge of the bag open to insert the ends of the bag's handles.
10. Wrap the narrow strip of felt around a piece of nylon cord and whip-stitch to sew it together.
11. Pin the finished handles into the open edge of the trick-or-treat bag and sew up the edge, taking extra care to make sure the handles are secure.


