


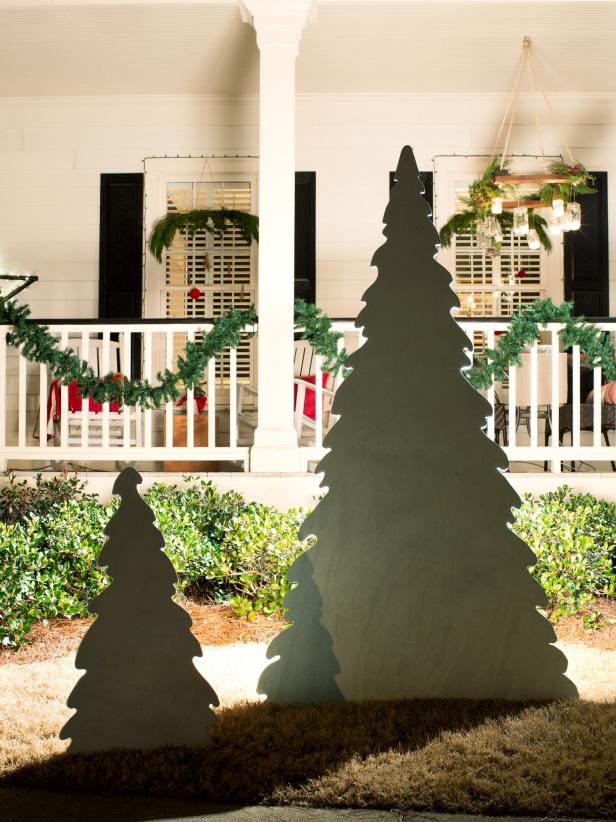
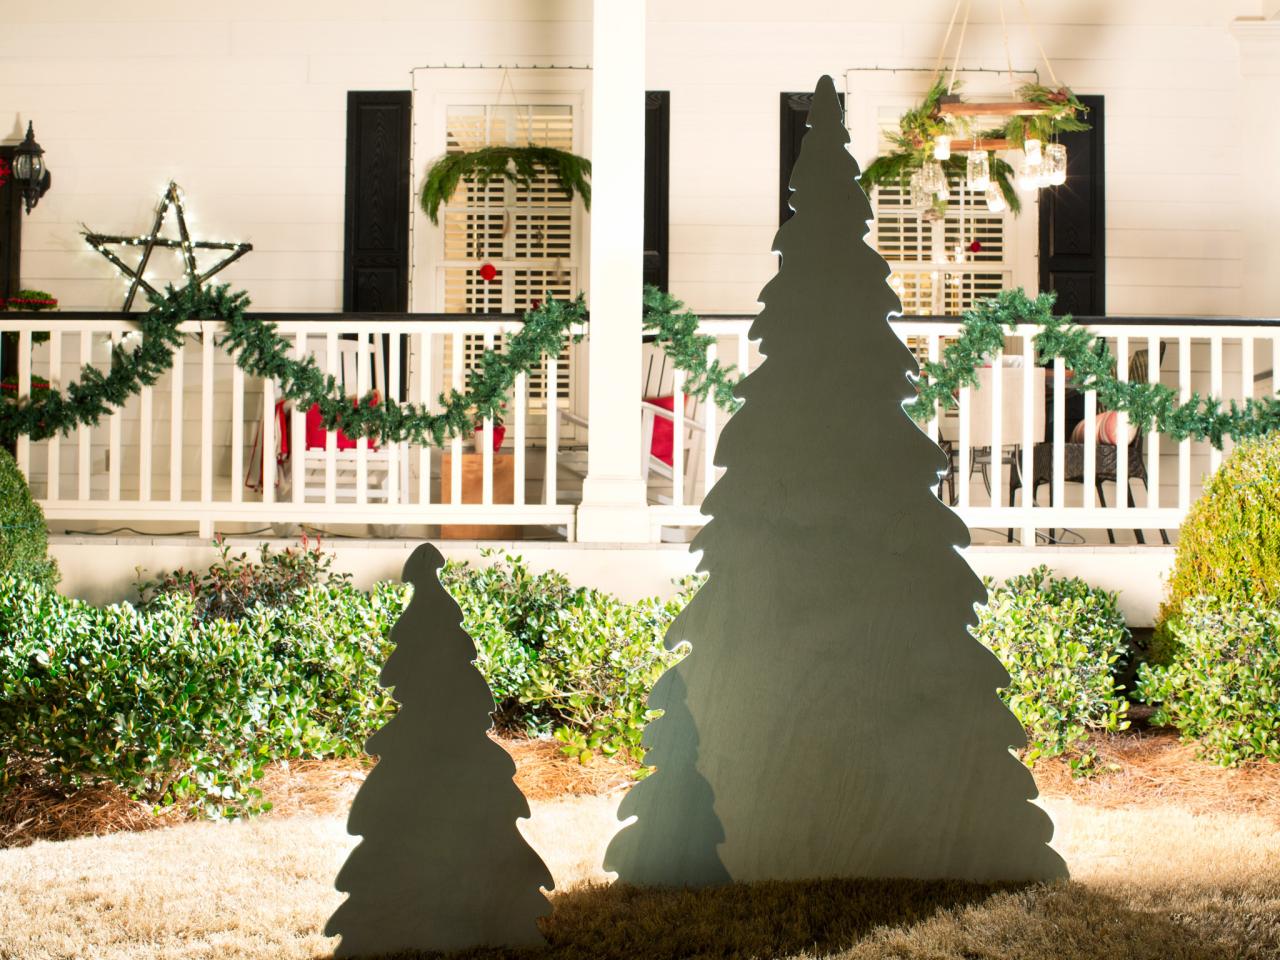
How to Make a Backlit Wooden Christmas Tree

Brian Patrick Flynn

Materials Needed:
- one sheet 4x8' pressure-treated plywood per tree (for outdoor use)
- one sheet 4x8' paint-grade or stain-grade plywood per tree (for indoor use)
- jigsaw
- pencil
- paper
- C-hooks
- palm sander and pads
- quart of exterior latex paint in semigloss finish
- paint roller
- paint pan
- angled paintbrush
- drop cloth
- extension cord
- 3' long 2x4' pressure-treated lumber
- drill
- 3" exterior screws
- indoor/outdoor, freestanding plug-in spotlight (optional)
- white outdoor twinkle lights
Sketch Design
Since there are many different styles of Christmas tree silhouettes, it's important to first decide on the overall direction best fit for your interior or exterior space. Use a pencil to sketch silhouette onto paper.
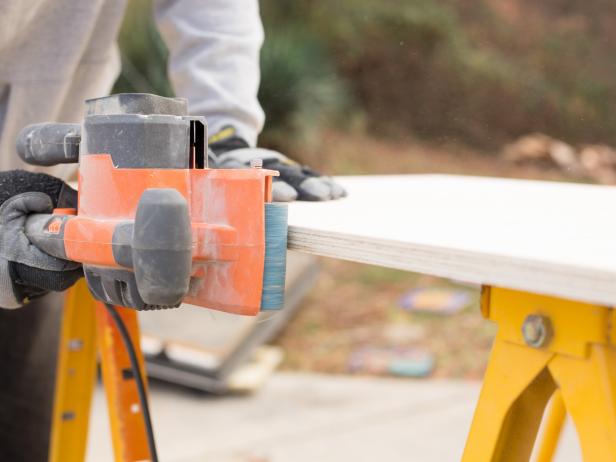
Sand Plywood
Smooth front and back surfaces of plywood using palm sander.
Brian Patrick Flynn
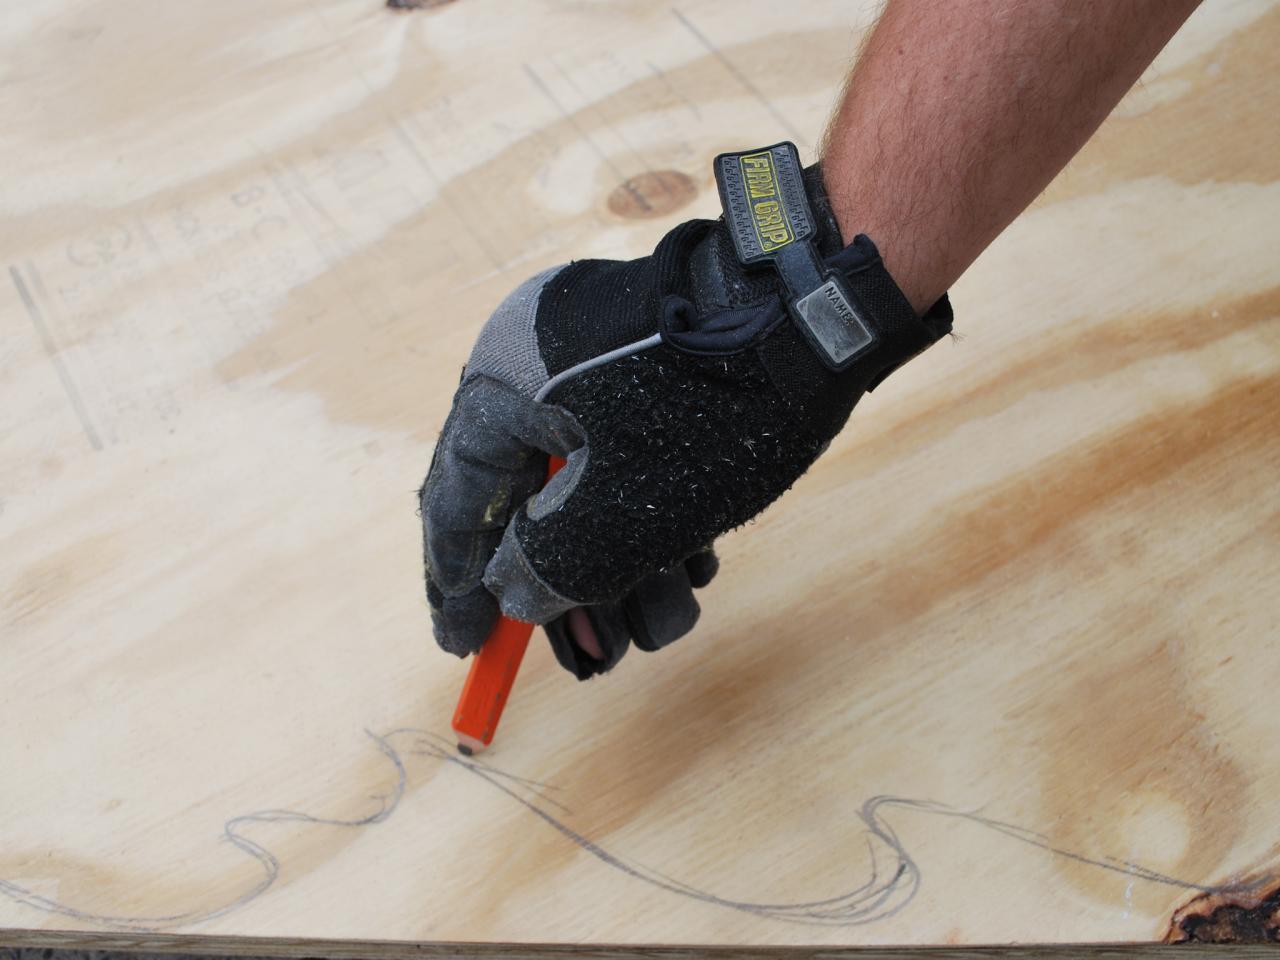
Trace Silhouette
Referring to sketch, and with plywood laid out along a flat, level surface, use pencil to trace silhouette directly to plywood.

Brian Patrick Flynn
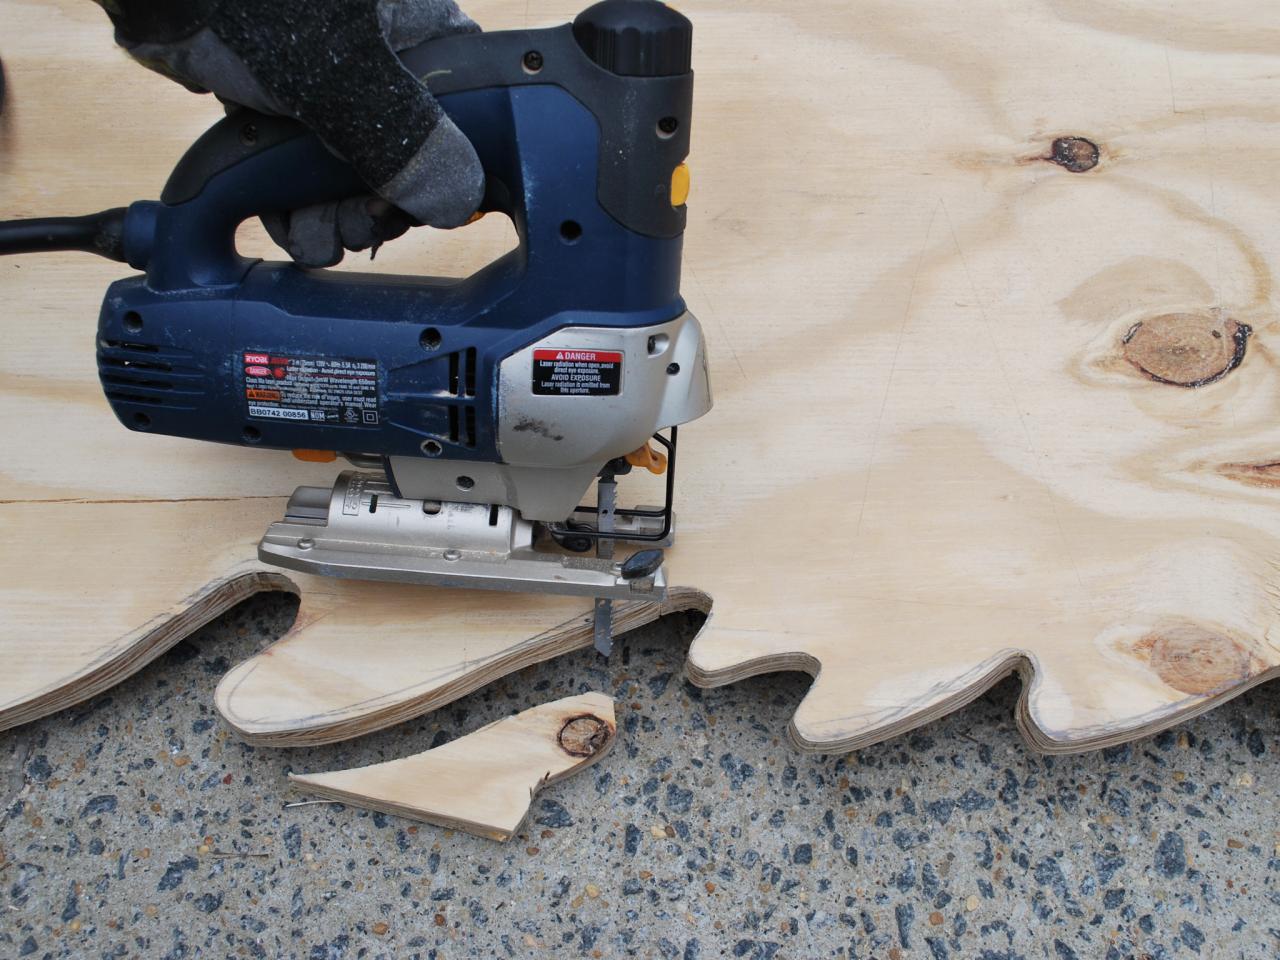
Cut With Jigsaw, Then Sand Edges
Place traced plywood directly onto sawhorses to ensure a stable, level work surface. With jigsaw plugged into extension cord, cut out tree silhouette using the tracing as a guide. Use palm sander to smooth edges of plywood.

Brian Patrick Flynn
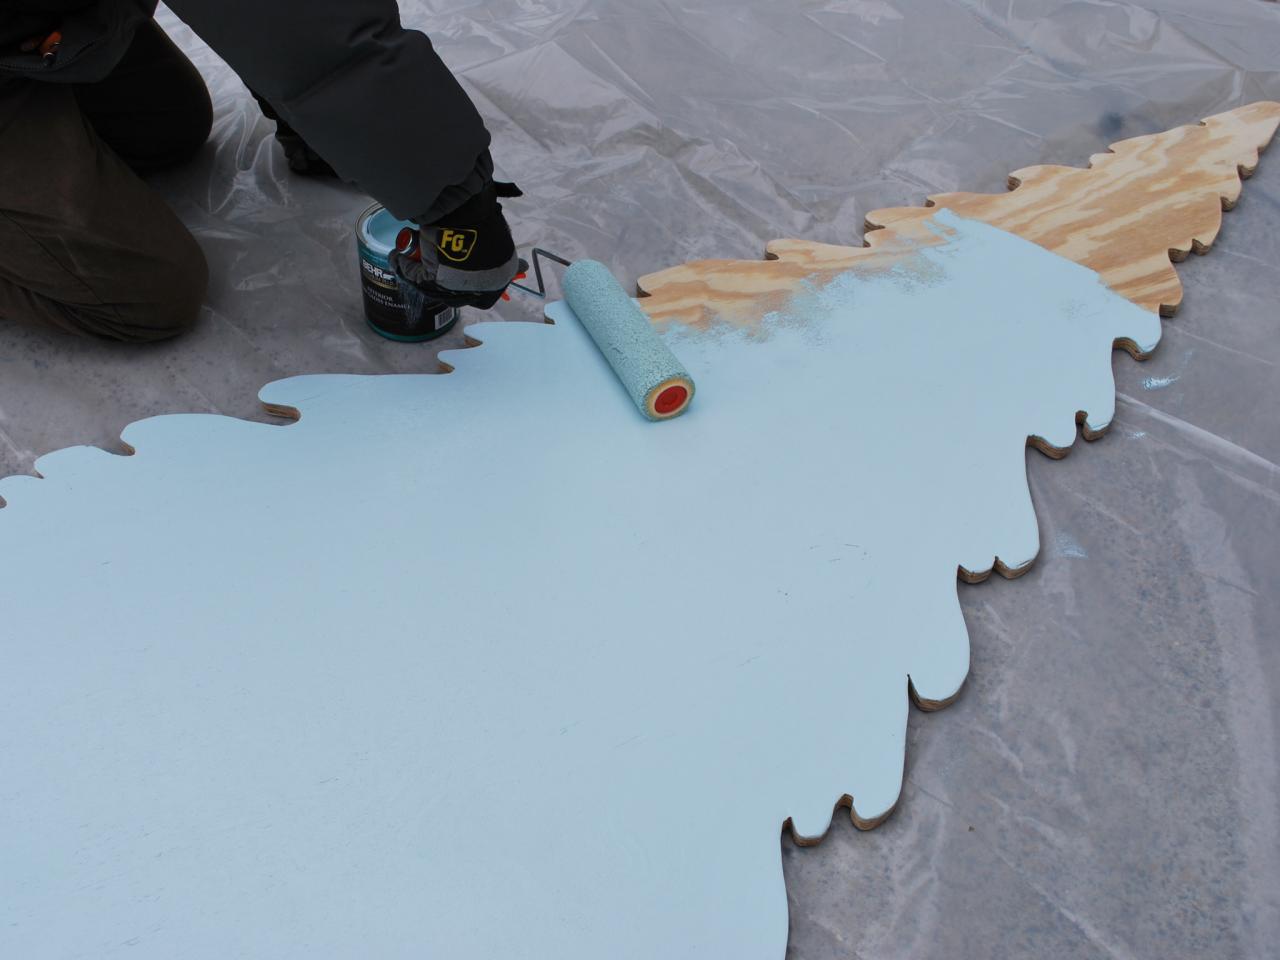
Add Paint
Position plywood silhouette on top of a drop cloth, then use paint roller to add two solid coats to surface. Allow approximately 1 hour dry time between each coat. Next turn plywood over and paint opposite side. Once opposite side is dry, add two coats of paint to the edges.

Brian Patrick Flynn
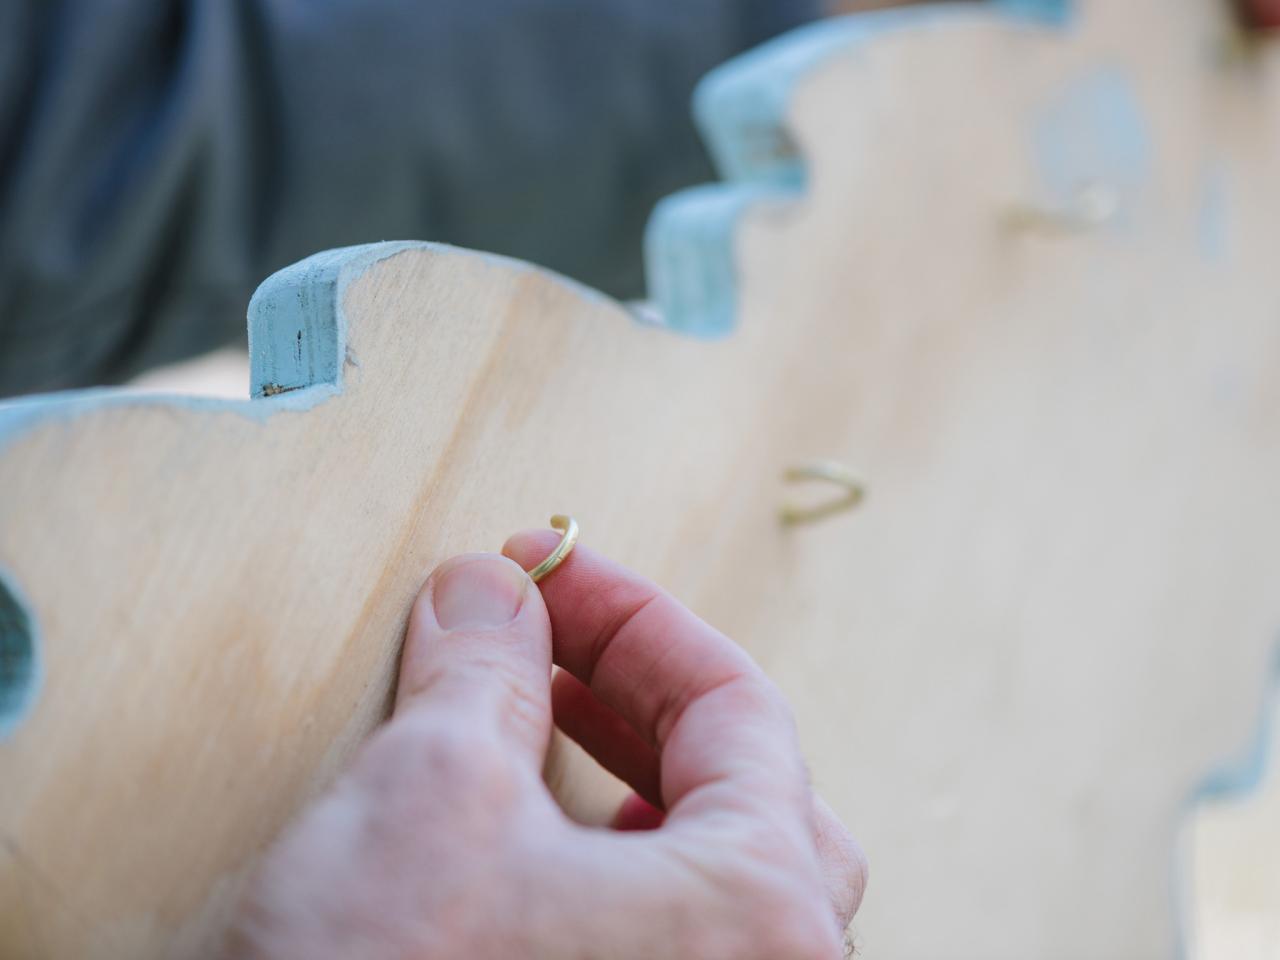
Attach C-Hooks
On the back side of the tree silhouette, add C-hooks around the perimeter roughly 2 inches in from the edge.

Brian Patrick Flynn
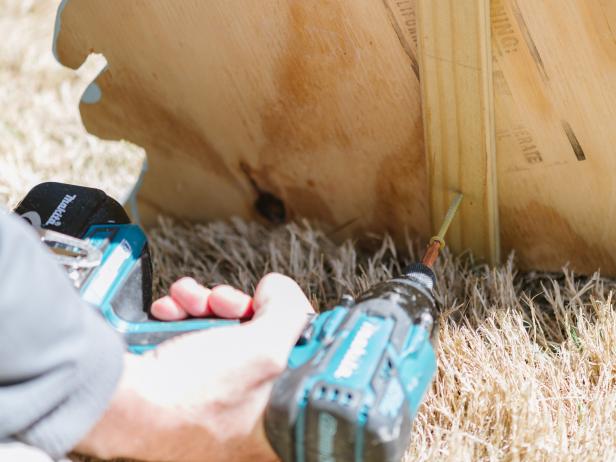
Add Stake and Lights
Insert 2X4" pressure-treated lumber into the ground, creating a stake. Next, hold tree silhouette up so that the back of the silhouette is flush with the front of the 2X4" stake. Add 2-3 exterior screws through the back of the stake and into the plywood tree silhouette using drill. Using the C-hooks, attach twinkle lights around the perimeter of the back of the tree silhouette. Plug twinkle lights into extension cord, then into exterior outlet. This effect should create a strong glow around the back of the tree silhouette; however, if the glow is not dramatic enough from a distance, consider using a freestanding indoor/outdoor plug-in spotlight in place of or in addition to the twinkle lights.
Note: For interior applications, the plywood tree silhouette can simply be leaned up against a wall.
Brian Patrick Flynn
Brian Patrick Flynn


