


Welcome Fall With This House Number Pumpkin Topiary
Spice up your curb appeal with this DIY fall topiary made with different sized faux pumpkins, seasonal jewel tones and super glue. It's that easy!

Danielle Boaz

Pumpkin spice is in the air and hot weather is finally taking a chill. That means it’s time for some new seasonal curb appeal. Usher in fall with this easy house number pumpkin topiary DIY by HGTV Handmade’s Danielle Boaz. Round up some faux pumpkins, a handful of basic crafting supplies and metal house numbers to make this fall look that will have your entry looking awesomely autumn in just a few hours.

Danielle Boaz
Materials + Tools
- faux pumpkins - small, medium and large
- faux fall foliage
- 1 gallon plastic nursery planter
- gold spray paint
- red craft paint
- green craft paint
- mauve craft paint
- foam brushes
- super glue
- utility knife
- metal house numbers
- large ceramic planter
Prep + Paint
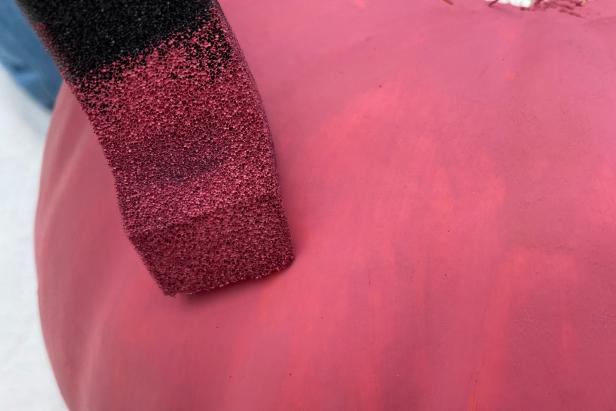
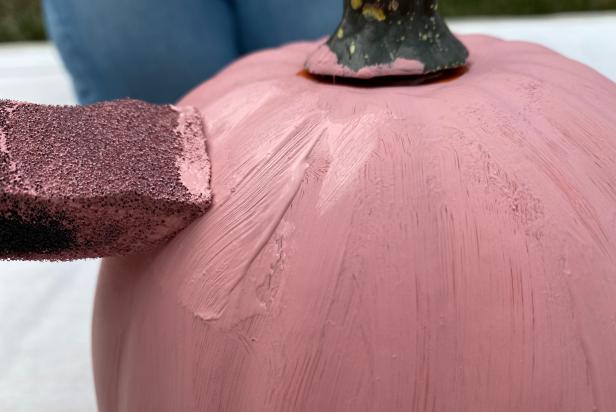
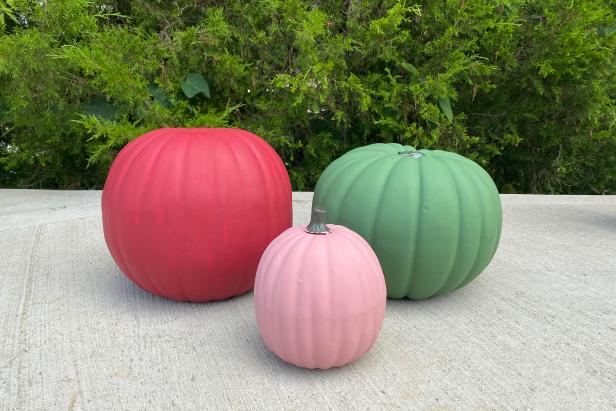
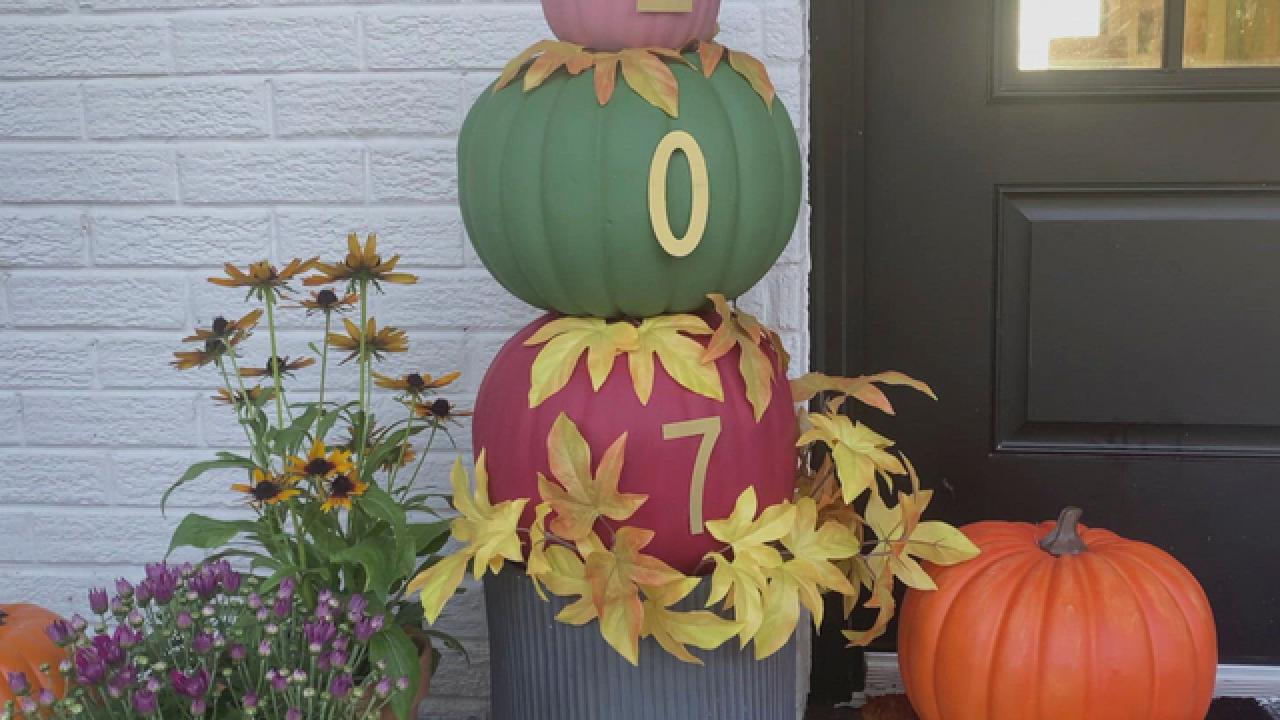
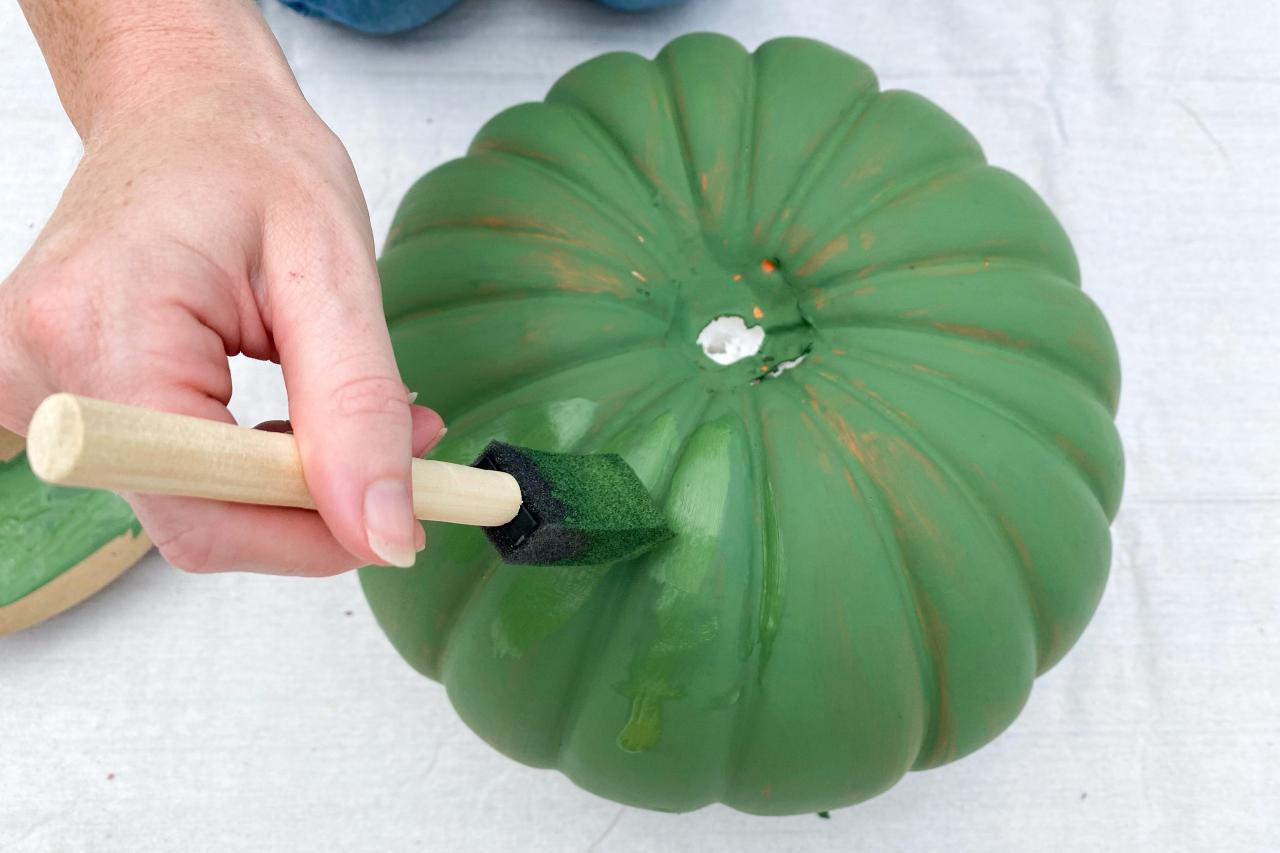
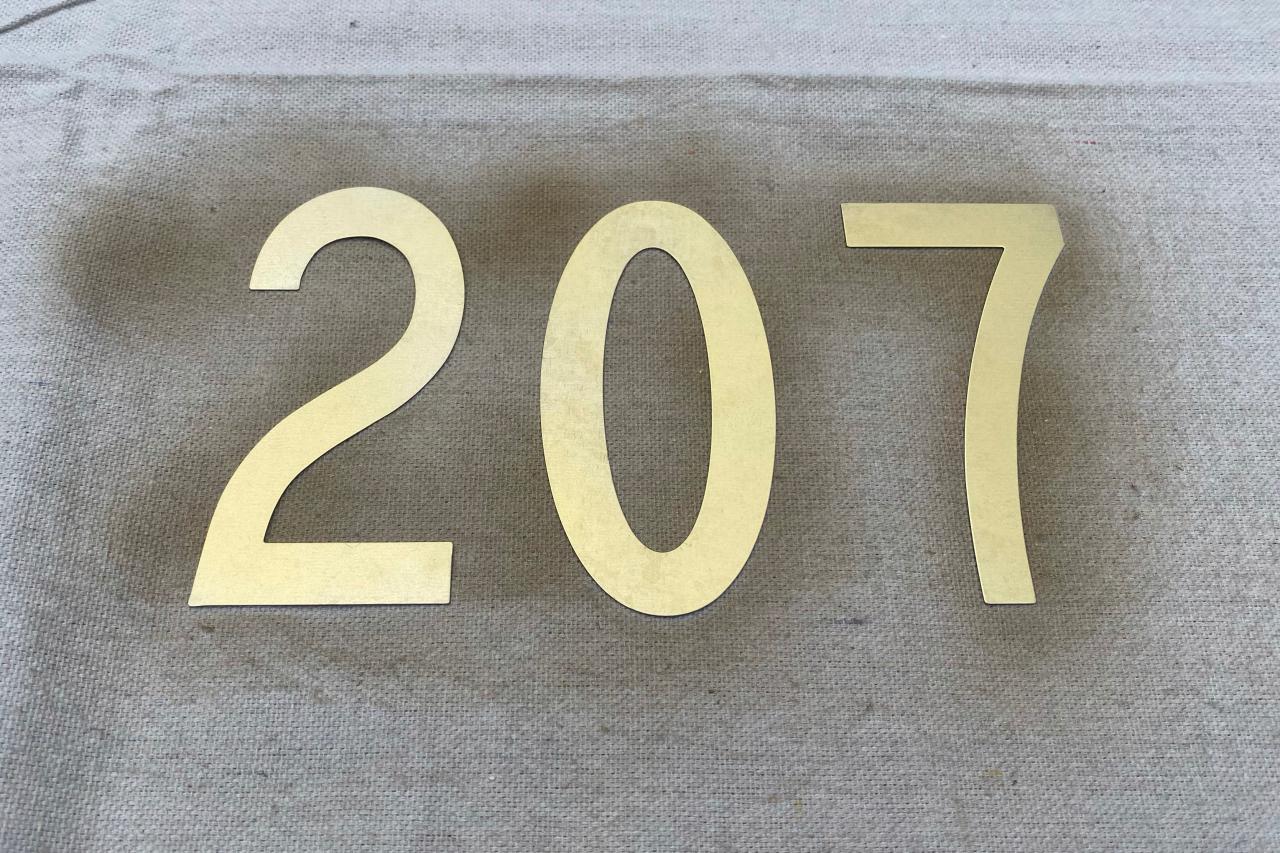
Start with three different sizes of faux pumpkins: small for the top, medium for the middle and large for the base of the topiary. Use a utility knife to carefully remove the stems from the medium and large faux pumpkins. Note: Do not remove the stem from the small pumpkin. Use a foam brush to create a seasonal jewel tone color palette by painting the largest pumpkin rust red (Image 1), the medium pumpkin green (Image 2) and the smallest pumpkin mauve (Image 3). Once all the pumpkins are dry, paint a second coat on each pumpkin to ensure a deep and even color (Image 4). Next, arrange the plain metal house numbers on a crafting table. Use gold spray paint to coat the front of each house number (Image 5). Let dry completely.
Danielle Boaz

Danielle Boaz
Danielle Boaz
Danielle Boaz

Danielle Boaz
Glue + Stack
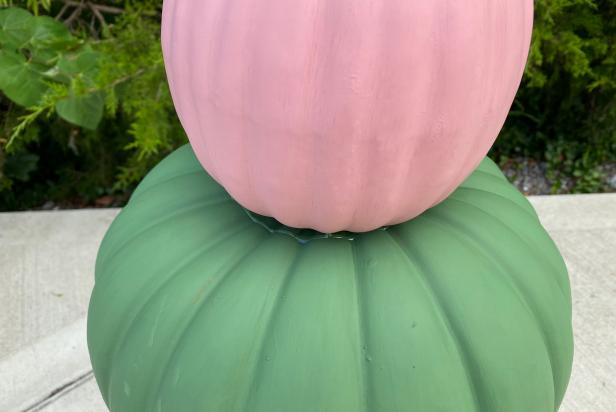
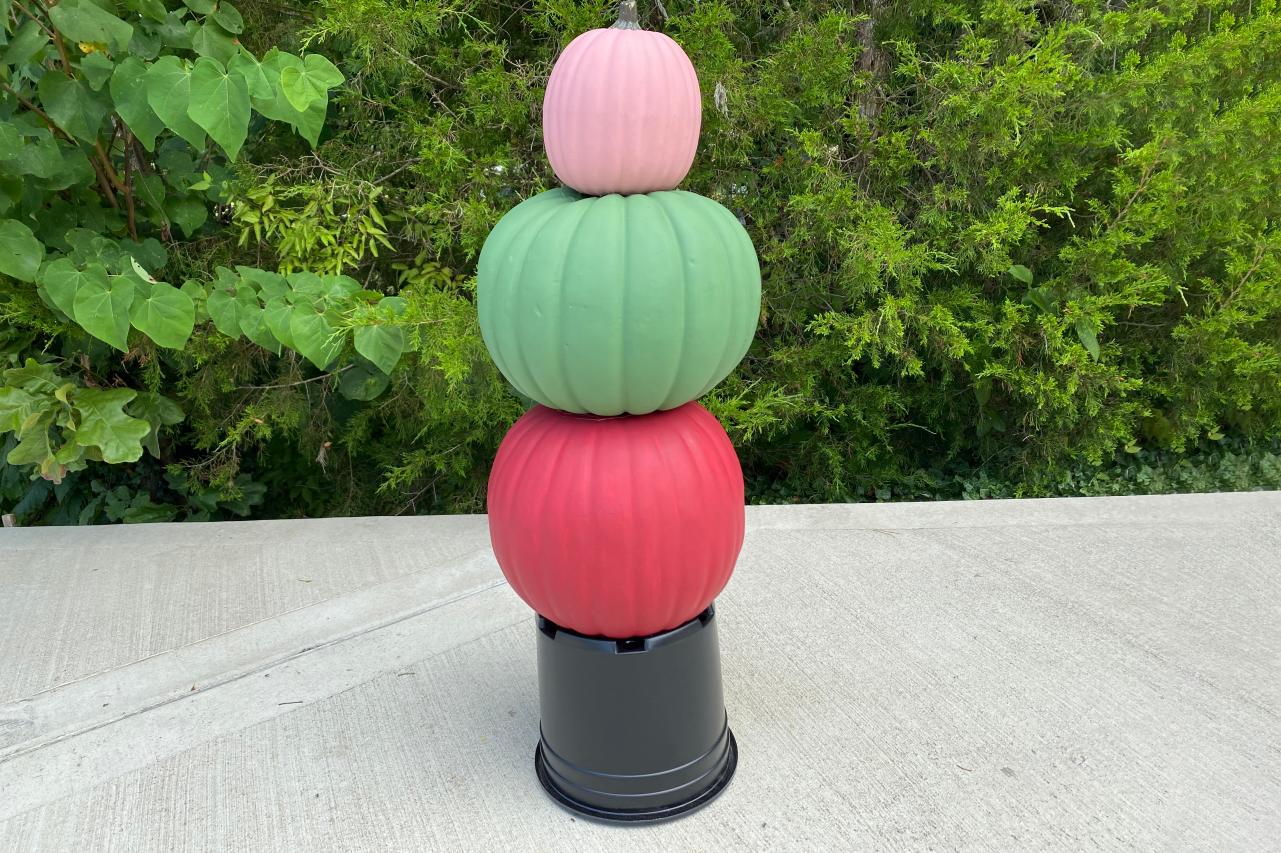
First, take the large nursery planter and turn it over; the planter bottom should be facing up (Image 1). Next, add a generous layer of super glue to the bottom of the largest, red pumpkin. Moving quickly, place the red pumpkin on the plastic planter. Press down on the pumpkin to create a firm seal. Next, add a generous layer of super glue to the top of the red pumpkin. Moving quickly, add the green pumpkin to the top of the red pumpkin (Image 2). Once secure, glue the smallest, mauve pumpkin to the top of the green pumpkin (Image 3). Let the stacked and glued pumpkins dry completely before moving (Image 4).

Danielle Boaz

Danielle Boaz
Danielle Boaz

Danielle Boaz
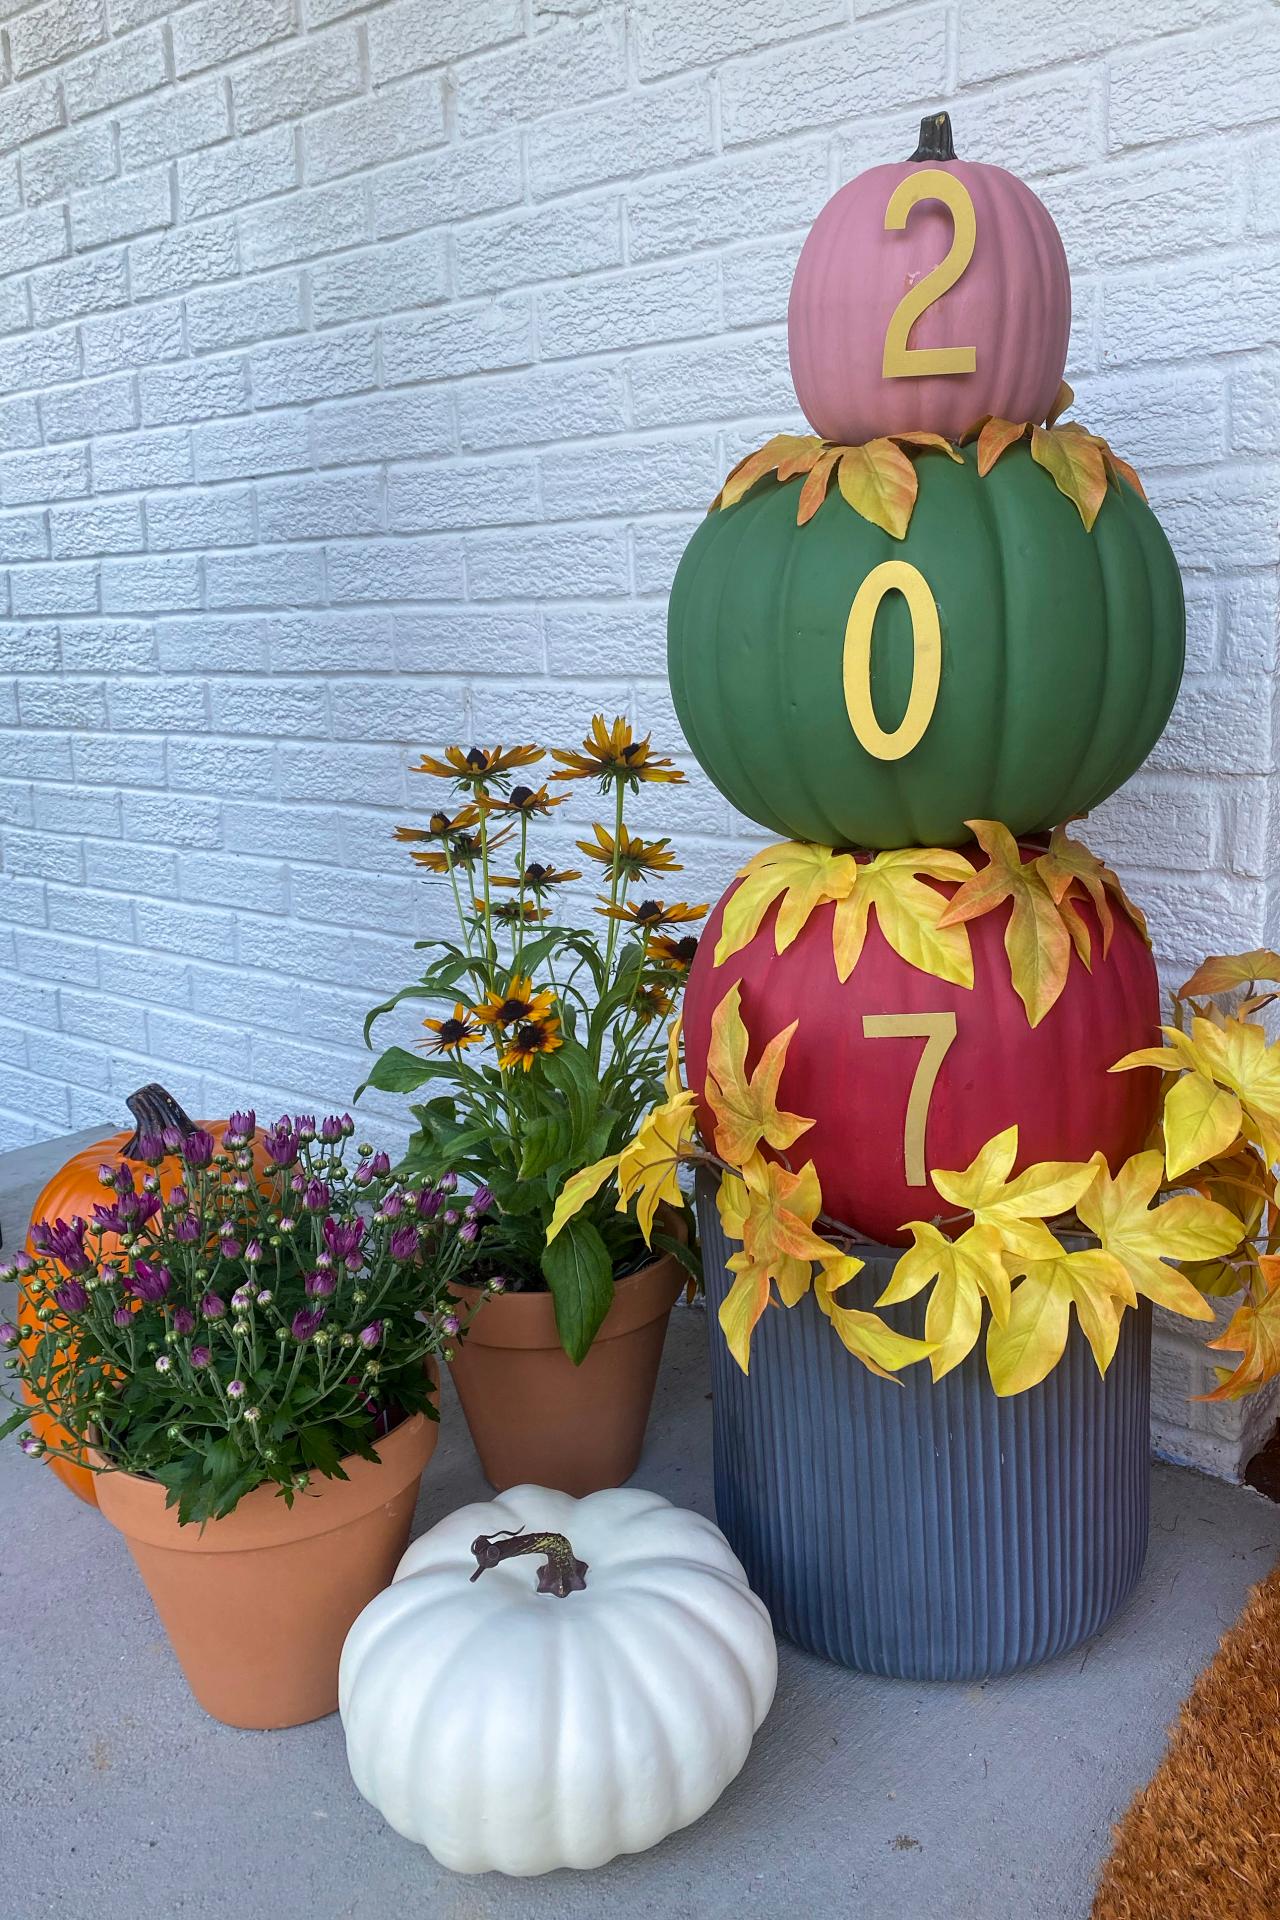
Add Spice + Enjoy!
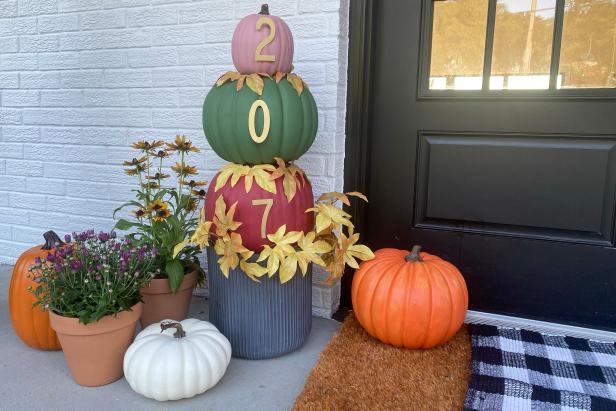
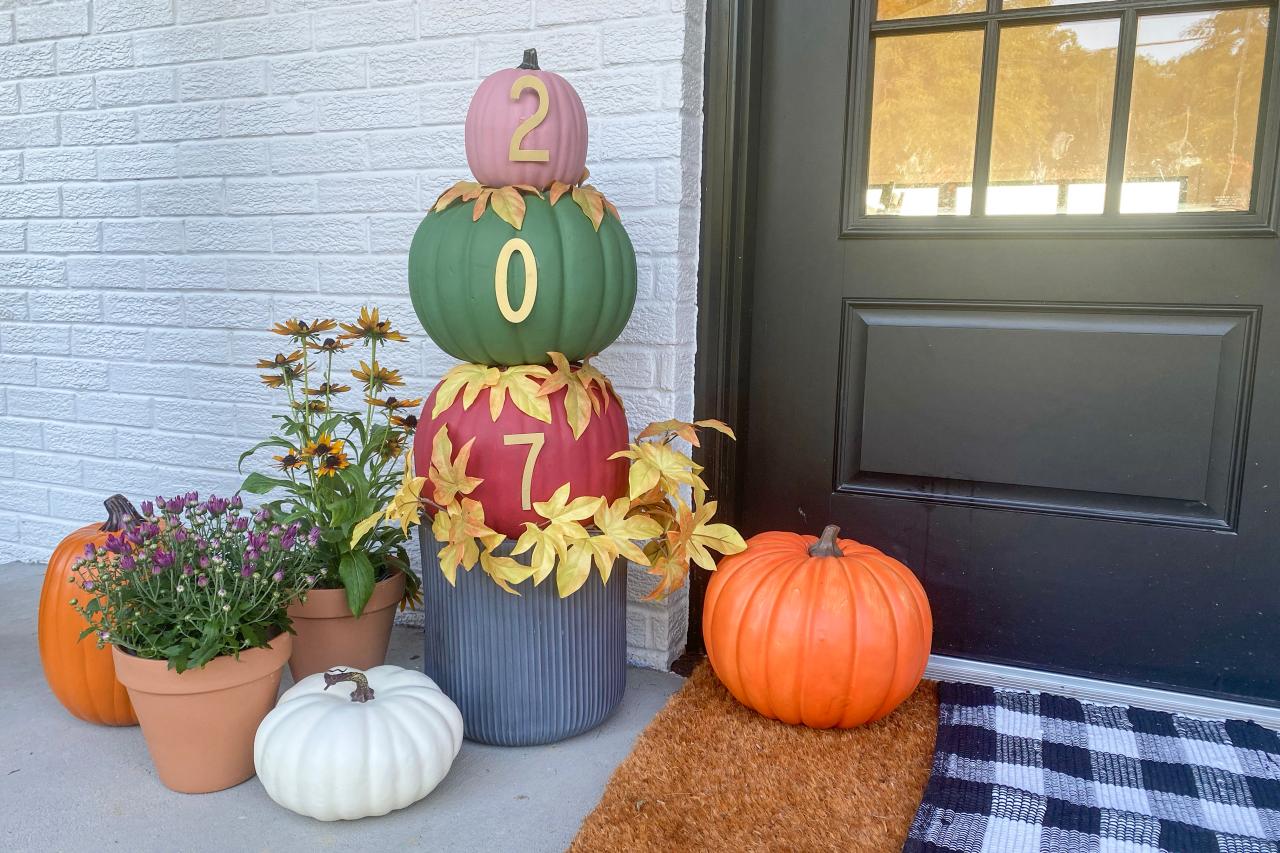
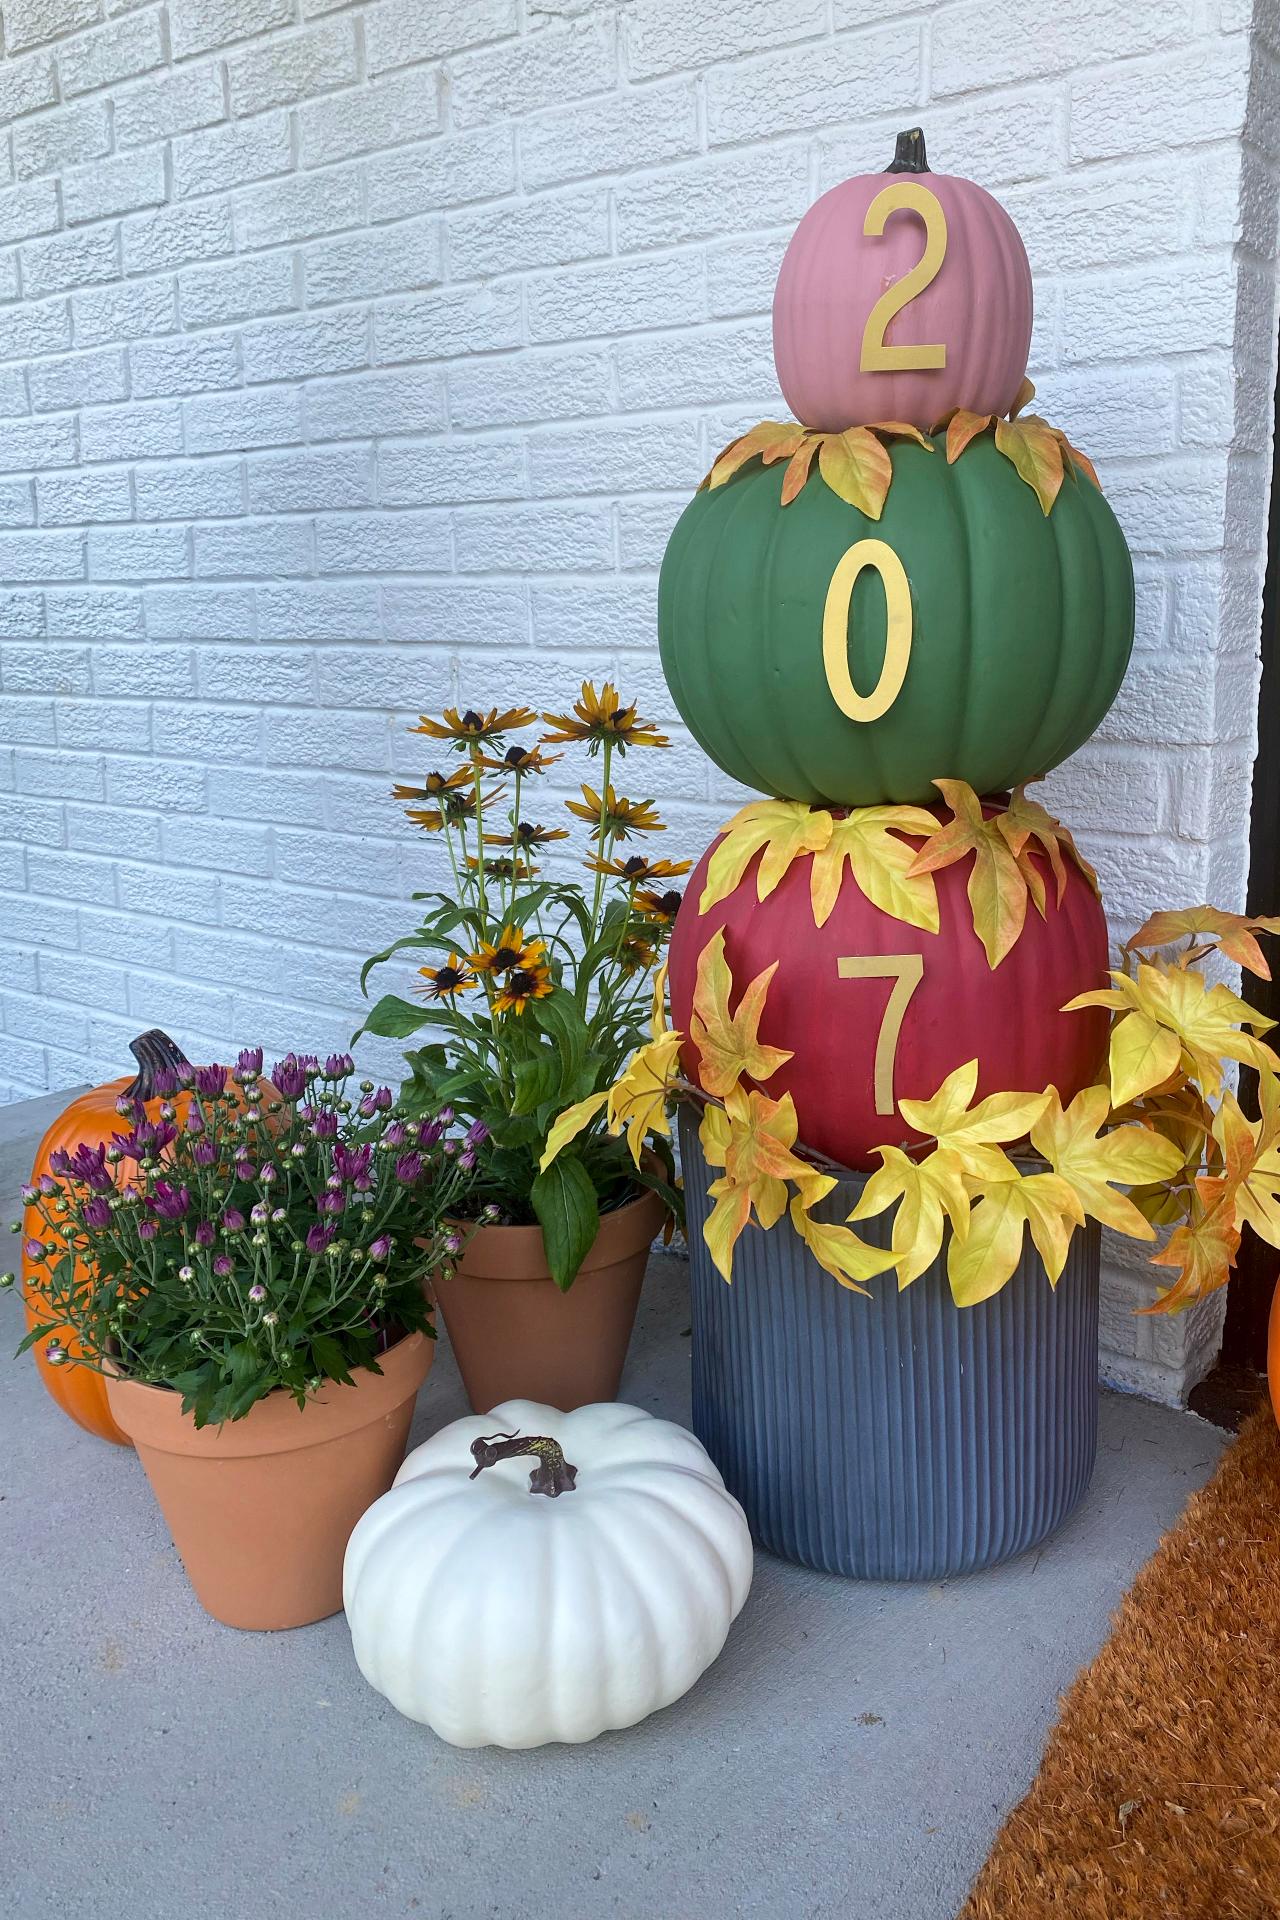
Place the assembled pumpkin topiary inside a large ceramic planter that is 2 inches wider than the plastic nursery planter (Image 1). Affix the gold house numbers to the pumpkins using super glue and let dry. Then spice up the topiary by gluing faux fall foliage around the pumpkins to complete the look (Image 2).
Danielle Boaz

Danielle Boaz
Fall Decorating DIYs

Welcome Fall With These 3 Easy Faux Leaf DIYs
Create these crafts while you wait for the pumpkin bread to bake.
DIY Trash Pumpkin 09:17
Marianne Canada turns a bag of trash into a rustic faux pumpkin centerpiece.

30 Ways to Decorate With Pumpkins 30 Photos
Set the stage for fall with our favorite ways to deploy pumpkins as decor.


