


How to Make a Pumpkin Topiary

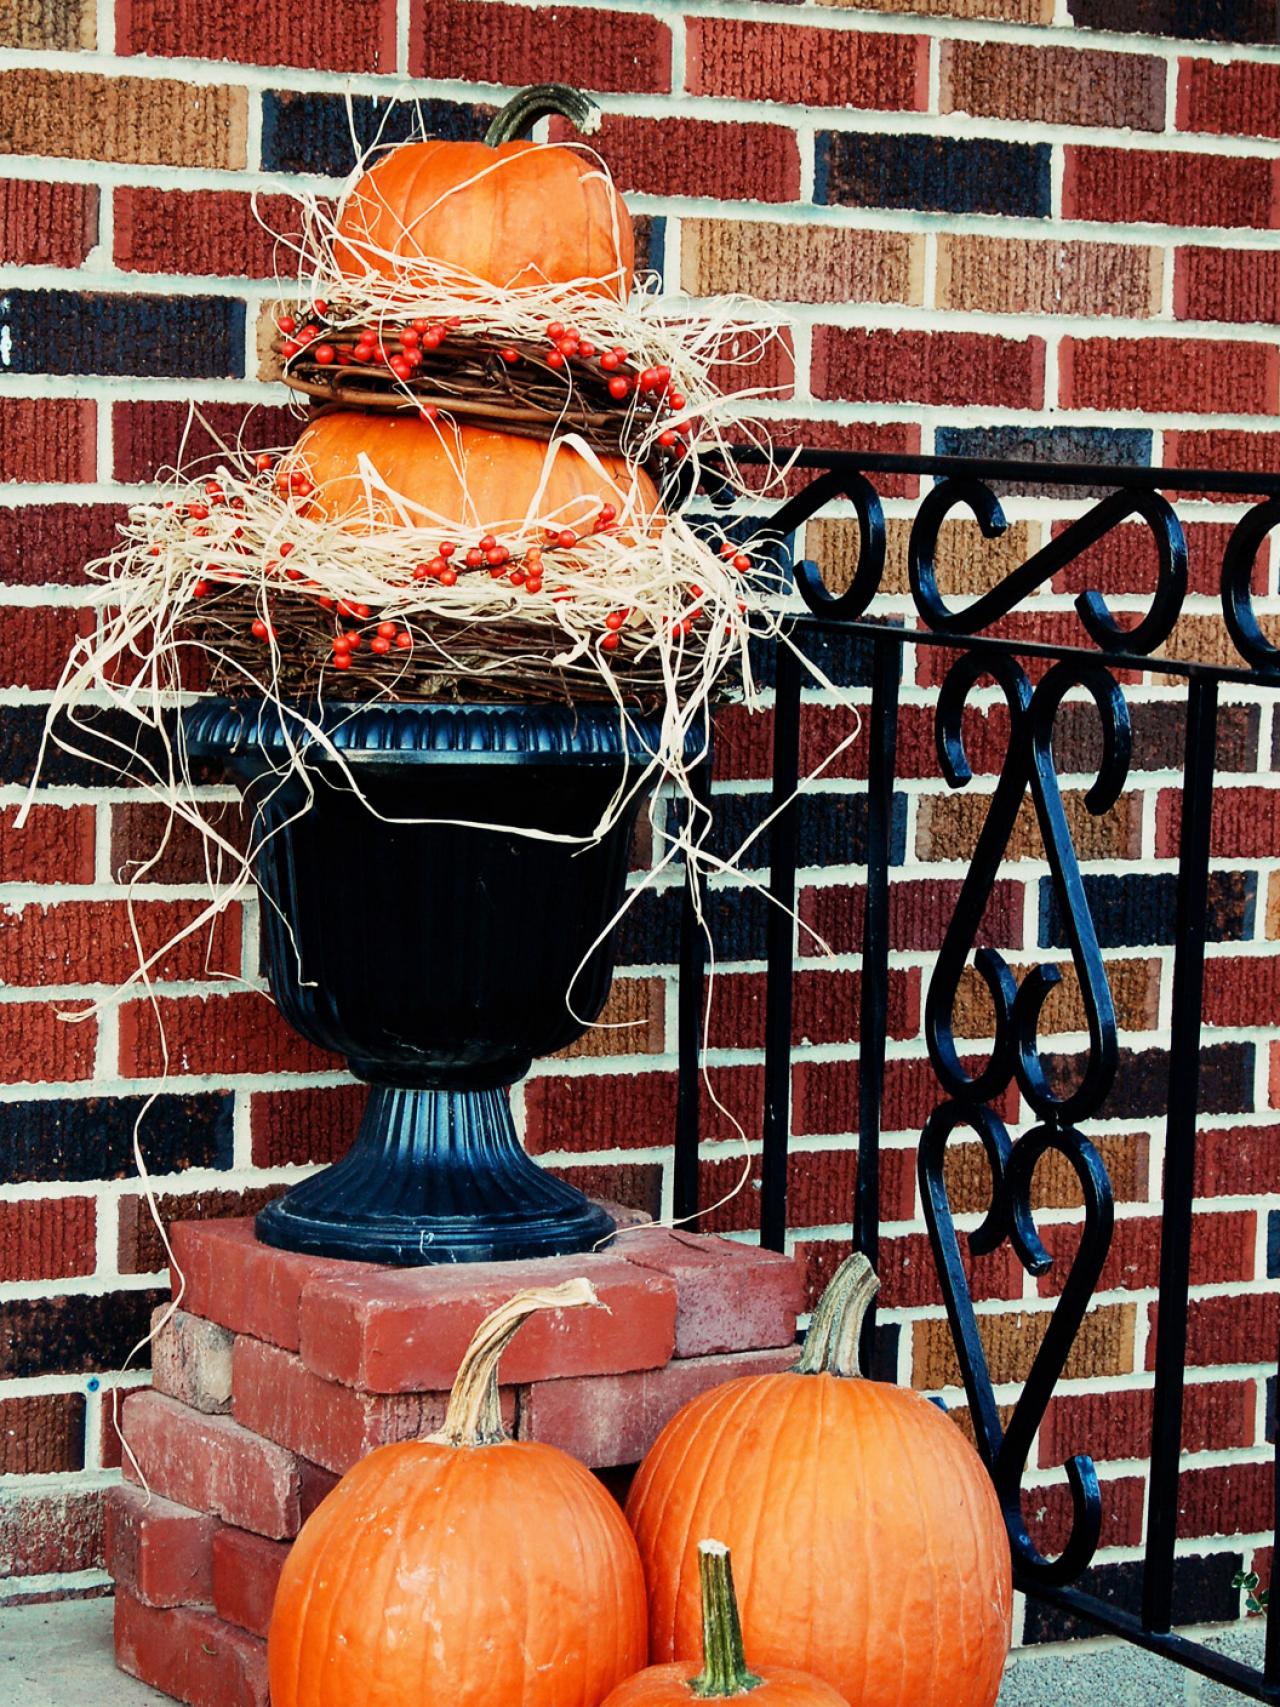
Pumpkin Topiary
Just a few materials and less than 30 minutes are all you need to create an elegant pumpkin topiary that will last throughout the autumn season.

Materials Needed:
- 2 large urns
- fill dirt or gravel
- 2 large pumpkins
- 2 small pumpkins
- 12" grapevine wreaths (2)
- 10" grapevine wreaths (2)
- wire cutters
- 10 artificial bittersweet springs
- natural raffia bunch
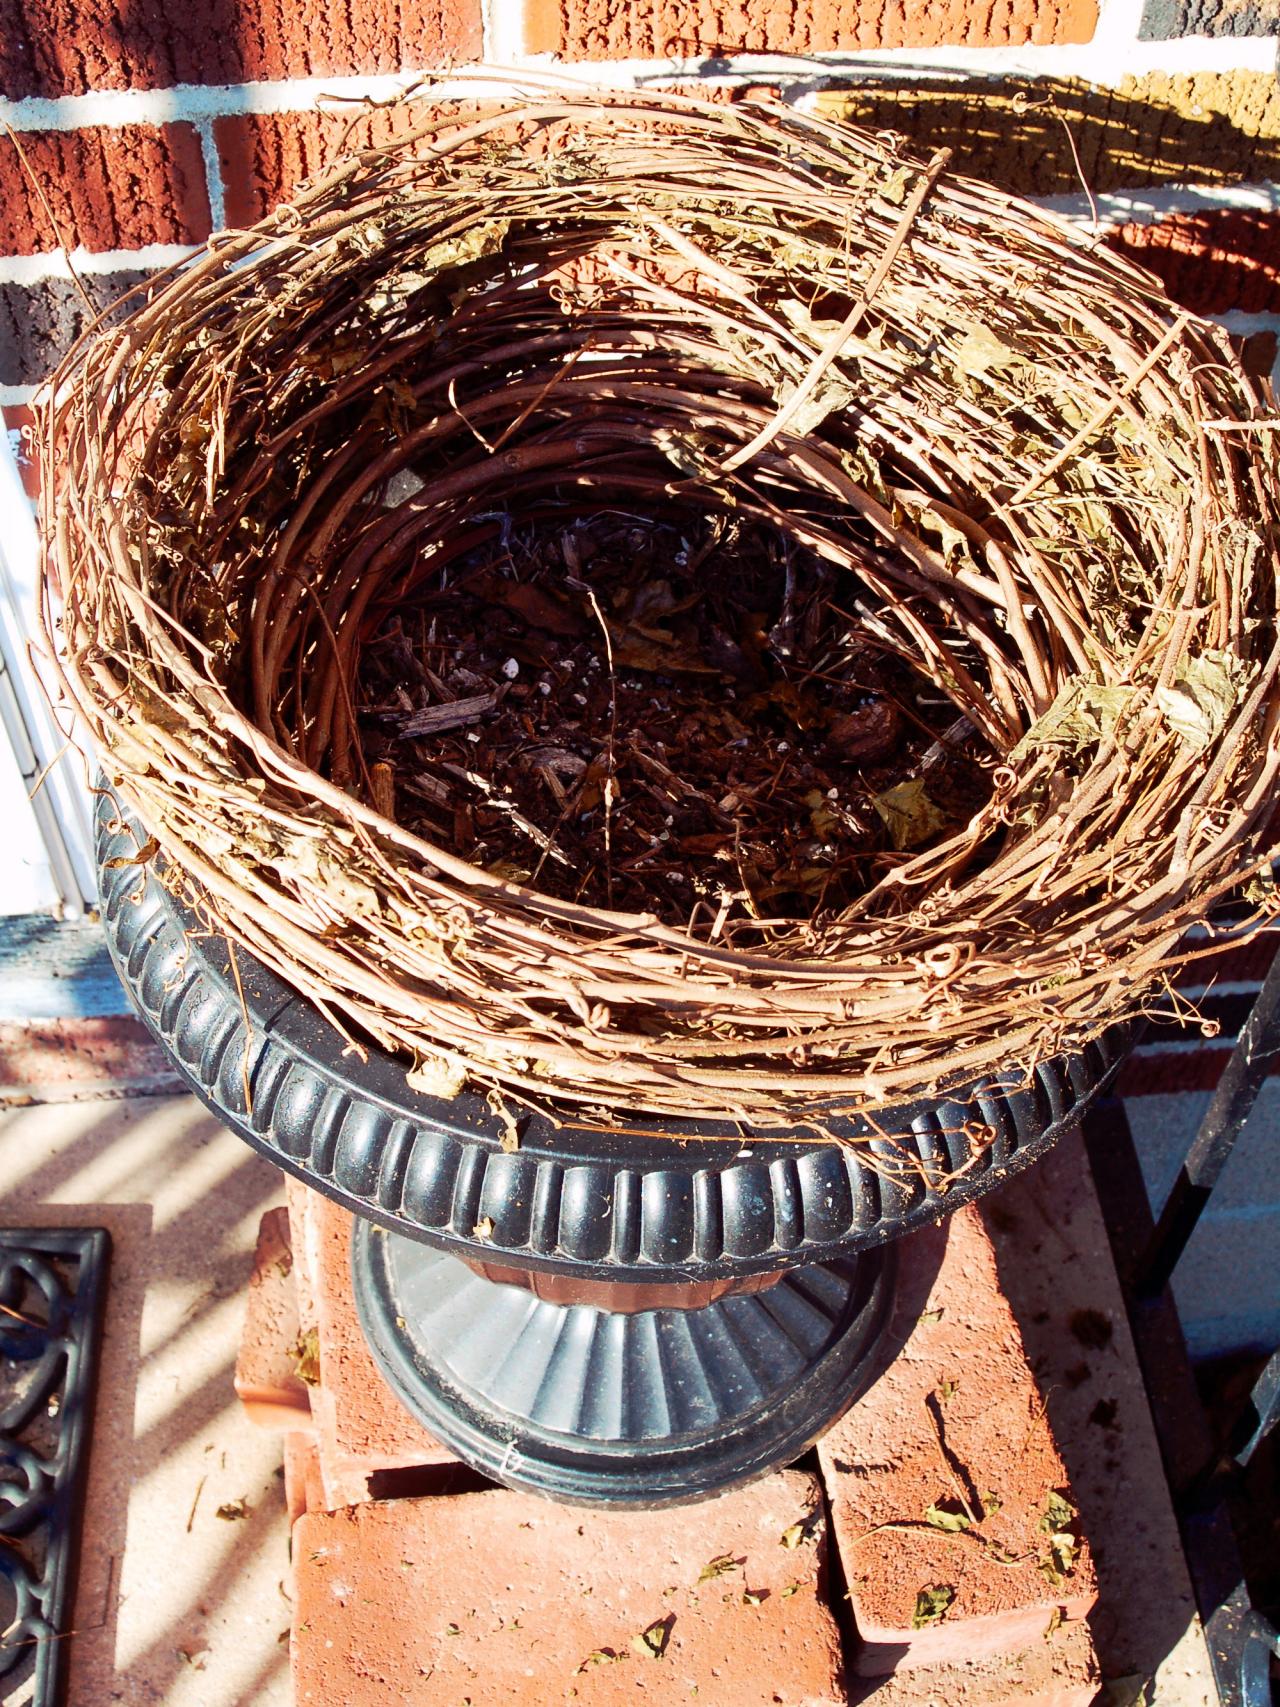
Create Topiary Base
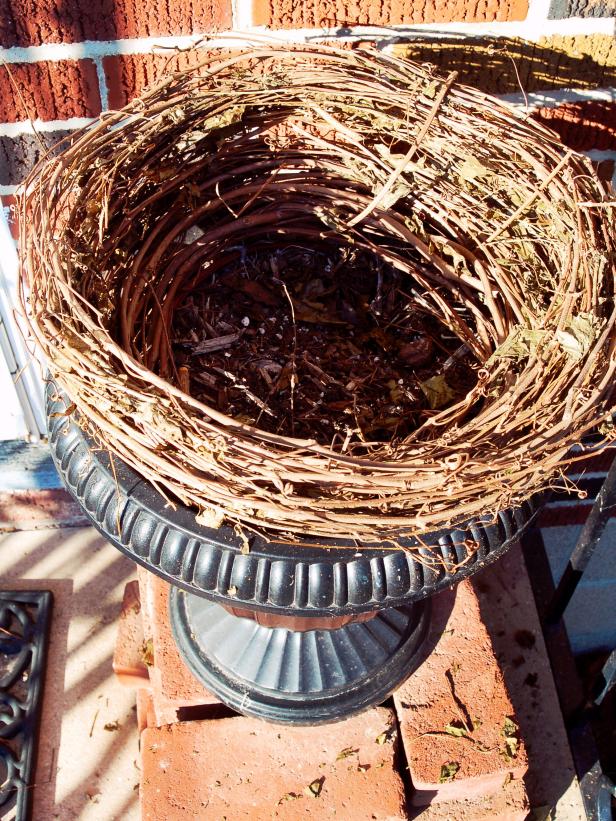
Fill urn with dirt, gravel or rocks. Clip and remove vine that holds grapevine wreaths together (Image 1). Gently pull apart with fingers. Position large wreath inside top of urn to make a nest for large pumpkin (Image 2).

Clipping and Removing Vine From Wreaths
Fill urn with dirt, gravel or rocks. Clip and remove vine that holds grapevine wreaths together.
Topiary Base
Gently pull apart with fingers. Position large wreath inside top of urn to make a nest for large pumpkin.
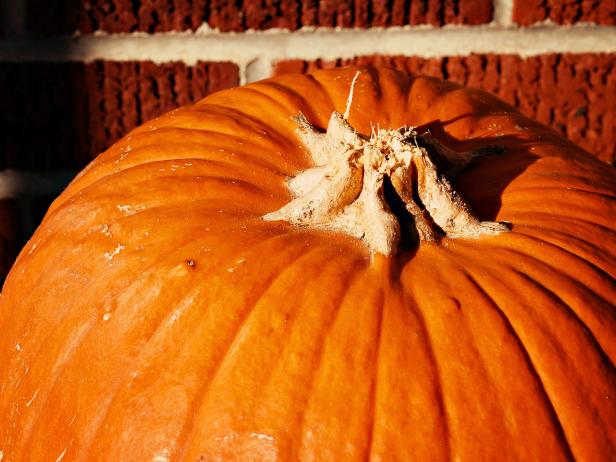
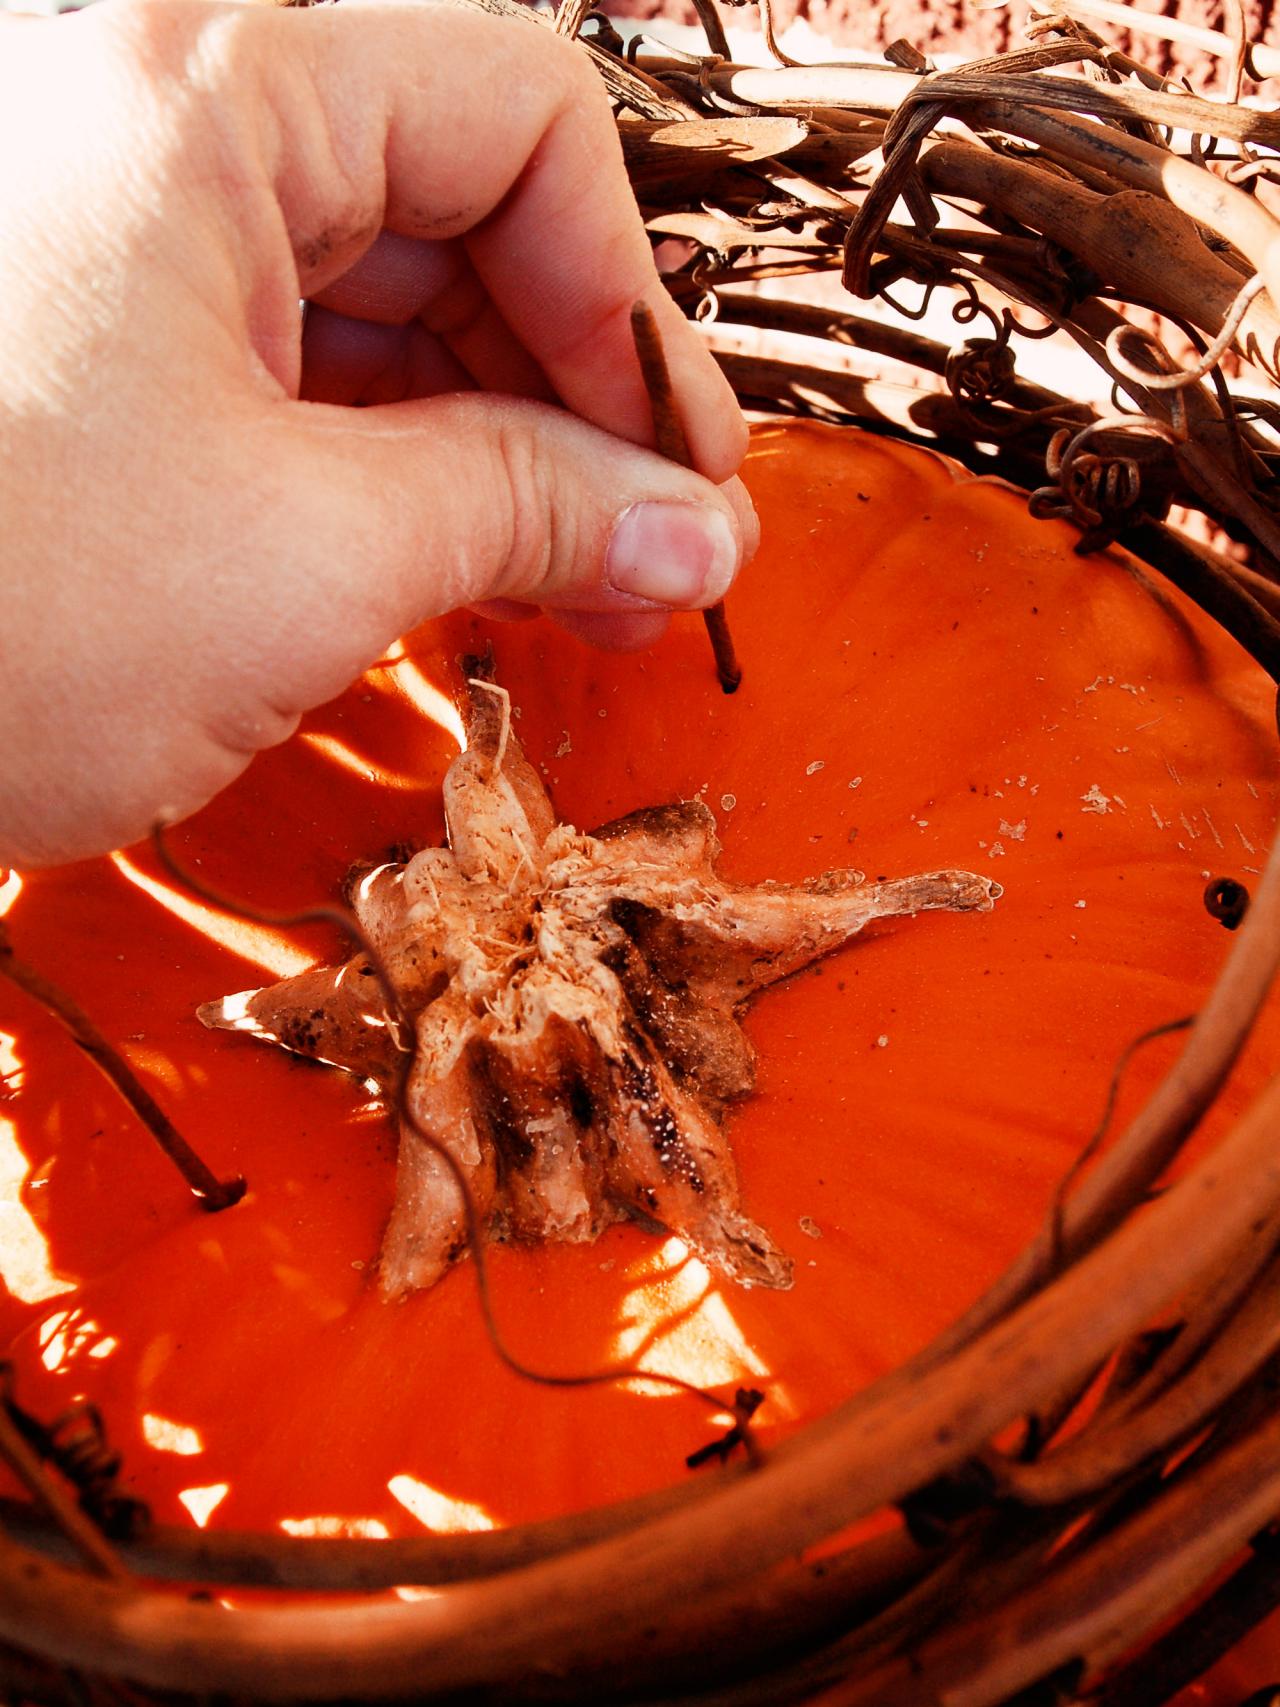
Position Large Pumpkin
Break stem off large pumpkin (Image 1) and place in grapevine wreath nest (Image 2).

Secure Second Pumpkin
Clip and remove vine that wraps around smaller wreath. Gently spread vines apart with fingers and position small wreath on top of large pumpkin. Use wire cutters to trim five inches of wired stem off bottom of artificial bittersweet springs (Image 1). Insert three trimmed pieces of wired stem into top of large pumpkin leaving half of the wire exposed (Image 2). Position small pumpkin on top of large, gently pushing it onto the exposed wires (Image 3). This will stabilize the topiary and hold the smaller pumpkin in place.
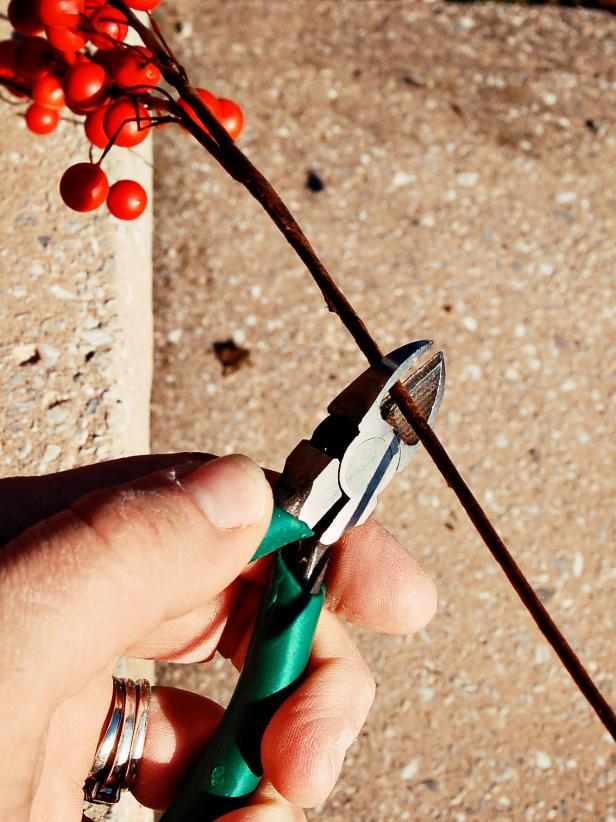


Trimming Artificial Bittersweet Spring
Clip and remove vine that wraps around smaller wreath. Gently spread vines apart with fingers and position small wreath on top of large pumpkin. Use wire cutters to trim five inches of wired stem off bottom of artificial bittersweet springs.
Inserting Wired Stem Into Pumpkin
Insert three trimmed pieces of wired stem into top of large pumpkin leaving half of the wire exposed.
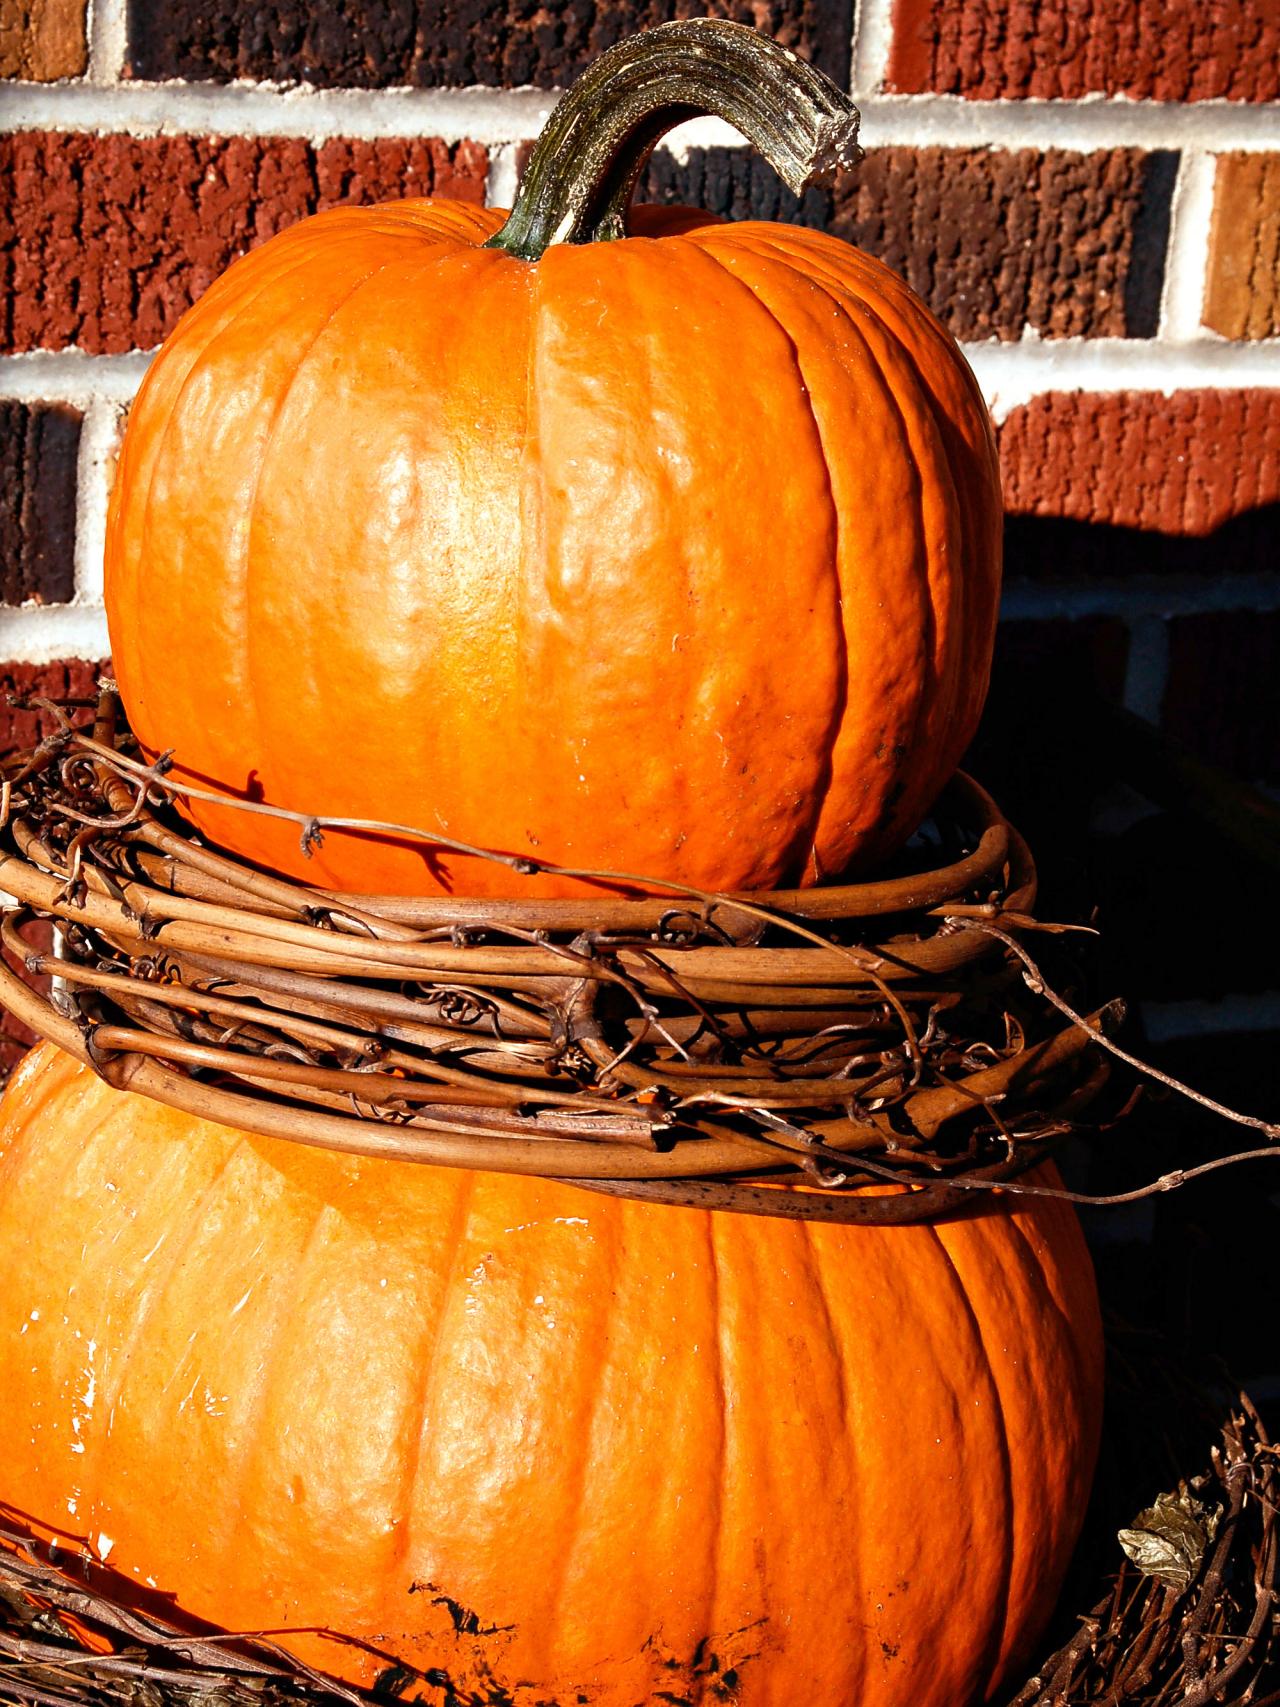
Decorative Stacked Pumpkins
Position small pumpkin on top of large, gently pushing it onto the exposed wires. This will stabilize the topiary and hold the smaller pumpkin in place.
Finish With Bittersweet and Raffia
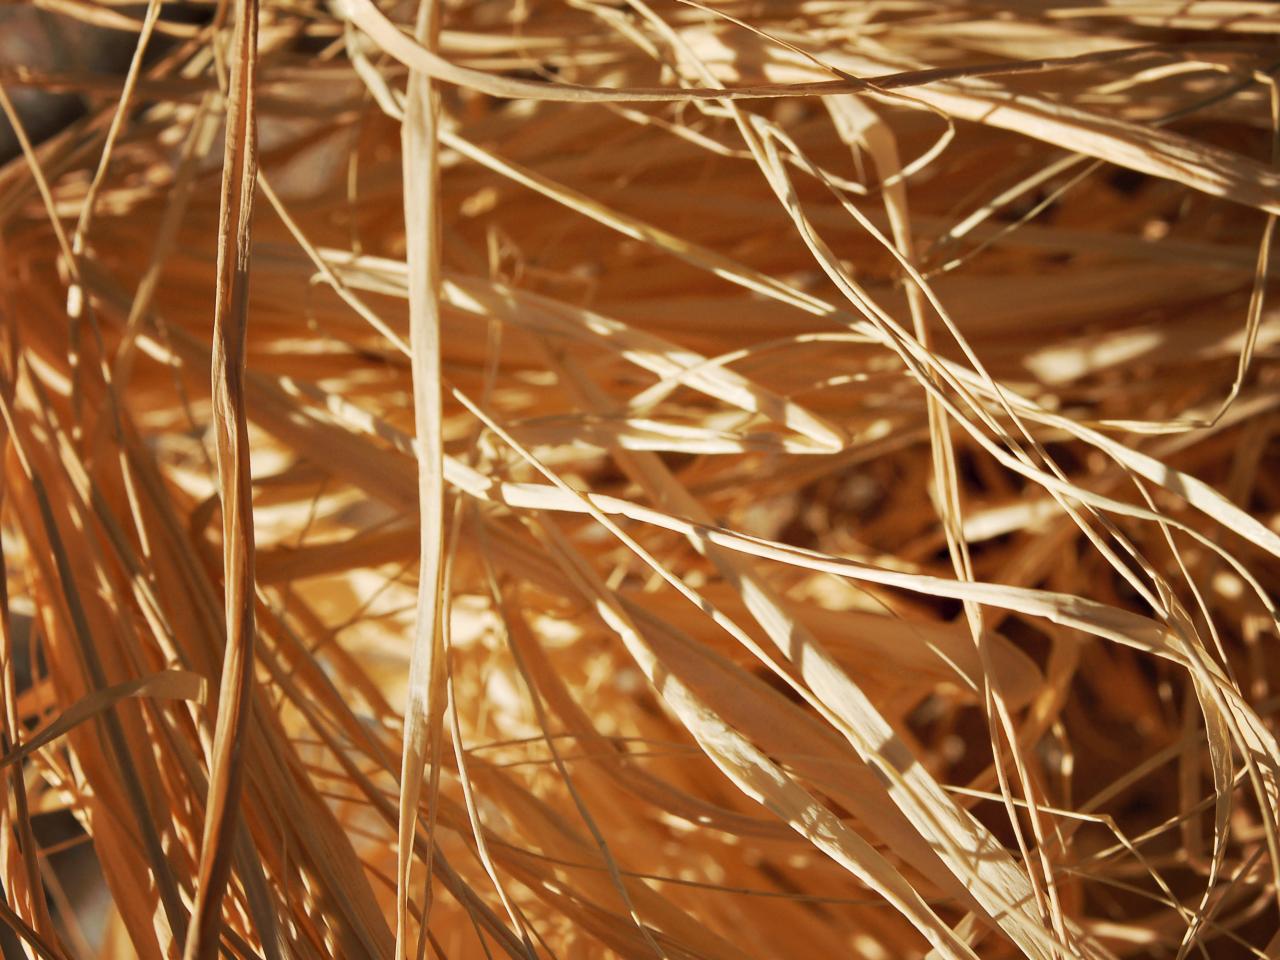
Use wire cutters to snip small springs off of larger bittersweet stems. Insert cuttings into grapevine wreaths (Image 1). Finish by wrapping each wreath with natural raffia (Image 2). Note: Topiaries will last in cool temperatures for several weeks; dispose of pumpkins when flesh gives in to a light touch.
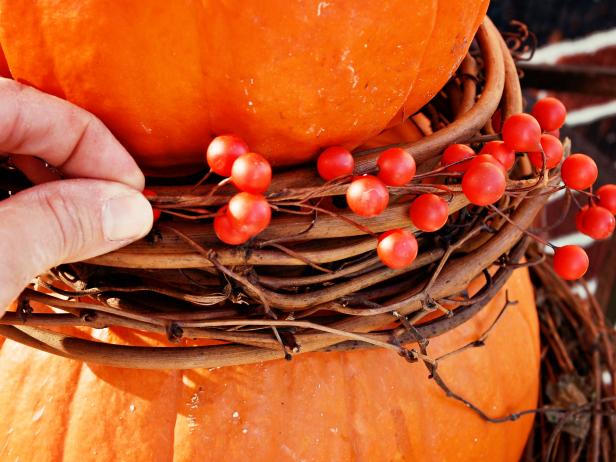
Inserting Bittersweet Springs Into Wreath
Use wire cutters to snip small springs off of larger bittersweet stems. Insert cuttings into grapevine wreaths.


