


No Sunlight Needed: These Vibrant Houseplants Are Actually Made From Paper
If you love indoor plants but lack natural light or the time to properly care for them, Corrie Beth Hogg, expert crafter and author of Handmade Houseplants: Remarkably Realistic Plants You Can Make with Paper, shares a paper plant DIY perfect for adding a faux green-thumb vibe to any living space.

Stephanie Diani

Corrie Beth Hogg has a solution for anyone looking to add a no-water option to their gorgeously green indoor plant jungle: plants made from paper. Leaning on the ubiquity of paper as a medium and soaking up visual inspiration from her countless trips to the 52-acre Brooklyn Botanic Garden, Corrie carefully observes the colors, hues and seasonal changes of living plants displayed inside.

Often armed with colored pencils, a sketch pad and camera, Corrie looks to capture the moment in time when a plant is at its most vibrant and beautiful. This snapshot travels back to Corrie’s home studio where she ideates and designs the next paper plant blueprint, like many of the patterns found in her book, Handmade Houseplants: Remarkably Realistic Plants You Can Make with Paper.
In nature’s landscape, fall weather promises bold reds, warm oranges and brilliant yellow tones. So to celebrate autumn with a no-water indoor plant option, Carrie shares a DIY paper plant technique perfect for a Thanksgiving centerpiece or a cozy fireplace mantel: the crimson glory vine. Here is what you’ll need to create your own crimson glory vine paper plant.

Stephanie Diani
Materials + Tools
- printable crimson glory vine leaf template
- card stock paper - yellow, green, red, burgundy
- acrylic paint - red, blue, green
- floral tape
- 22-gauge floral wire
- liquid adhesive
- white colored pencil
- bone folder
- flower pot
- small pebbles
- Styrofoam or cardboard
- disposable cups
- foam brushes
- paint brushes
- scissors
- masking tape
Known to be vigorous and strong-growing, the crimson glory vine is a showy plant that starts to change colors in the fall, from green to red to yellow. Today we’re going to craft it using several shades of card stock — red, yellow, green and burgundy — leaning into the warmer hues of autumn.

Stephanie Diani
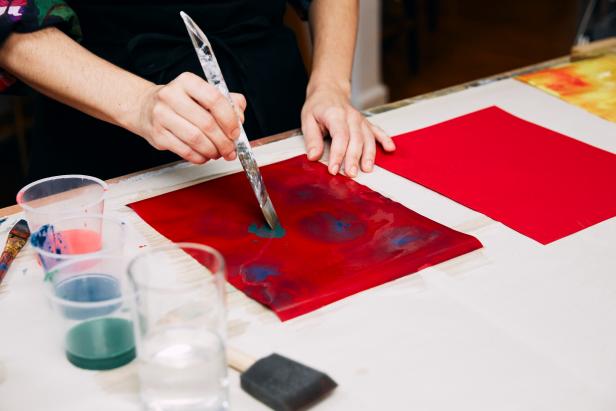
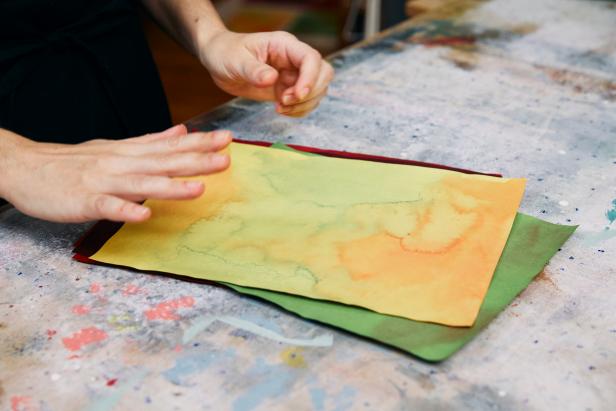
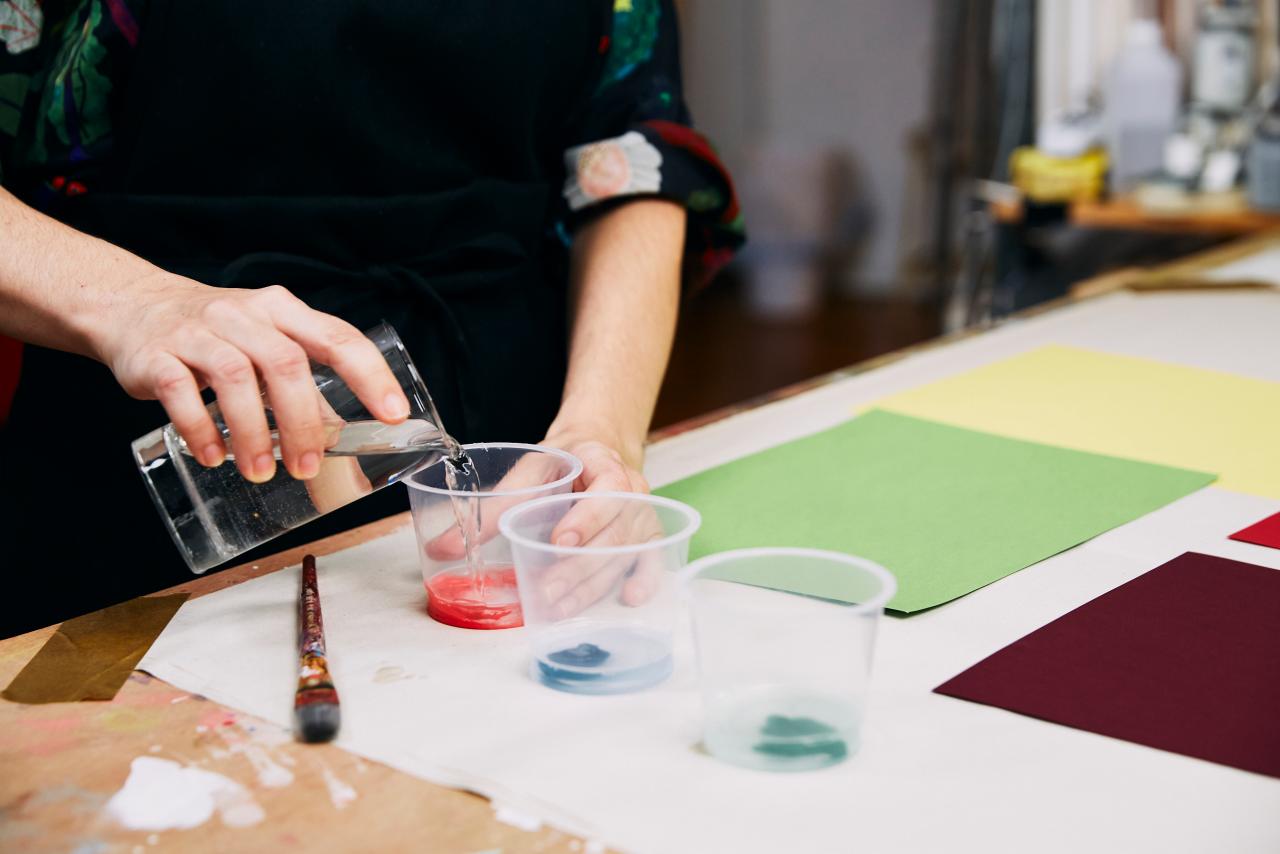
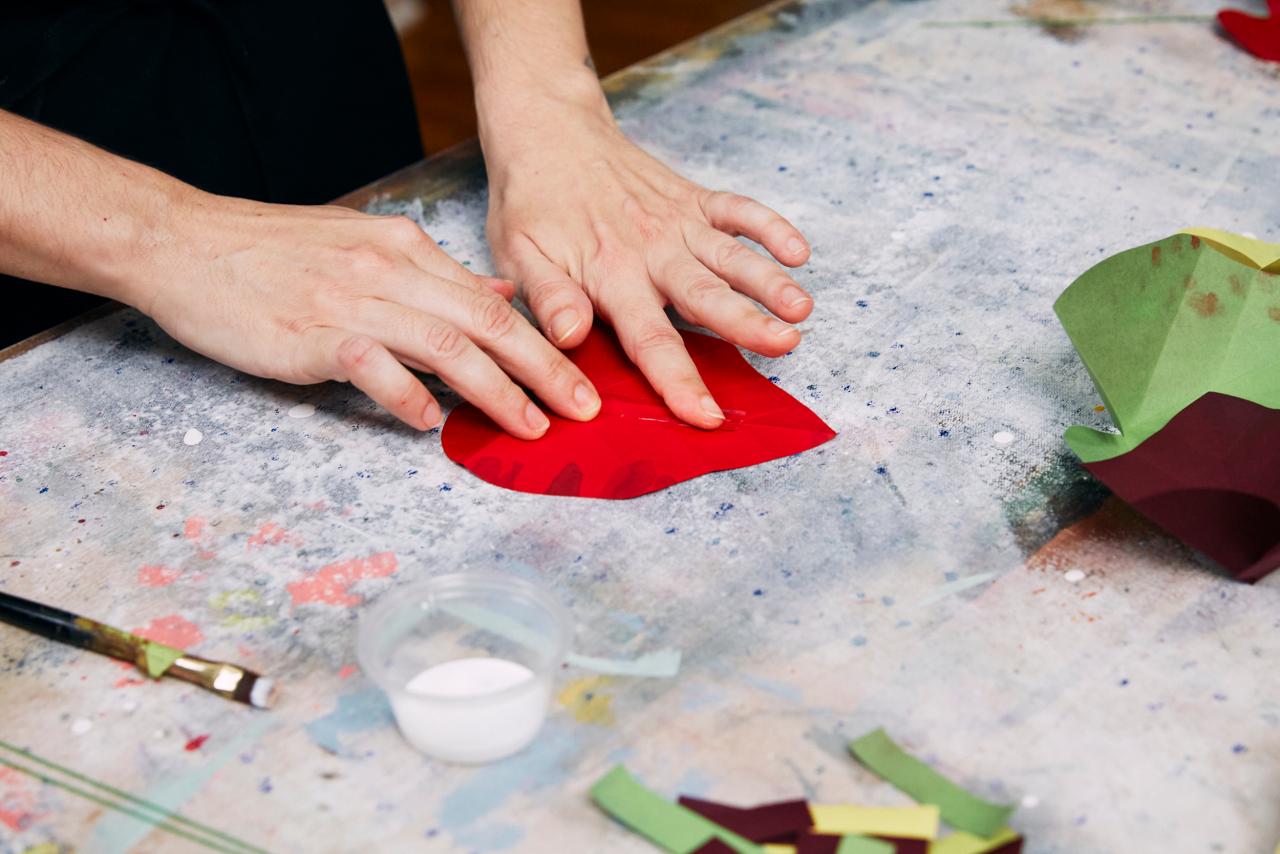
Wet Paint Paper
Using the wet-on-wet paint technique described in Corrie's book, prepare a 2-to-1 ratio of water to acrylic paint (Image 1). Add several drops of paint into a disposable cup and mix it with water using a paint brush. Next, take a clean foam brush and dip it into a cup of clean water. Quickly run the foam brush back and forth across the first piece of colorful card stock (Image 2). Then, take a paint brush with diluted paint and add spots to the paper (Image 3). Paint opposite colors on opposite color papers; yellow paper gets red and green paint, and red paper will get green and blue. Once painted, let them dry to the touch (Image 4).

Stephanie Diani

Stephanie Diani
Stephanie Diani
Stephanie Diani
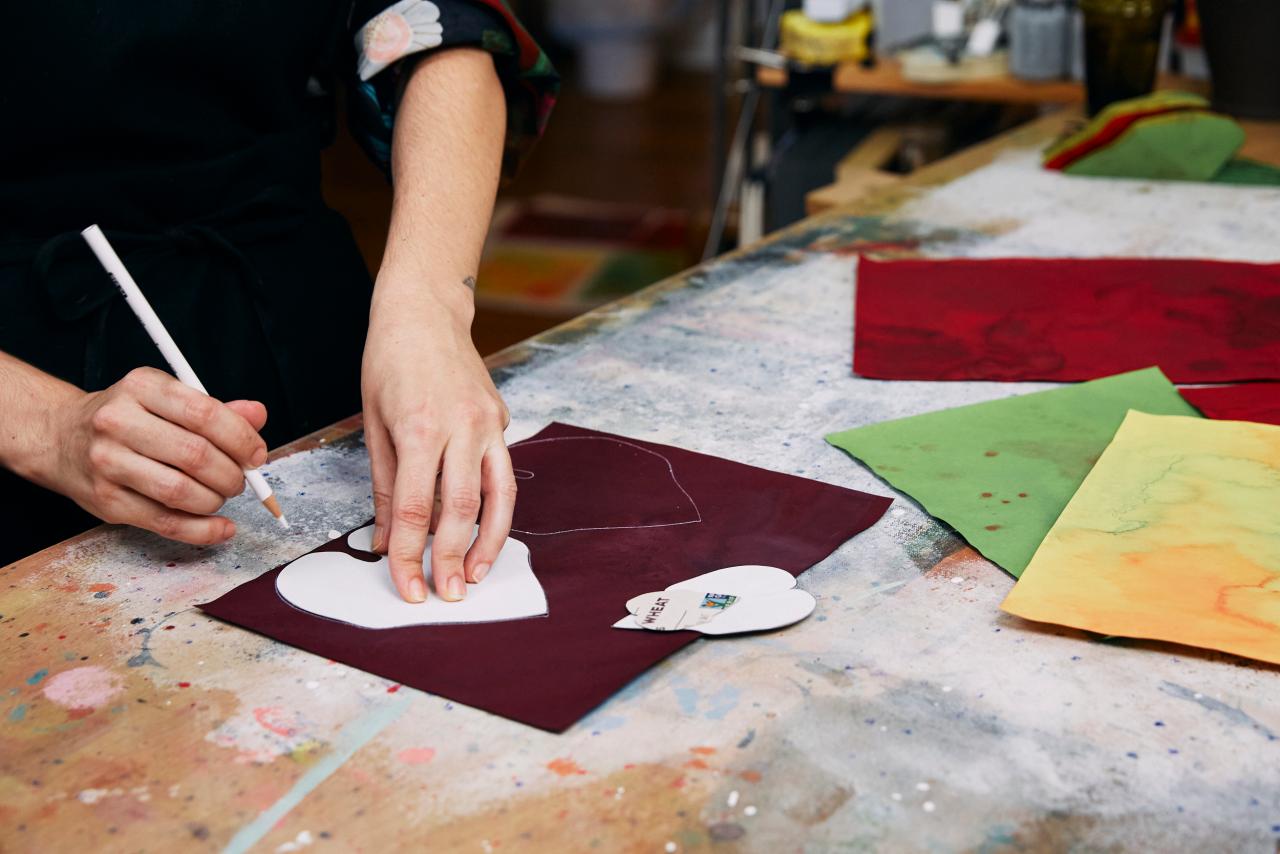
Trace and Cut
Trace small, medium and large leaf templates (Image 1) onto the dried, painted card stock using a white colored pencil (Image 2). Then use scissors to carefully cut out the shapes (Image 3). Keep the scraps from the leaves as they will be used for stems in a later step (Image 4).

Stephanie Diani

Stephanie Diani

Stephanie Diani

Stephanie Diani
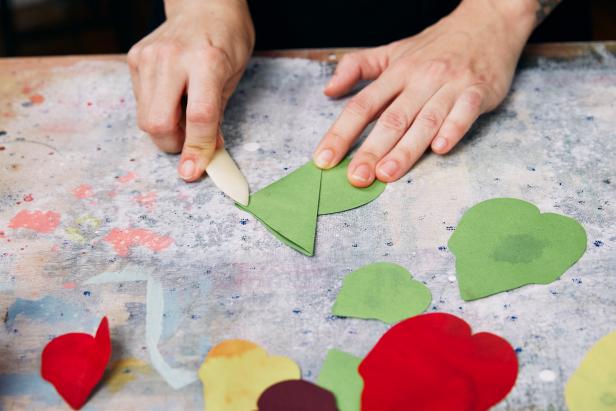
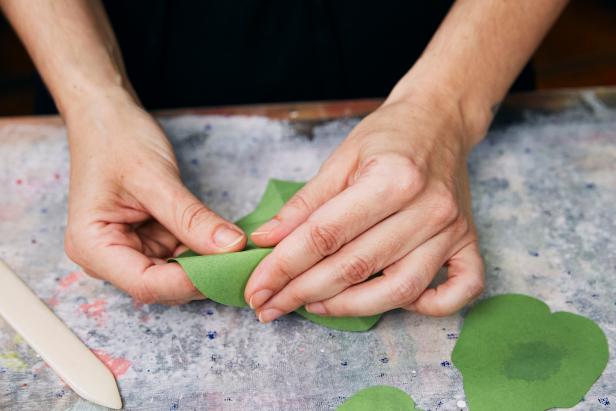
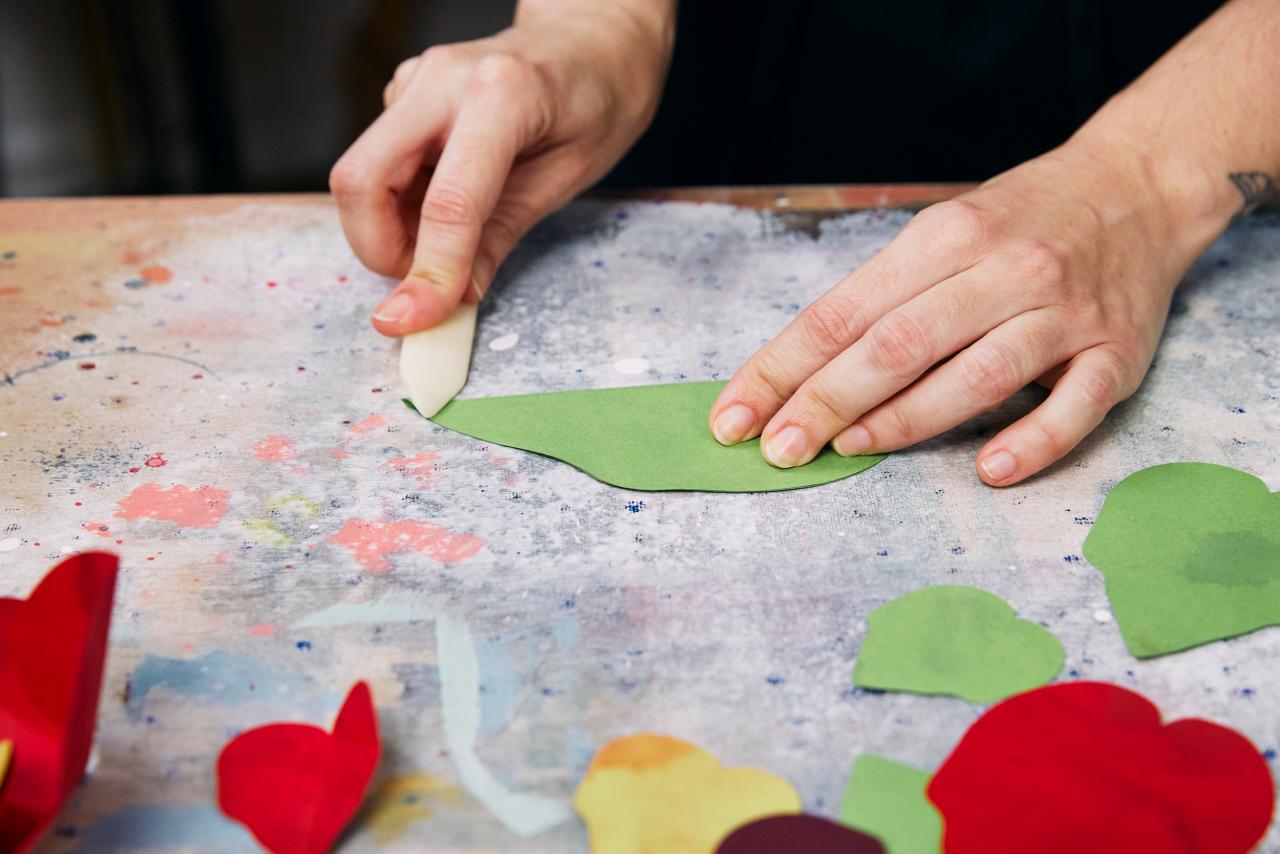
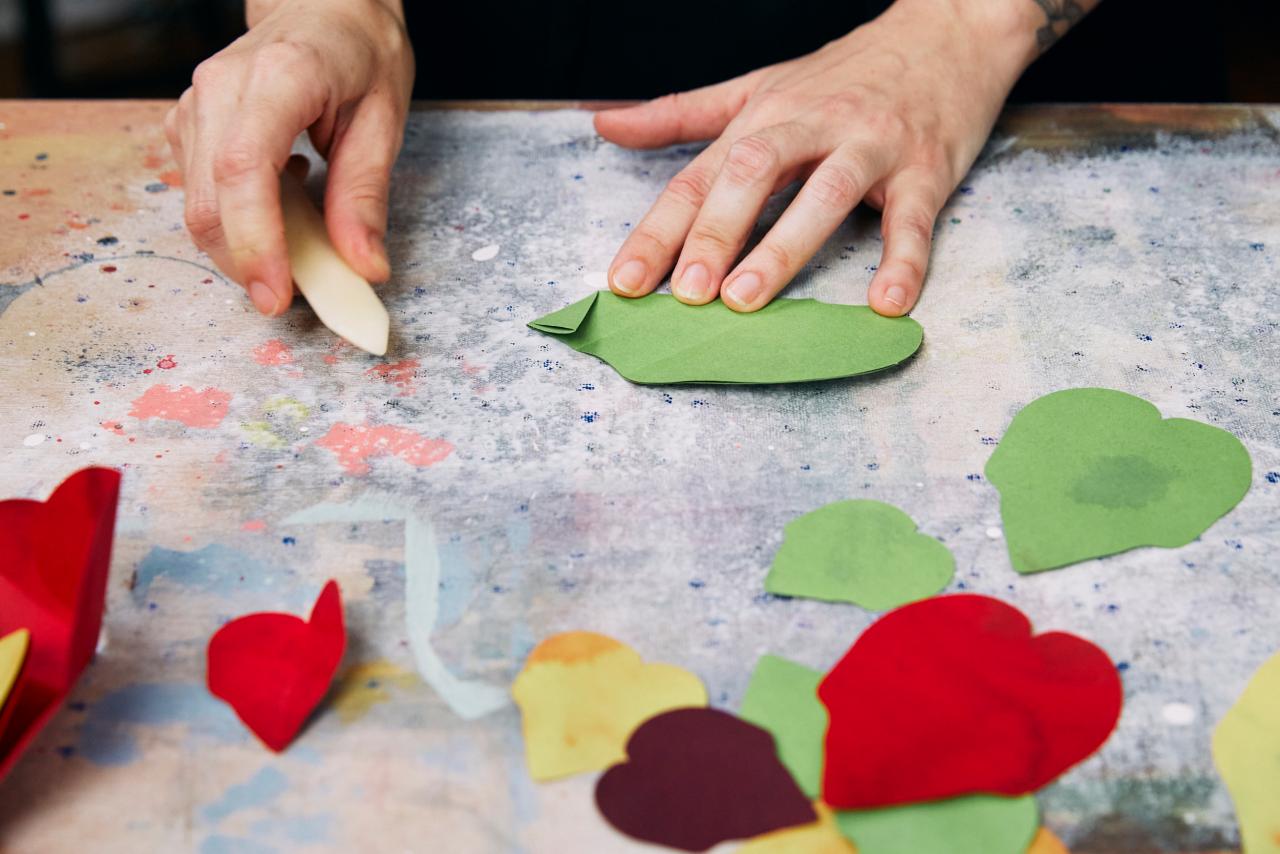
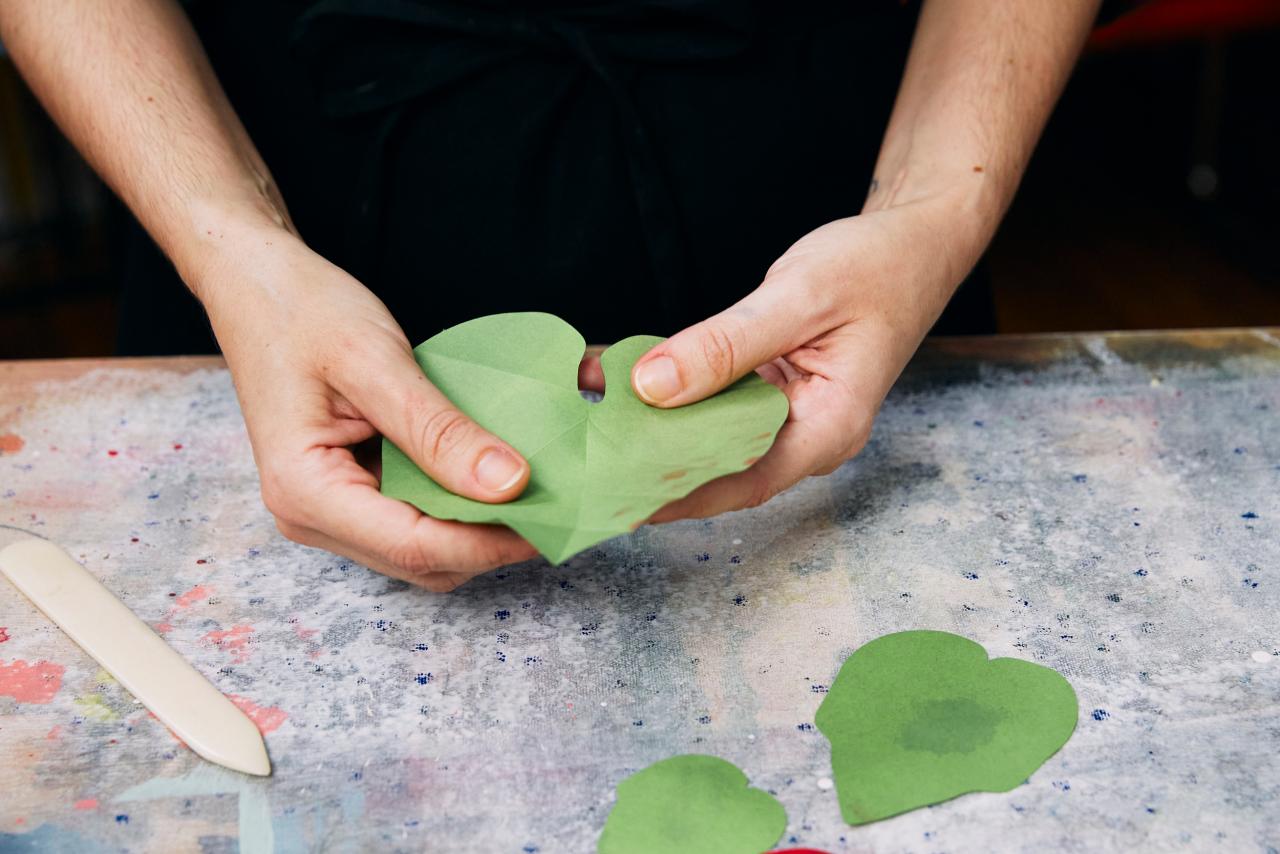
Crease Paper Leaves
Next, fold the leaves to mimic natural veins on the crimson glory vines. Use a bone folder to ensure crisp creases. First, fold the leaf in half and press it down with the bone folder (Image 1). Then, create a 45-degree fold and press with the bone folder (Image 2). Repeat two more times (Image 3). Now open the leaf up and lightly fold the tops inward (Image 4) so the leaves appear like a little curved boat (Image 5). Repeat for all remaining leaves.

Stephanie Diani
Stephanie Diani

Stephanie Diani
Stephanie Diani

Stephanie Diani
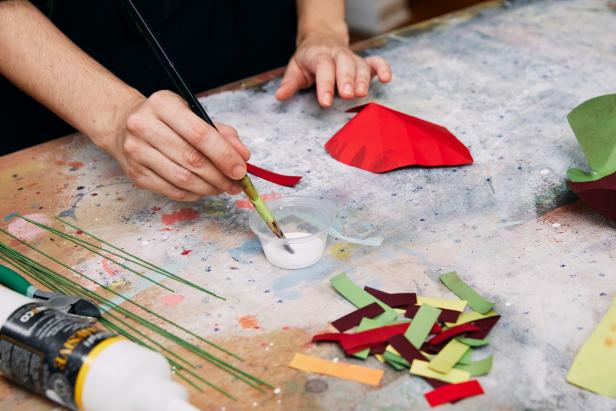
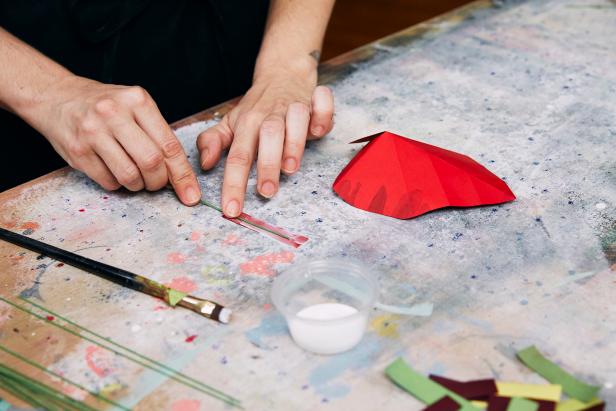
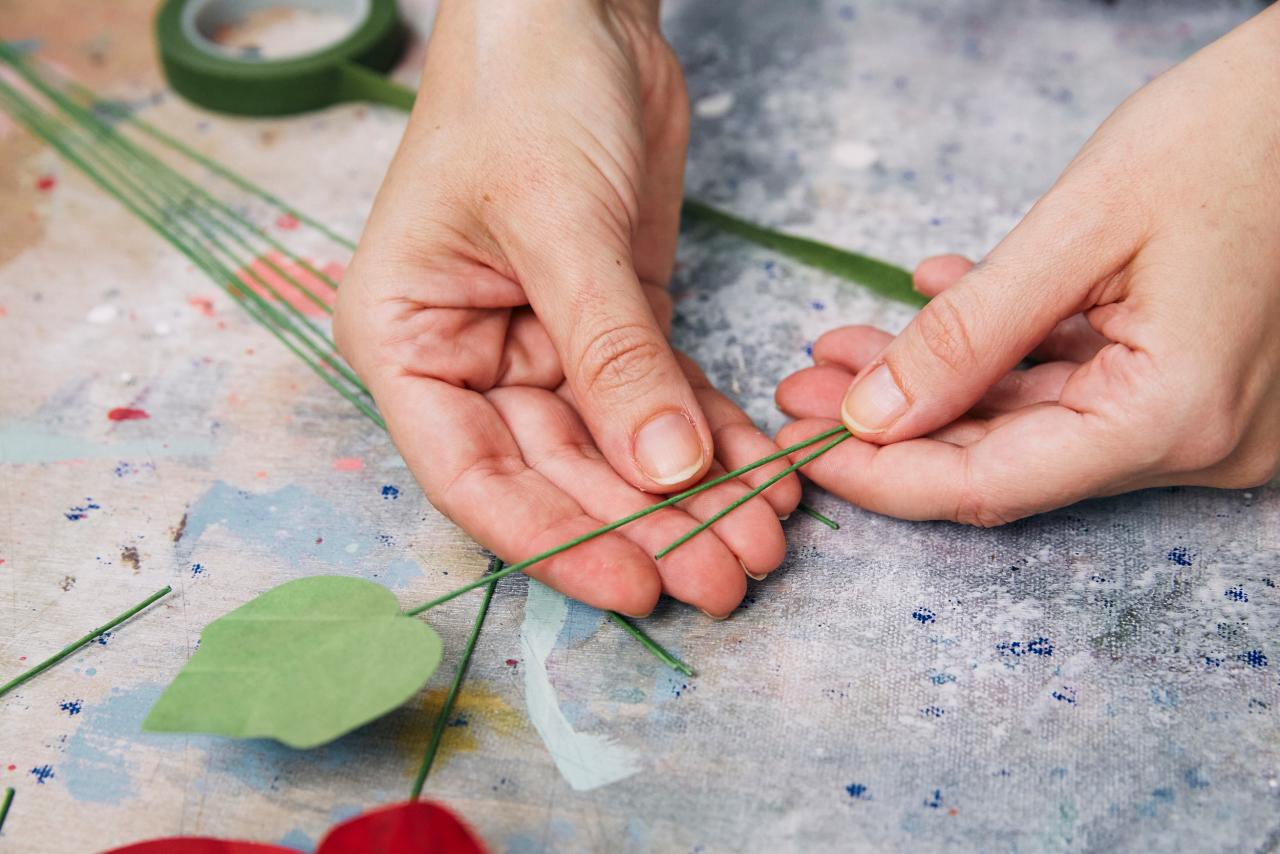
Create Stems
Give each leaf its own stem. Trim small rectangular paper strips from the remaining paper scraps, small enough to fit along the main vein of the vine. Next, trim about 20 pieces of 22-gauge floral wire in half to create a shorter floral wire stem. Then, use a paint brush to apply a coat of liquid adhesive to the small paper strip that matches the paper leaf color (Image 1). Add the wire to the glue on the strip (Image 2) and affix it to the leaf along the back vein (Image 3). Use the bone folder to secure the strip to the glue.
Stephanie Diani
Stephanie Diani

Stephanie Diani
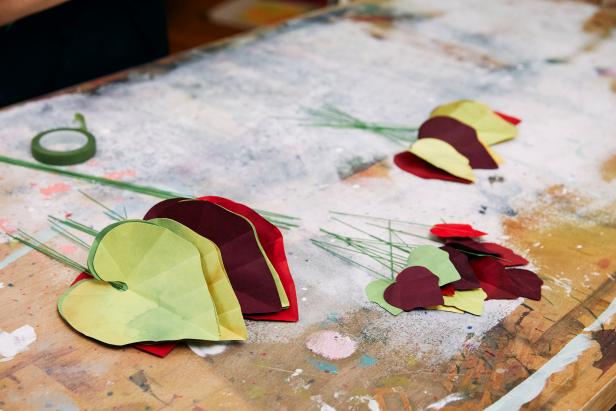
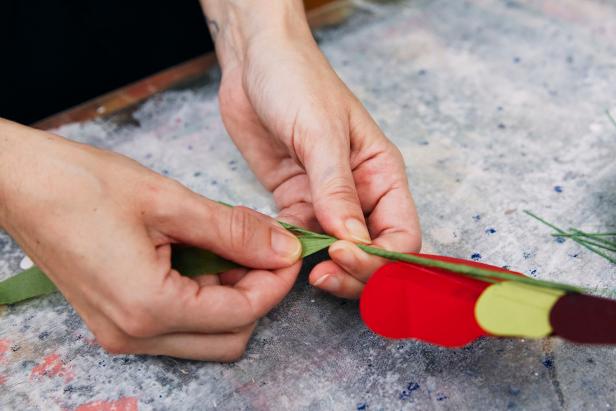
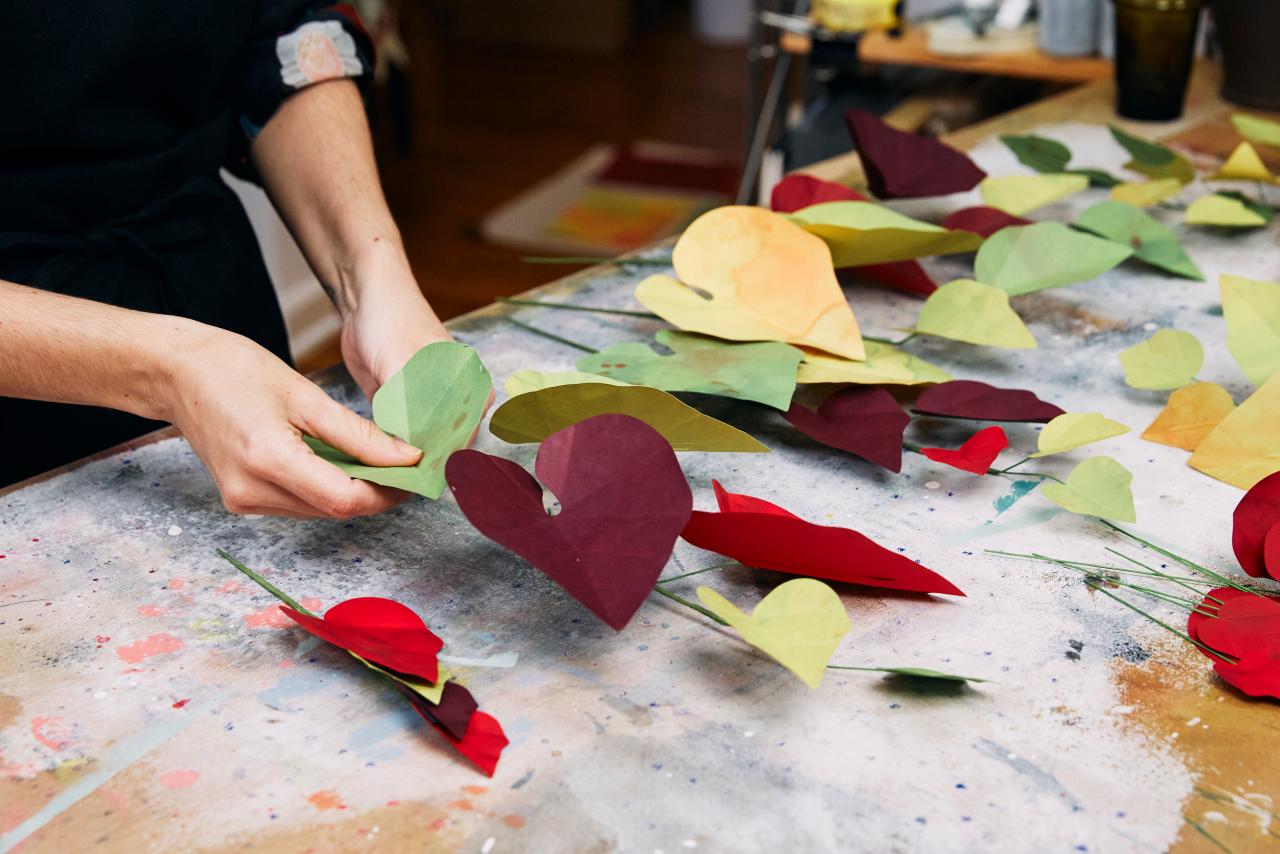
Vines and Sprigs
Attach the individual leaves and stems onto one another to create a longer vine. To do this, you'll need floral tape. The adhesive in floral tape is released when the tape is stretched. Start with one of the smaller leaves and stems (Image 1). Add a longer stem piece on top of the smaller stem and secure it with floral tape (Image 2). Pinch and pull the floral tape going down the stem about 2 inches to affix both wires together (Image 3). Tear the tape from the roll. Then, grab a medium-sized leaf and stem and use floral tape to stick them together as you did before. Place the next leaf about 2 inches below the first one. Continue this pattern leaving 4 inches from the bottom of the wire. Once you’ve assembled the vines and sprigs, work from the bottom of each vine and carefully pull the leaves apart (Image 4). Bend the wire to either side to create a realistic looking vine.
Stephanie Diani

Stephanie Diani
Stephanie Diani

Stephanie Diani
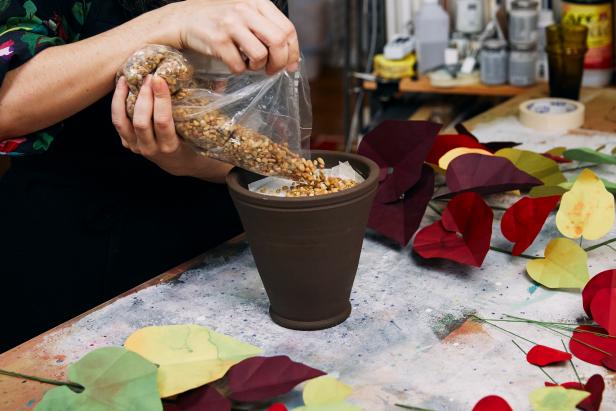
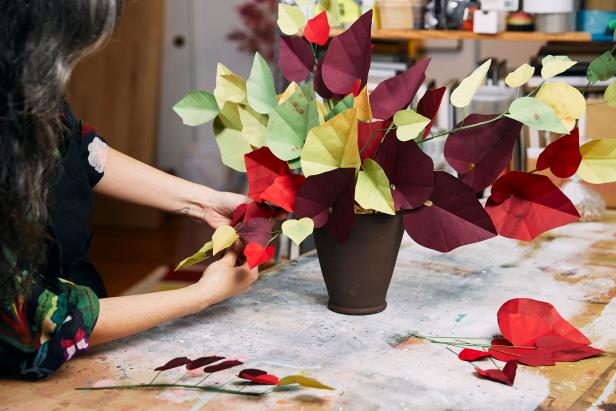
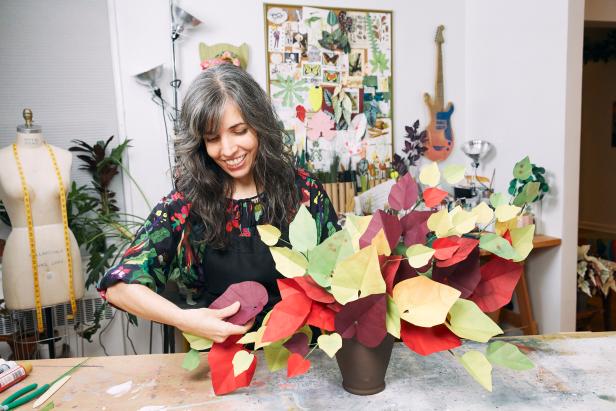
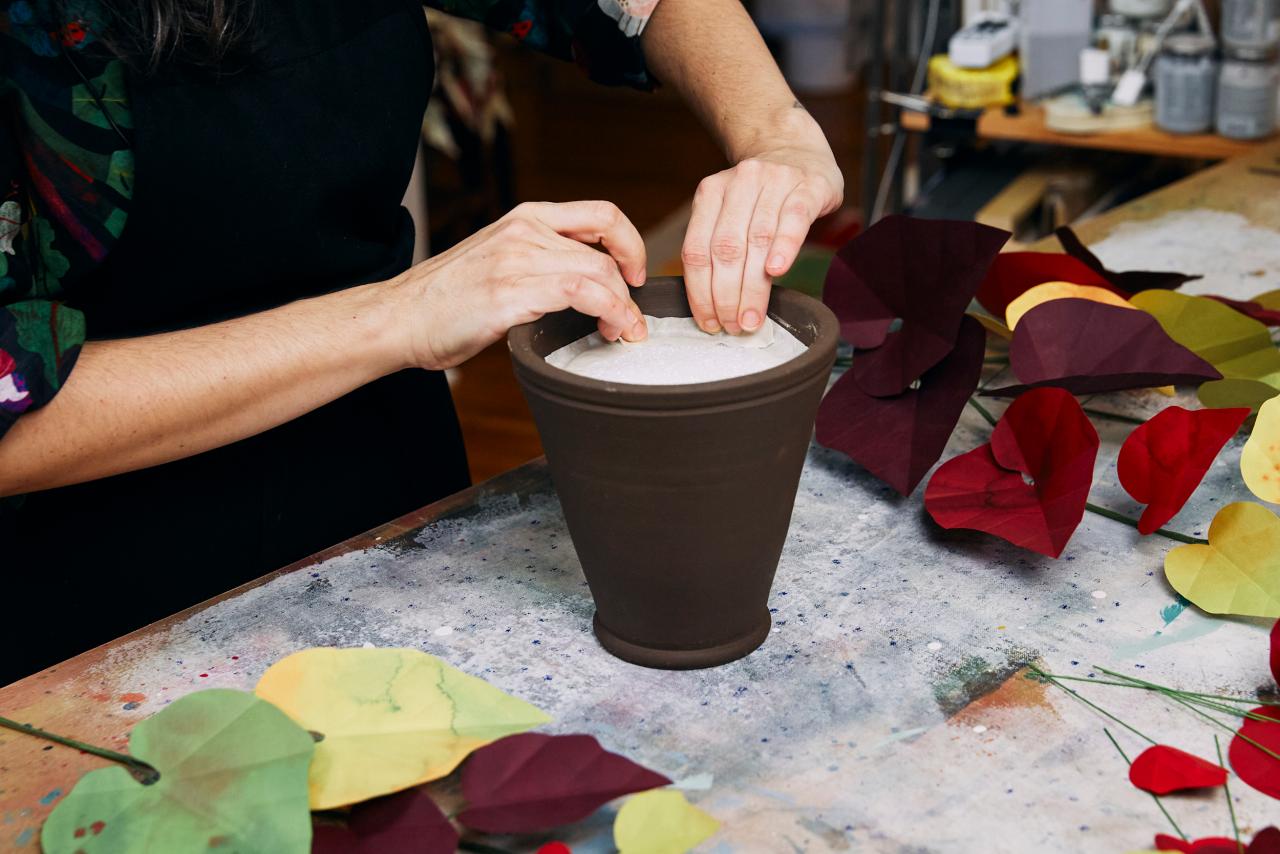
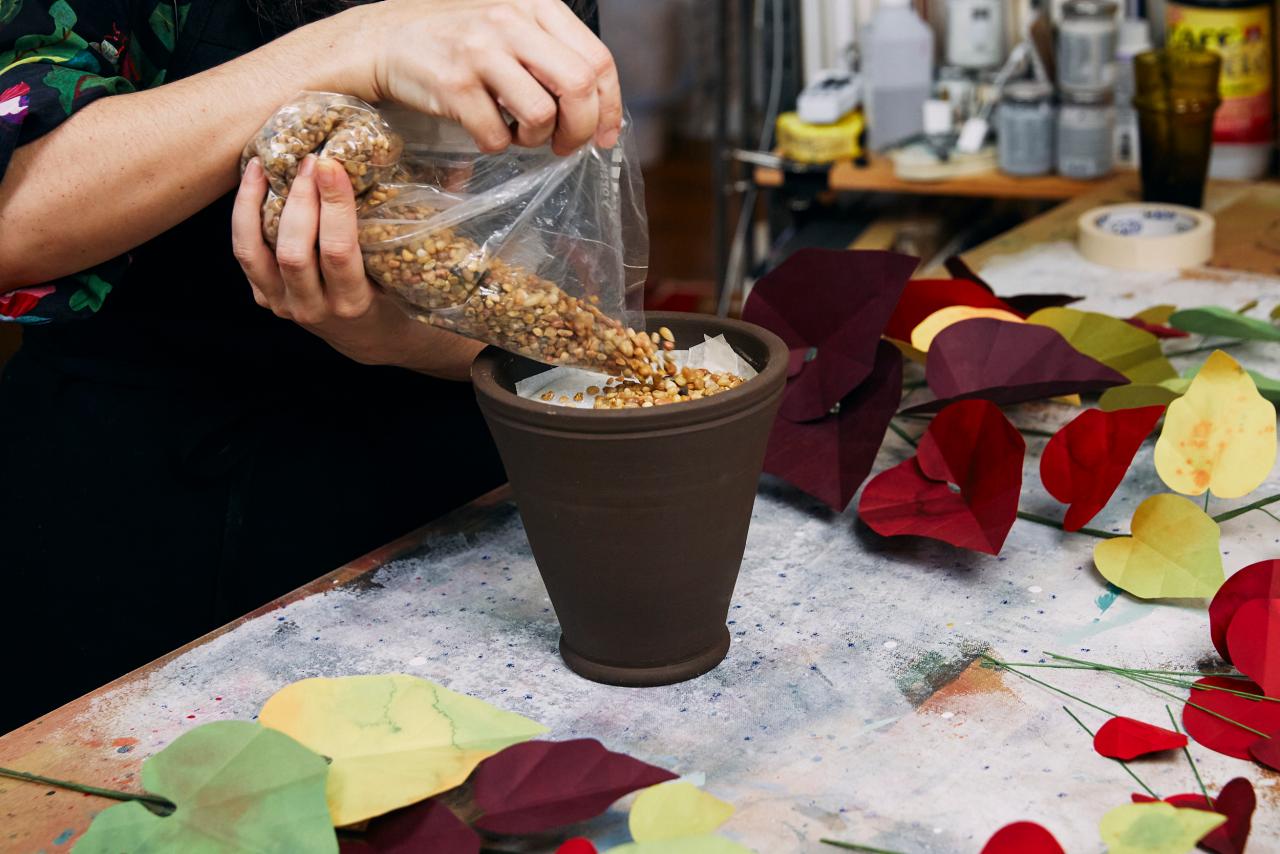
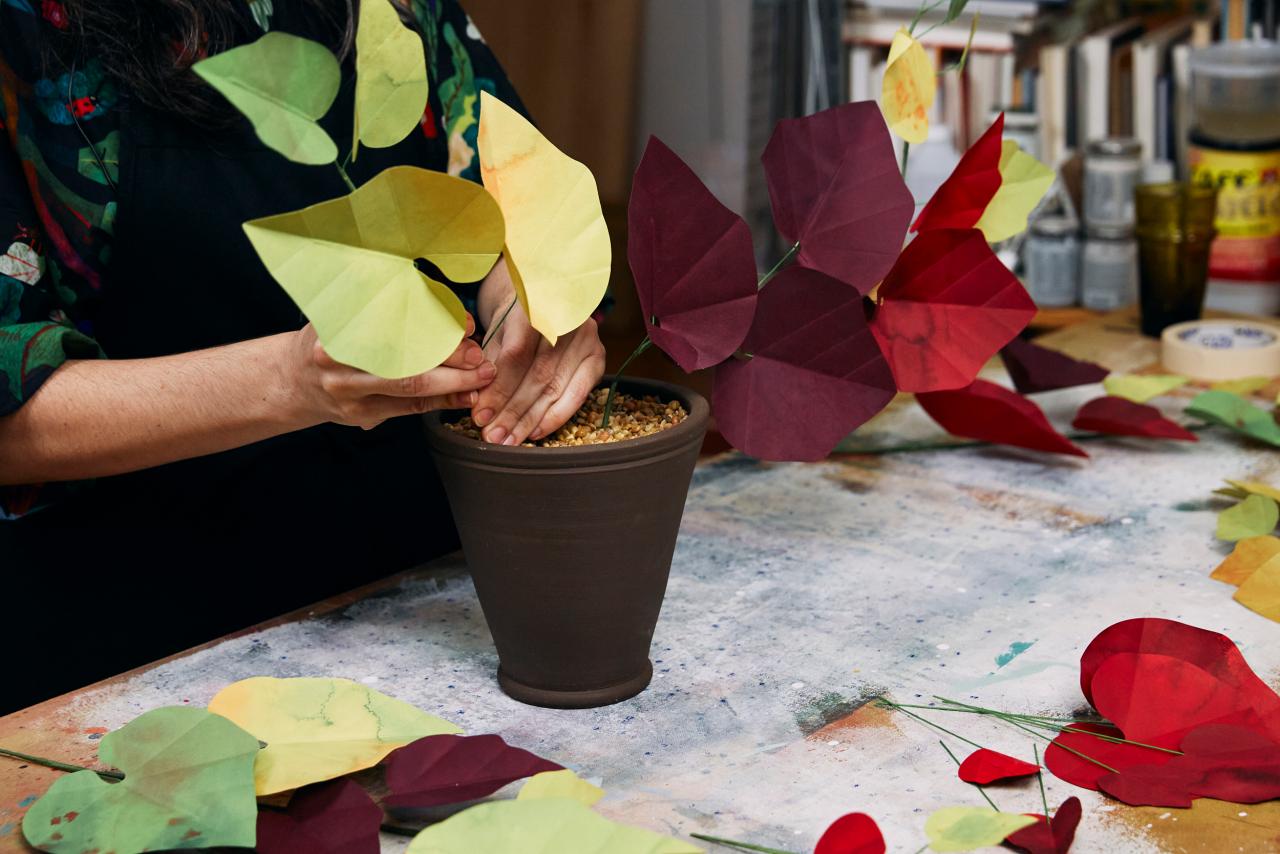
Pot, Arrange and Enjoy
Take your favorite houseplant pot and add a 2-inch piece of Styrofoam to the inside (Image 1). Be sure to cut the foam at an angle so it's nice and secure. If you prefer crafting with cardboard be sure to layer it inside the pot so the wires don't tip to one side. Next, add masking tape around the Styrofoam edges to seal off any open spaces in the pot. Fill the pot with small pebbles to create ground cover (Image 2). Now plan how your paper plant will be displayed and how it should gesture and flow (Image 3). Arrange the crimson glory vines as you wish and have fun with it. Corrie suggests layering the smaller leaves toward the ends (Image 4). Display this lovely autumn paper plant on a table, in a bookshelf or by the window for all to enjoy (Image 5).

Stephanie Diani
Stephanie Diani

Stephanie Diani
Stephanie Diani
Stephanie Diani

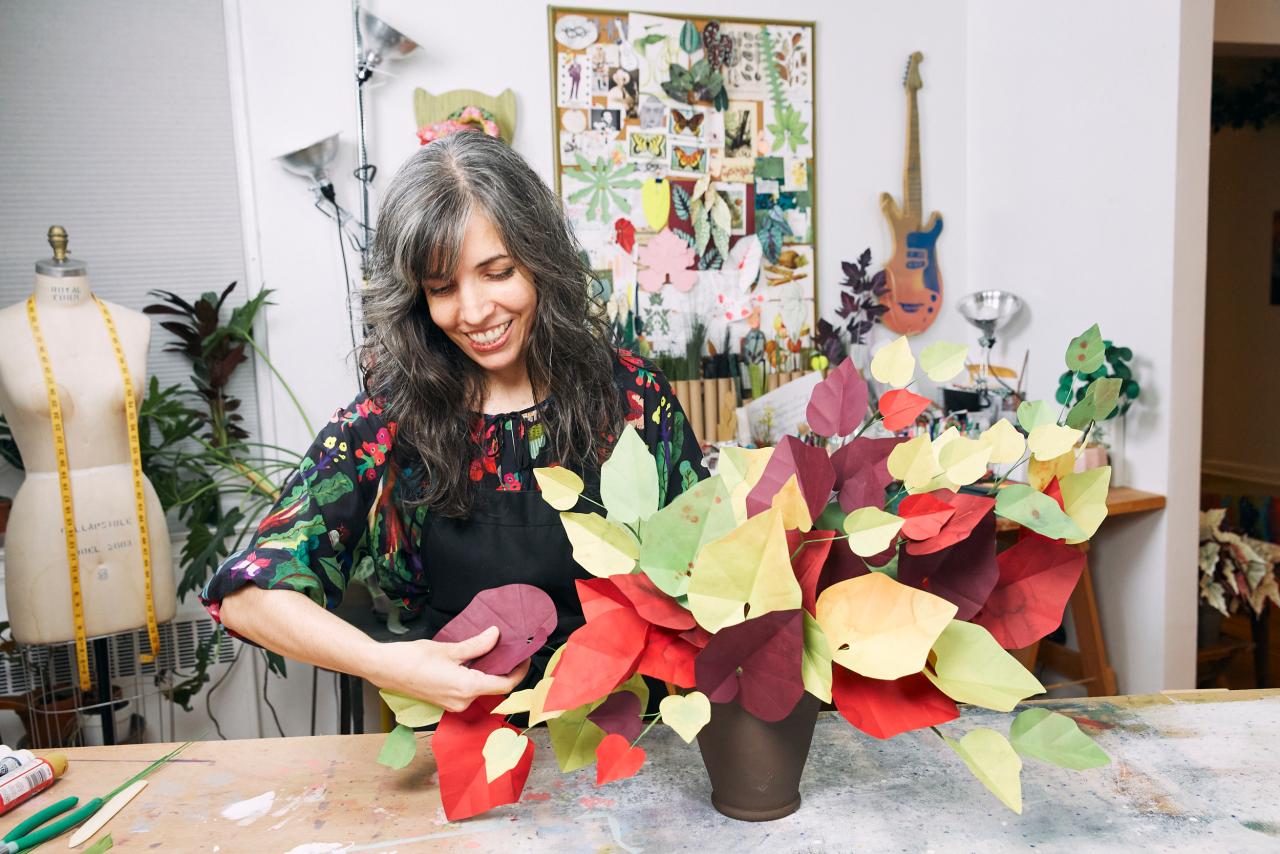
Tour the Paper Plant-Filled, Eclectic Home of a Brooklyn Artist and Author 26 Photos
Corrie is a self-described begonia lover, 9-to-5 artist and daily roamer of botanical gardens. Take a look inside her paper plant empire, a spacious Brooklyn apartment with little to no sunlight, stacked from corner to corner with gorgeous, lifelike, all-DIY houseplants.

Easy Paper Crafts

How to Make a Crepe Paper Magnolia Wreath
Fall is here! Welcome guests into your home with a colorful DIY crepe paper magnolia wreath.

How to Make Paper Flowers + 15 Ways to Use Them 31 Photos
Jump on board for a paper flower crash course and get some ideas about what to do with your new skills.

Confetti Paper Crafts, 3 Ways
Make every day a party with these colorful confetti decorating projects.


