


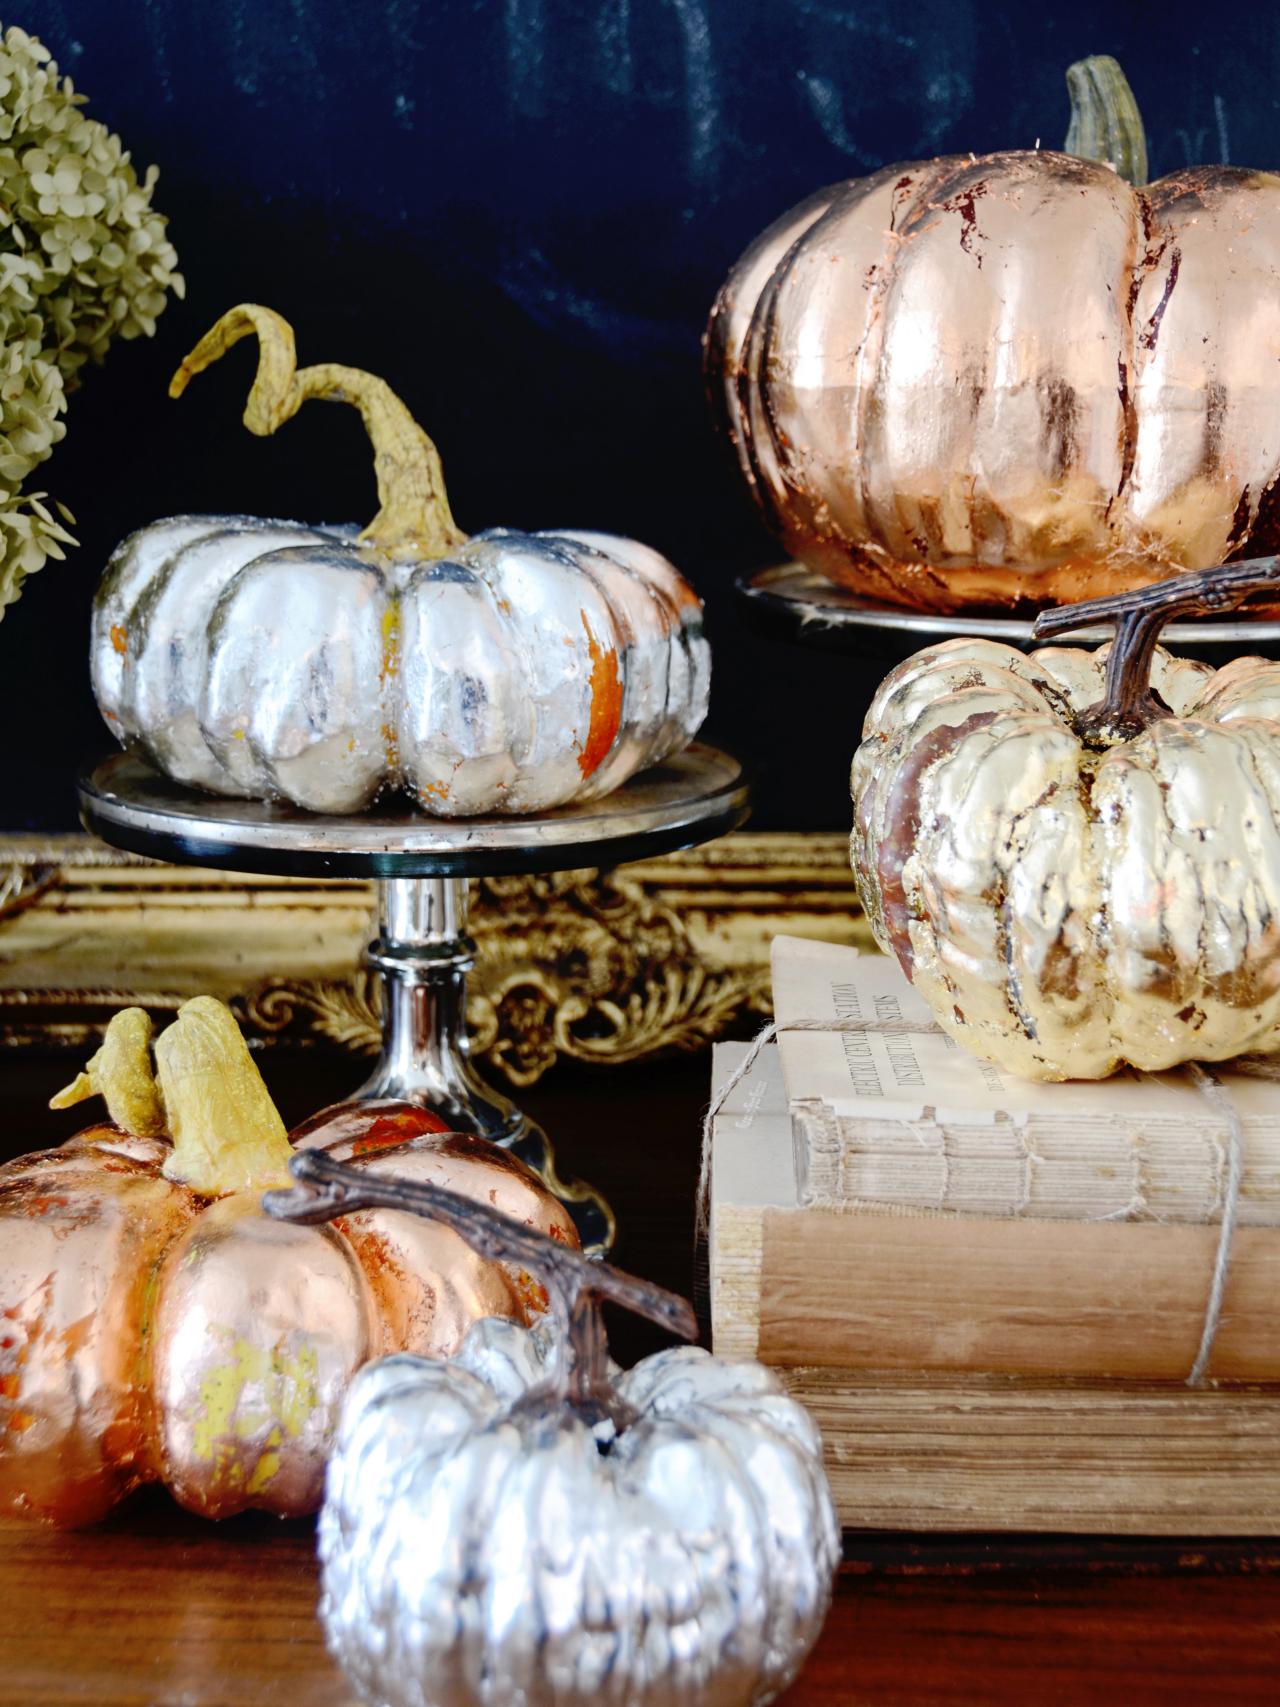
Make Metallic Copper, Gold and Silver Pumpkins for a Chic Fall Display

Thanksgiving Metallic Pumpkin Decorations
Add a little glam to your Thanksgiving decorations with these painted pumpkins. Autumn inspired metallic paints will dress up any table for the season.

Materials Needed:
- faux pumpkins
- 1 package each of copper, silver and gold leaf
- leaf adhesive
- 1" artist brush
- 2" chip brush or soft bristled brush
- decorative upholstery tacks
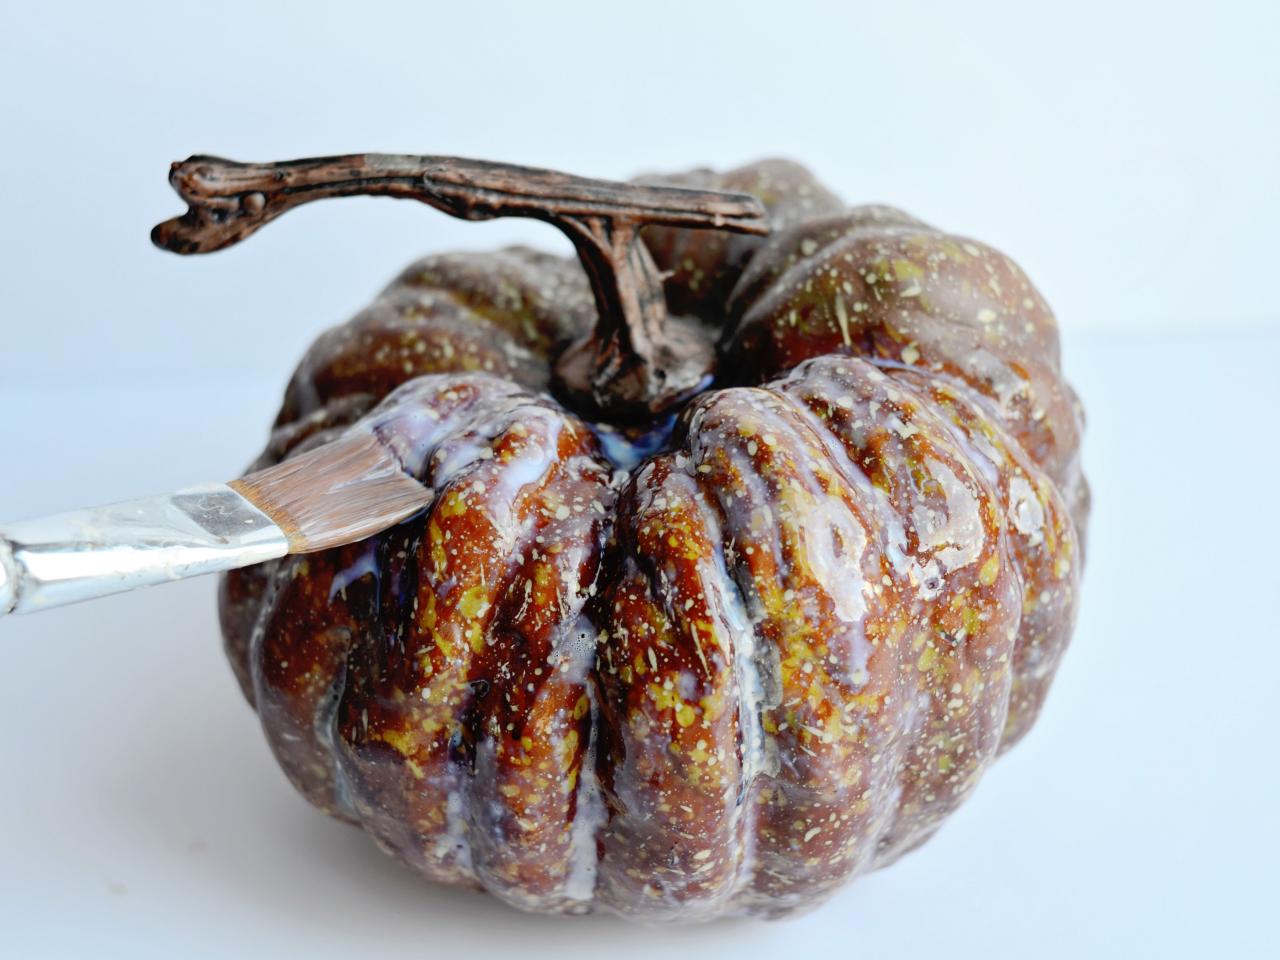
Apply Adhesive
Using a one-inch artist brush, apply leaf adhesive to entire surface of pumpkin, except stem. Allow to dry until adhesive is clear and tacky. Tip: Use a thin coat and brush over adhesive after about 10 minutes of drying time to prevent drips.

Paint Leaf Adhesive on Pumpkin
Using a one-inch artist brush, apply leaf adhesive to entire surface of pumpkin, except stem. Allow to dry until adhesive is clear and tacky. Tip: Use a thin coat and brush over adhesive after about 10 minutes of drying time to prevent drips.
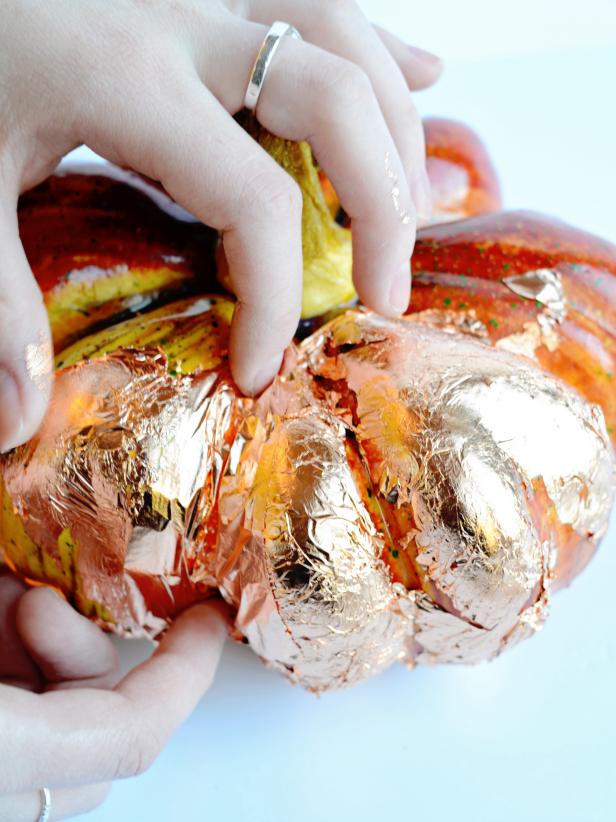
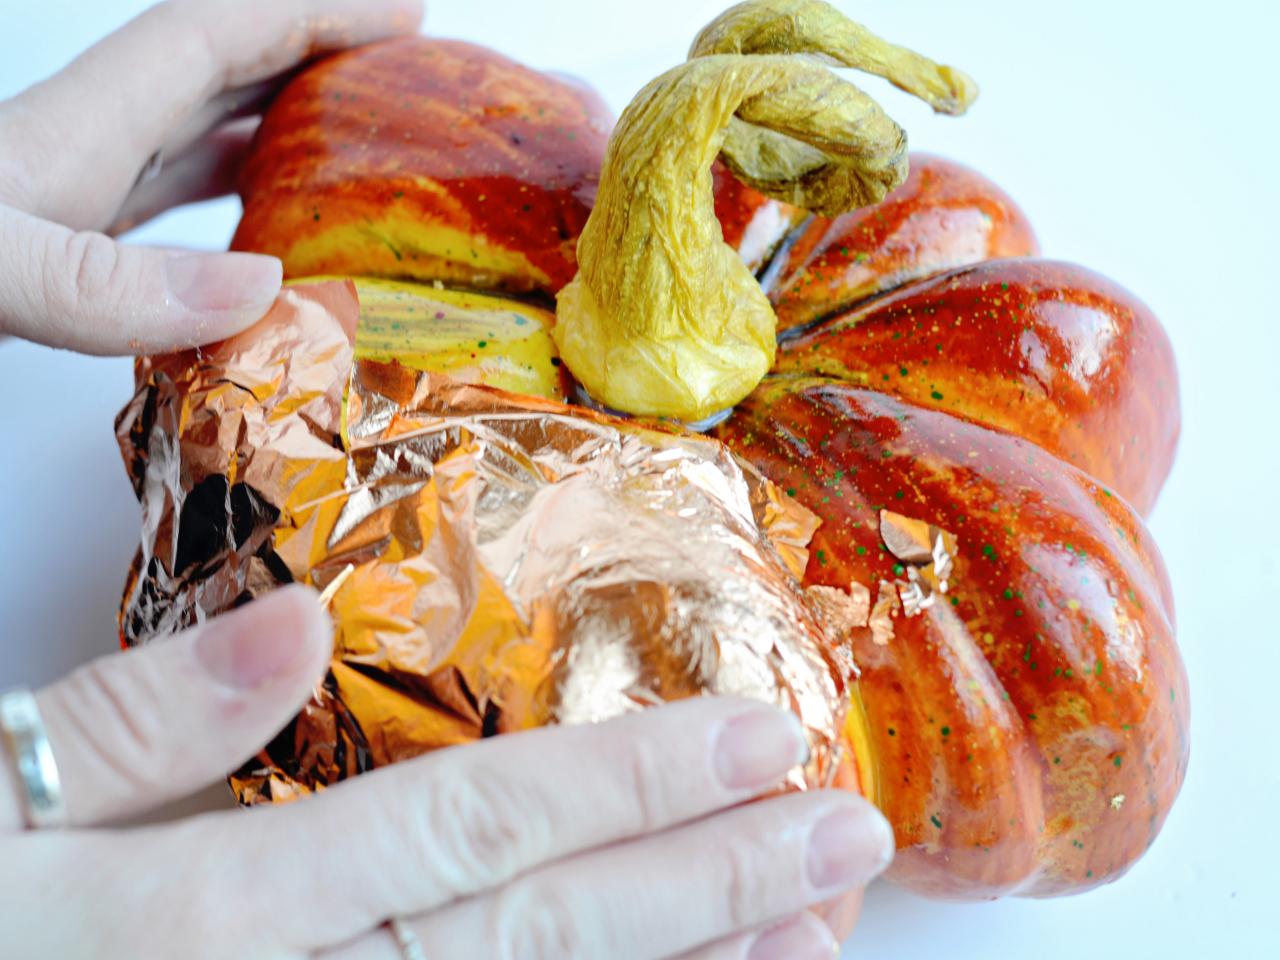
Apply Metallic Leaf
Working from the top of the pumpkin down, gently apply full sheets of desired metallic leaf to entire surface of pumpkin, except stem. Smooth down the leaf with your fingertip or a chip brush. Repeat this process until all raised areas on the pumpkin are leafed.


Apply Metallic Leaf to Pumpkin for Fall Decoration
Apply metallic leaf over a pumpkin for fun fall decoration. Working from the top of the pumpkin down, gently apply full sheets of desired metallic leaf to entire surface of pumpkin, except stem.
Smooth Metallic Leaf on Pumpkin for Fall Decoration
After applying metallic leaf to the pumpkin, smooth down the leaf with your fingertip or a chip brush. Repeat this process until all raised areas on the pumpkin are leafed.
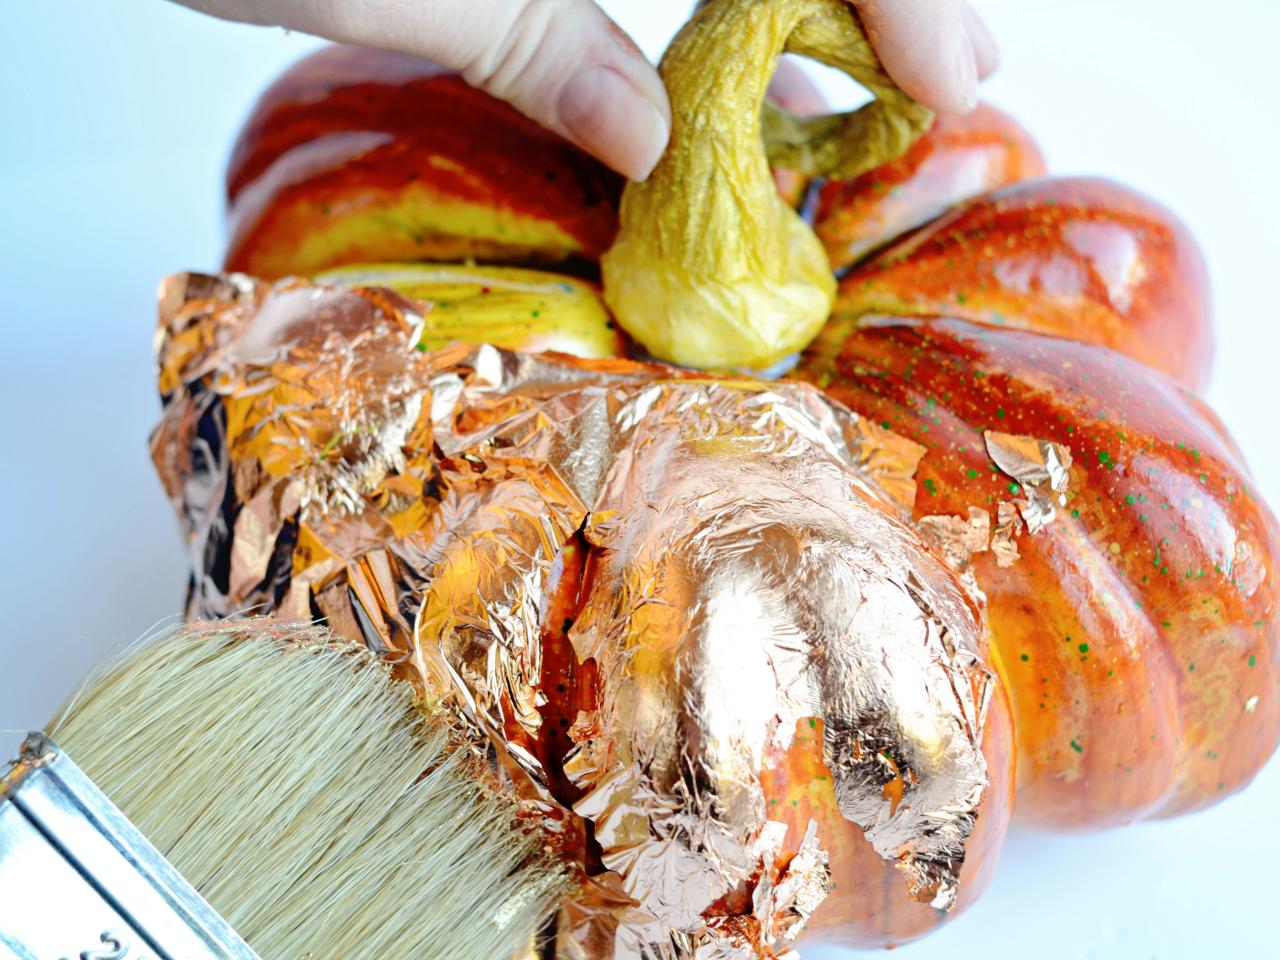
Fill Gaps and Buff
Once leafing is applied to raised areas of the pumpkin, use your finger or a brush to push small pieces of leaf into recesses. Once pumpkin is entirely covered in leaf, buff with chip brush in circular pattern to remove excess pieces of leaf that didn't quite adhere. The brush attachment on a vacuum is also a great way to remove excess leaf.
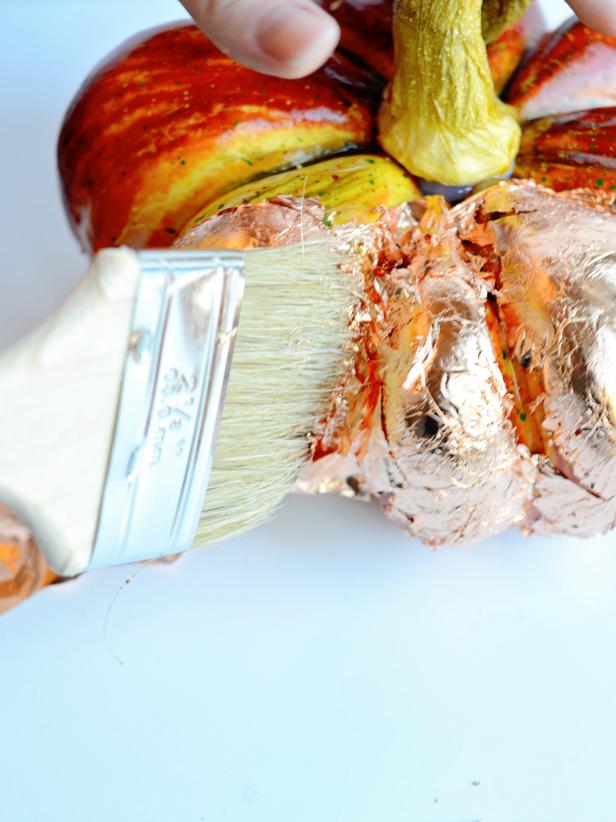
Fill Gaps Between Raised Edges on Metallic Leaf Pumpkin
Once leafing is applied to raised areas of the pumpkin, use your finger or a brush to push small pieces of leaf into recesses.
Fill Gaps in Metallic Pumpkin With Brush
Once leafing is applied to raised areas of the pumpkin, use your finger or a brush to push small pieces of leaf into recesses. Once pumpkin is entirely covered in leaf, buff with chip brush in circular pattern to remove excess pieces of leaf that didn't quite adhere.
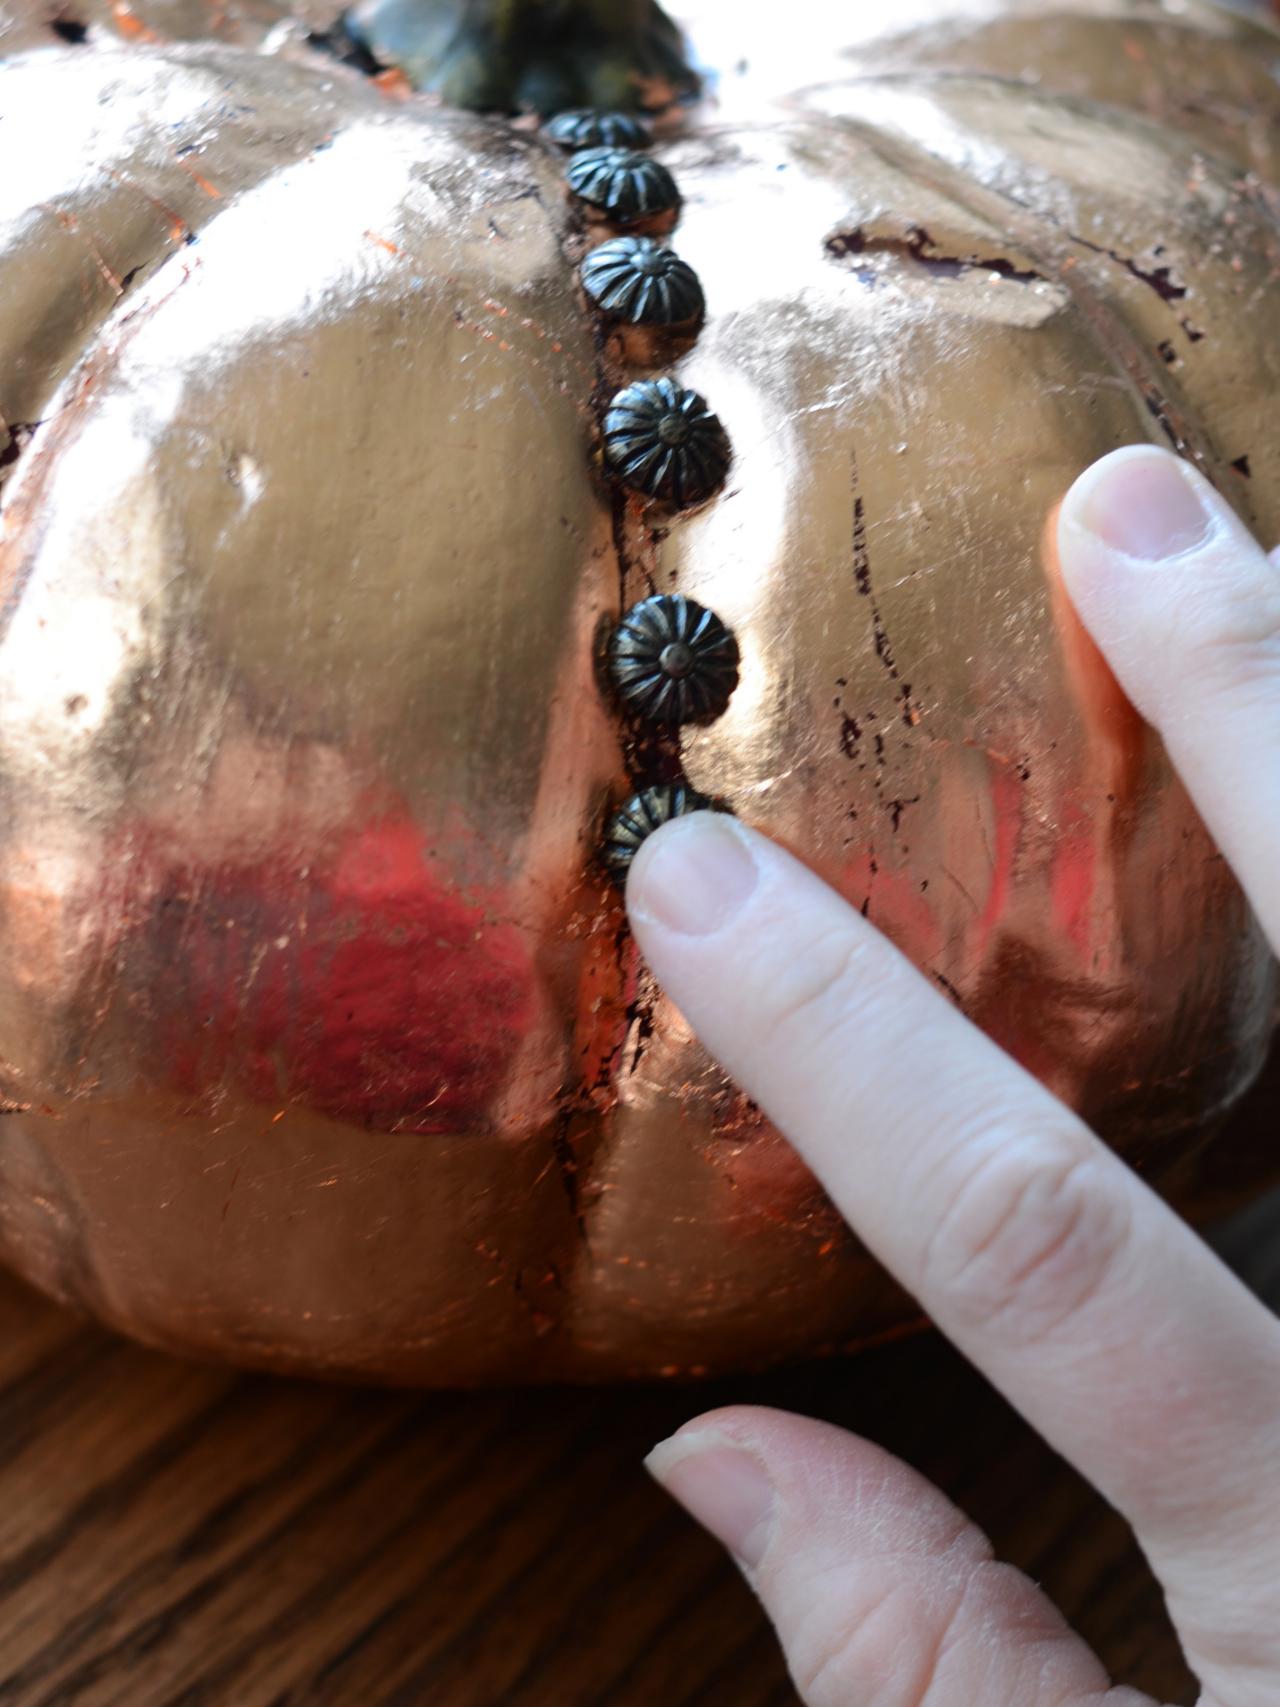
Add Decorative Tacks
For additional interest, add decorative tacks in desired pattern. They can usually be located at craft and sewing stores with the upholstery supplies. Simply press tack gently into pumpkin with a fingertip. Tip: Tacks can be placed in geometric patterns like stripes or chevrons and would also look great in a monogram or spelling out a seasonal word.

Add Decorative Details to Metallic Pumpkin
For additional interest, add decorative tacks in desired pattern. They can usually be located at craft and sewing stores with the upholstery supplies. Simply press tack gently into pumpkin with a fingertip. Tip: Tacks can be placed in geometric patterns like stripes or chevrons and would also look great in a monogram or spelling out a seasonal word.


