


How to Replace Recessed Lighting
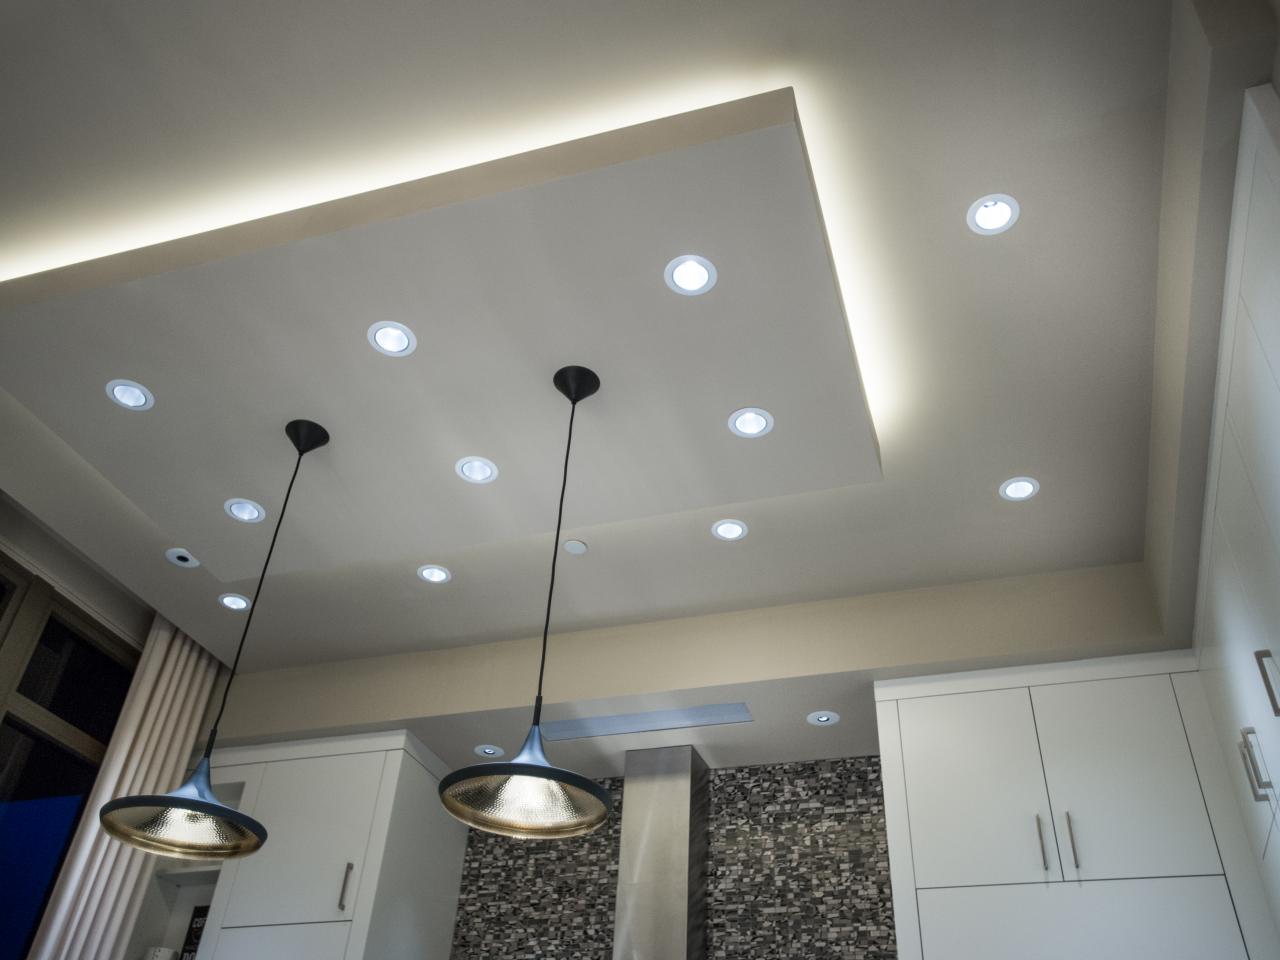
Recessed or 'can' lights can be used as task lighting, accent lighting or to illuminate an entire room. They're easy to install into existing wiring, and best of all, recessed lights don't go out of style.

Recessed lights are an easy choice to provide efficient lighting while maintaining a neutral profile in new construction or during renovations. Installing recessed lights is easier than you might expect and can be a cost-effective way to update living areas, closets or hallways, and can provide a modern touch without busting the budget.

Eric Perry
Pro Tip: Before beginning any type of electrical project, be sure the power is turned off at the home's main circuit box. Cover the switch with tape to make sure it doesn't get turned back on while you are working. Use a circuit tester to ensure that the power is off before you touch any of the electrical wirings.
Tools and Materials
- drywall saw
- drill with hole-saw bit
- pliers
- screwdriver
- voltage tester
- recessed lights
Step 1: Select Housing
Also called 'can' lights, recessed light housing is available in two basic styles. New construction lights are bulkier and have a frame that can be affixed from above. New construction recessed lights are easy to work with when ample access is available from above, but impractical when attic access isn’t an option. “Remodel” housing (shown below) is installed from below by wiring the fixture before pushing it in from below. Remodel housing is usually the easier option when replacing old fixtures.
You will also notice some housing is rated “IC” versus “Non-IC”. IC stands for “insulation contact” and greatly reduces the risk of problems with heat and airflow when placed against insulation. When in doubt, select IC-rated housing.

Step 2: Select Baffles and Trim
Once the basic housing is installed, an inner sheath called a “baffle” is used to cover the bare metal housing for a polished look. A simple baffle is used most often, but reflective baffles can be used to help throw the light around the room. The “eyeball” directional covers (shown below) can be used effectively on sloped ceilings or to point light to a specific area. Trim is used to cover the rim of the housing and the surrounding hole and can help hide ragged or uneven edges created during installation.

Step 3: Remove Old Fixture and Junction Box
Before you begin, find the breaker panel and shut off power to the location. Remove the old light fixture and then remove the junction box in the ceiling above it. Often, it's necessary to use a saw to cut the junction from the joist to which it is attached. Take care to avoid damaging wires, which can sometimes have a short span, making it more challenging to install the new housing.

Step 4: Measure Hole
Your new lighting kit should include a paper template that can be used to trace a circle on the ceiling. If replacing an old fixture, the size of the existing hole may dictate the size you select for your new recessed lights. The most common sizes are 4 inches, 5 inches or 6 inches in diameter.

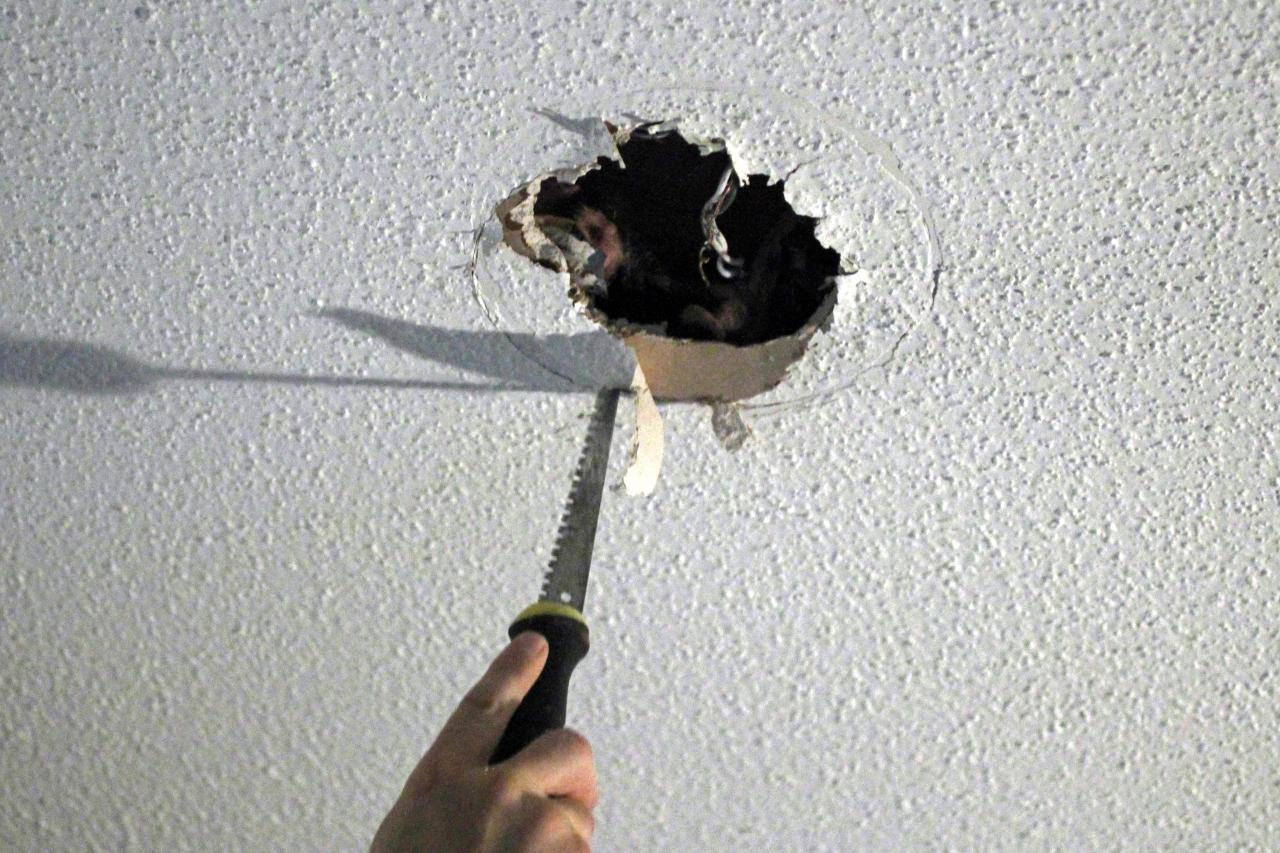
Step 5: Cut Hole for Can Light
Use a drywall saw or hole-cutting drill bit to cut along the traced circle. Although trim will be used to cover this edge, take it slow to provide the smoothest possible cut, especially with older ceilings where plaster or drywall may be brittle and prone to crumbling under stress.

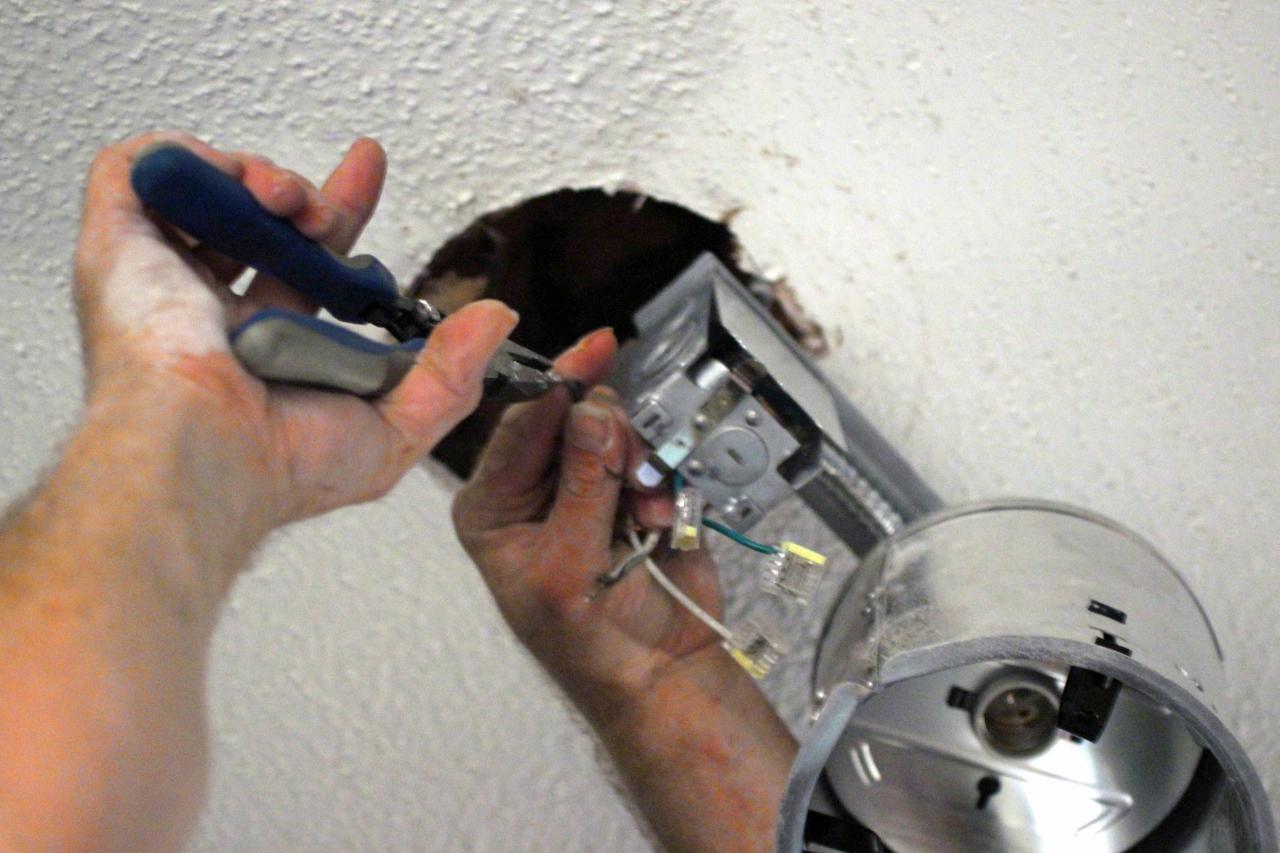
Step 6: Connect and Secure Wiring
Open the attached junction box on the light and clamp the wires protruding from the ceiling to the box, leaving enough slack to move them easily as needed. Strip the plastic insulation from the end of the wires and use wire nuts to pair the wires together (usually color-coded black, white and a bare ground wire). Generally, the black wire is hot, the white wire is neutral and the bare or green wire is the ground. Attach all electrical connections. Black wire goes to black wire, white to white and the ground wire from the house gets wrapped around the green screw in the lamp housing. Tighten the green (grounding) screw until tight. Make sure to replace any covers (plastic caps) you remove to make connections.

Step 7: Test Power
Before mounting the fixture, temporarily turn the power back on and use a voltage tester to confirm electricity is reaching the bulb socket. Once confirmed, turn the breaker back off until the project is complete.

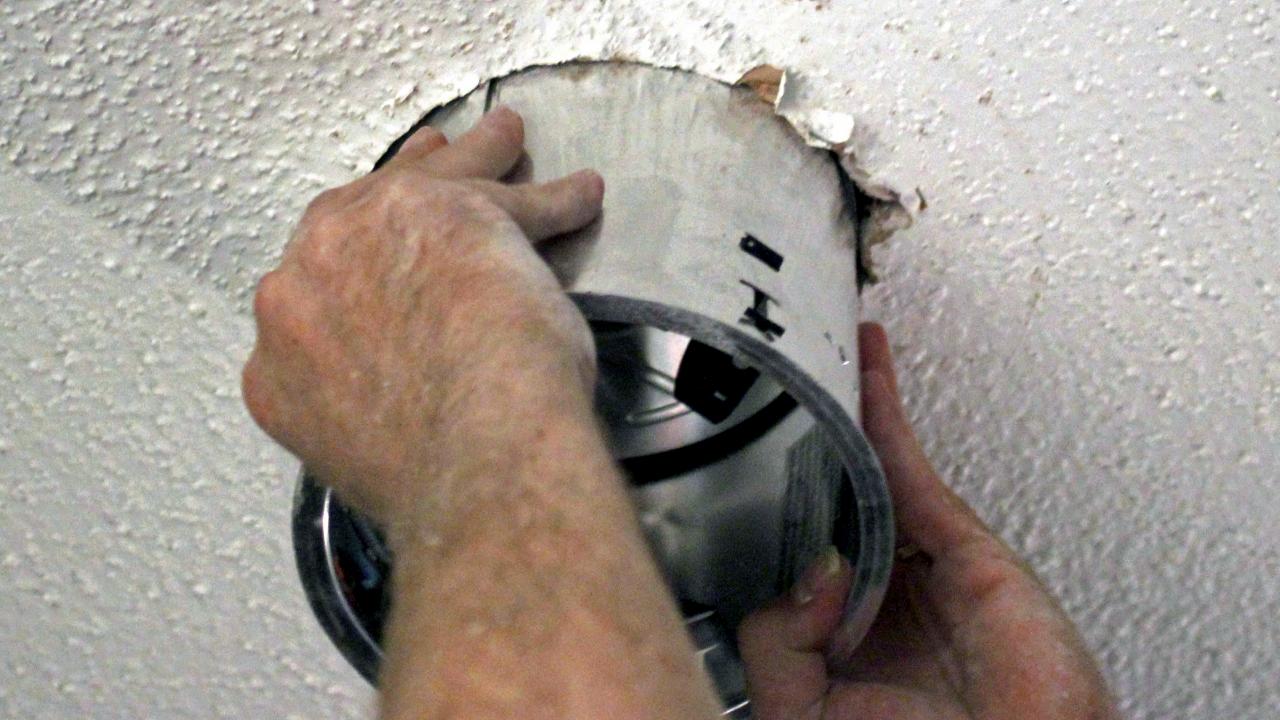
Step 8: Insert and Secure Housing
Carefully insert the housing in the prepared hole and locate the clips along the edge of the housing. Using a screwdriver, push the clips outward until a click is felt to securely clamp the housing to the ceiling. Once all clips are deployed, gently tug on the housing to make sure it is firmly attached to the ceiling.

Step 9: Attach Baffle and Trim
In most cases, the baffle and trim will attach to the housing with metal springs. Pull the springs out to their longest reach, attach to the housing at the compatible holes in the housing and slide the baffle and trim upward until the trim rests flush against the ceiling.

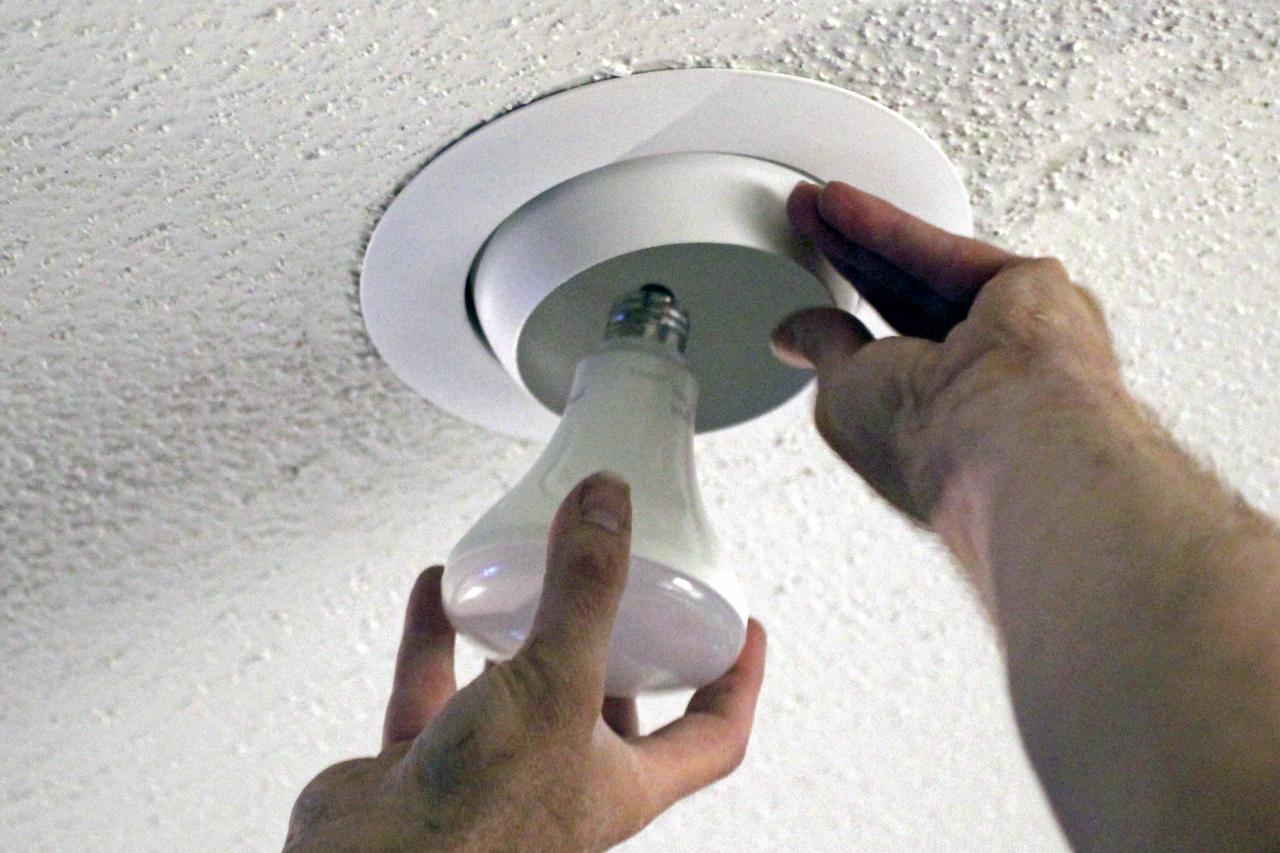
Step 10: Select a Bulb
Your recessed lighting is almost ready to go. Select a bulb of approved base size and wattage for your fixture. Halogen and LED bulbs are the most popular choices. Consider wattage and warmth when selecting a bulb appropriate for your use and make sure the bulb is dimmable if using a dimmer switch.


