


Install Recessed Lighting
Materials:

6" recessed lights
3" recessed eyeball lights
12/2 non-metallic building electrical wire
dimmers (1 with remote)
one 2gang old-wall box
electrical accessories (staples, wire nuts, etc)
drill with auger bit
Lineman's pliers
cordless drill
hole saw for each light size
jab saw
utility knife
Tips/Benefits:
- When installing recessed lights, make all connections from below before snapping the housing into the drywall in order to save spending time in the attic.
- Always check your local electrical codes before attempting to add new wiring. Laws and regulations vary at city, county and state levels.
- Using a dimmer with a wireless remote allows you to control your lights from the bedside table without the expense and hassle of new wiring.
Steps:
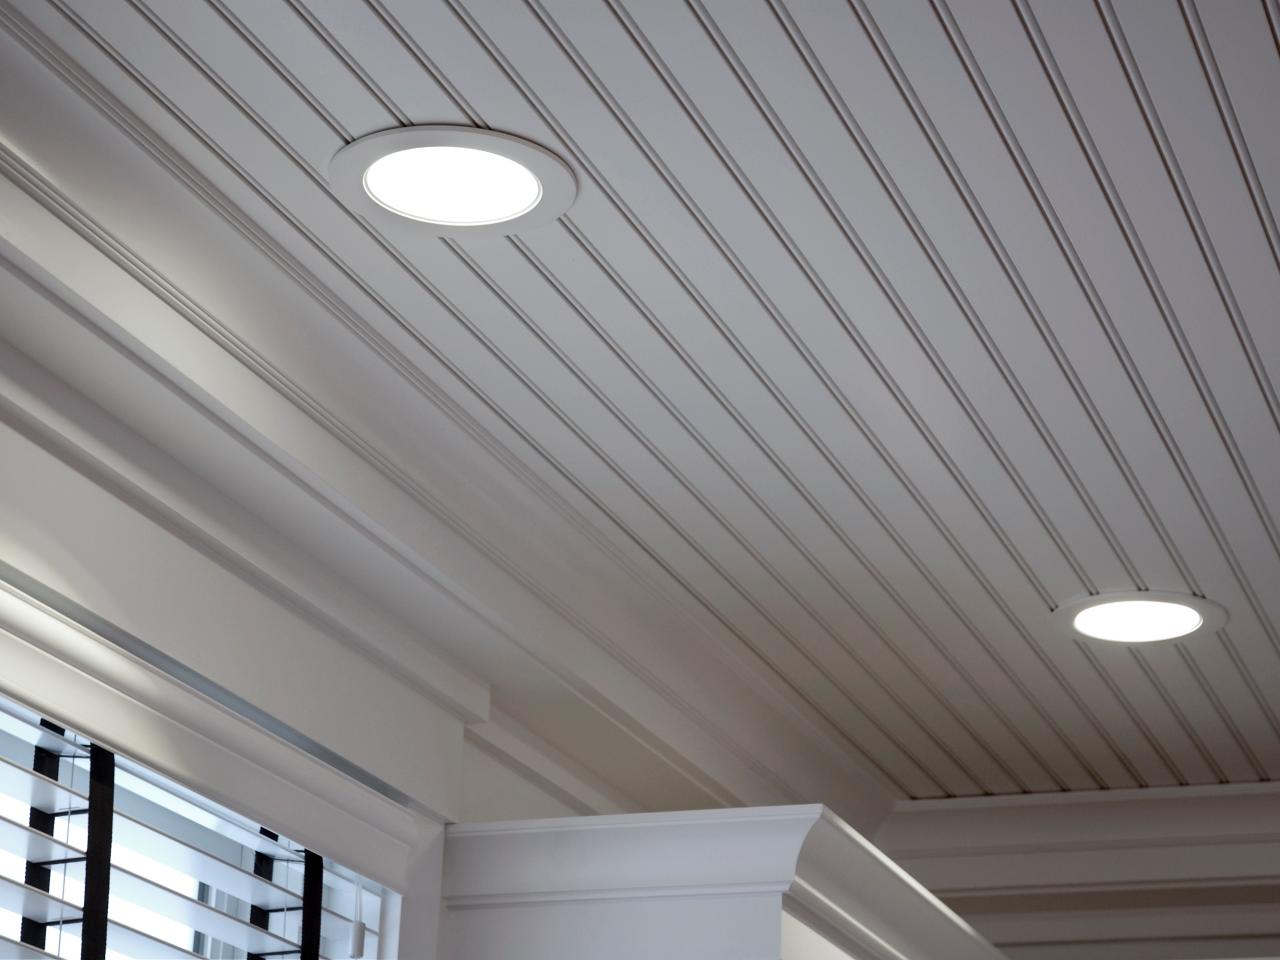
1. As a general design rule, recessed lighting is used for three purposes: general illumination, highlight and task lighting. For general illumination, use larger lights with flood lamp light bulbs. For task lighting, use a smaller flood lamp, and for highlight, use a small fixture with a spot light bulb. For this project, they used flood lights 36 inches from each corner for general illumination and small flood lights over the headboard (18 inches from the wall) for task lighting.
2. Check in the attic to make sure there's no framing over each light. Adjust all lights if necessary to avoid framing, keeping spacing even.

4. Cut holes for the lights with either a six-inch hole saw in the drill or draw a six-inch circle and cut it out using a drywall jab saw.
5. In the attic, run a wire from over the switch location to the first six-inch light, then to the next and so on until all six-inch lights are daisy-chained to the switch location. Daisy chain the two small lights back to the same location using a separate set of wires. Be sure to leave enough wire in the attic over the switch location to make it down the wall into the new switch box.

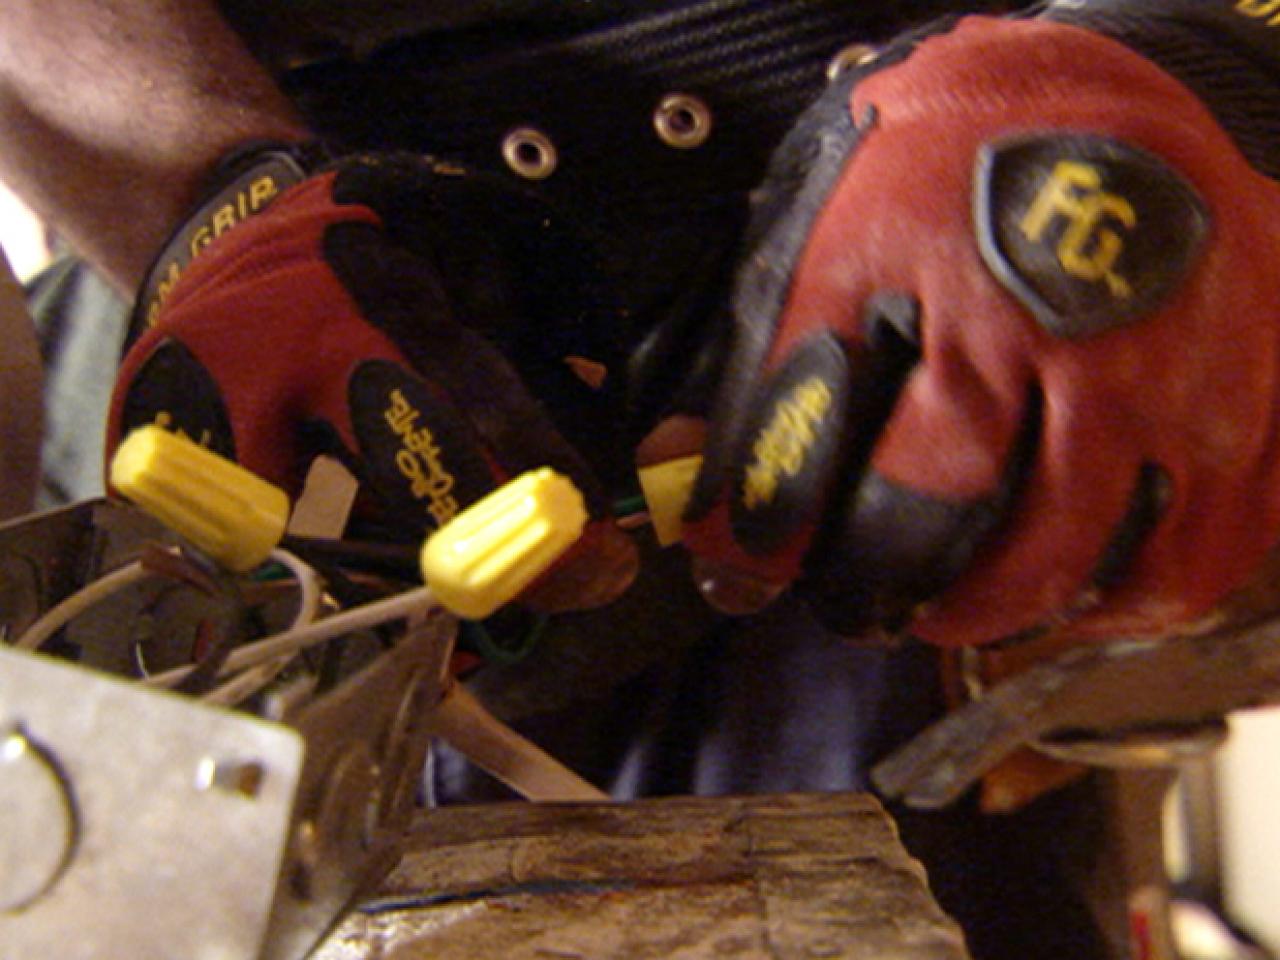
6. Generally, the black wire is hot, the white wire is the neutral and the bare or green wire is the ground. Attach all electrical connections at fixtures. Black wire goes to black wire, white to white and the ground wire from the house gets wrapped around the green screw in the lamp housing. Tighten the green (grounding) screw until tight. Make sure to replace any covers you remove to make connections.
7. Note: Turn off power to the room. Remove the old switch and box by unscrewing switch plate, and pulling switch out of box. Disconnect the wires from the switch and pry switchbox off of stud using a small crowbar or large screwdriver. Discard old box.
8. Enlarge existing switchbox hole to fit new double switch box by holding the new switchbox over the old hole, and trace outline of new box onto wall. Cut out drywall using jab saw.
9. If necessary: From attic, use auger bit to drill a new hole through the top of the wall into the stud cavity to run new wires.
10. Run two new switch wires into switch box. Also, run the hotwire from the house (that was in the old switch box) into the new switch box.
11. Attach electrical connections. Dimmers usually have two wire leads or two terminal screws marked "Line" and "Load." The "Line" is the hot wire and the "Load" is the wire going to the light. If it's not marked, hook either wire to either lead. Split the hot wire (black) from house to feed both "Line" inputs on the dimmers. The black wire from each set of lights goes to the "load" side of the dimmer. Using wire nuts, attach all the white wires to each other, and then all the green or bare ground wires to each other. Carefully fold all the wiring back into the box and screw the dimmers into the box.
12. Turn on power to test lights. Snap lights into ceiling holes. Attach trim rings using the spring clips included.


