


How to Build Finished Walls in a Basement
Looking to finish your basement and turn it into extra living space? Learn the steps and costs needed to turn cinderblock walls into finished walls.

Foundation walls are hard workers: They hold up your house while holding back the majority of the moisture in the ground outside. But there are certain things most foundation walls do not do that are necessary for living spaces, and that's where the finished wall comes in. Aside from looking pretty, a finished wall manages the rest of the moisture and it insulates — at a minimum. Even better, finished walls can provide sound dampening and a place to hide electrical and plumbing lines. Before you get out the drill and saw, here are a few things to know.

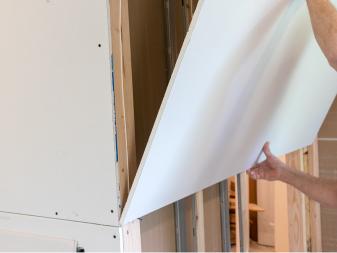
Jeffrey Bartol
1. Waterproofing and Foundation Repair
Though finished walls incorporate their own moisture management system, it's intended only to handle small amounts of water vapor. You do not want to build a beautiful wall over any moisture or structural problem. So, the first step to finishing your basement is to identify and remedy any existing issues.

How to Fix Common Basement Water Problems
Waterproofing a basement can prevent structural damage, improve the air quality, lower utility bills and make a finished basement a possibility.
2. Planning, Permits and Codes
Basements are governed by strict building codes that regulate many aspects of a basement finishing project — materials, the people who can do the work and even aspects of the design itself. Most municipalities require basement living spaces to have finished walls, and there are detailed requirements for construction that include reaching specific R-values (insulation), incorporating moisture protection and including fire-prevention elements like thermal barriers and fire-blocking. Familiarizing yourself with building codes early can spare you headaches later as well as help manage your expectations and budget.
3. Know Your Wall Components
There are several ways to handle basement wall finishing. Let's start with all the layers of any finished wall to better understand the various ways it can be constructed.
- Vapor and Moisture Barriers: Used interchangeably, The Department of Energy defines a vapor or moisture barrier as "a material that reduces the rate at which water vapor can move through a material." As such, this component is really a rolling roadblock that handles moisture instead of preventing it entirely. And it does this important work twofold in basement wall finishing. First, concrete is porous and even with good drainage, water in the soil against the foundation wall will do its darndest to move to drier areas inside. Second, but less recognized, we need to prevent the moisture from interior spaces from migrating into our finished wall. The category of stand-alone vapor barrier for finished walls is usually a membrane or sheet of plastic but, as you'll see later, other finished wall components have vapor barriers built in or act as barriers themselves.
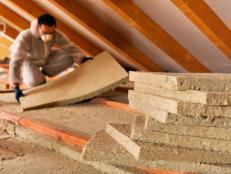
- Insulation and Sealing: Wall insulation serves a few crucial purposes: it's a vapor and air barrier, controlling the temperature in the space and providing sound dampening. A finished basement wall will have a code-determined R-value — a measure of its ability to resist heat escape — and insulation will be used to reach this goal. The types of insulation used in basements include rigid foam panel boards, spray foam and conventional fiberglass or mineral fiber batt insulation (the blanket stuff), sometimes with facing or wrapping. Framed basement walls often use a combination of insulation. Insulation materials are used against the foundation, within wall cavities and at the sill plate and rim joists (the bottom and top of the wall). Additionally, any wire, pipe and duct penetrations are sealed to prevent air leaks with noncombustible caulk or spray foam, depending on the gap size. Aside from preventing heat escape, proper air sealing and certain types of insulation also are part of fire-blocking, the code-required techniques to slow the spread of fire within concealed spaces.

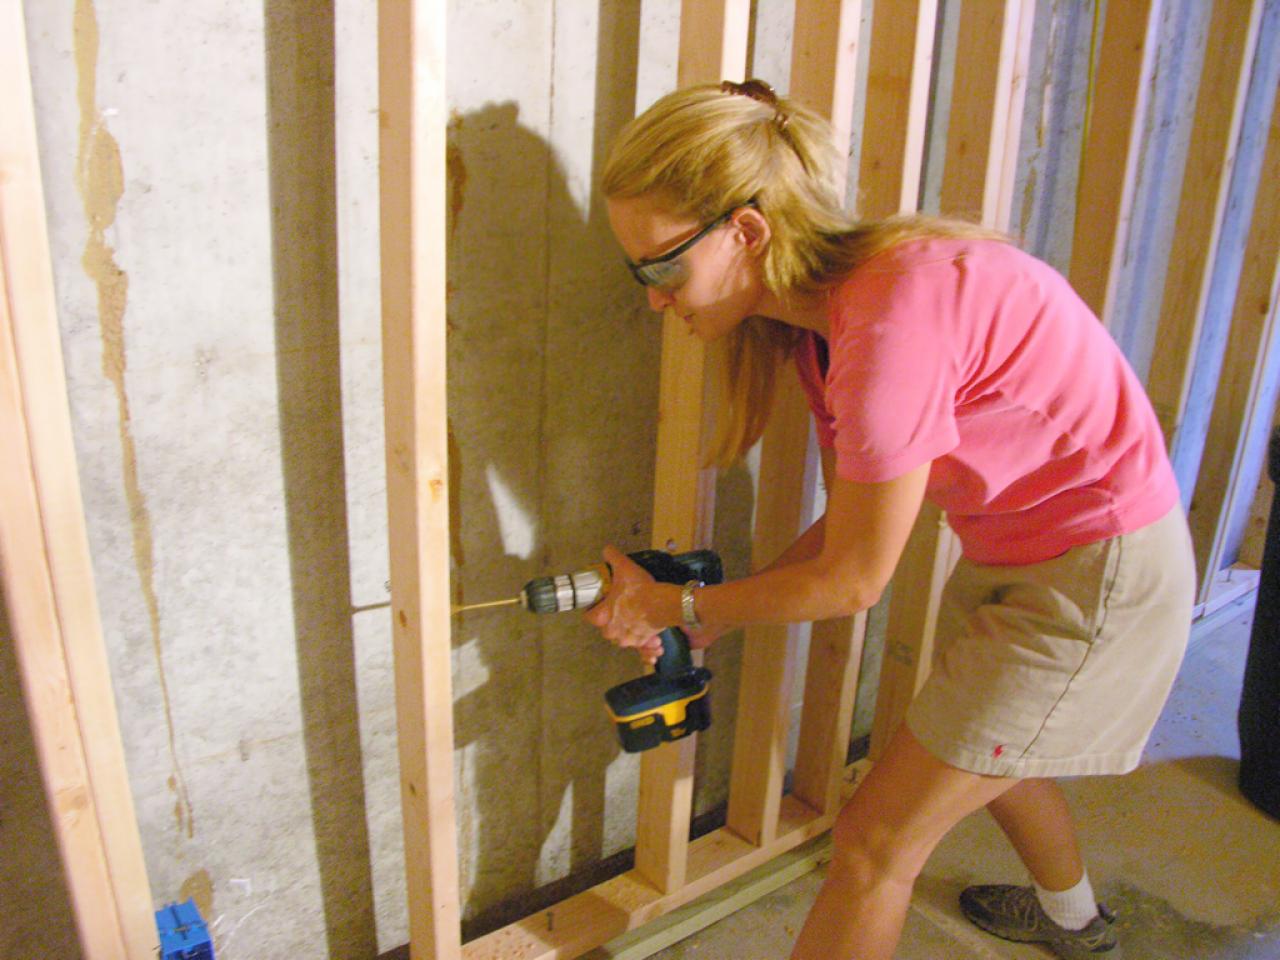
- Framing: Framing is the skeleton of a finished wall, serving as support for other aspects of the wall, like windows and the drywall surface layer, and as housing for more insulation, electrical boxes and plumbing lines. A stud wall is traditionally constructed using 2x4 or 2x6 timbers and consists of bottom plates (horizontal boards attached to the floor), top plates (horizontal boards attached to the ceiling joists) and vertical studs affixed to both plates. As part of fire-blocking, the wall cavities are divided into smaller compartments with horizontal pieces of wood, and additional wood may be added to the top of the foundation wall behind the stud wall. As you'll see later, basement walls are constructed a couple of inches in front of the foundation wall to prevent unnecessary contact between wood framing materials and the foundation. Any wood that does make contact with concrete (like the bottom plate) needs to be treated to resist moisture and microbial growth. This treatment means we also require specialty fasteners that won't corrode under the chemical conditions of the wood. In some areas of the country, naturally durable wood can replace this requirement, or metal framing materials can be used.
- Service Lines and Structural Supports: The finished walls will accommodate switches, outlets and plumbing access points that are installed at code-determined distances from the floor. When you decide to finish your basement, you'll realize what a maze of plumbing and ductwork your basement holds, often in the ceiling. These lines can dictate the location or depth of your walls, or be treated separately with a soffit (their own framing) or be left exposed. If you don't have a mechanical room, the electrical panel will need to remain accessible for servicing, but there are clever ways to hide it. FBC Remodel designer McKinley Miller's favorite way is to disguise it with its own framing, using a push-to-open hinge system to create an almost invisible seam. She says, "It looks like it’s just part of the wall until you push and it opens to reveal the electrical panel.” Similarly, you may have support pillars or posts that you need to work around when building partition walls. A little creative planning can turn potential obstructions into a useful room niche or a point of architectural interest.
- Surface Layer: Traditionally framed walls are surfaced in standard drywall — simply a core of gypsum with thick paper on front and back that is sold in large sheets. Just like the treated wood you use in framing, there are specialty versions of drywall known as green board, purple board and basement board made to handle moisture. Beyond being a substrate for your decorative paint job or cladding, drywall has the added task of serving as a thermal barrier, a necessity because the plastics commonly used in wall insulation are highly flammable and must be separated from the living space.
- Surface Treatments: This layer — the decorative surface — is probably the reason you thought you were finishing your walls! Though you may be inclined to stay in a light palette for your walls, know that color and pattern can really brighten basement spaces. HGTV home giveaway designers often use bold colors and patterns in their basement designs to great effect. Paint is a popular surface treatment but it certainly isn't the only possibility: Wallpaper and trendy cladding products like shiplap and beadboard are alternatives you could consider. Designer McKinley Miller explains that exposed foundation walls are not allowed by code in most areas but she can create the look. "To make it look exposed we could utilize thin brick, epoxy over the drywall or even use textured wallpaper or paint.”
How to Hang Drywall
Hanging drywall may sound complicated, but that doesn't have to be the case. Follow these step-by-step instructions and your installation will go smoothly.
4. Choose Methods for Construction
Now that you understand the general components and purpose of a finished wall, let's look at some of the ways a finished wall can be constructed. Variables affecting the choice of one wall over another may include code, climate, your basement's moisture status, cost and how much you want to do yourself.

Jeffrey Bartol
Traditional Framing Methods: There are a few methods used to frame a basement wall based on which insulation you've chosen for your initial layer. Note: Using an initial layer of insulation against the foundation is not required in some locales but it remains important to ensure that the stud wall is constructed 1 or 2 inches away from the foundation wall.
- Using Foam Board Insulation: The rim joists are first sealed to prevent any air gaps. Then, 1- or 2-inch-thick foam panel boards made of extruded polystyrene (XPS) are applied directly to the foundation wall using compatible adhesive or concrete screws. The seams and gaps are filled with foam and a stud wall is framed directly against the board. Depending on code, R-value requirements and sound-dampening needs, batt insulation may be used to fill the cavities. The wall is finished with half-inch drywall.

Rick Osentoski, Courtesy of Owens Corning
- Using Spray Foam Insulation: A 2x4 stud wall is fabricated an inch or two out from the foundation wall. The gap between the stud wall and the foundation wall is filled in with spray foam in an even coat and the rim joists are insulated, too, to prevent any air gaps. The cavities are insulated as desired and the wall is finished with drywall.
- Using Vinyl Wrap Insulation: Jamie Saer, project manager for FBC Remodel explains that its process commonly begins with an initial layer of faced batt or continuous vinyl-wrapped wall insulation, followed by wood framing. The crew fills the stud cavities with batt insulation to reach code-determined R-values, which is R-19 in the Chicago, Minneapolis and Denver markets they serve. The wall is finished with half-inch drywall.
Cost: The cost of building a wall traditionally varies based on the price of both lumber and labor and can run $20-$30 per linear foot. HomeAdvisor averages suggest the insulation portion of basement wall construction can arrive at roughly $1,650, but it entirely depends upon the type and quantity of insulation used.
- Thin Wall Construction: If budget, space or framing skills are limited, EnergyStar.gov outlines a minimalist alternative to a fully framed wall. It is constructed of the same rigid foam panels but uses wood furring strips for the framing. The sheets of foam board are attached to the concrete wall with concrete fasteners through the furring strips (a minimum of an inch into the concrete). Then drywall is hung on the furring strips. This method produces a thinner wall by a few inches but isn't deep enough to accommodate electrical boxes without cutting into your insulation. Also, if your foundation walls are uneven, it can be noticeable through the wall construction.
Cost: $8 in materials per linear foot. - DIY Framing With Prefab Panels: For those homeowners who want a DIY solution that accommodates the electrical, DRICORE makes prefabricated panels incorporating all the layers of a finished basement wall — vapor barrier and insulation, framing, drywall — in one 4-inch-deep product called Smartwall. Panels are ready to be painted and have pre-existing channels to run electrical wiring. Supplemental panels are precut for light switches and outlets. Smartwall is installed using a tongue-and-groove system, with wall panels mounted against 2x2 cleats affixed to your ceiling and floor. The seams are patched over using a Dricore Patch Pro compound. Dricore Smartwall panels are sold directly to consumers at home improvement stores. Depending on market pricing on lumber (which can vary substantially) the prefab route can be more expensive than traditional framing in material cost but saves in time and labor.
Cost: $40-$45 per linear foot - Professionally Installed Drywall-Free Walls: The Owens Corning Basement Finishing System is a finished-basement solution installed by professionals in about two weeks that incorporates finished walls, ceiling and floor. Depending on what part of the country you live in, it may be marketed as the Unlimited Basement Finishing System. The wall portion of this product is entirely different from traditional basement wall framing in two major ways: It consists of 100% mold-and-mildew-resistant materials and it keeps the foundation, plumbing and electrical lines hidden but accessible for inspection and maintenance. Instead of a traditionally layered wall with insulation and framing that is finished in drywall, the Owens Corning system employs all-in-one breathable wall panels with fiberglass-insulated cores that are hung on metal framing materials instead of wood. The panels are primed or fabric-covered, and minimal trim covers the seams between adjacent panels, allowing them to be easily removed to access the foundation wall when needed. An Armstrong Mohave drop ceiling is part of the installation. The system comes with a lifetime limited warranty.
Cost: The cost of the system can be 25%-30% higher than drywall finishing but it can actually be less expensive than drywall, depending on the market.
Final Thoughts
You may have noticed: The most important aspect of finished basement wall construction is preventing moisture from becoming trapped within the wall, allowing mold and mildew growth. If you are finishing your basement yourself and have water issues, pay close attention to your local building codes and spend some time researching basement moisture — you won't be sorry you did. Start with our basement waterproofing guide and follow it with the foundation science primer written by building scientists at the University of Minnesota Extension Office. Having a basement water issue won't preclude basement finishing entirely, but it will affect the way you construct your walls and may require some initial foundation work that in turn will save you expenses down the road. Jamie Saer explains that for the FBC Remodel basement builds, moisture issues will be addressed first. And if there is potential for any future problem, before wall finishing they take precautions — lining the walls with a moisture barrier that routes water to an interior perimeter drain system and onto a sump pump. Saer says, “We have done this before and it is a great system! You just need to make sure your sump pump is working and create a consistent schedule for checking its operation.”


