


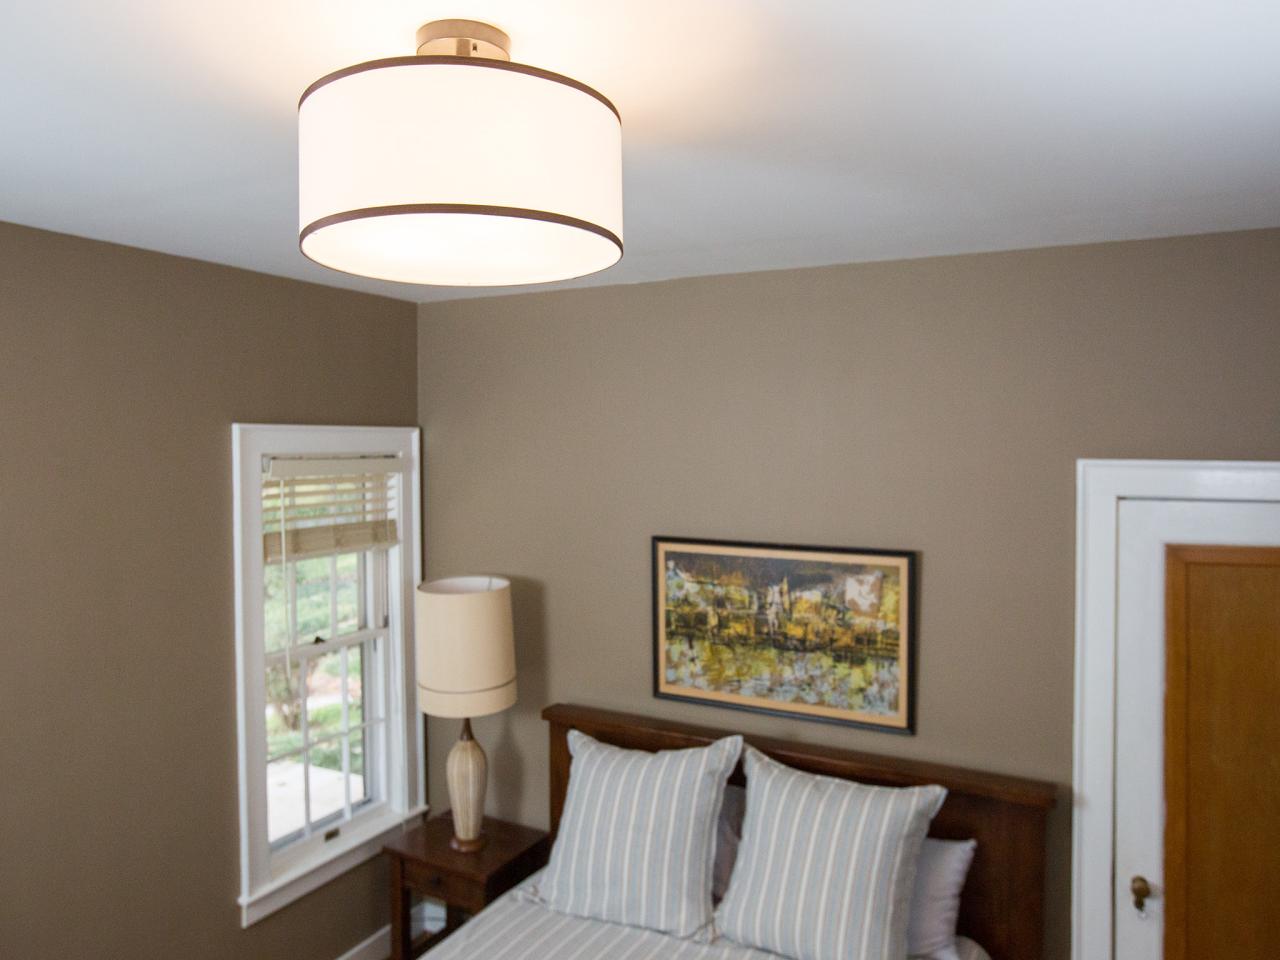
How to Change a Light Fixture
With 30 minutes and some basic tools, you can easily switch out a light fixture yourself. Follow these steps to tackle this simple yet high-impact project.

Jalynn Baker
Materials Needed
- new light fixture
- screwdriver
- wire nuts (possibly included with your fixture)
- current detector
- electrician’s pliers
- ladder
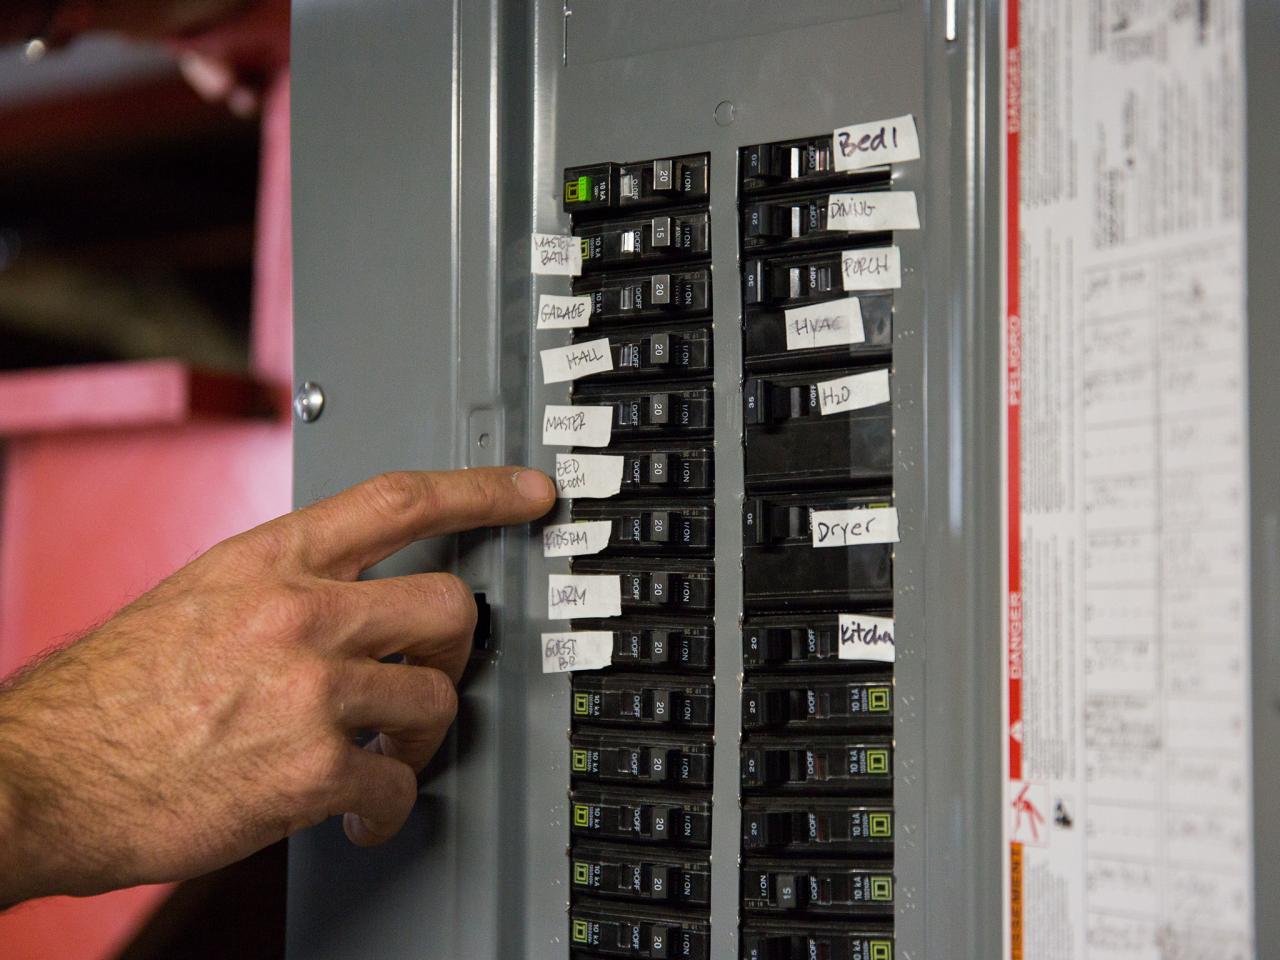
Turn the Power Off
Before beginning any electrical project, turn the power off at the breaker. It’s not enough to simply cut the power off at the light switch. Once the appropriate breaker is turned off, flip the light switch on and off to make sure there’s no power running to the light.

Jalynn Baker
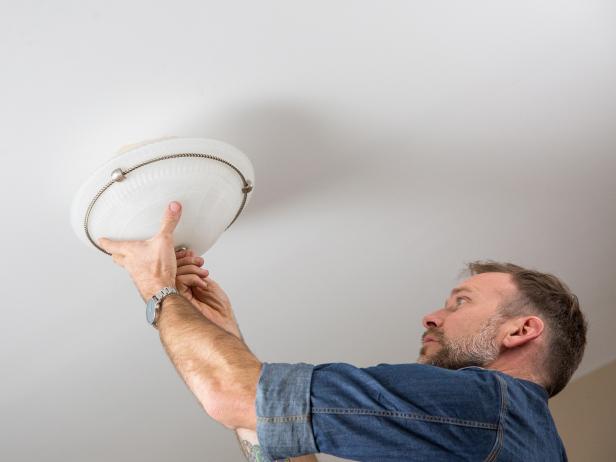
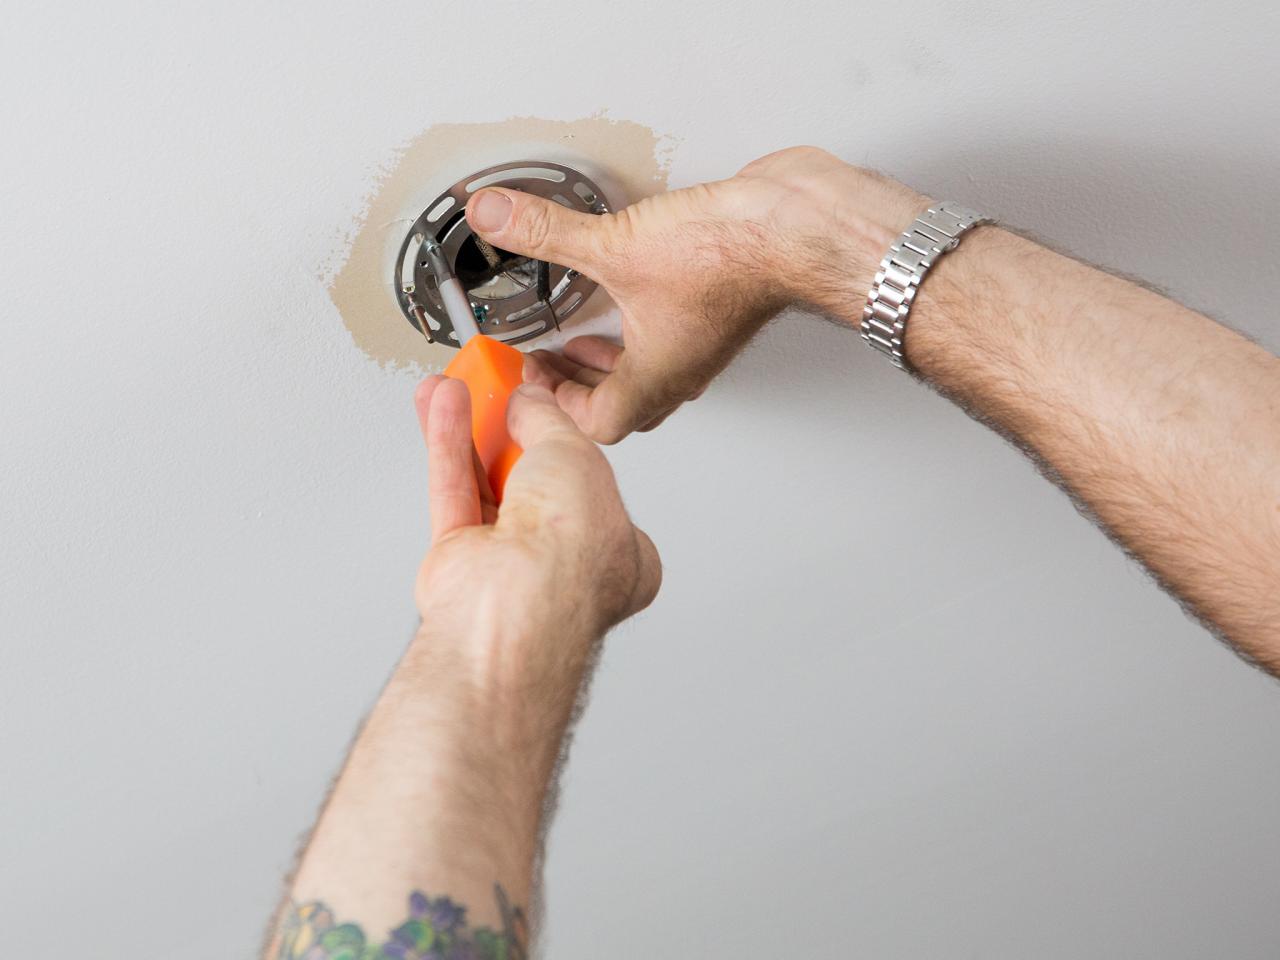
Remove the Old Fixture
Light fixtures are generally attached to the electrical box using bolts or screws. First, loosen the hardware holding your fixture into place (Image 1). It should come away from the wall or ceiling. If it doesn’t, it may also be held in place with caulk. Use a screwdriver to separate the fixture from the surface, taking care not to damage your wall or ceiling. Once the fixture comes away, it’ll still be connected to the electrical wires. If your fixture was attached to the electrical box using a bracket, unscrew or unbolt the bracket as well (Image 2).
Jalynn Baker
Jalynn Baker
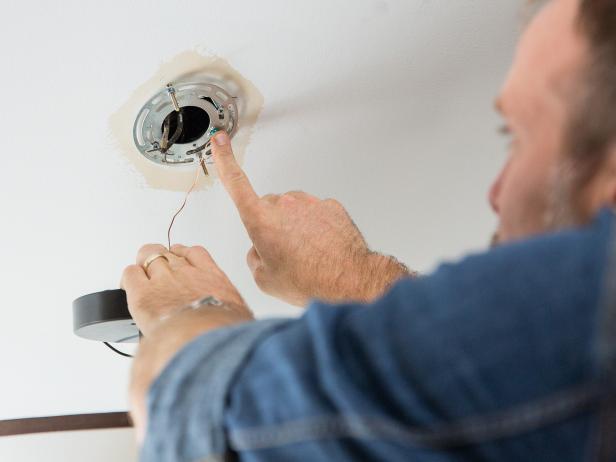
Disconnect the Wires
Before you disconnect the wires, use a current detector to make sure there’s no electrical current running to the fixture. Your old fixture should be connected using three wires: a hot (black), a neutral (white) and a ground (copper). Disconnect each of the wires. Make sure to hold your fixture while you disconnect the wires; it should fall once all three wires are disconnected.

Jalynn Baker
Attach the Bracket
Your new light fixture should come with a bracket that attaches to the electrical box. Many light fixtures come with a universal bracket, which can attach to many different types of electrical boxes. Use a screwdriver to secure the bracket to the electrical box.

Jalynn Baker
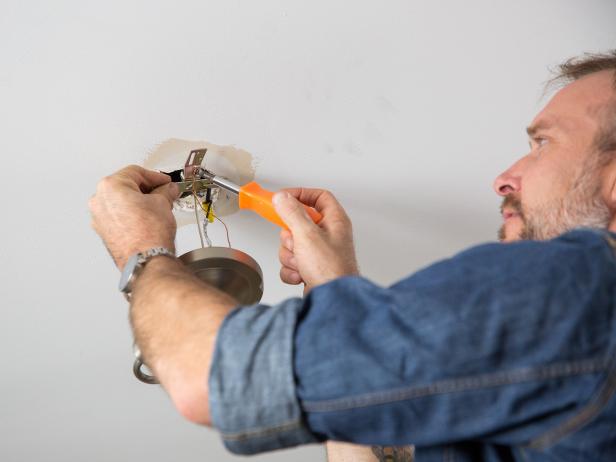
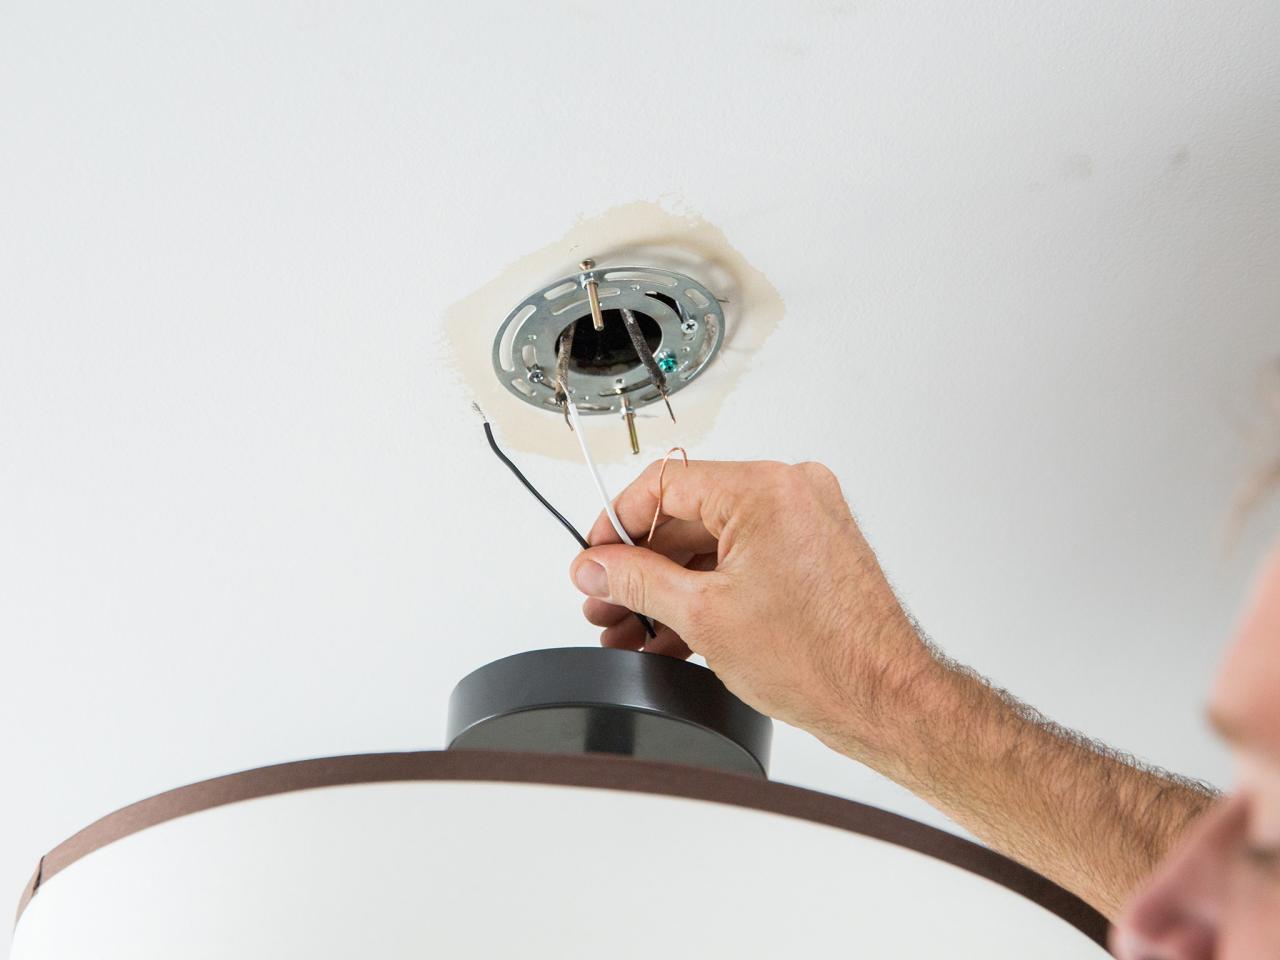
Wire Your New Fixture
Like your electrical box, your fixture should include one hot (black) wire, one neutral (white) wire and one ground (copper) wire. Wiring your fixture is as simple as connecting black to black, white to white and copper to copper. The wires in your fixture may have some of the insulating coating already stripped away and the braided metal wire exposed. If there’s about half an inch of wire exposed, you’re ready to move forward and make your connection. If not, use your electrician’s pliers to strip away about a half inch of insulation to expose the metal wire. Once you have enough wire to work with, connect your two black wires first, using the wire nut provided. If your fixture doesn’t come with wire nuts, you can purchase a few at your local hardware store. Next, connect your two white or neutral wires. Note: Each light socket in your new fixture will have its own set of wires. Each of these should be tied together inside the fixture and attached to one wire.

Jalynn Baker
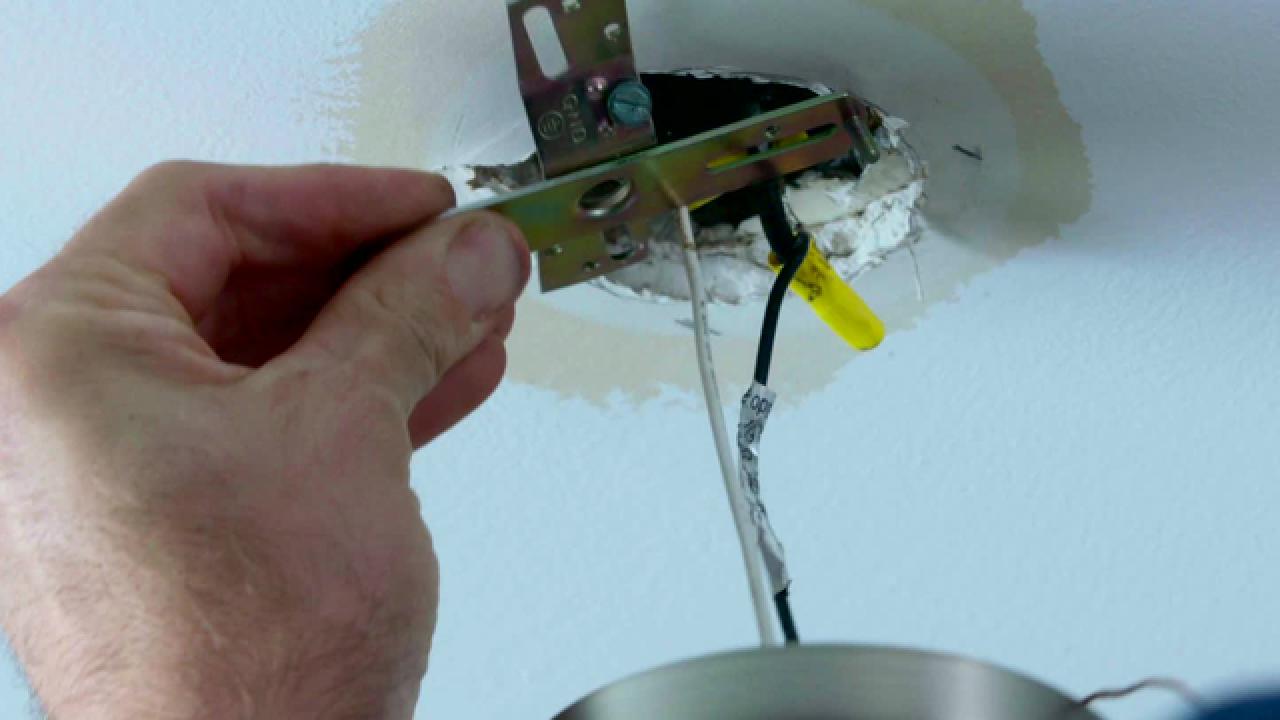
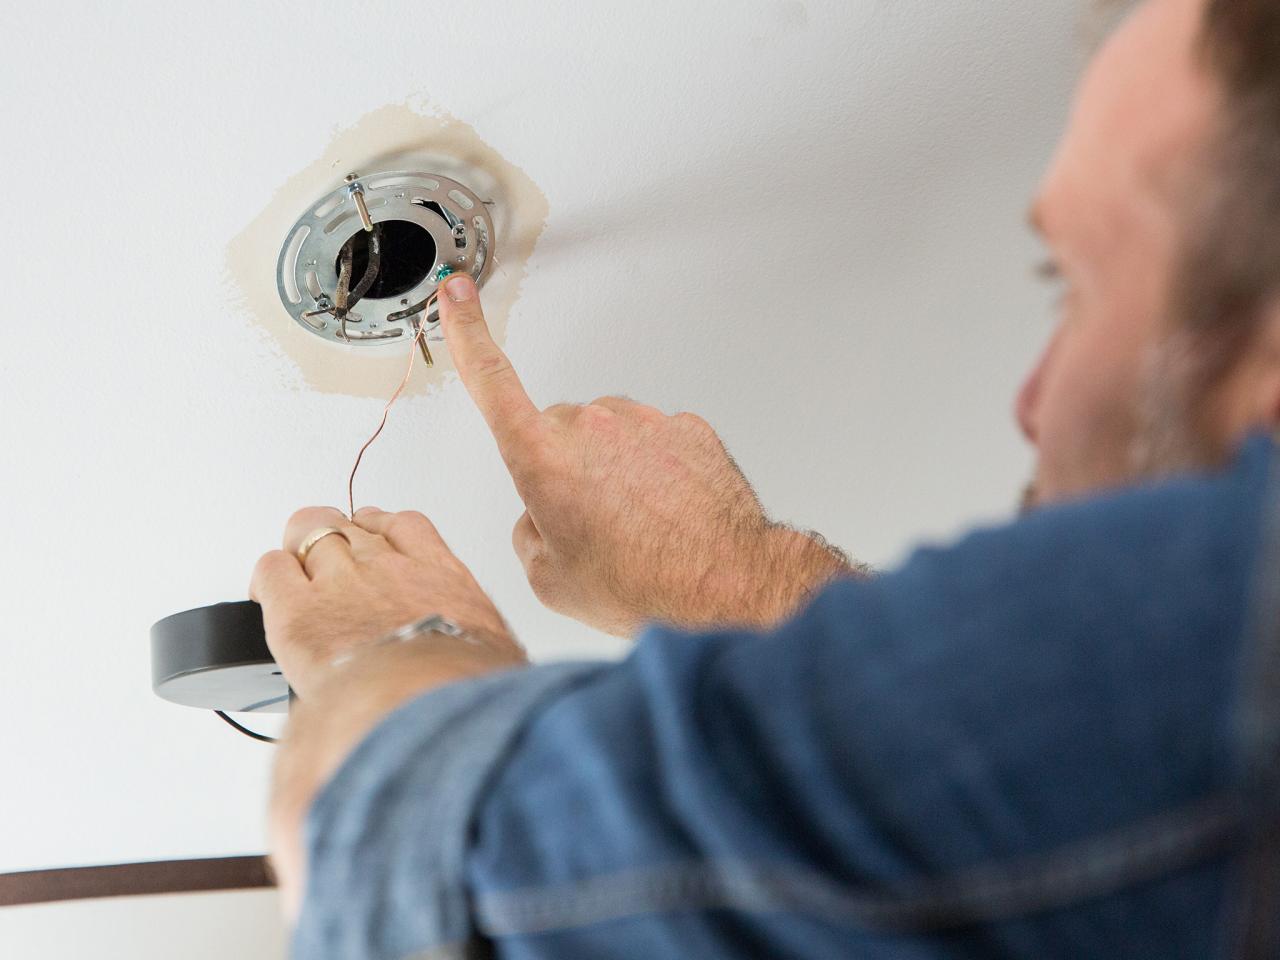
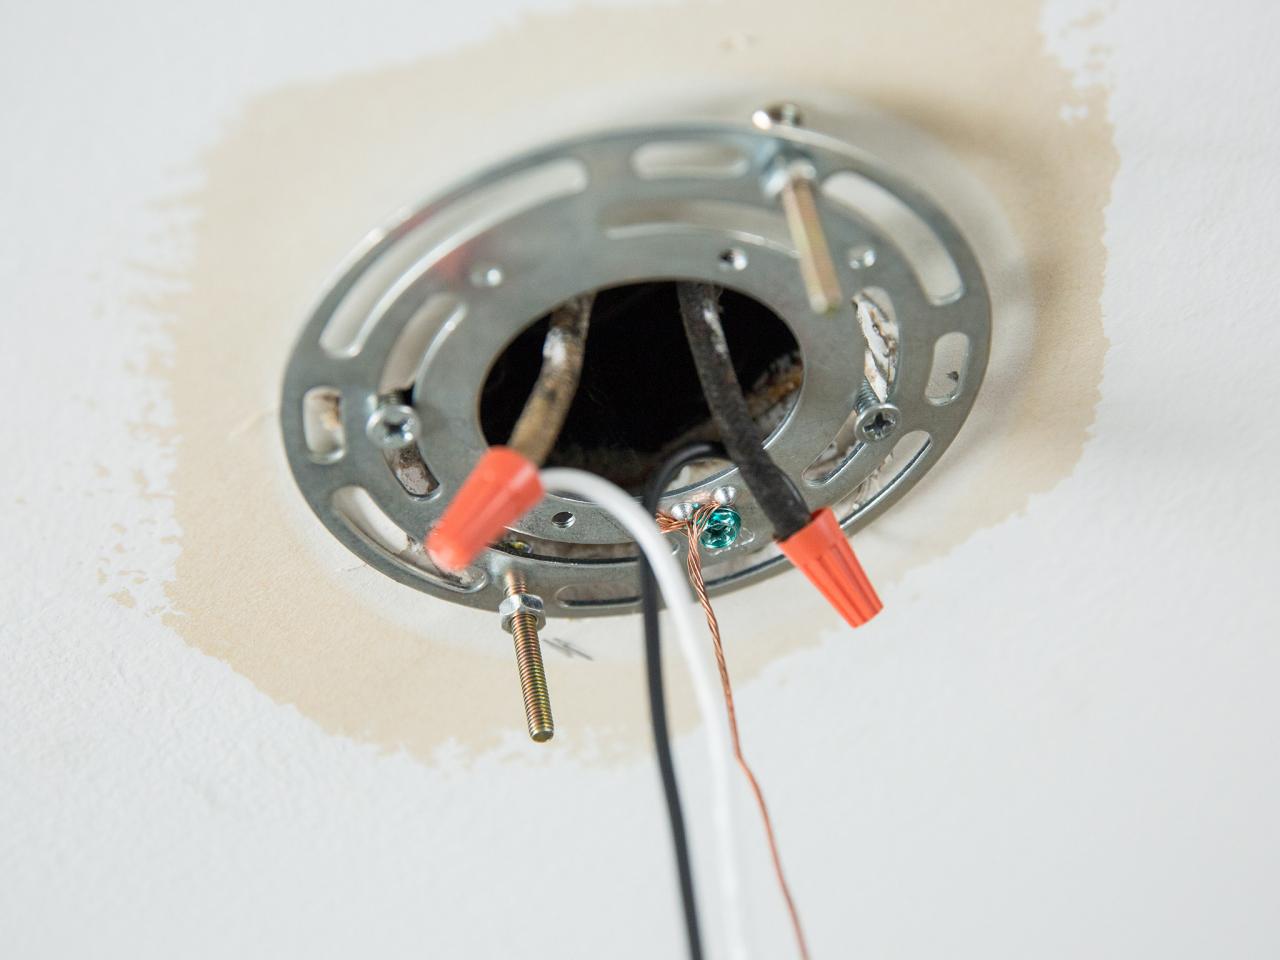
Attach the Ground Wire
Finally, connect your two ground wires. It’s possible that your electrical box doesn’t contain a ground wire. That means the electrician decided to ground the box itself. If that’s the case, all you need to do is to attach the ground wire in the fixture to your electrical box itself. Your mounting bracket should contain a small screw (typically green) made just for this purpose. Use your electrician’s pliers to make a U-shaped bend in your ground wire that will fit snugly around the grounding screw (Image 1). Loop the bent wire clockwise around the screw and tighten using a screwdriver. Your fixture is now properly wired (Image 2).
Jalynn Baker

Jalynn Baker
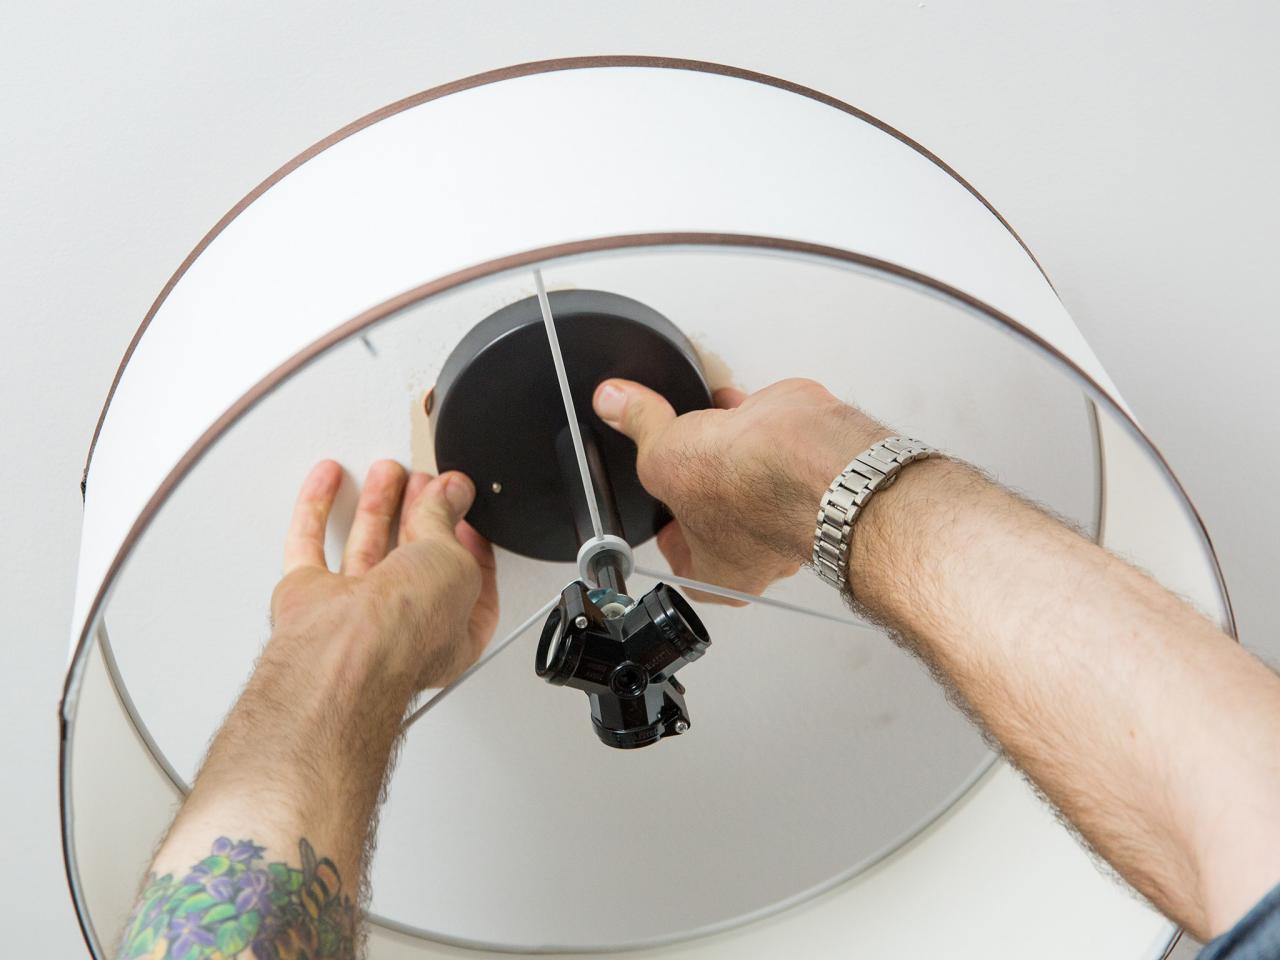
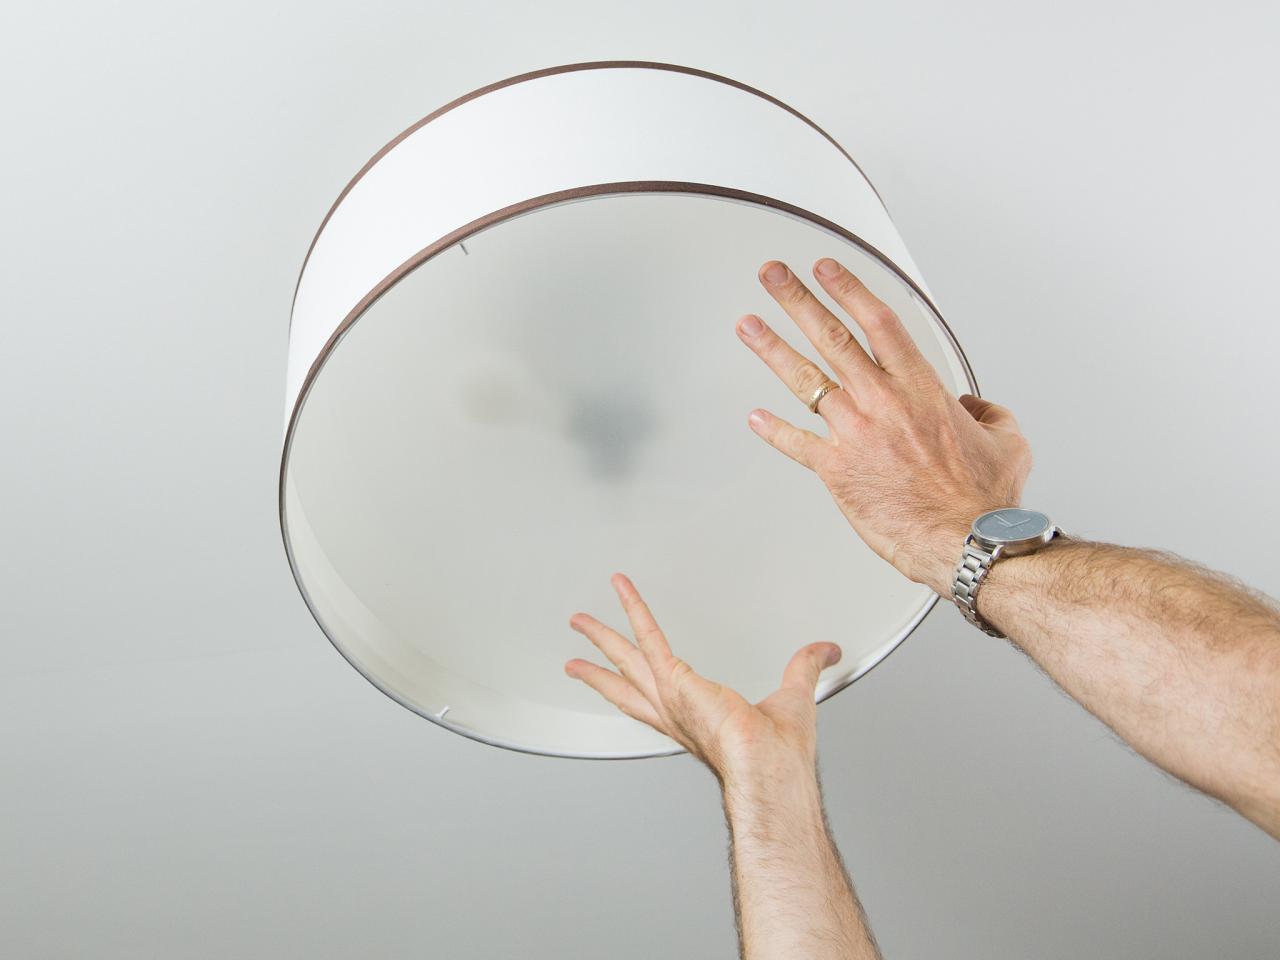
Secure the Fixture
Use the hardware provided to secure your fixture to your mounting bracket and electrical box. There are many different types of connections, but most will probably use a bolt and a decorative nut. Place the fixture over the bolt in the mounting bracket and secure it with the decorative nut provided (Image 1). Use your hand to tighten the bolt. Using a wrench could damage the nut and remove the finish. Finally, screw in the light bulbs and secure any final hardware or screen on your fixture (Images 2 and 3).

Jalynn Baker

Jalynn Baker

Jalynn Baker
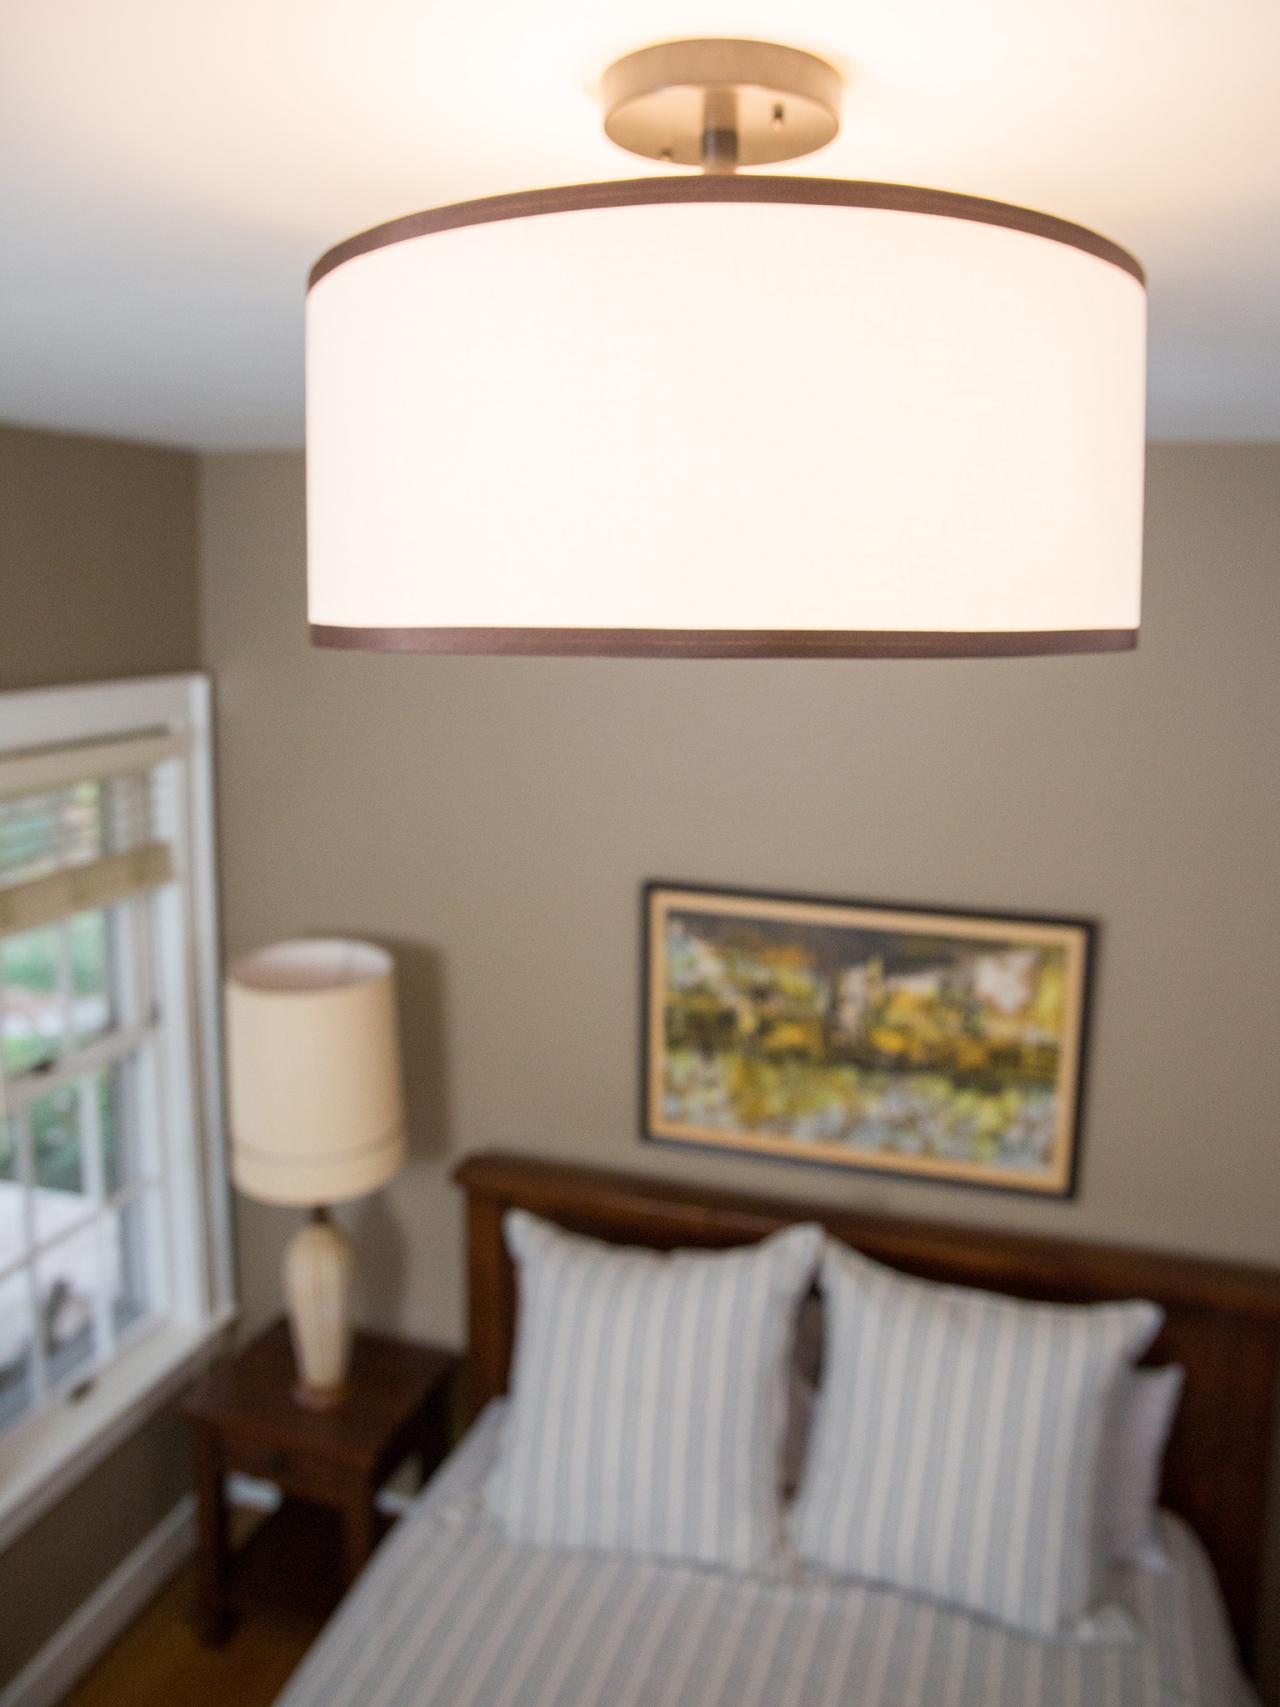
Turn It On
You’re ready to turn your power back on at the source. Flip your breaker on, and you’re finished. Now that you’ve seen how easy it is to change a light fixture, your other rooms should be expecting a lighting makeover. Be safe, turn off the power and go for it.

Jalynn Baker


