


How to Install a Board and Batten Accent Wall
This simple tutorial will teach you how to install traditional board and batten wood paneling, plus tips for installing wallpaper above it.

Few wall treatments are more classic than traditional board and batten. It goes with many styles including farmhouse, craftsman, Victorian and contemporary. Historically, board and batten served mainly as protection for plaster walls, which are more prone to damage than modern gypsum walls. While board and batten is still a reliable and sturdy wall covering, over the years it has also evolved into a timeless style choice. It is one of the few wall coverings with high scores in both form and function. It is especially beautiful and functional in an entrance hall, a space that tends to take a lot of abuse.

Jennie Andrews
Tools and Materials:
- stud finder
- 3/4-inch plywood
- 1x3 primed boards
- 1x4 primed boards
- 1x6 primed boards
- construction adhesive
- nail gun
- finish nails
- miter saw
- level
- caulk gun
- caulk
- tape measure
- paint
- wallpaper
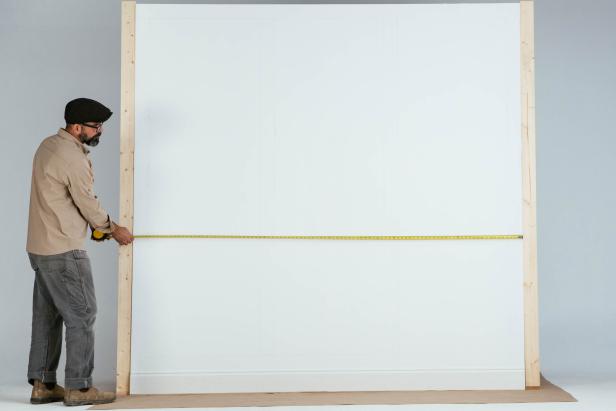
1. Plan Your Layout
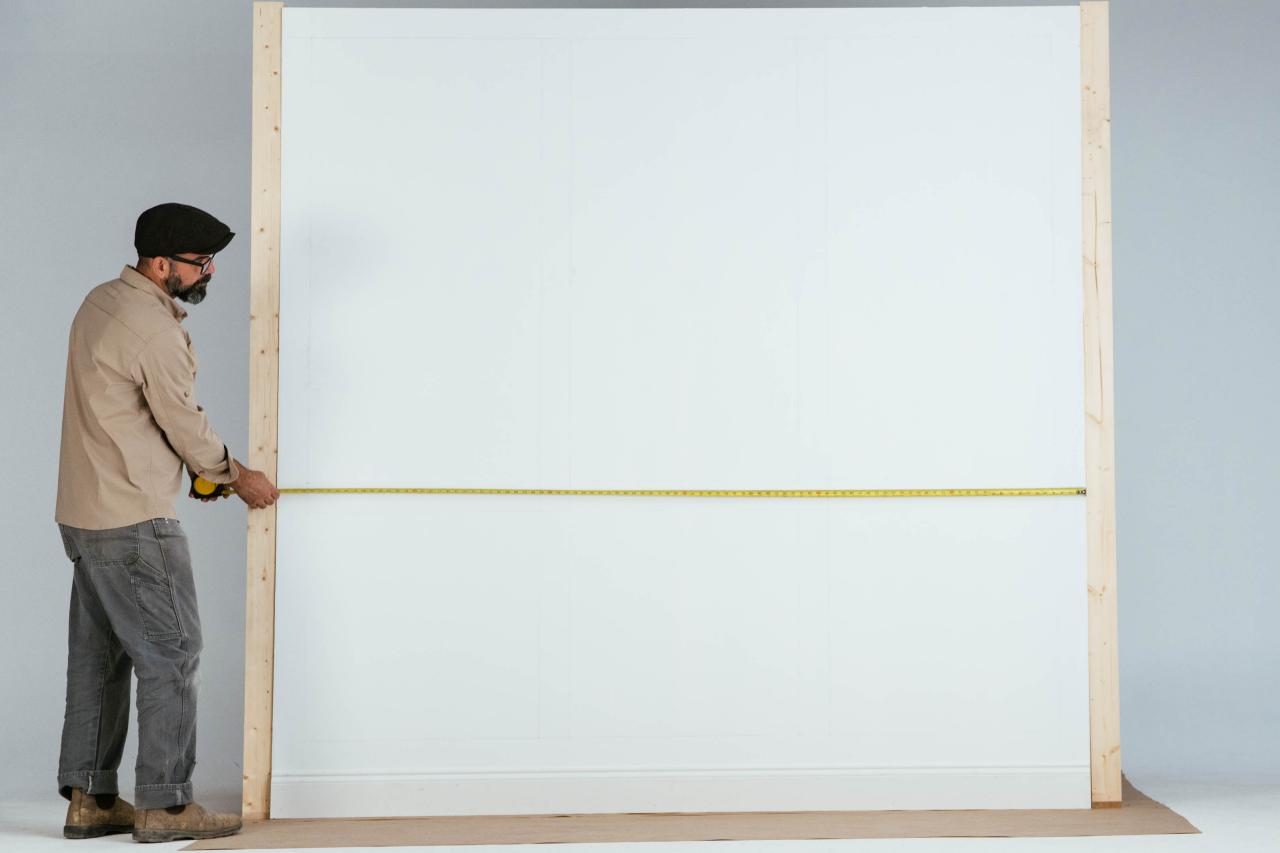
Start this project with a blank wall. Remove baseboards before beginning. While the height of board and batten is a matter of personal preference, a good rule of thumb is to place the height either above or below the center of the wall. For our eight-foot wall, we are installing board and batten at a height of five feet. For the boards, we are using 3/4" plywood. Most big box hardware stores will cut 4’ x 8’ sheets of plywood to the height you choose. Measure wall width to determine the spacing of your battens or vertical slats. Most traditional batten is placed between 8” to 12” apart. The placement of our battens will be 8” apart. To determine the length of the battens for our 5’ tall wall, we subtracted 5-1/2” for the baseboard and 3-1/2” for the top trim.
Jennie Andrews
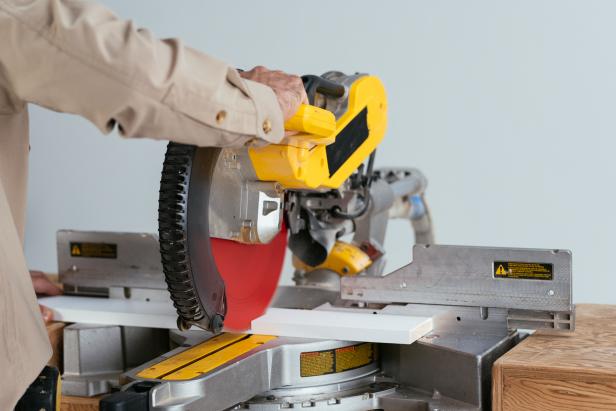
2. Cut Boards
Once you’ve measured your wall and determined the height and spacing of your battens, use a miter saw to make your cuts. The battens will be cut from 1x4s. Additionally, cut the horizontal top trim piece the length of the wall from a 1x4. A ledge will sit atop the top trim and will run the length of the wall. Cut this piece from a 1x3. For our baseboard, we used a 1x6. (Images 2-3)

Jennie Andrews
Jennie Andrews
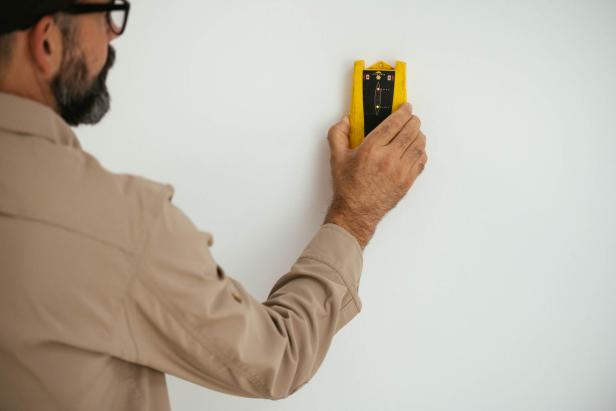
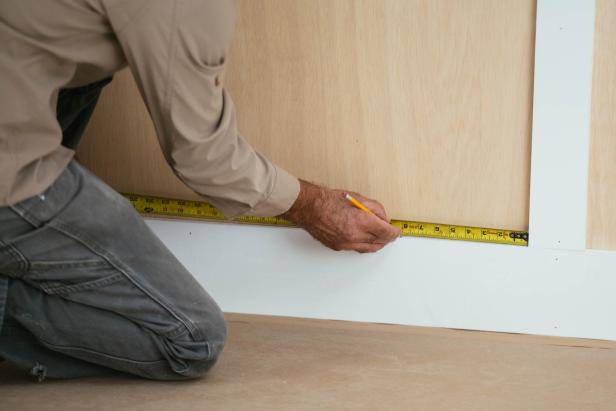
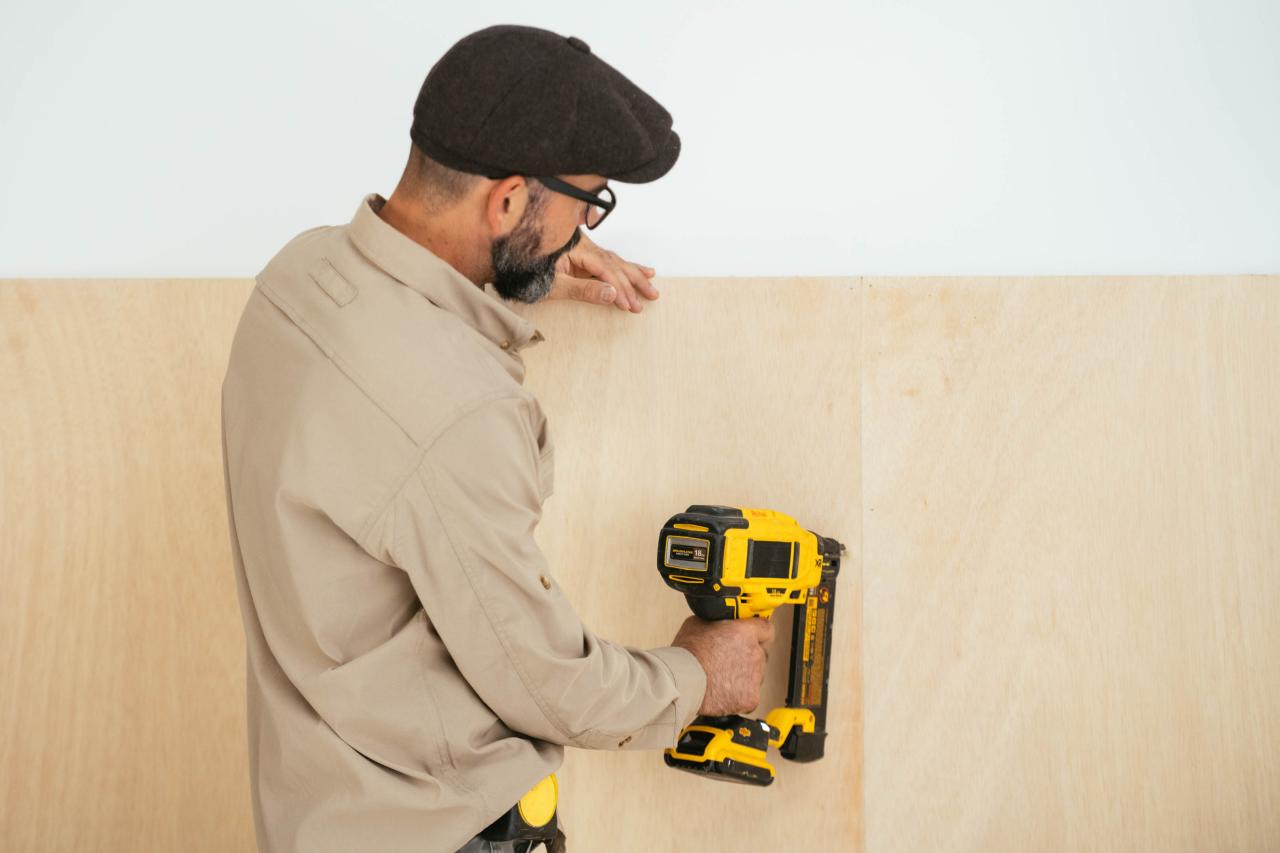
3. Install Plywood and Baseboard
Use a stud finder to locate wall studs. Liberally apply construction adhesive to the back of each plywood panel and use a nail gun to attach them to the studs. The plywood will sit flush with the floor. Install the baseboard by first applying construction adhesive to the back and then nailing it over the plywood at the base of the wall.
Jennie Andrews

Jennie Andrews

Jennie Andrews

Jennie Andrews

Jennie Andrews
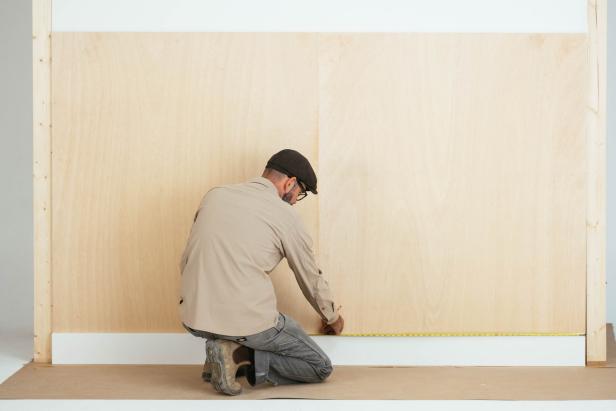
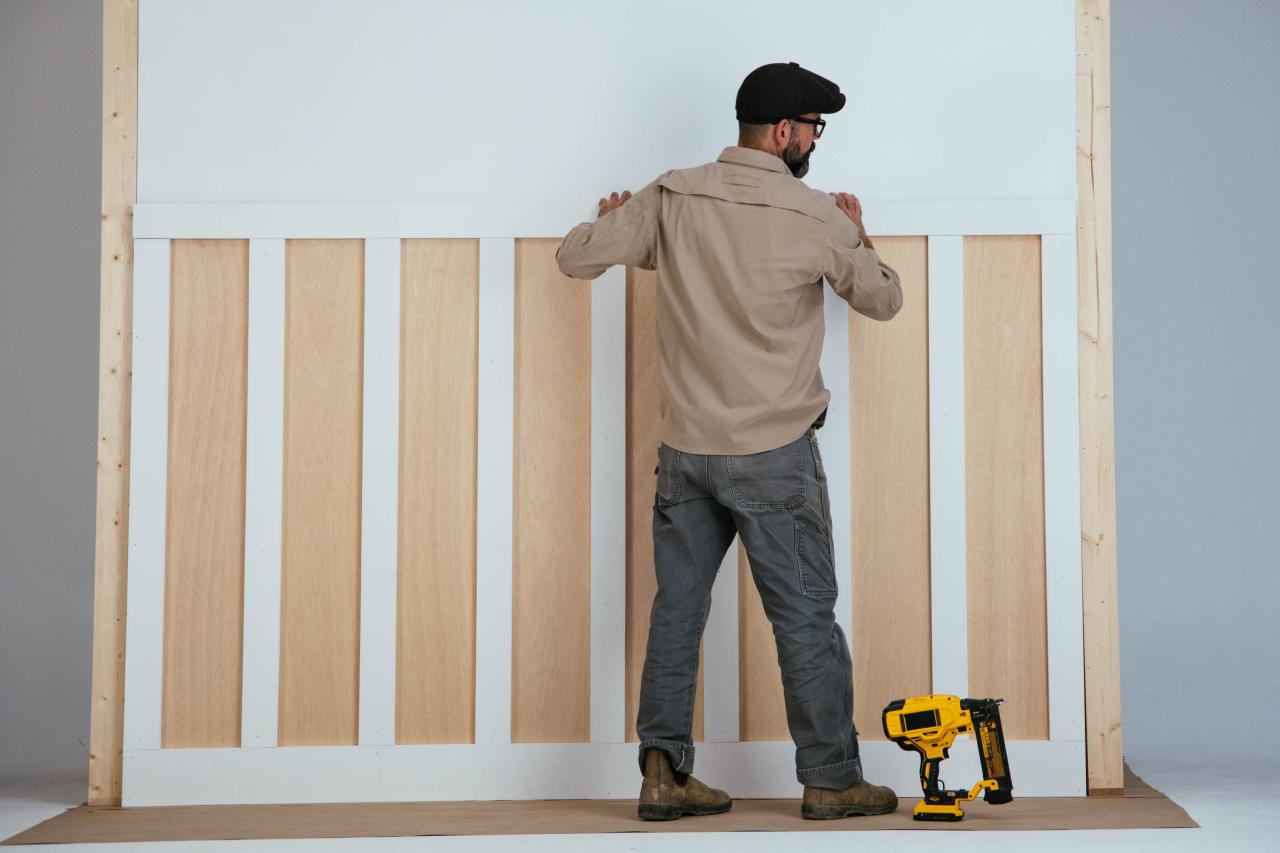
4. Install Vertical Slats
Center a vertical slat in the exact center of the wall by measuring and marking both the wall and the slat. Use a level to ensure that the slat is perfectly plumb. Using a nail gun, fasten the slat to the board. Measure to the right and left of the center slat and continue to install vertical slats, using a level each time. Continue working out from the center until all vertical slats are in place.
Jennie Andrews

Jennie Andrews

Jennie Andrews
Jennie Andrews

Jennie Andrews
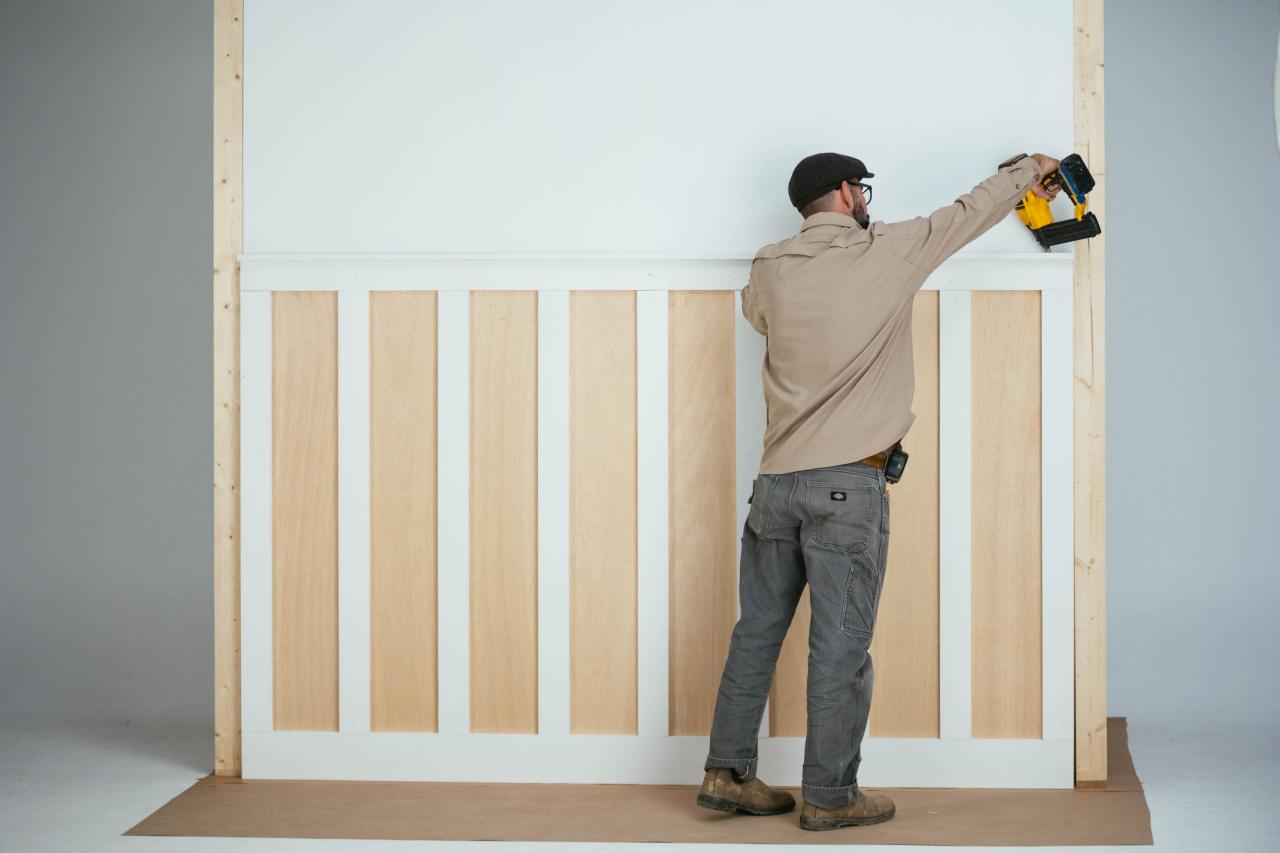
5. Install the Top Trim
Attach the 1x4 trim piece horizontally on top of the vertical slats. Finally, create a ledge by nailing the 1x3 board to the top of the completed board and batten. Use only two nails if you plan to wallpaper above the board and batten.

Jennie Andrews

Jennie Andrews

Jennie Andrews
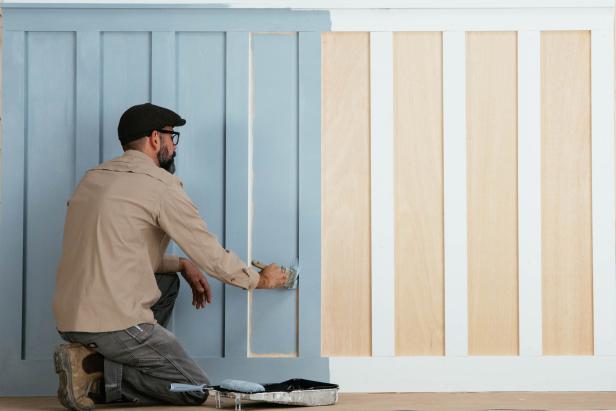
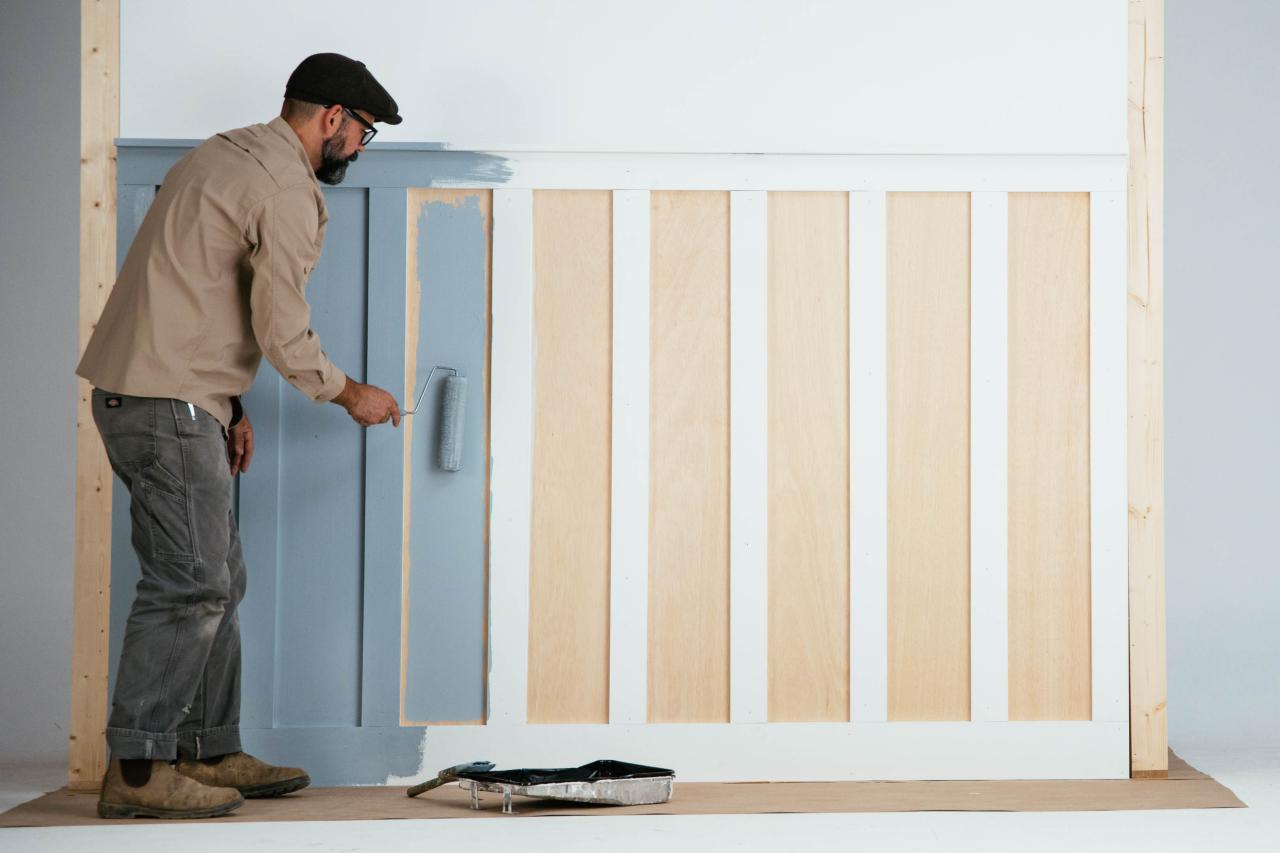
6. Caulk and Paint
Caulk along the edges of each board and in the nail holes. Use caulk to fill any gaps that may be visible along the horizontal trim pieces. Wipe smooth with a damp rag as you go. Let dry completely. Using a combination of a roller and a brush to paint the completed paneling.

Jennie Andrews

Jennie Andrews

Jennie Andrews
Jennie Andrews
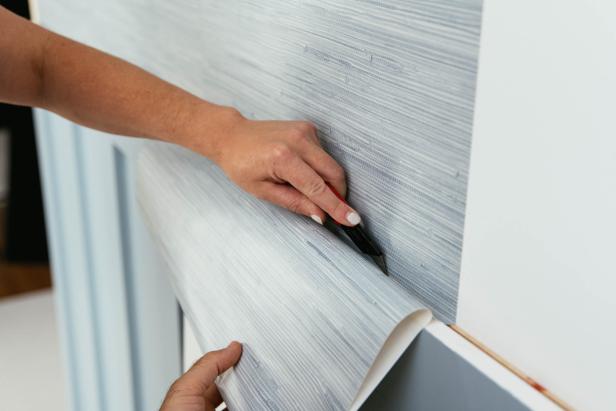
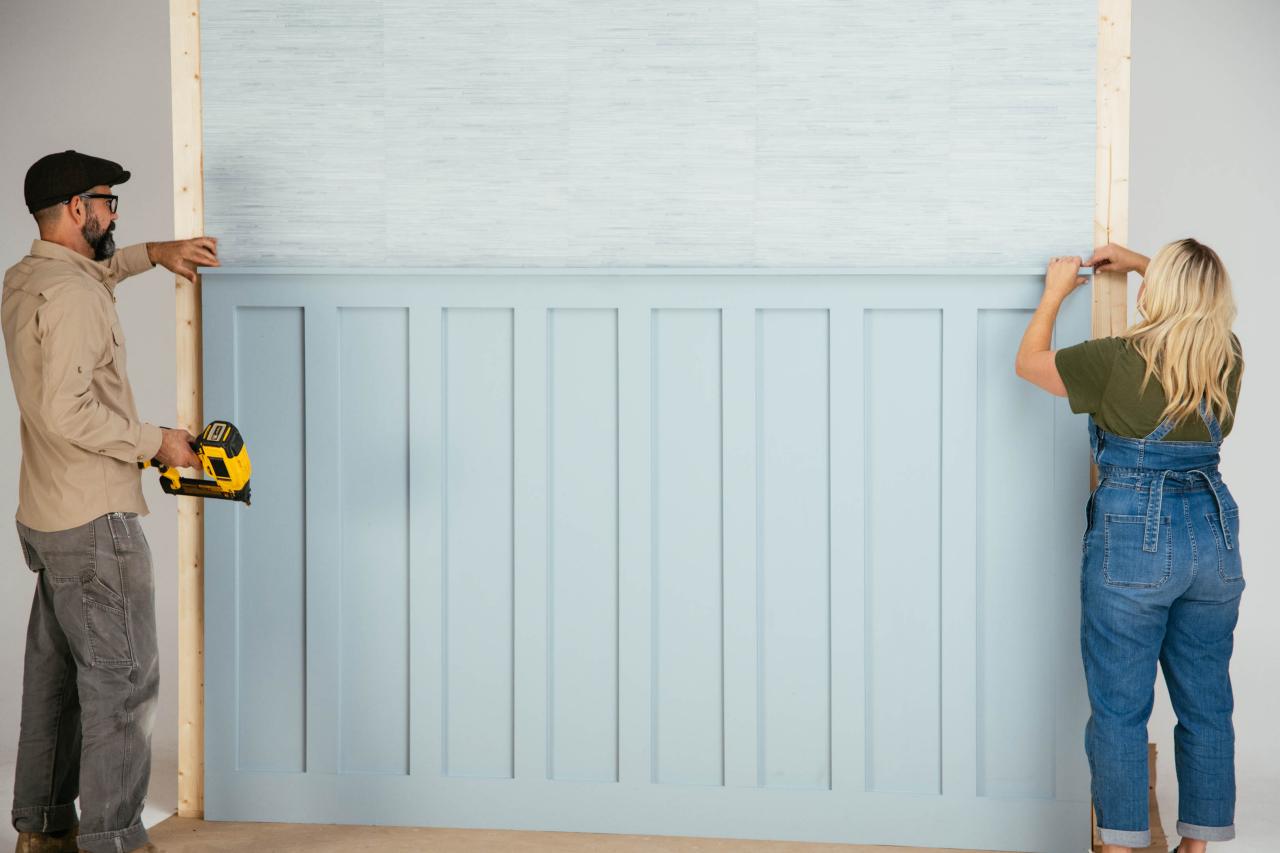
7. Install Wallpaper
Use a pry bar to gently remove the top ledge. Follow manufacturers’ directions to install wallpaper. Trim paper just along the top edge of the paneling. Finally, hide the edges of the paper by replacing the ledge piece on top of the wallpaper.

Jennie Andrews

Jennie Andrews
Jennie Andrews

Jennie Andrews

Jennie Andrews
8. Style It Your Way
There are countless ways to style board and batten. The ledge serves as a perfect place to display art, family photos or small treasures. Adding hooks for storage turns this visually pleasing project into a functional one as well.

Jennie Andrews


