


How to Repair Drywall
A well-placed piece of art may be the quickest way to disguise a hole in your wall. But for a professional fix, follow our tips on how to patch a hole in drywall.

Patching a hole in drywall shouldn’t scare you. In fact, it can be kind of fun. Once you get the hang of it, you’ll be perusing the walls of your home looking for little nail holes to fill and repair. It’s one of the more satisfying home improvement projects because it’s quick and takes minimal experience to achieve great results.

Vivian Johnson
Tools + Materials:
- drywall
- joint compound
- joint knife
- drill + bit
- drywall screws
- utility knife
- drywall knife
- measuring tape
- level
- square
- pencil
- stud finder
- scrap wood
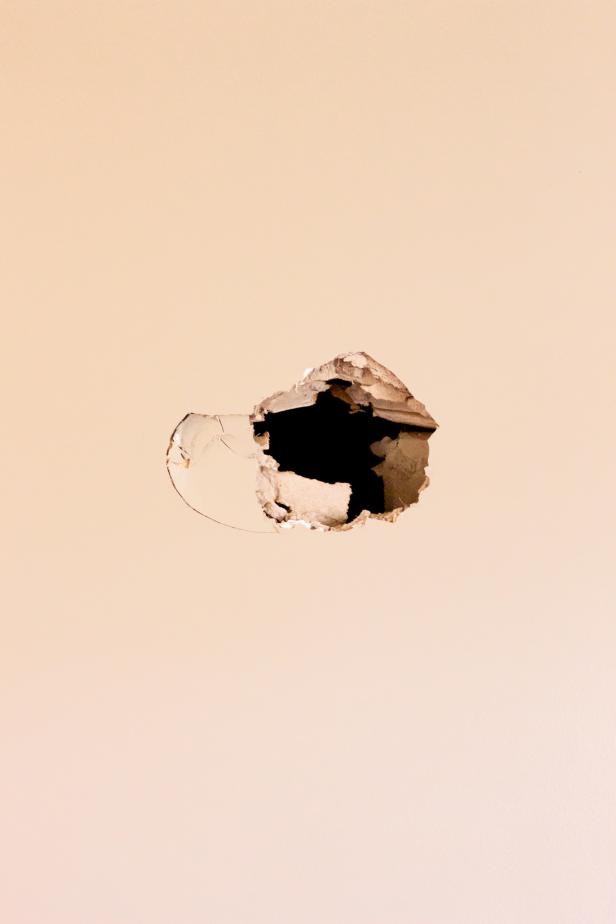
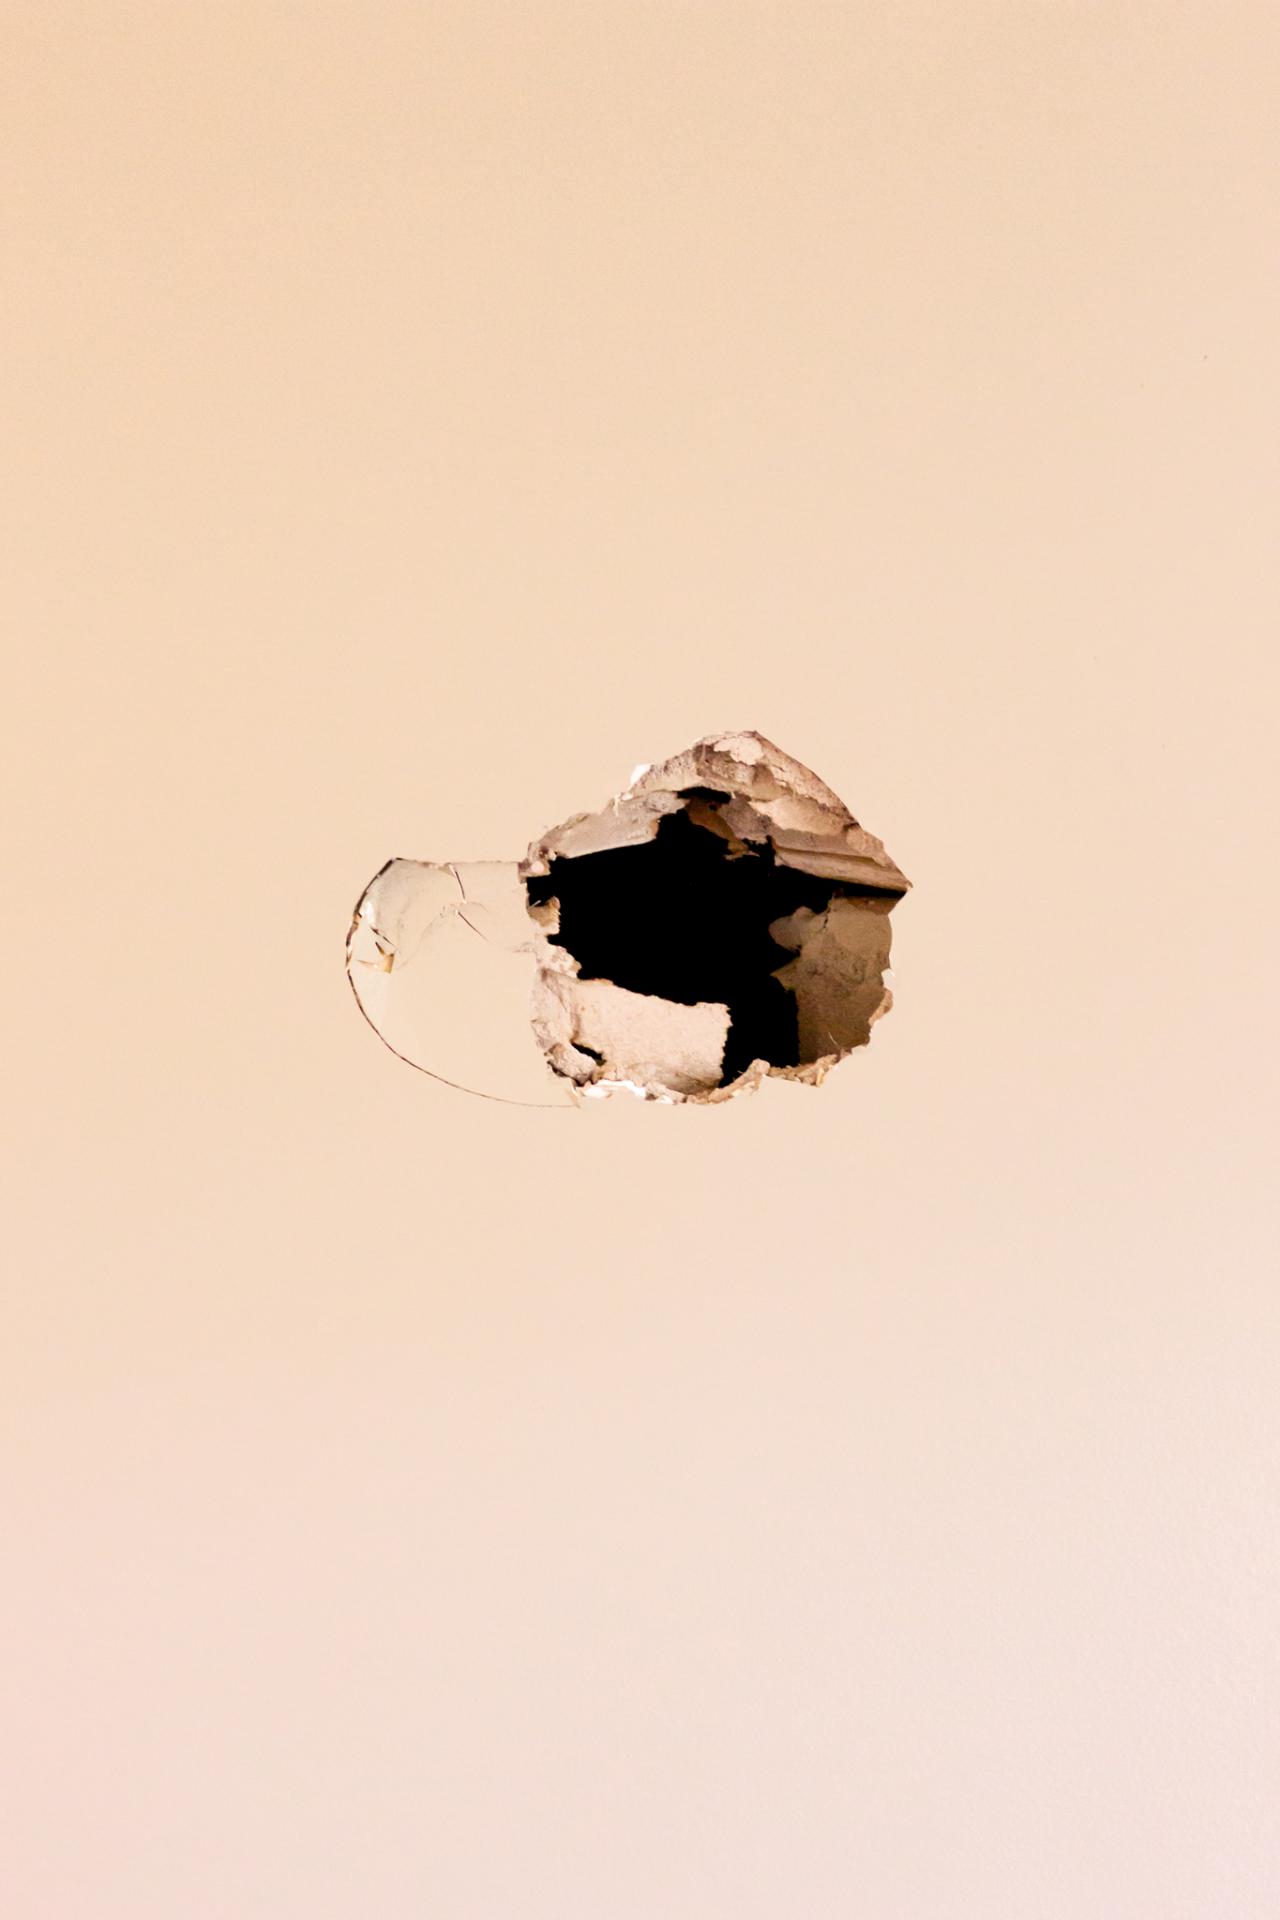
1. Assess the Damage
Before you head to the hardware store, take a moment to consider the scale of the damaged drywall in question. Just a few small nail holes? All you’ll need is some spackle or joint compound (aka “mud”), a small putty knife and a sanding block. Dealing with a sizeable hole? You will likely need more than the bare necessities. Anything larger than a nail hole often requires mesh drywall tape to strengthen and hold the drywall mud in place. Mesh tape is great for long cracks or coin-sized holes. Holes larger than this will require a patch of drywall. Before you move forward, try to identify what thickness your existing drywall is. This may require you to cut a clean piece off to get an accurate measurement. It will likely be 3/8", 1/2" or 5/8" thick.
Kamron Sanders
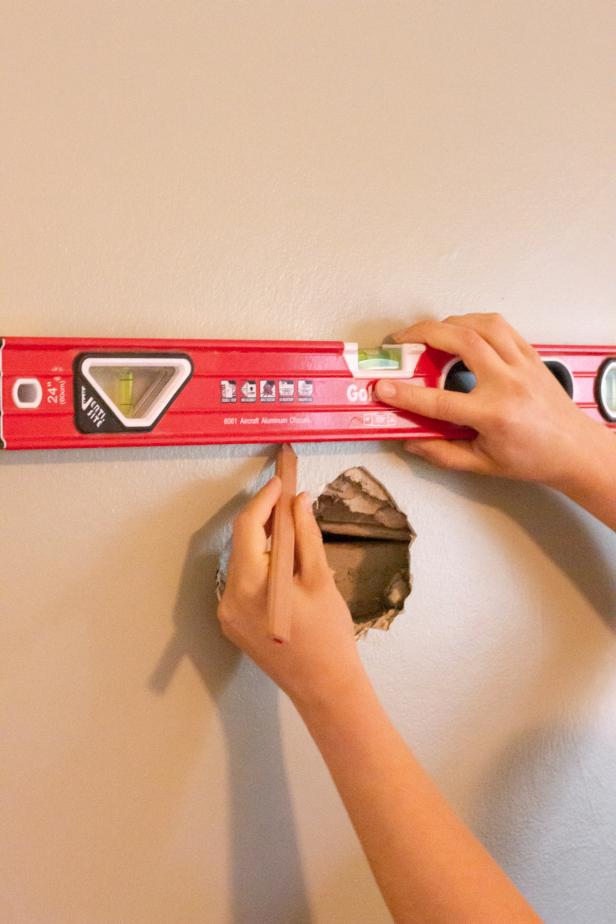
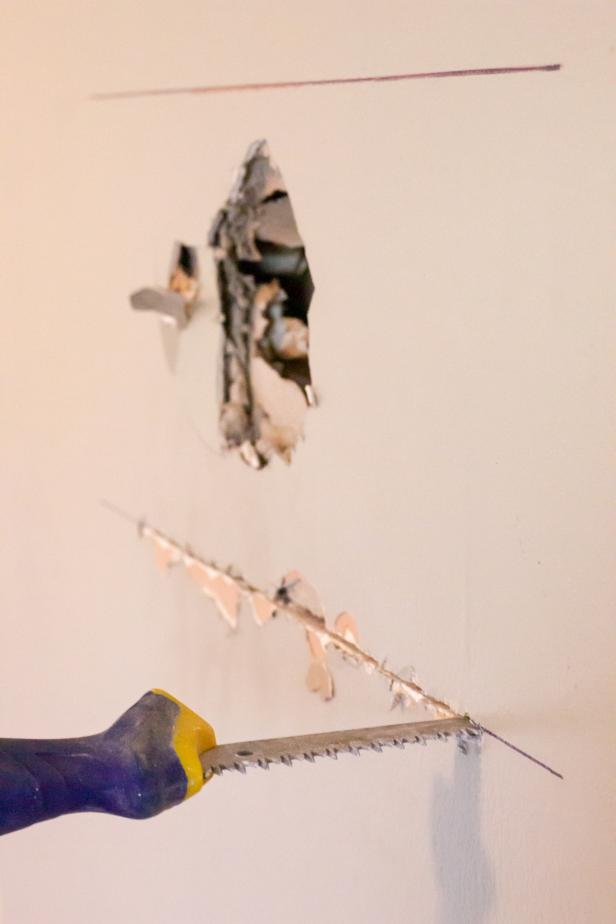
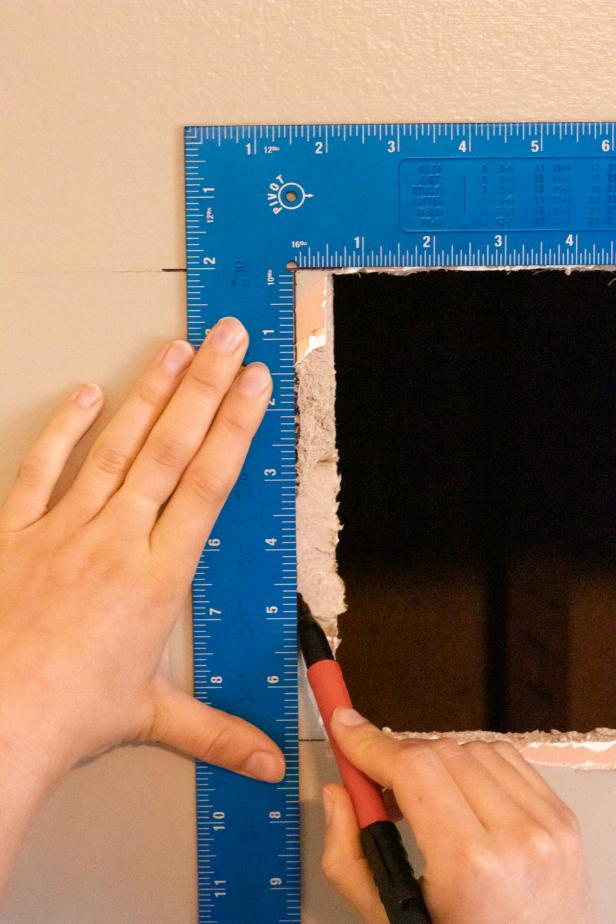
2. Prep for Patching
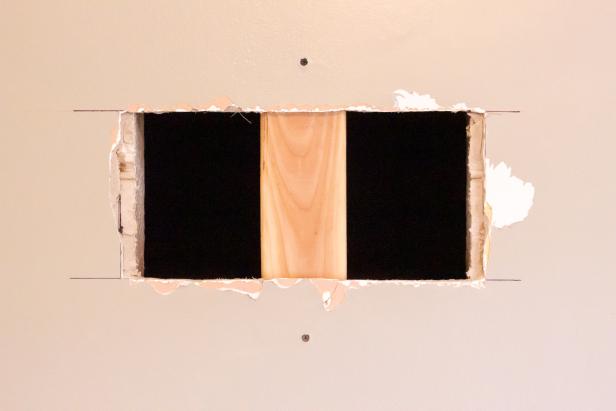
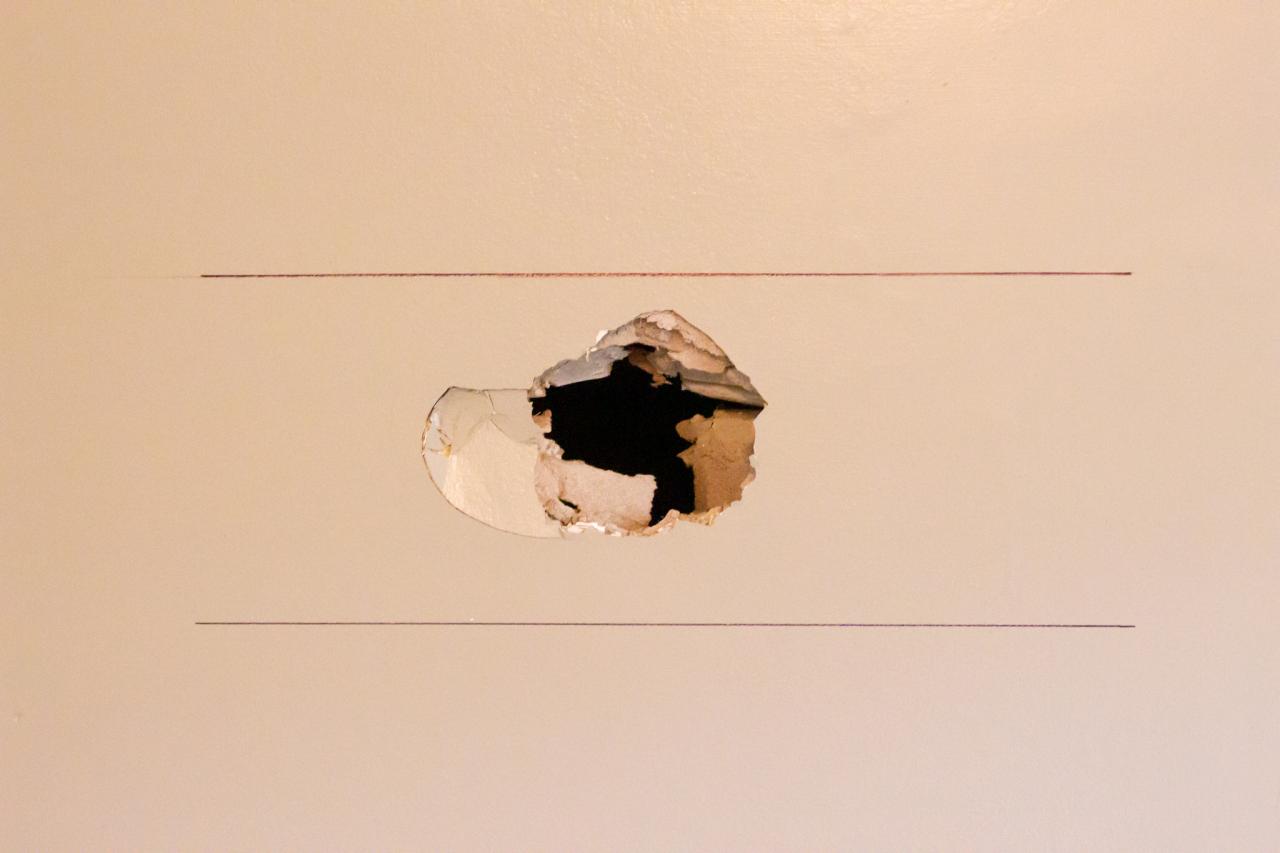
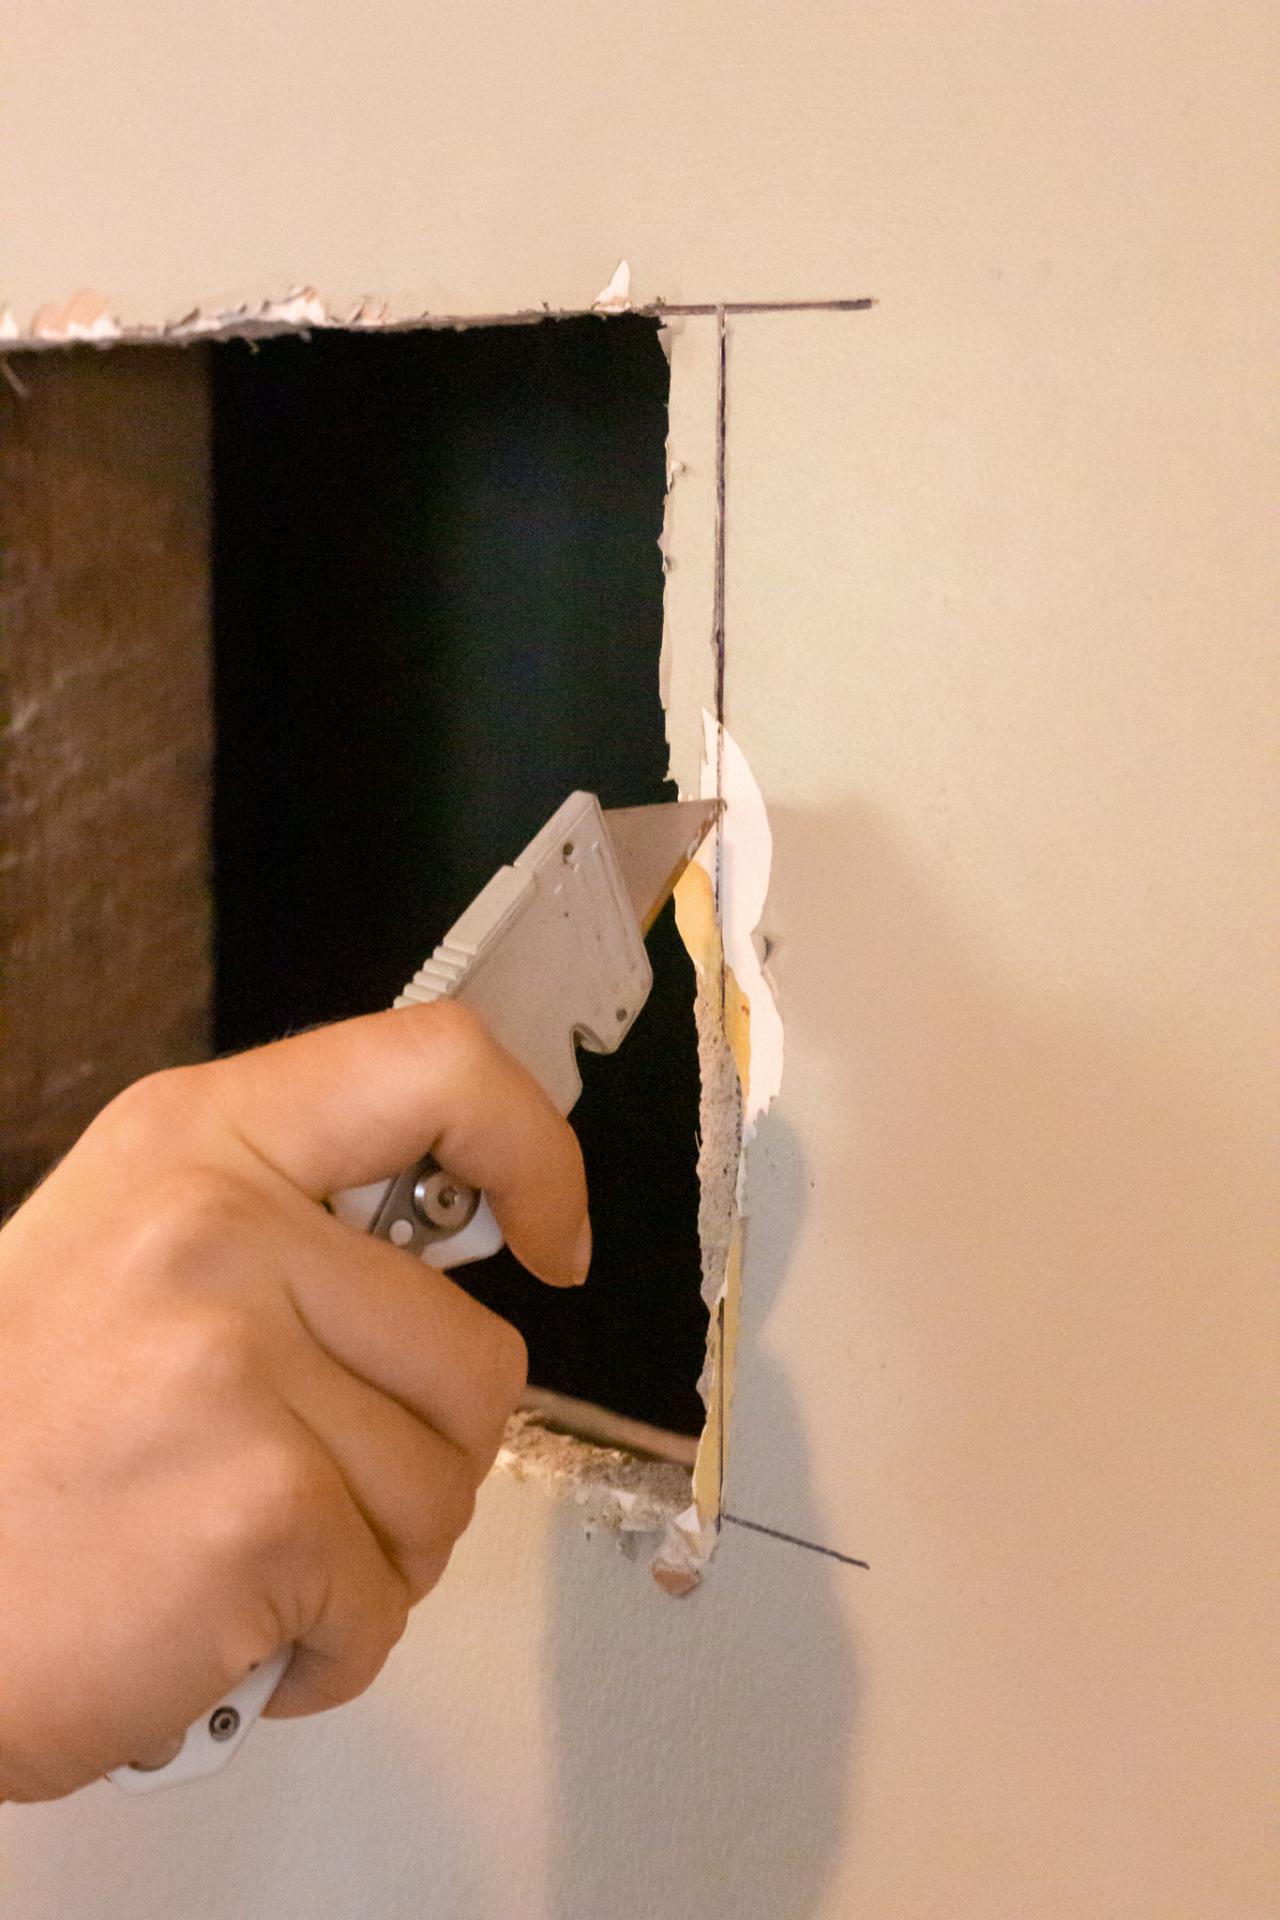
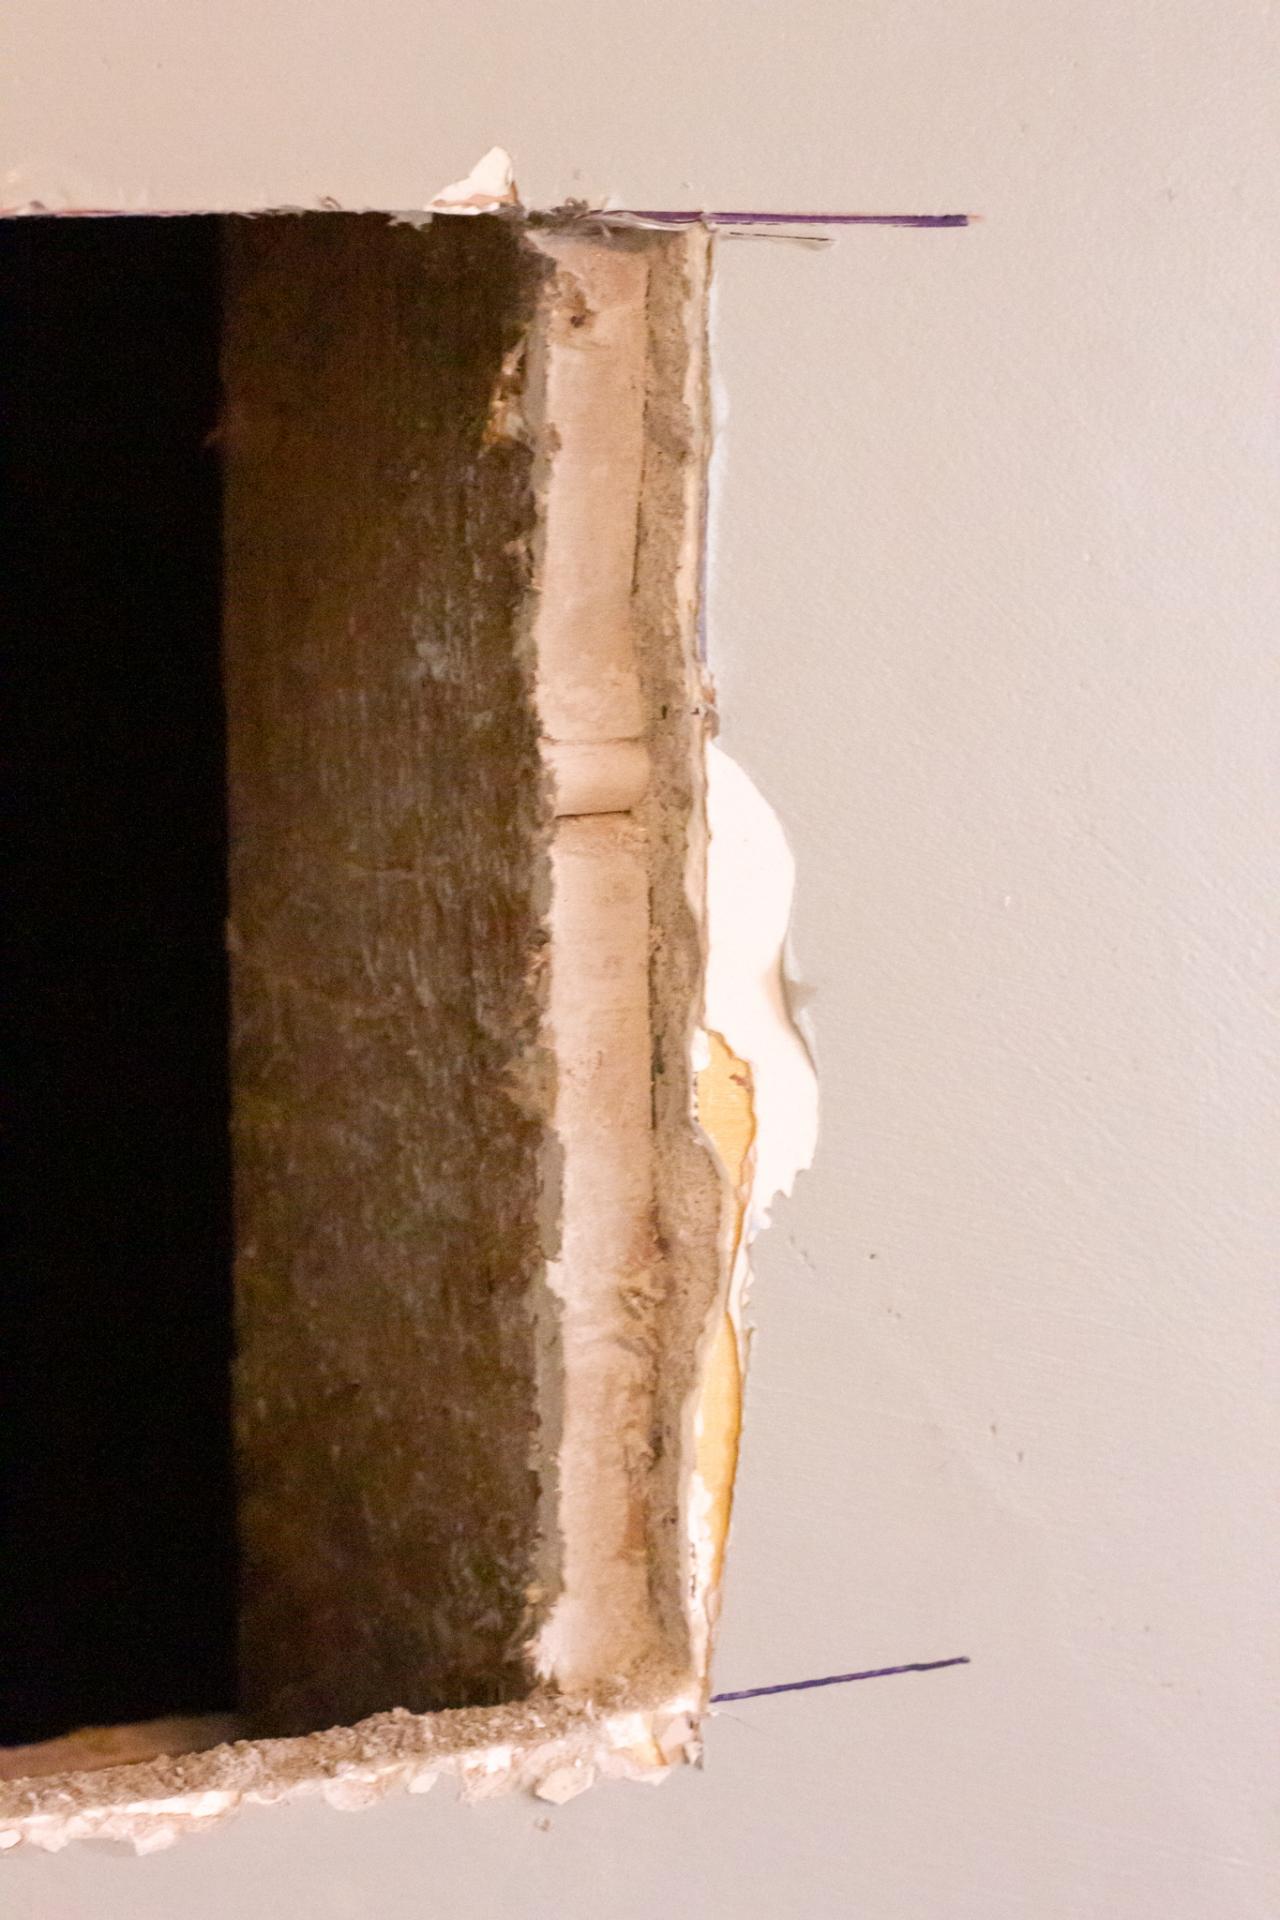
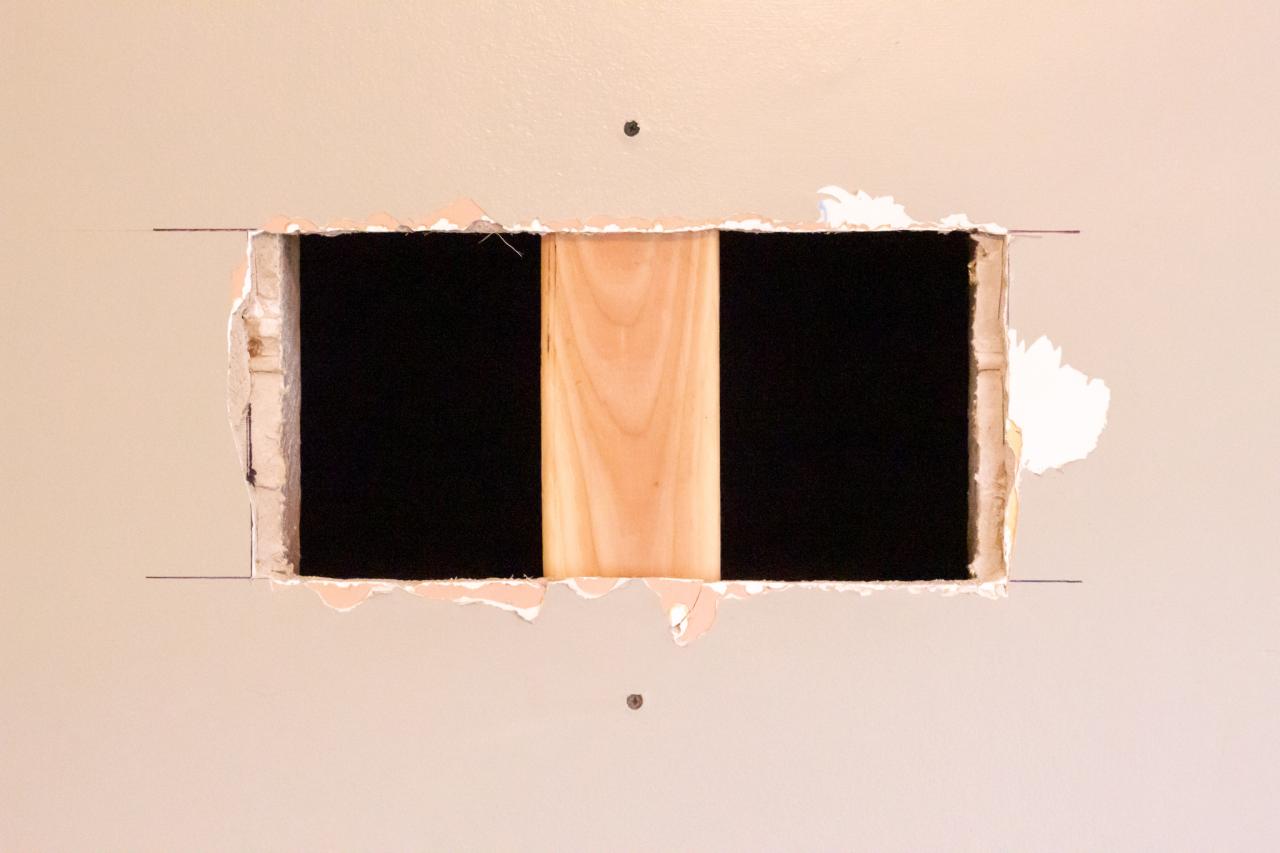
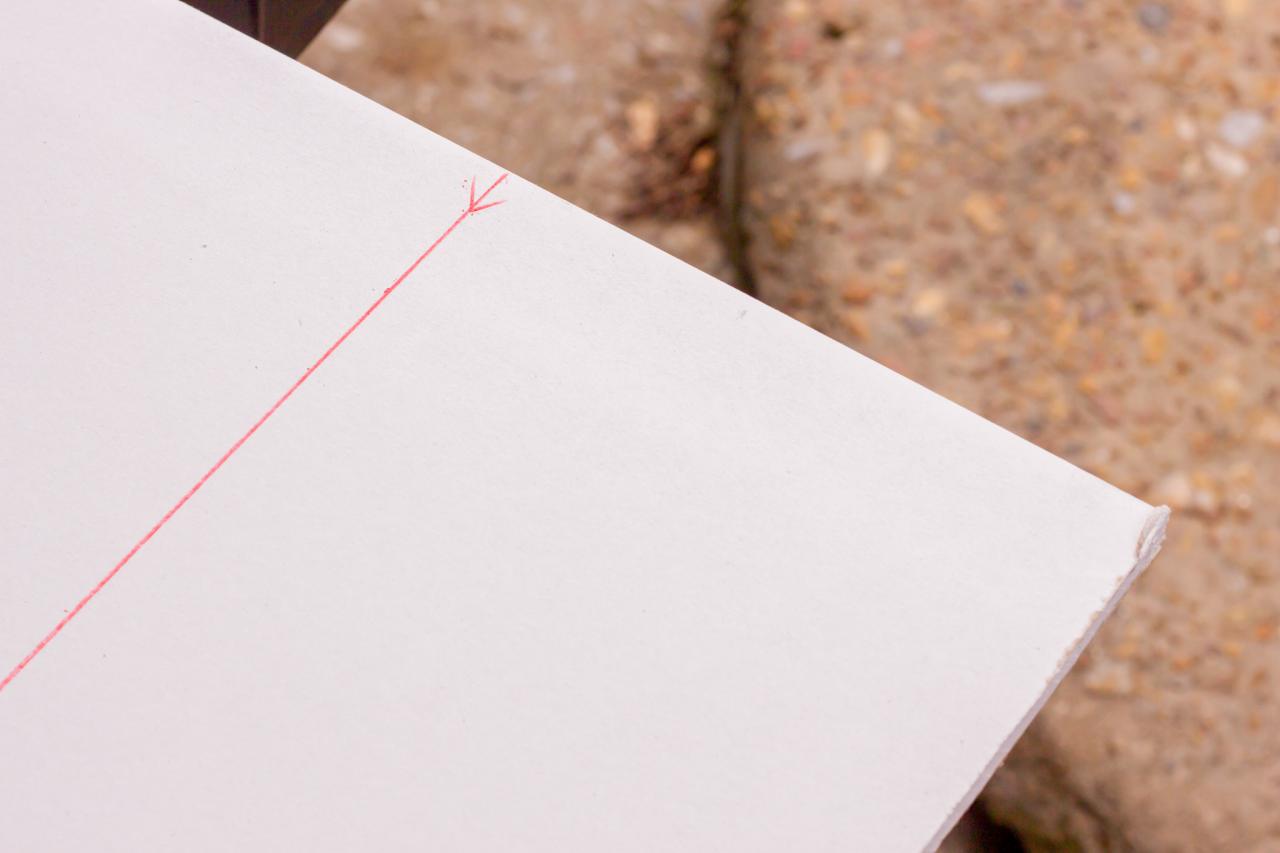
Patching drywall requires you to cut a clean hole around the damaged section, cut a patch to fit, screw the patch into place and tape around the joint before mudding. Cutting a bigger hole in the wall may seem counterintuitive, but it is the only way to get a strong, smooth finish. To cut the hole, start by using a stud finder to locate the studs on either side of the damage and place a level above the hole, straddling the two studs. Mark the line above the hole and repeat the process below the hole (Images 1 and 2). Use a drywall jab saw to poke through the drywall and cut along each line until you reach the studs (Image 3). Mark the studs by measuring over 1/2" to 3/4" using a square and marking down the center of the studs (Image 4). Once the studs have been marked, use a utility knife to cut out the drywall from the stud (Image 5).
Kamron Sanders

Kamron Sanders
Kamron Sanders
Kamron Sanders

Kamron Sanders
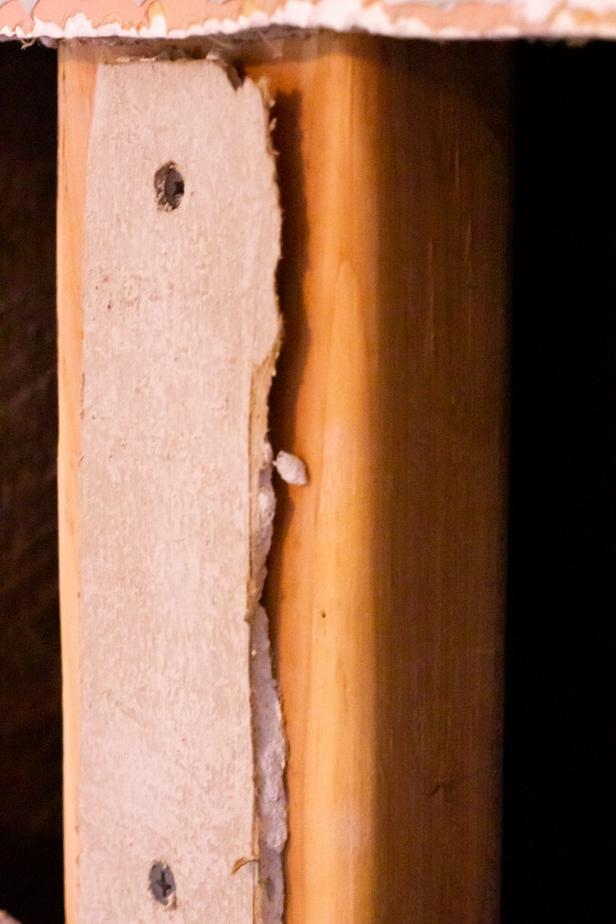
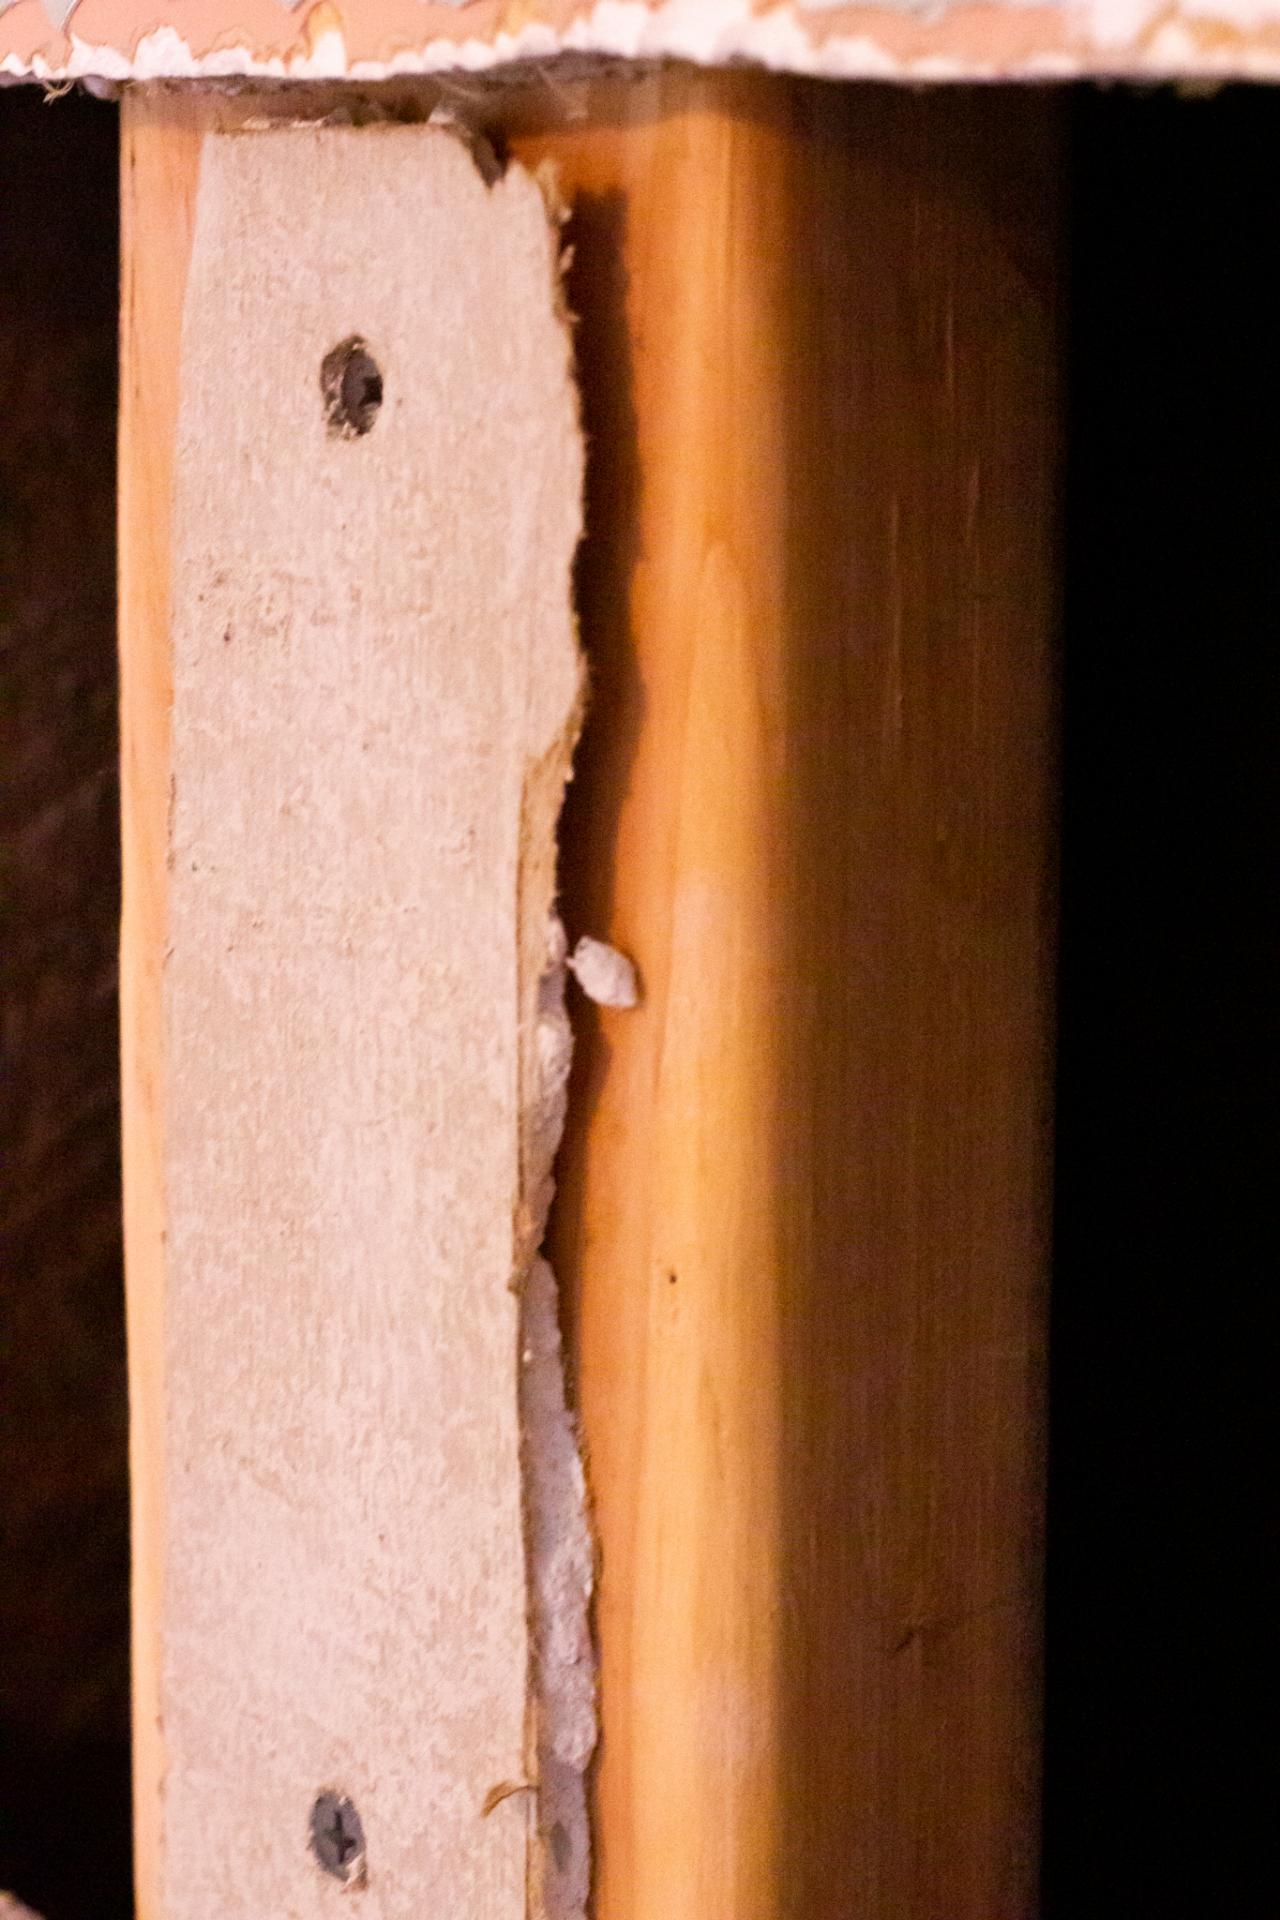
Pro Tip: Many older homes are full of unpredictable construction. Our home featured a layer of 3/8" drywall beneath the 1/2" drywall, most likely as a means of bringing the surface of the drywall out to meet a plaster surface or existing drywall. To avoid purchasing and cutting material to pad the stud and make up the difference, we left the 3/8" drywall on the studs as a spacer and placed the 1/2" drywall over top of it, just as we found it.

Kamron Sanders
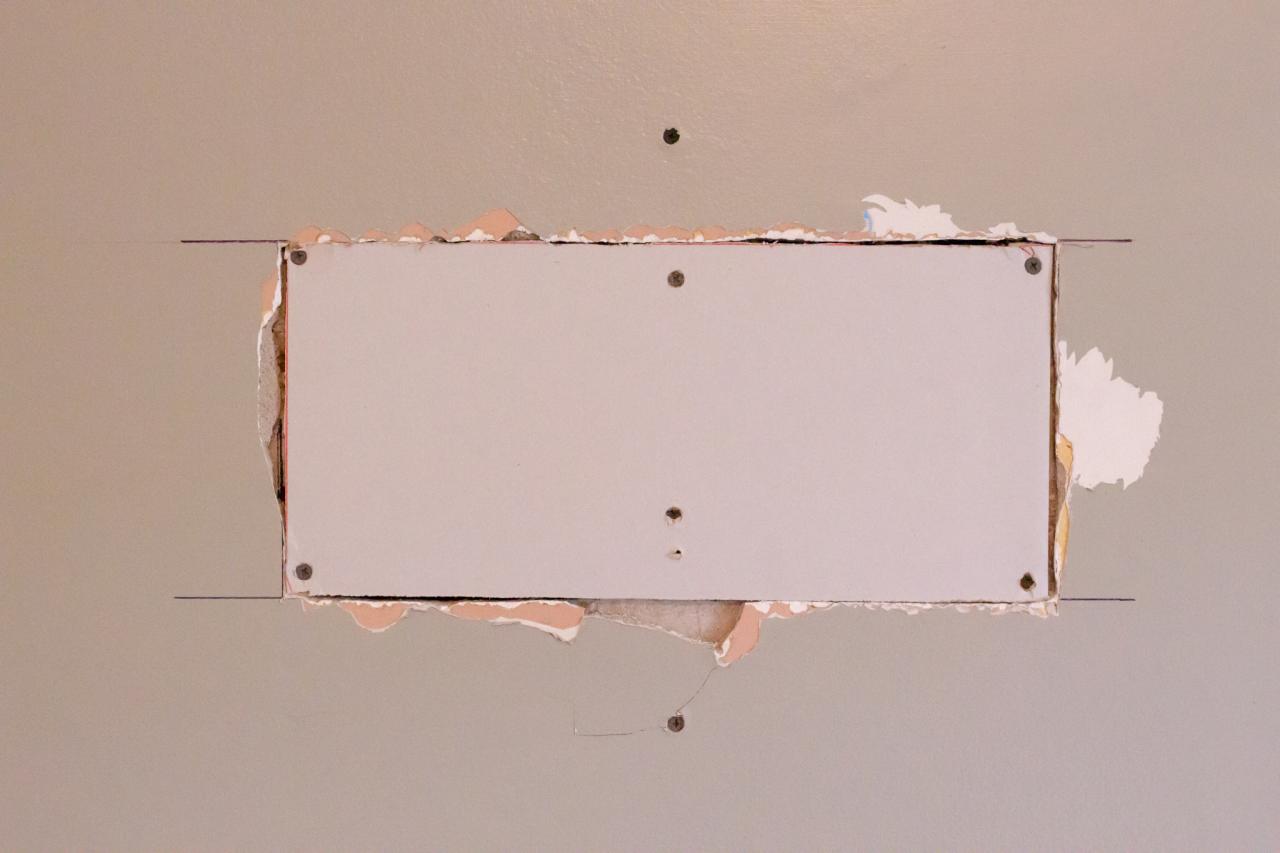
3. Attach a Support
Drywall is a fairly weak material. If you were to just screw a patch to the studs on each end, your drywall mud would crack in no time and the patch itself would never survive even the slightest hit. Because of this, it is smart to place a scrap piece of wood in the center of your cutout and screw it in place using drywall screws through the existing drywall (Image 1). If you have to pad out your studs, be sure to do the same on your support piece (Image 2).
Kamron Sanders
Kamron Sanders
4. Measure and Cut Patch
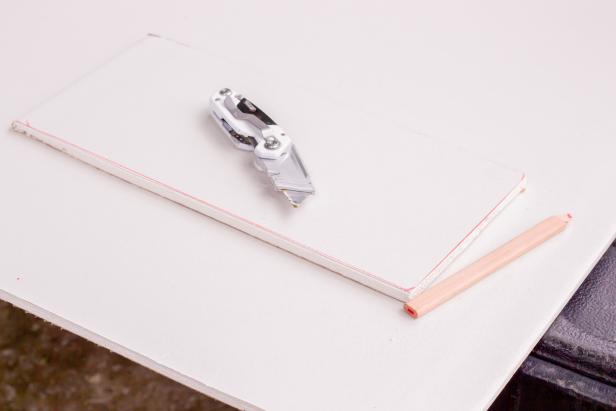
To cut your patch, measure the hole and subtract about 1/8" to ensure a good fit. The easiest way to cut drywall is to score the paper and break off the piece. You could cut out a custom piece with a jab saw, but you will likely end up with a mess.
Start by measuring the short side, tracing and scoring a straight line along the entire length of the drywall piece and breaking off the piece (Image 1). To cut the piece to length, repeat this process on the cutout piece (Image 2).

Kamron Sanders
Kamron Sanders
5. Place the Patch
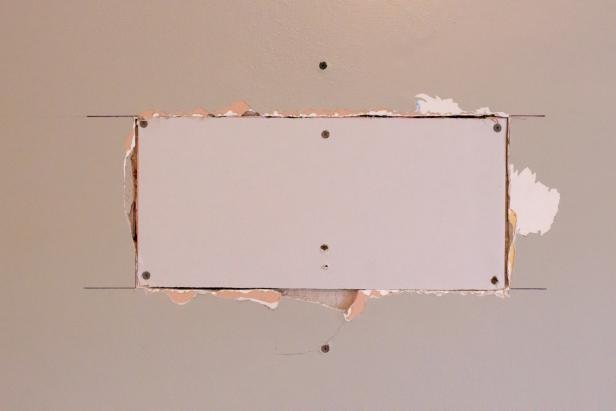
Place the drywall patch in the hole. If there is any difficulty sliding the patch in place, locate the spot and modify it rather than forcing it. The patch can easily crack, and you will have to make another one. To modify any places that don’t fit, cut away the excess using a utility knife or a drywall rasp. Once fixed, slide the patch into place and secure using drywall screws. Be sure to countersink the screws just below the drywall surface to allow a void for the mud to fill.
Kamron Sanders
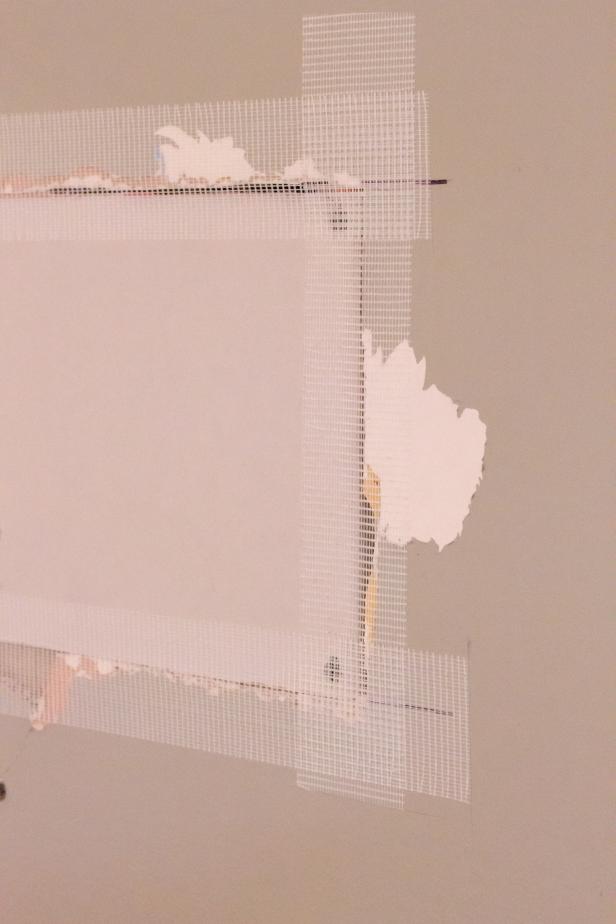
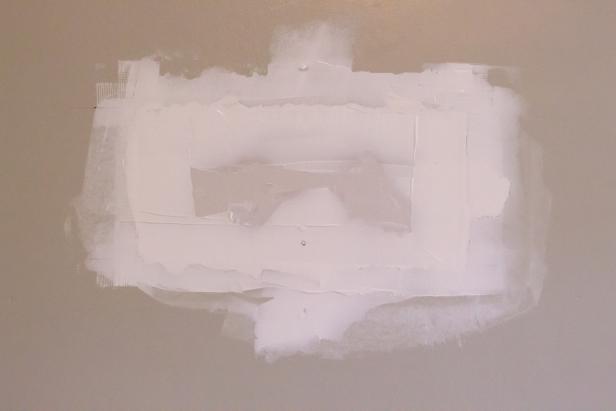
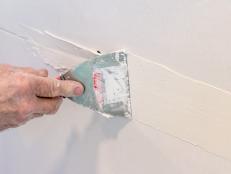
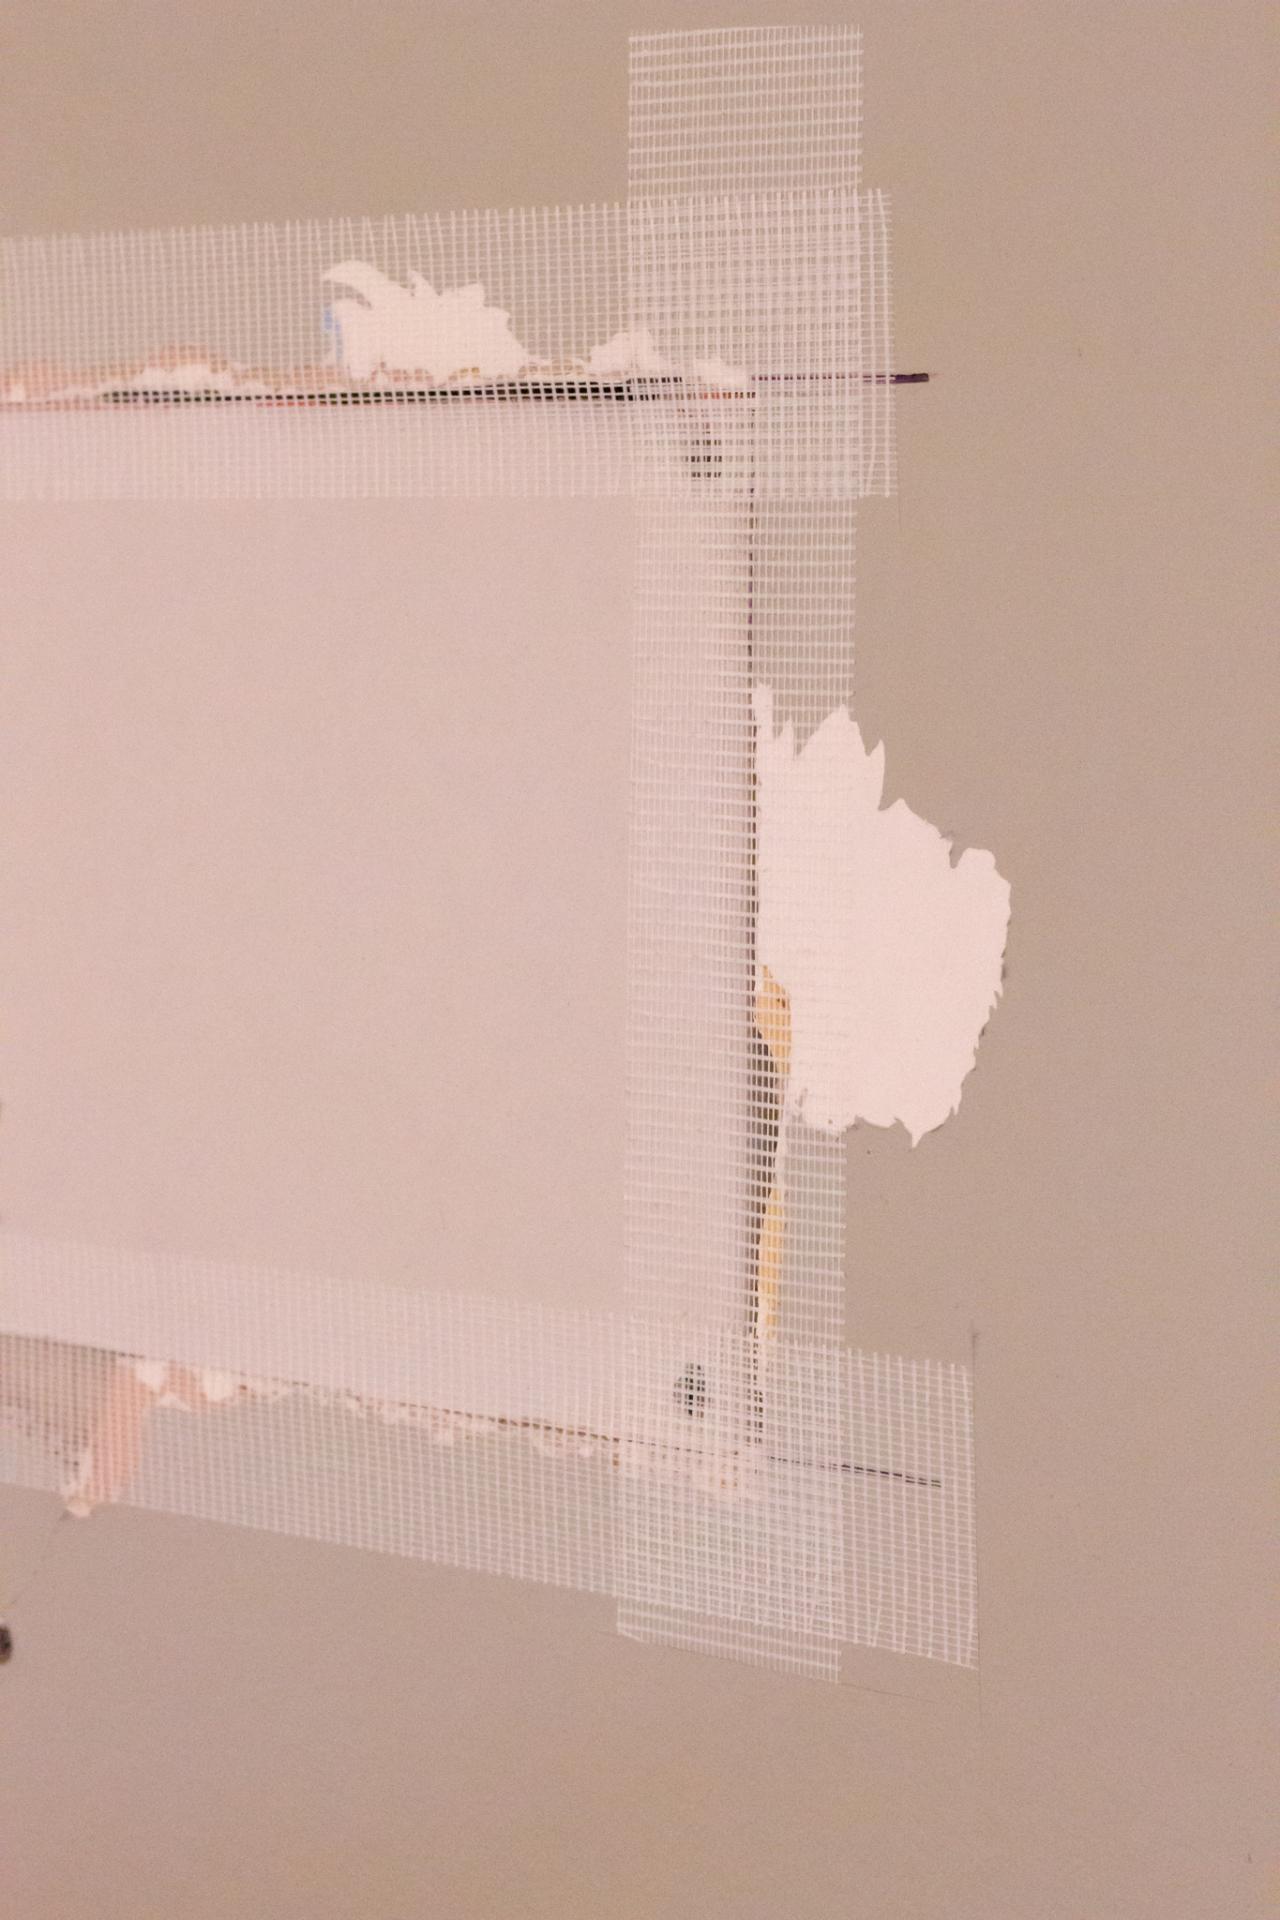
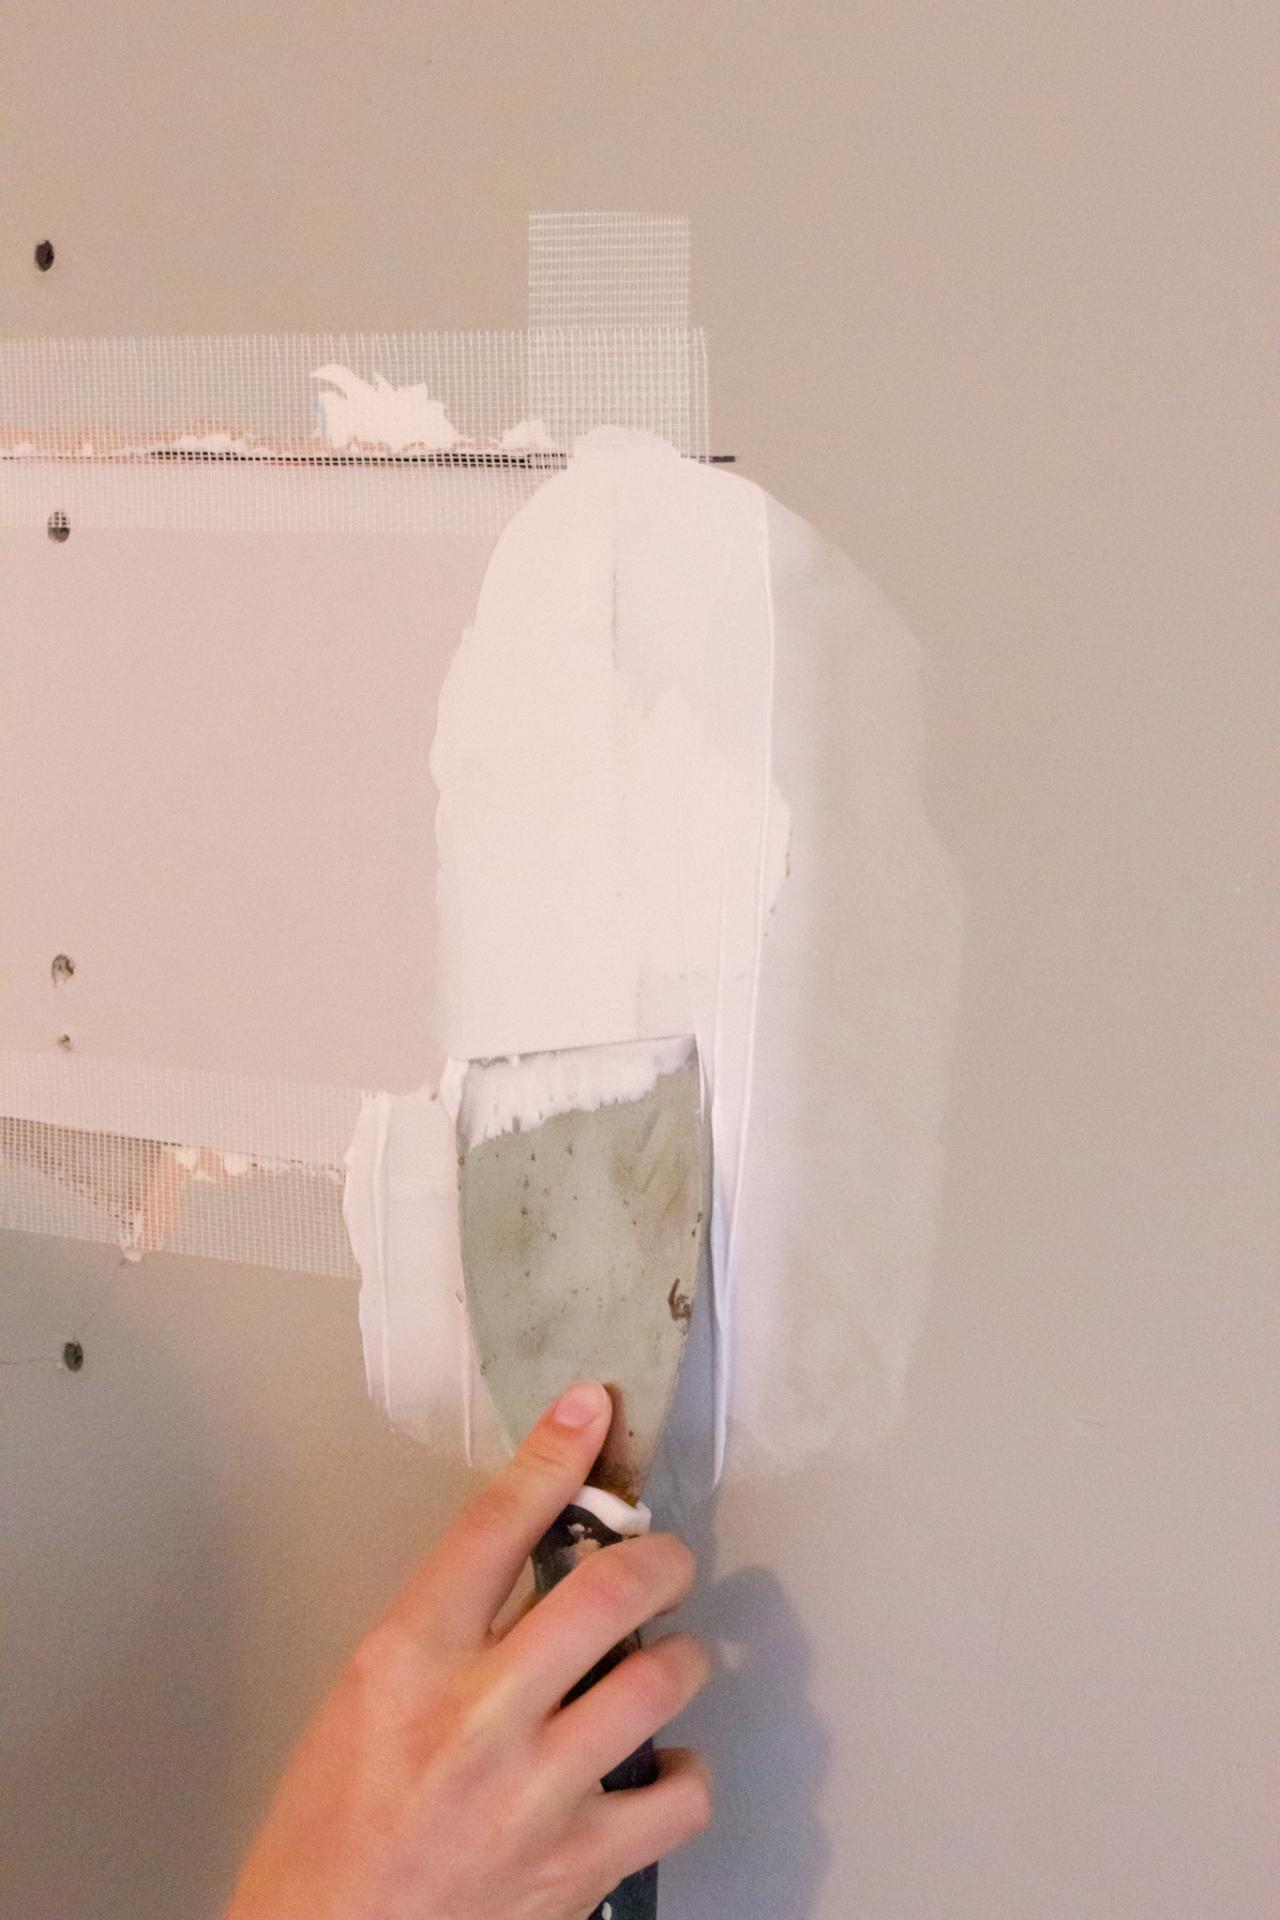
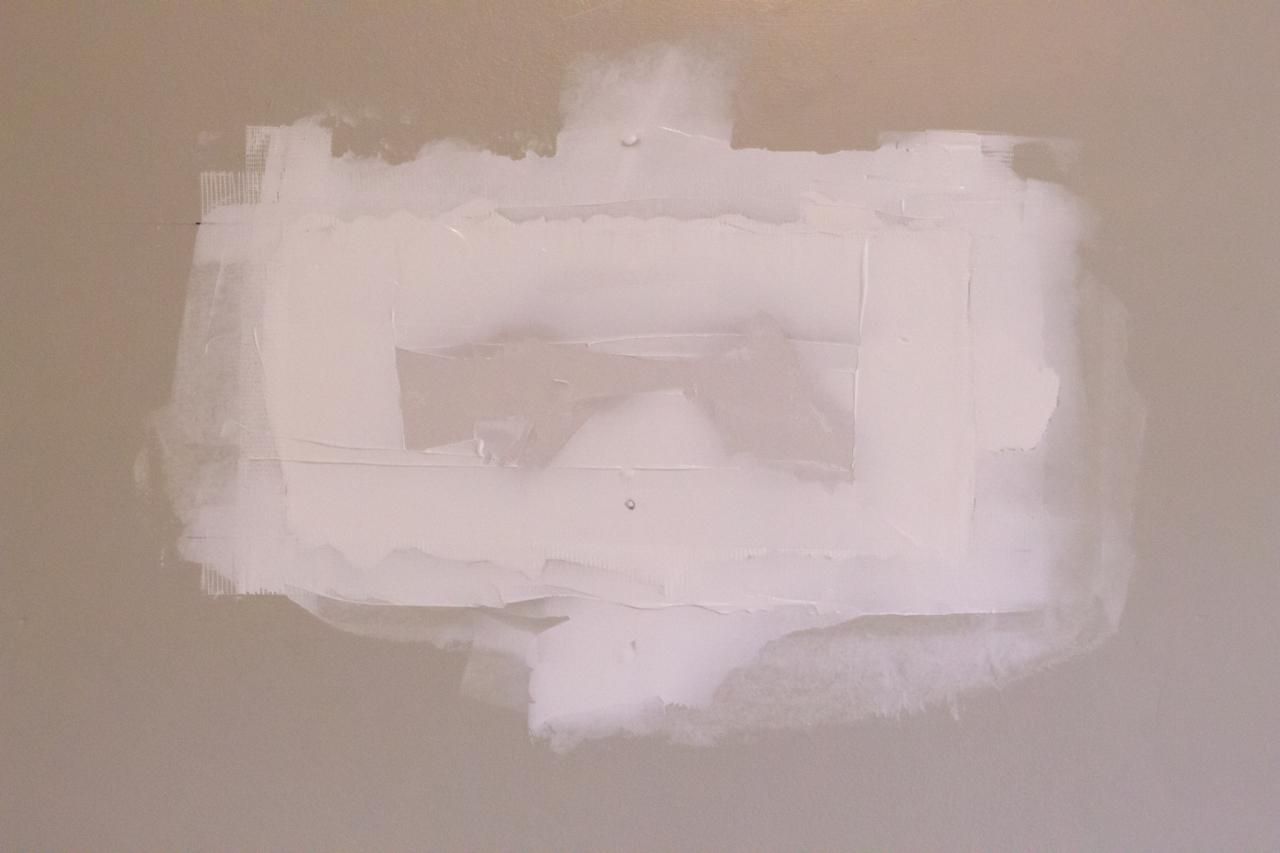
6. Tape and Mud the Repair
To finish the repair, use self-adhering mesh tape to cover the gaps along the edges (Image 1). Fill the voids with joint compound and let dry completely (Images 2 and 3). Once dry, simply sand until smooth and paint. If you’re unhappy with the smoothness of the repair, repeat the mudding and sanding process until you’re satisfied, and then paint.
Kamron Sanders

Kamron Sanders
Kamron Sanders
Pro Tip: Voids like screw holes tend to suck in drywall mud, leaving you with a second hole to fill once you sand the first coat. To avoid this, simply dab a little extra mud over the top of the screws when applying the first coat of mud.


