


How to Insulate an Attic
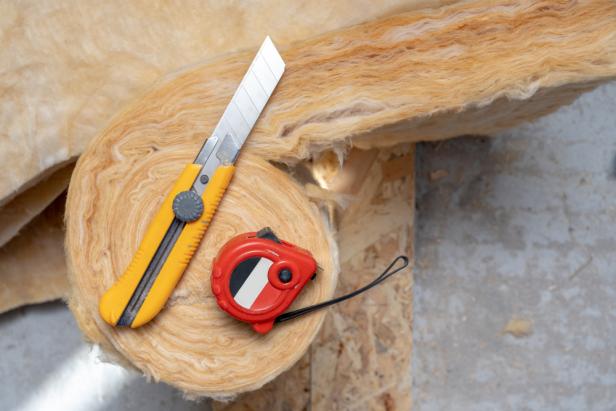
Whether your attic is finished or unfinished, choosing proper insulation requires a fair amount of planning. Learn more about batts-and-blankets, rigid foam and loose-fill insulation options that will help keep your house warm in the winter and cool in the summer.

Attic insulation serves several functions in a home, regardless if it's finished or unfinished space. Installing attic insulation is an upfront investment that pays off in the long run. Proper insulation will help with:
- the retention of both warm air and cool air
- lowering energy costs for heating and cooling
- reduced moisture
Shutterstock/brizmaker
An unfinished attic serves as a cold zone. In a cold zone, the temperature inside the attic should be the same as the outside air. The purpose of insulation that lays along the ceiling joists (the attic floor) is to keep the home’s rooms cool in summer and warm in winter. The walls and ceiling of an unfinished attic do not need to be insulated, but it’s important to have vents in the roof.
A finished attic is treated like any room in the home. The insulation will cover the walls and create a barrier between the ceiling and the roofing to keep the room comfortable year-round.

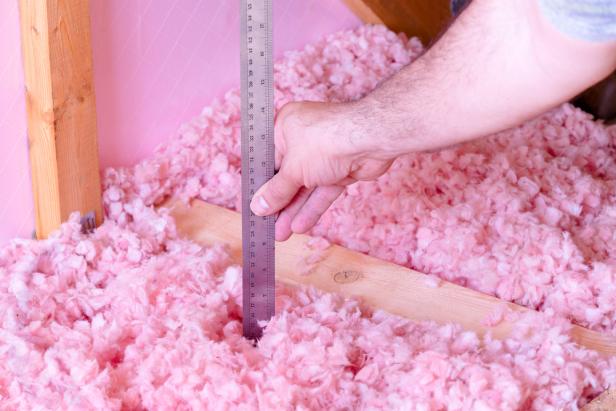
Why R-Values Matter in Energy Efficiency
R-value measures the ability to prevent the transfer of heat; the larger the number, the harder that insulation is working at preventing heat conduction.
Types of Insulation
Insulation options on the market are enough to overwhelm any DIYer. Modern insulation options go far beyond the classic rolls of pink fiberglass you thought you knew. Cotton batting alternatives, rigid foam panels and fluffy, loose-fill are all great alternatives with important benefits. Determining which type of insulation will perform best in your home will depend on the space.

Shutterstock/David Papazian
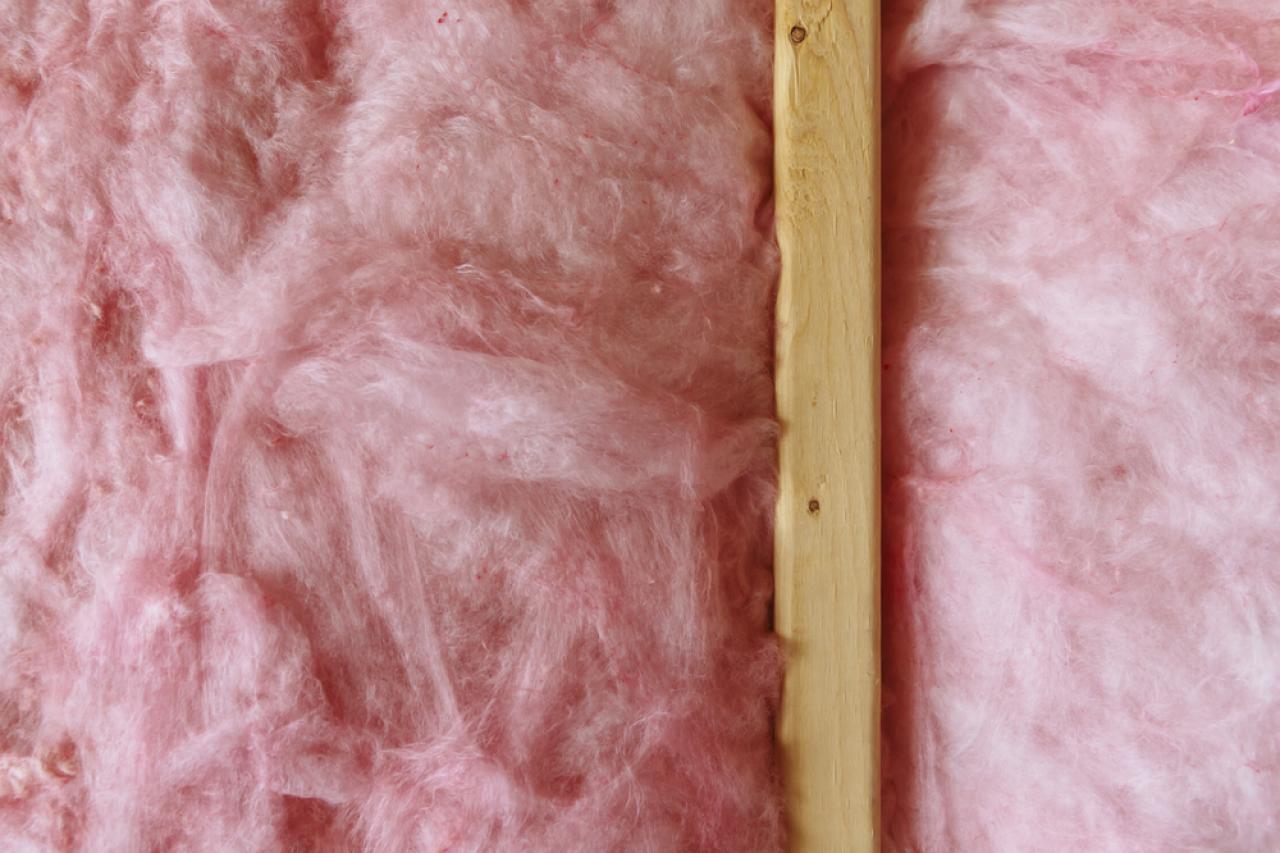
Batts-and-Blankets Insulation:
Fiberglass batts are used readily by homeowners and professionals. They are affordable, inexpensive, accessible and have proven to work. Rated as R-38, fiberglass batts are sized to fit perfectly between the standard spacing of the wood framing inside walls and ceilings. They also have a paper backing that helps block moisture. While fiberglass is readily available, inexpensive and effective, its airborne fibers aren’t healthy to inhale. This will affect the installer, but will not be an issue if the homeowner doesn’t come into contact with or disturb the insulation once it is installed.
Cotton batts are a great alternative for eco-conscious consumers and offer a comparable R-value. Made from recycled denim, they really are as fluffy as they look. Cotton batting doesn’t release harmful fibers like its fiberglass counterpart, but it’s just as easy to install in homes. And if you’re looking to soundproof a room, there are benefits to choosing cotton batts over fiberglass.
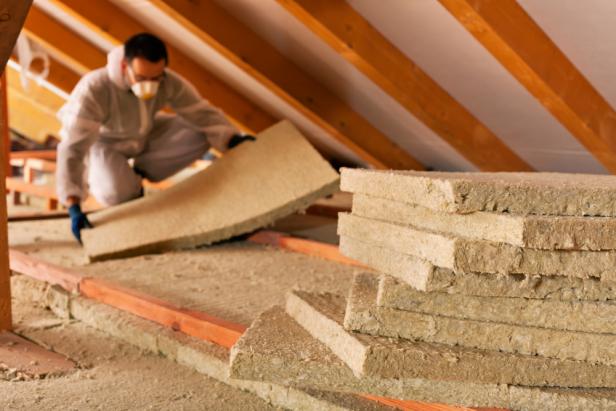
Shutterstock/Nagy-Bagoly Arpad
Rigid Foam Insulation:
Open-cell foam made of polyurethane is an insulation option for attics that is sprayed into the open framing of the walls and ceilings. Its air pockets create a soft, lightweight insulation. It is also thought to provide a higher R-value (think: R-49) and better draft protection than fiberglass and cotton batts. Installers who spray rigid foam have a better likelihood of using the material to get into small, hard-to-reach areas of an attic that are often hard to access with batts.
Open-cell foam averages double the price of fiberglass, taking it out of the running for many homeowners.
Closed-cell foam is a far denser insulation alternative — it’s also three times as expensive as fiberglass but for good reason. Sealed air pockets are installed with an insulating gas (not air) to maximize the R-value. It's popular for its ability to block drafts and reduce moisture. In some cases, the rigidity of the foam can actually strengthen the integrity of a structure. One downside is that it is inflexible and would need to be cut away if you needed to access an area of your attic or needed to run new venting through the space.
Shutterstock/Kurteev Gennadii
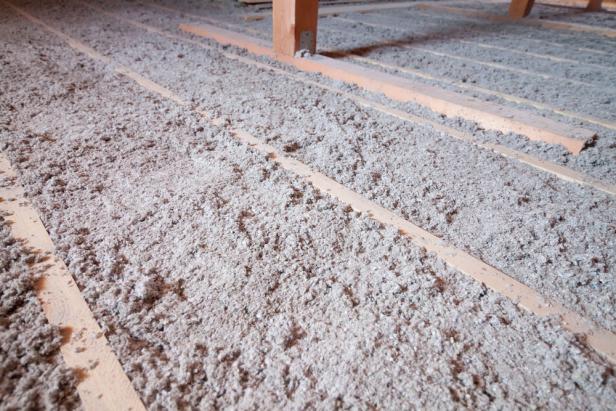
Loose-Fill Insulation:
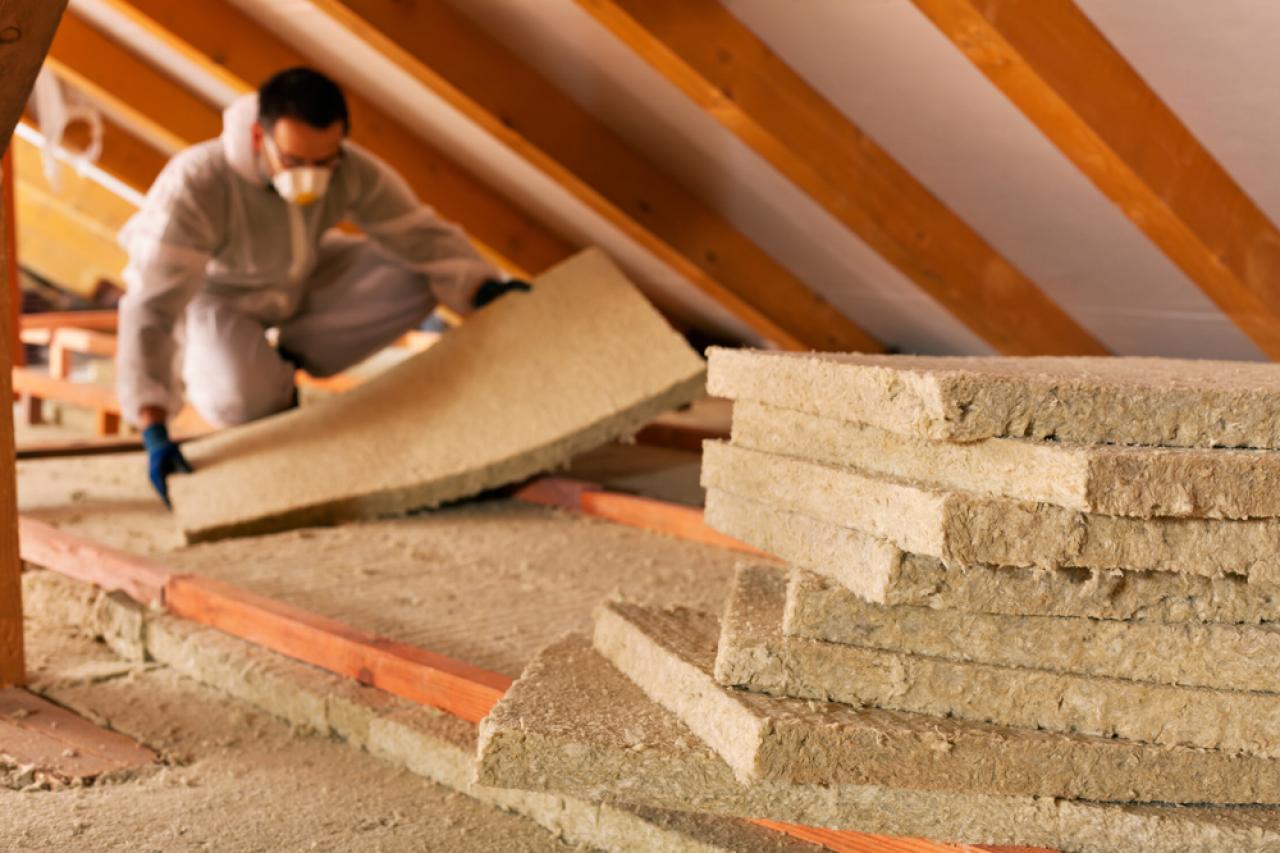
Loose-fill insulation, or blown-in insulation, is an environmentally friendly alternative. Manufactured as blown-in cellulose insulation, fiberglass and mineral wool all use recycled materials including recycled glass, shredded newsprint and cardboard or industrial waste.
Loose insulation is rated with different R-values based on the material. You’ll also have to adjust for expected settling that will occur over time and reduce the installed R-value. Though fiberglass and mineral wool do not lose significant density over time, cellulose loose-fill will. Cellulose installers should plan to add 20% more material to the attic to compensate for natural settling.
This type of fill is popular with those seeking a lower attic insulation cost. Blown-in insulation costs are effective and many homeowners are budget-conscious when insulating a large, unfinished attic. While it’s easy to install, it does require careful planning to protect ceiling fixtures, soffit vents and ductwork. It does an excellent job providing coverage, unlike batts which can sometimes leave spaces for air to escape.
Loose-fill can even be used in finished attics if it is given enough time to dry. Cellulose, for example, needs to be dry before it meets its maximum R-value. If it’s sealed in drywall before it dries, it can settle more than expected or even clump behind the walls reducing effectiveness.
While more costly, loose-fill can offer homeowners significant savings on their utility bills.
Non-Finished Attics vs. Finished Attics
Both unfinished and finished attic spaces demand excellent insulation to support the efficiency of one’s home. That said, there are differences in how to insulate attics if you’re treating the space as a cold zone (unfinished) or a well-insulated space worthy of its own climate.
Insulating an Unfinished Attic
Any unfinished attic needs to serve as a cold space above the main living area. As a cold space, its purpose is to provide proper air ventilation from the outdoors while preventing air from leaking from heated living spaces. If you don’t insulate your unfinished attic, you’ll face heat loss, higher electrical bills and may even face ice damming and water damage in colder climates.
An unfinished attic isn’t easy to navigate, which can make insulating it corner-to-corner a challenge. Many homeowners benefit from laying boards positioned across joists for balance and added surface area. When you’re installing insulation, you can’t risk stepping between the joists or chance breaking the ceiling drywall below.
Identify uncovered electrical boxes and exposed wirings before insulating. If you have recessed lights or heat-generating fixtures, learn what options you have for covering downlights with insulation. Also, use caulk and weatherstripping anywhere air can pass between the attic and the rooms below, such as in areas surrounding light fixtures, electrical wires, pipes, and ducts. It’s also important to check for proper venting to eliminate moisture retention.
Shutterstock/irin-k
Batts-and-blankets insulation often comes with a moisture barrier facing, but some varieties of rigid foam insulation need no extra barrier protection. The placement of the sheeting can vary based on your region. When in doubt, it is a good idea to install a thin radiant barrier of polyethylene on the underside of the insulation to prevent moisture from compromising your insulation material. That said, one pro tip is that you should use unfaced insulation near flues and chimneys, or if you’re adding new insulation to increase the density and R-value of your existing attic insulation.
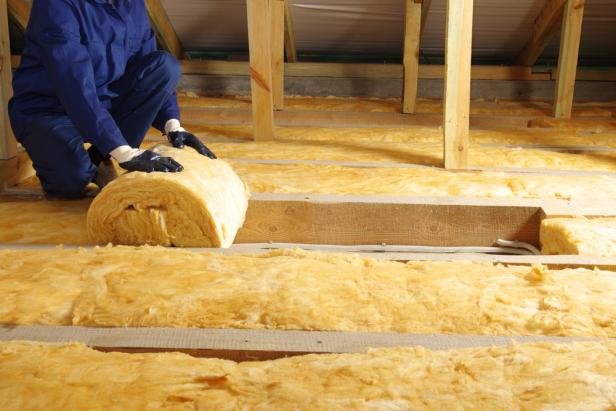
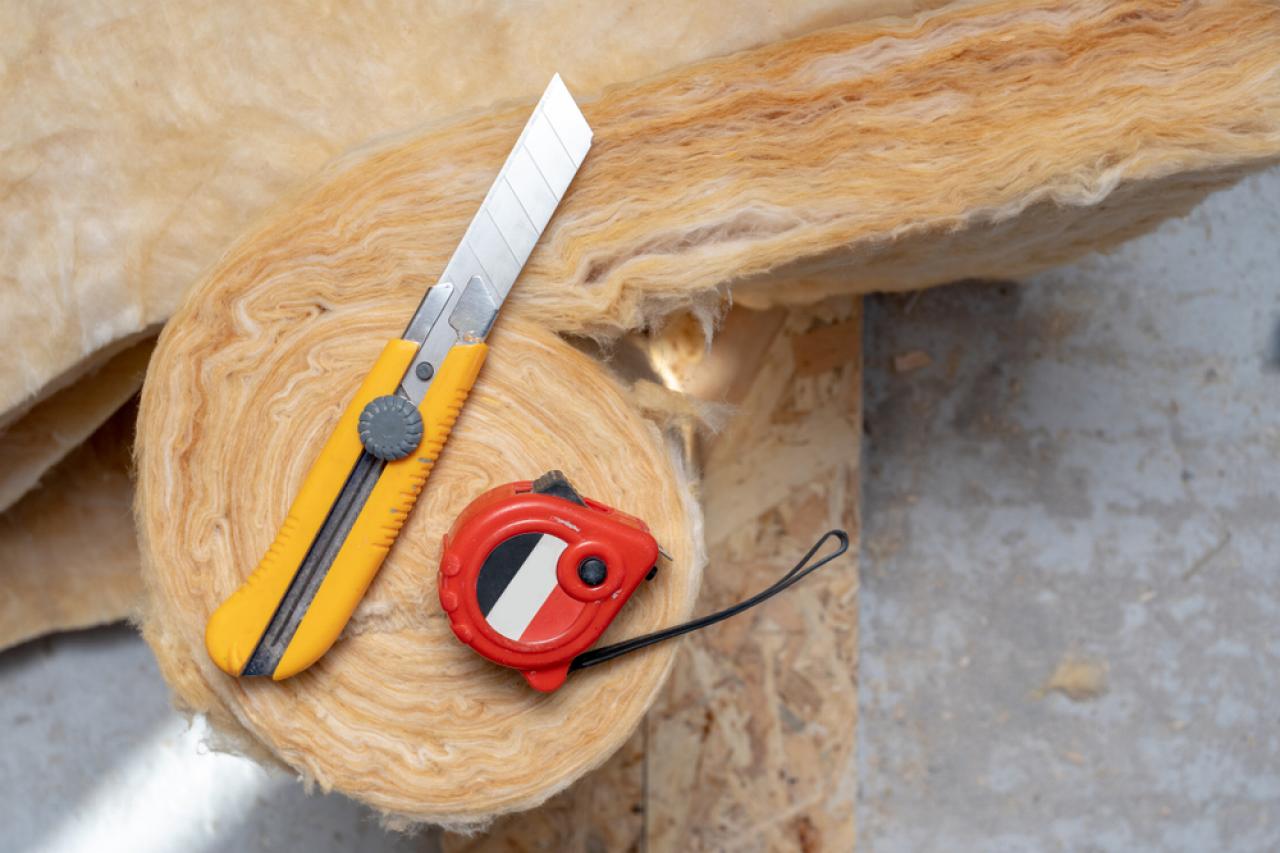
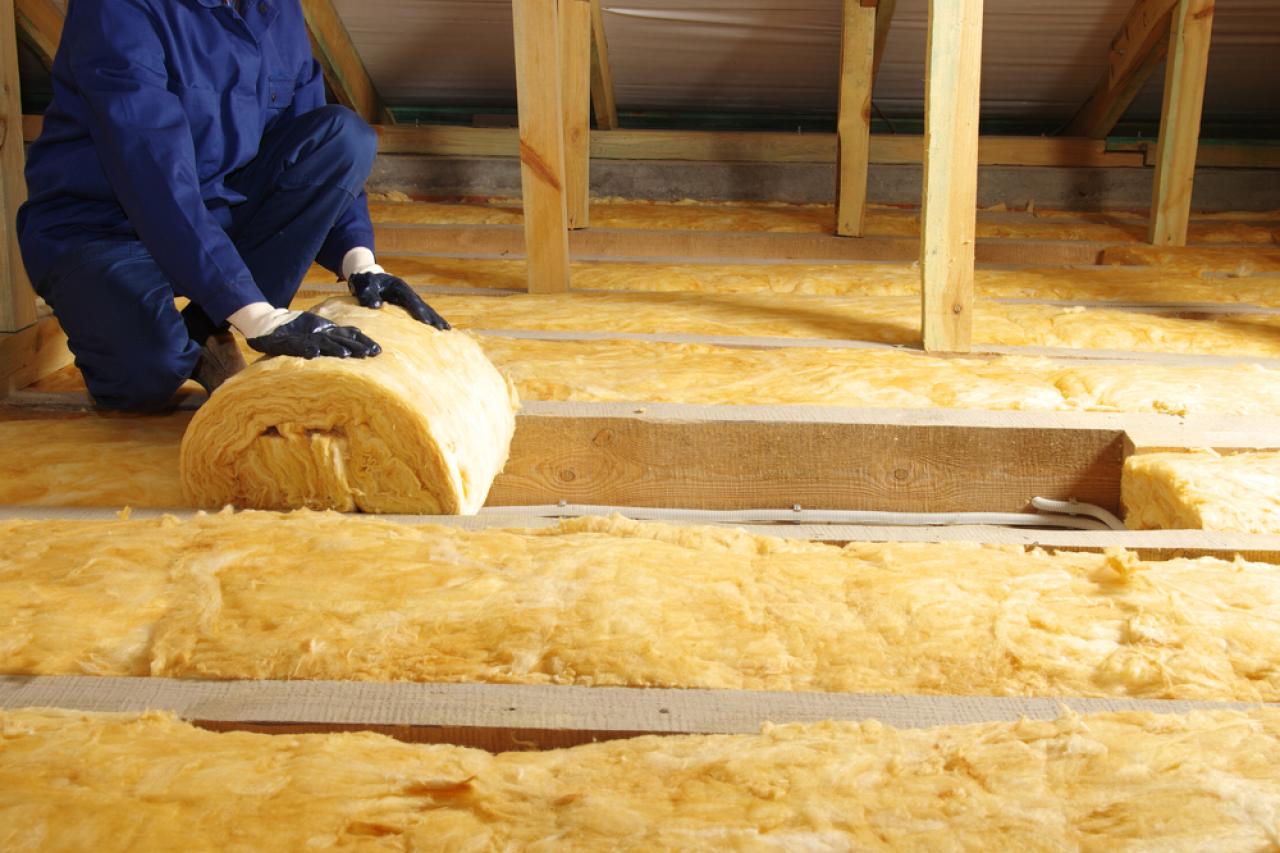
When you’re unrolling batts and blankets, begin at a wall and unroll toward the center of the attic floor. From there, insulate toward the attic door. Avoid compressing the material and allow it to overlap the top plate of the exterior wall. As you unroll the material, cut each strip to the proper length.
Shutterstock/Ozgur Coskun
To install loose-fill in an unfinished attic, fill the space between joists with insulation starting from the walls and backing up slowly toward the center of the room or the attic entryway. As you fill around obstructions, leave rafter vents uncovered. It’s easiest if you start at the perimeter of the unfinished attic and work backward toward the attic door. Many who have installed their own loose fill would recommend that if you can, have a partner for this job; it goes a lot faster. One person can manage the spray of the loose fill and rake it into place, while the other can control the hopper.
Insulating a Finished Attic
Finished attics are insulated much like the rest of the house. Insulation in the walls and ceiling between the roof and the drywall keeps the insulated room at a manageable temperature.
If you’re finishing an attic from scratch, you’ll have your pick of options for insulation. All insulation can be installed along the roofline and all the way down to the floor before the space is drywalled.
Most previously finished attics have some degree of insulation, but it’s never a bad idea to raise the R-value if it feels like the space doesn’t retain heat or AC. If you’re not willing to remove the drywall, you may be able to access gaps in the joists behind sidewalls.
Keep in mind that even with insulation, the roof in a finished attic should be able to “breathe,” meaning that air should flow through the eaves and all roof venting. Ventilation keeps the roof cold in winter and prevents ice dams that can damage your shingles and home.
If you suspect that your insulated attic lacks ventilation, check that eaves and ridge vents aren’t blocked and then look to installing special rafter vents. Rafter vents allow air to move behind the insulation so the roof stays cold while the room inside remains comfortable.

26 Amazing Attic Remodels 26 Photos
Looking for more square footage? Embrace the angled walls and convert your attic into a master suite, guest room, office or a custom hideaway.


