


5 Hidden Storage Hacks for Small Spaces
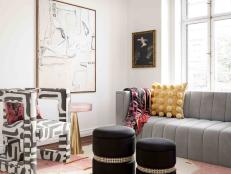
Two words: secret storage. Discover sneaky ways to squeeze more storage into any small space with our clever hacks.


CANVAS PAINTING STORAGE NOOK

Karen Kavett
Materials + Tools
- canvas artwork
- poster board
- hot glue gun + sticks or staple gun
Karen Kavett

Karen Kavett

Karen Kavett
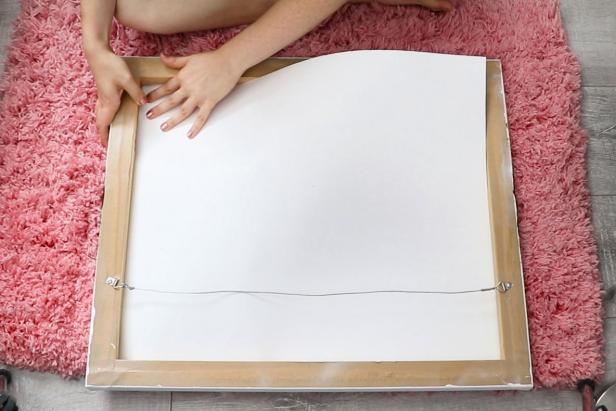
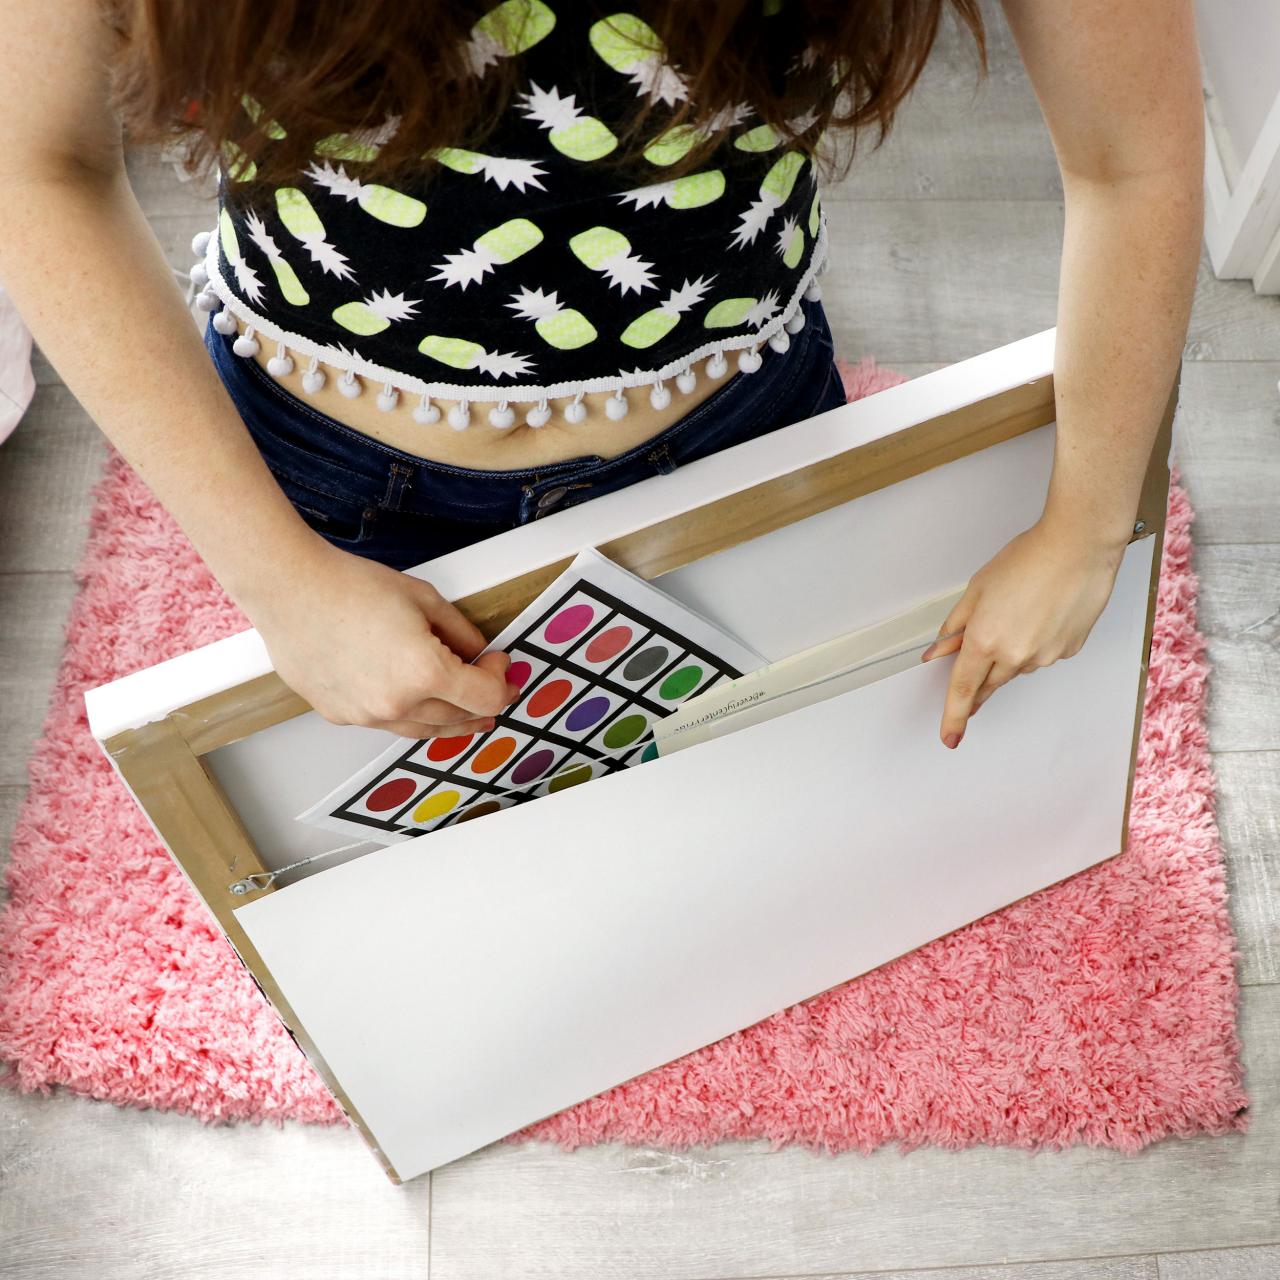
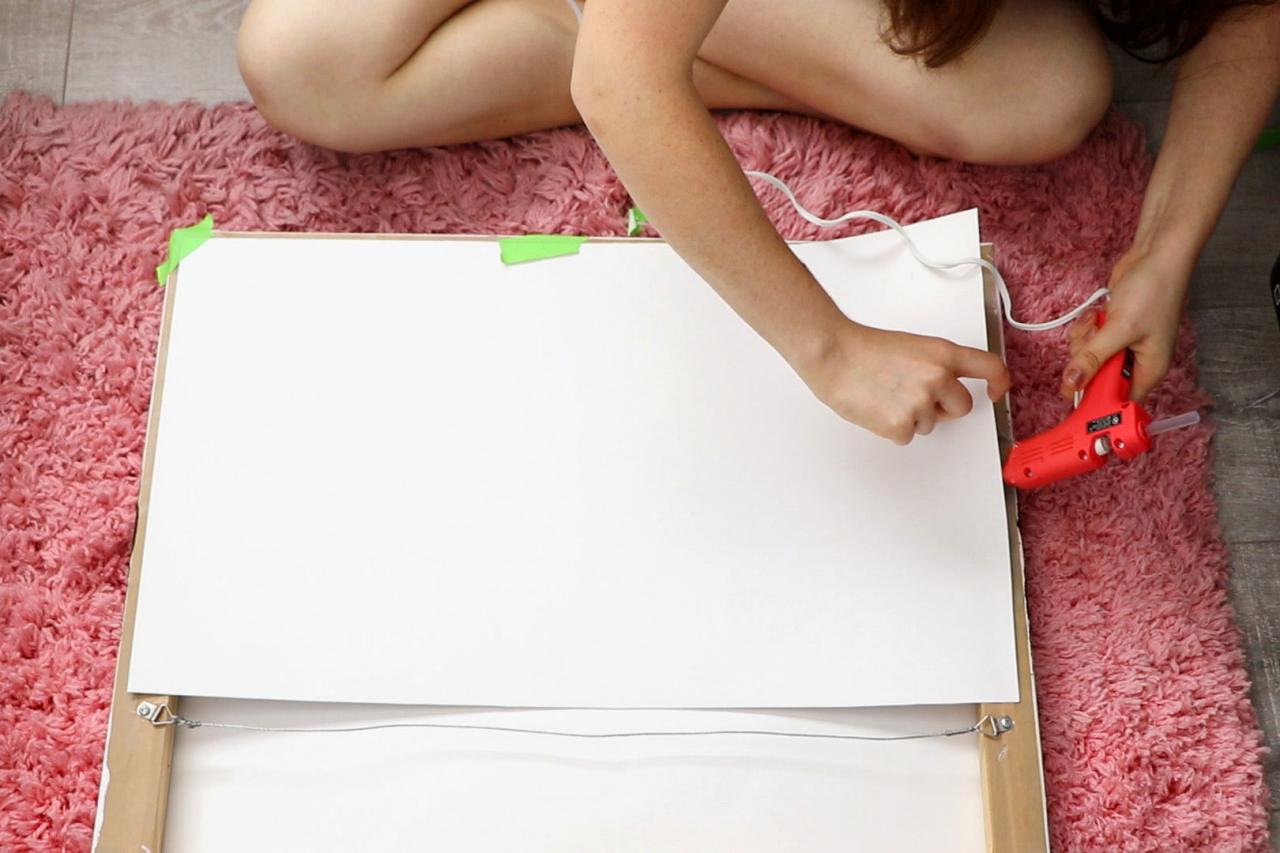
Start with a piece of canvas wall art. Cut a piece of poster board to fit inside the wood frame to give the canvas more structure and prevent your storage items from showing through (Image 1). Cut a second piece of poster board to fit on the back of the canvas underneath the hanger. Hot glue or staple in place (Image 2). Place papers or anything lightweight in your new secret storage compartment and hang (Image 3).
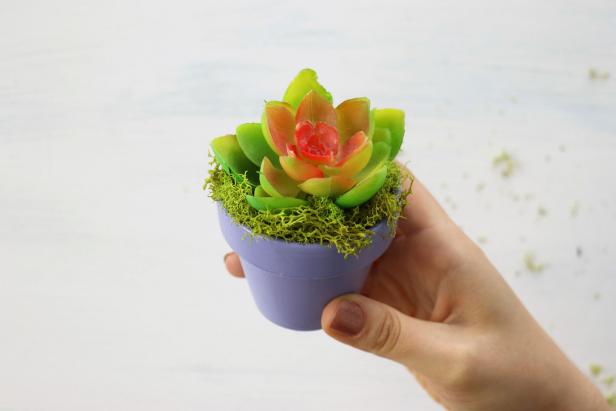
POTTED PLANT SECRET STORAGE

Karen Kavett
Materials + Tools
- small flowerpot
- cardboard
- scissors
- colored tape or paint
- pencil
- hot glue gun + sticks
- faux succulent
- moss
Karen Kavett
Karen Kavett
Karen Kavett
Karen Kavett
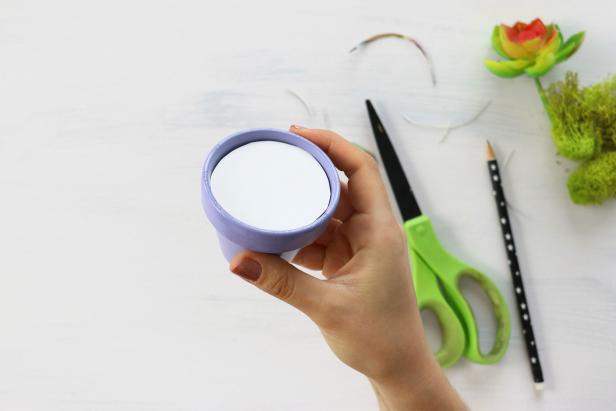
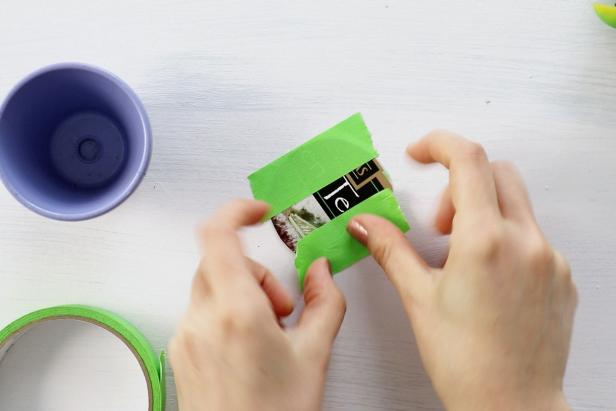
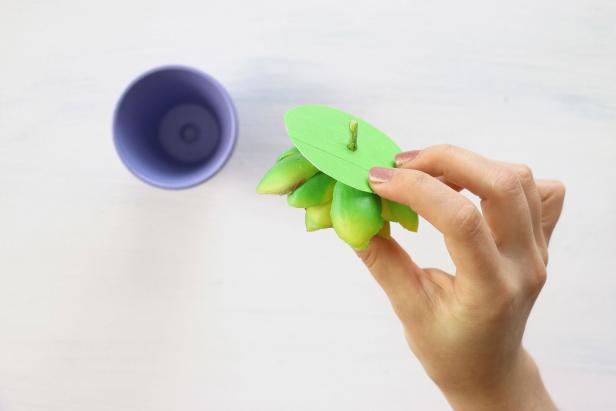
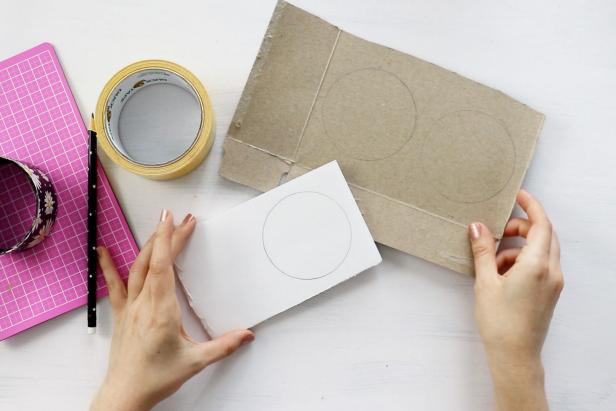
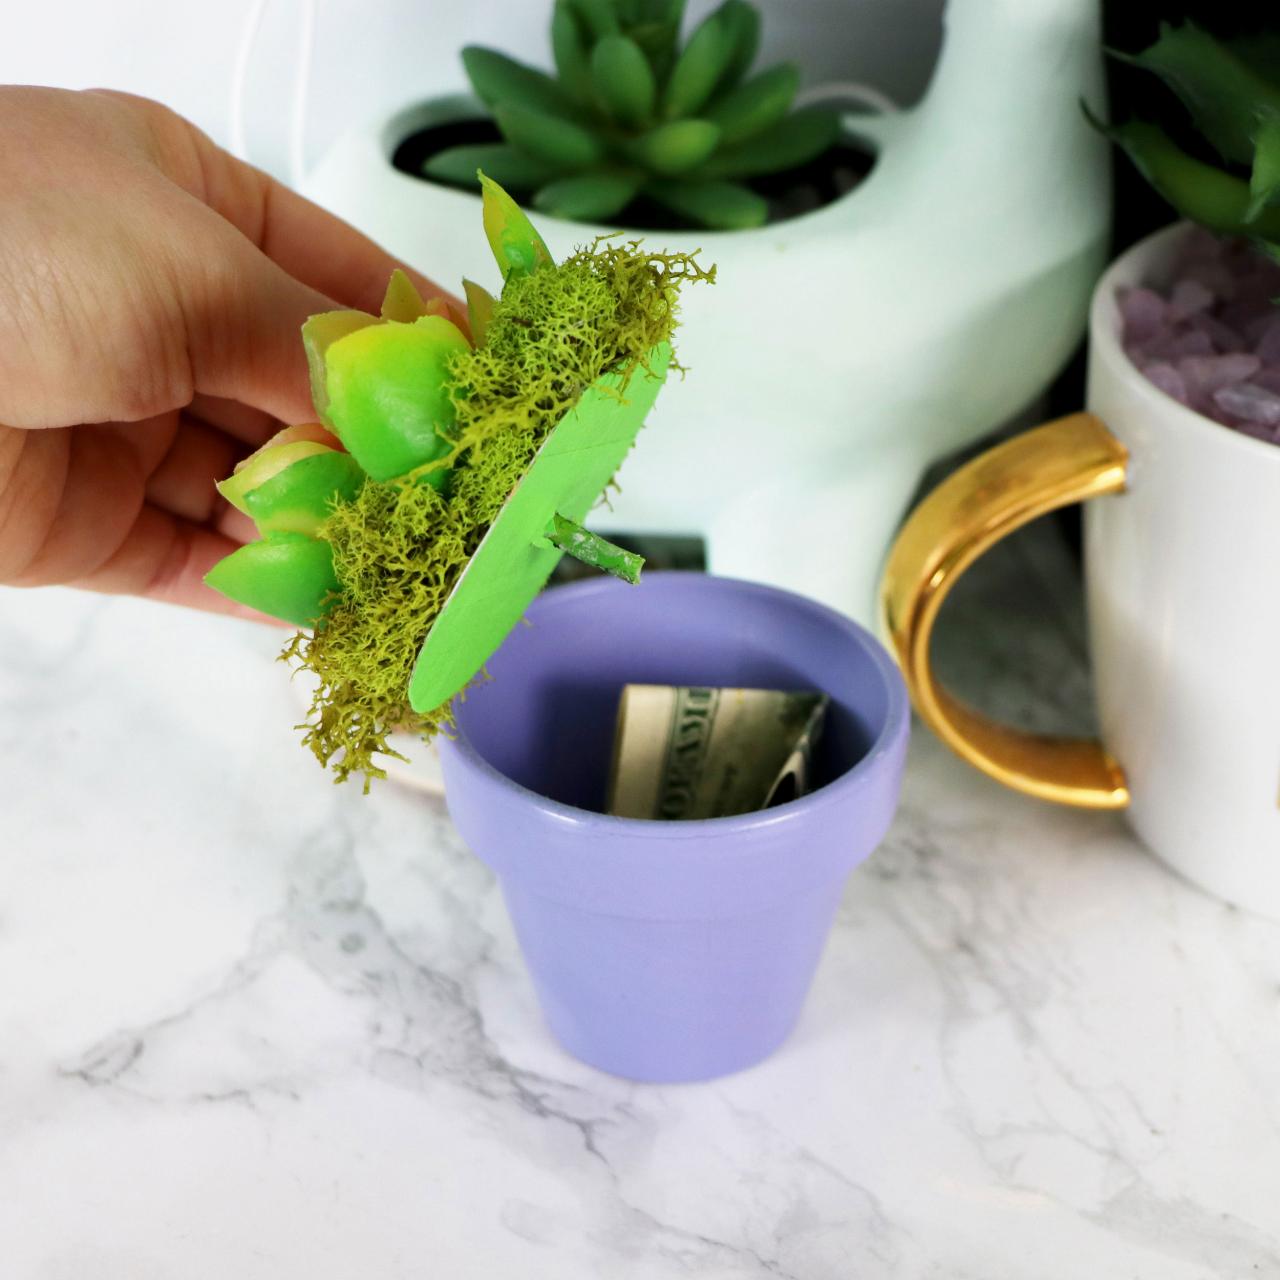
Trace the top of your flower pot onto cardboard and cut it out. Cut down the circle until it fits just inside the top of the planter (Image 1). Optionally, use tape or paint to cover up any designs on the cardboard (Image 2). Cut a small hole in the center of your cardboard circle and insert the faux succulent, using hot glue to keep it in place (Image 3). Glue moss around the edges of the succulent to make the lid for your hidden storage potted plant (Image 4).
TEMPORARY TENSION ROD SHELF

Karen Kavett
Materials + Tools
- tension rods
- foam board
- duct tape

Karen Kavett

Karen Kavett
Karen Kavett

Karen Kavett

Karen Kavett
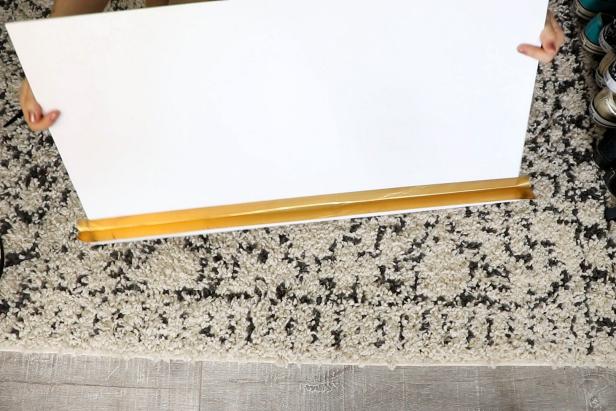
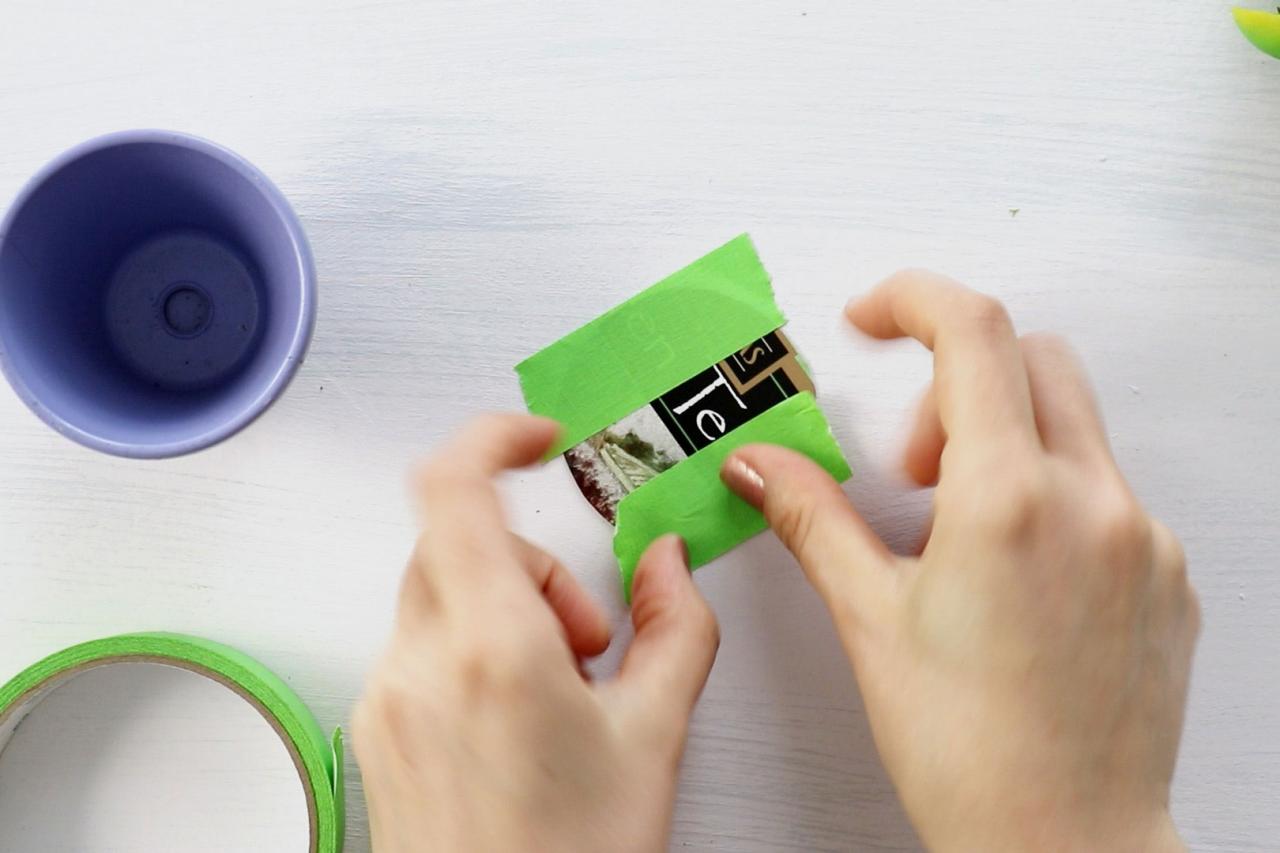
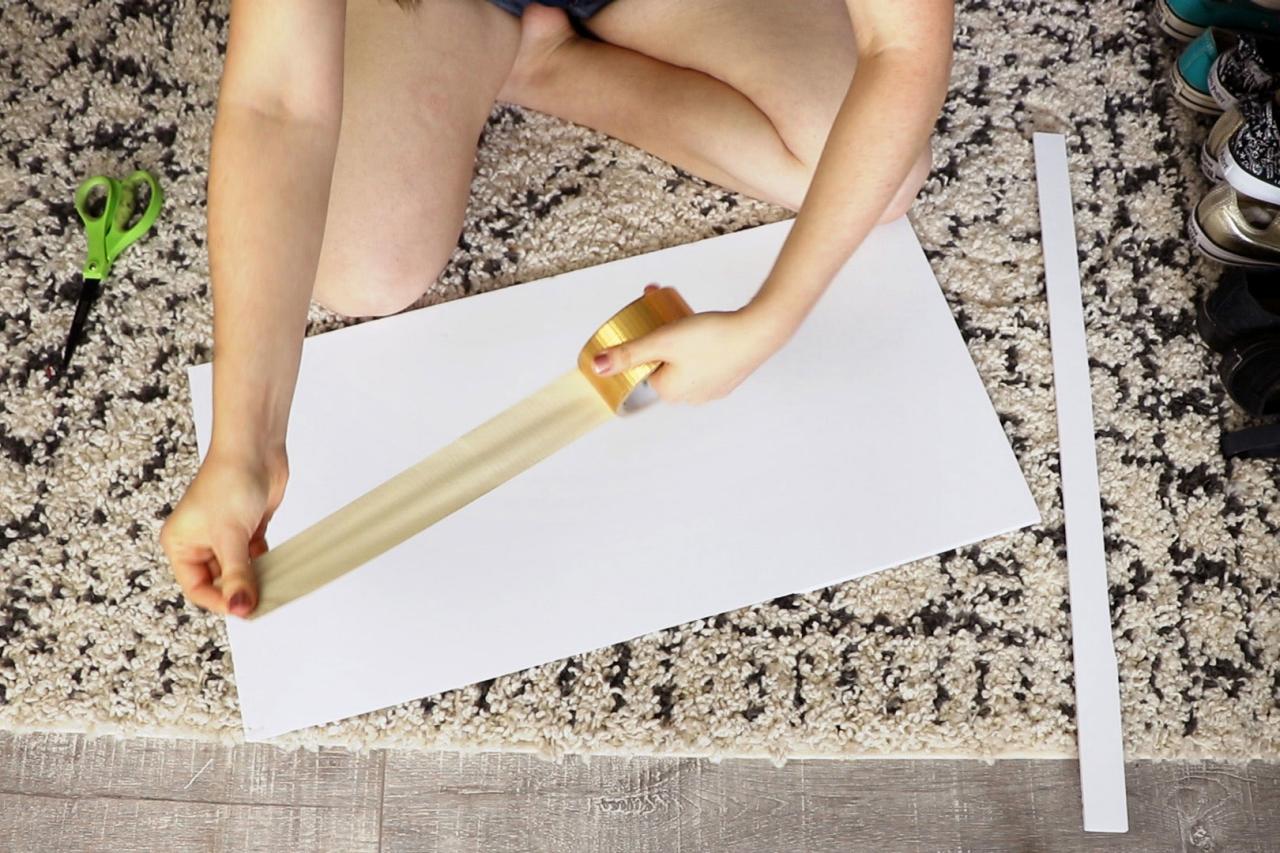
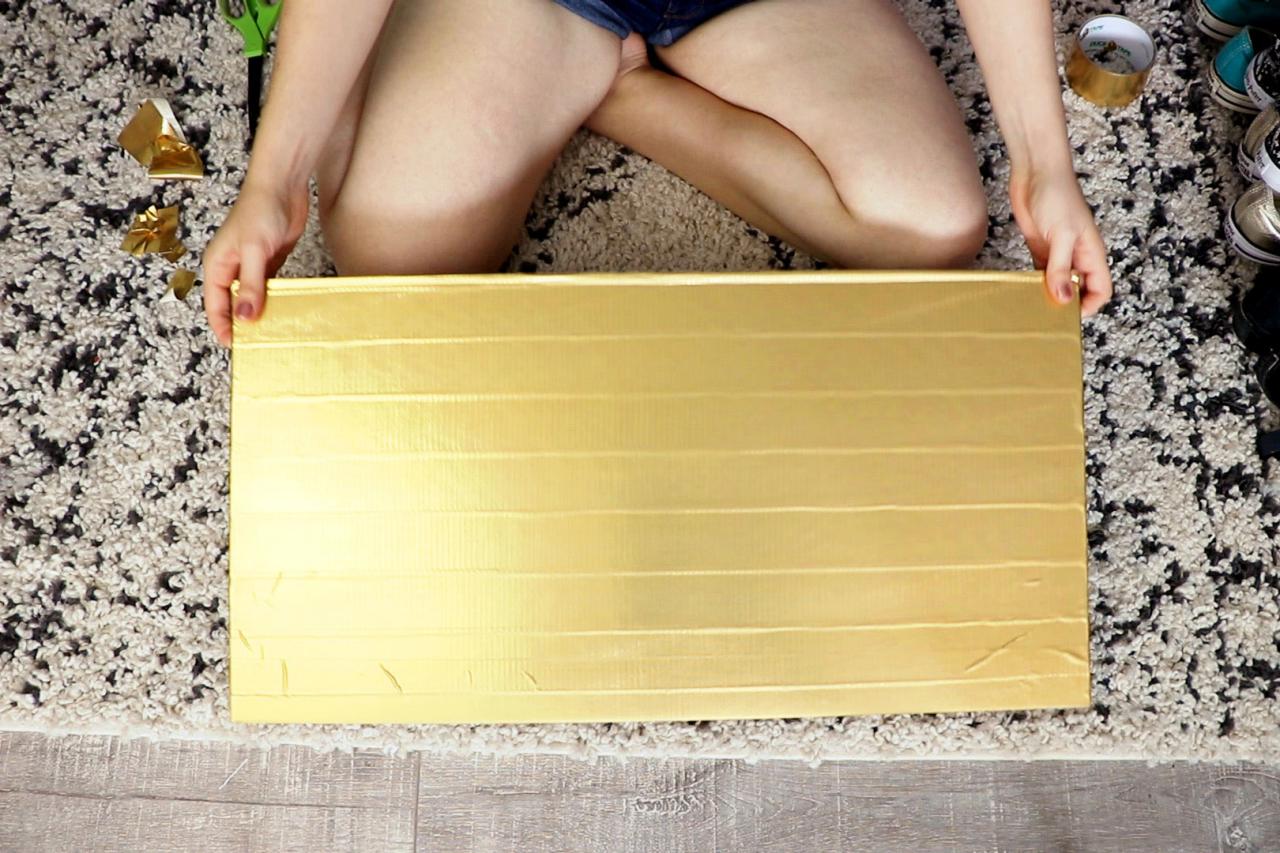
First, decide where you want to place your temporary shelf and gather tension rods to fit in that space. The more tension rods you use, the more secure your shelf will be. Insert tension rods an equal distance apart (Image 1). Next, cut a piece of foam board to serve as your shelf. Cover the board with decorative duct tape (Image 2). Cut a second thinner piece of foam board and tape on the bottom side of the first piece to make a lip that will hide the tension rods (Image 3). Cover the lip with duct tape to achieve a cohesive look (Image 4). Slide your shelf into place on top of the tension rods and fill with lightweight items (Image 5).
DUCT TAPE ROLL STORAGE BOXES

Karen Kavett
Materials + Tools
- empty duct tape rolls
- decorative duct tape
- washi tape
- cardboard
- pencil
- foam board
- scissors
- craft knife
- hot glue gun + sticks
- round bead or marble

Karen Kavett
Karen Kavett

Karen Kavett

Karen Kavett

Karen Kavett
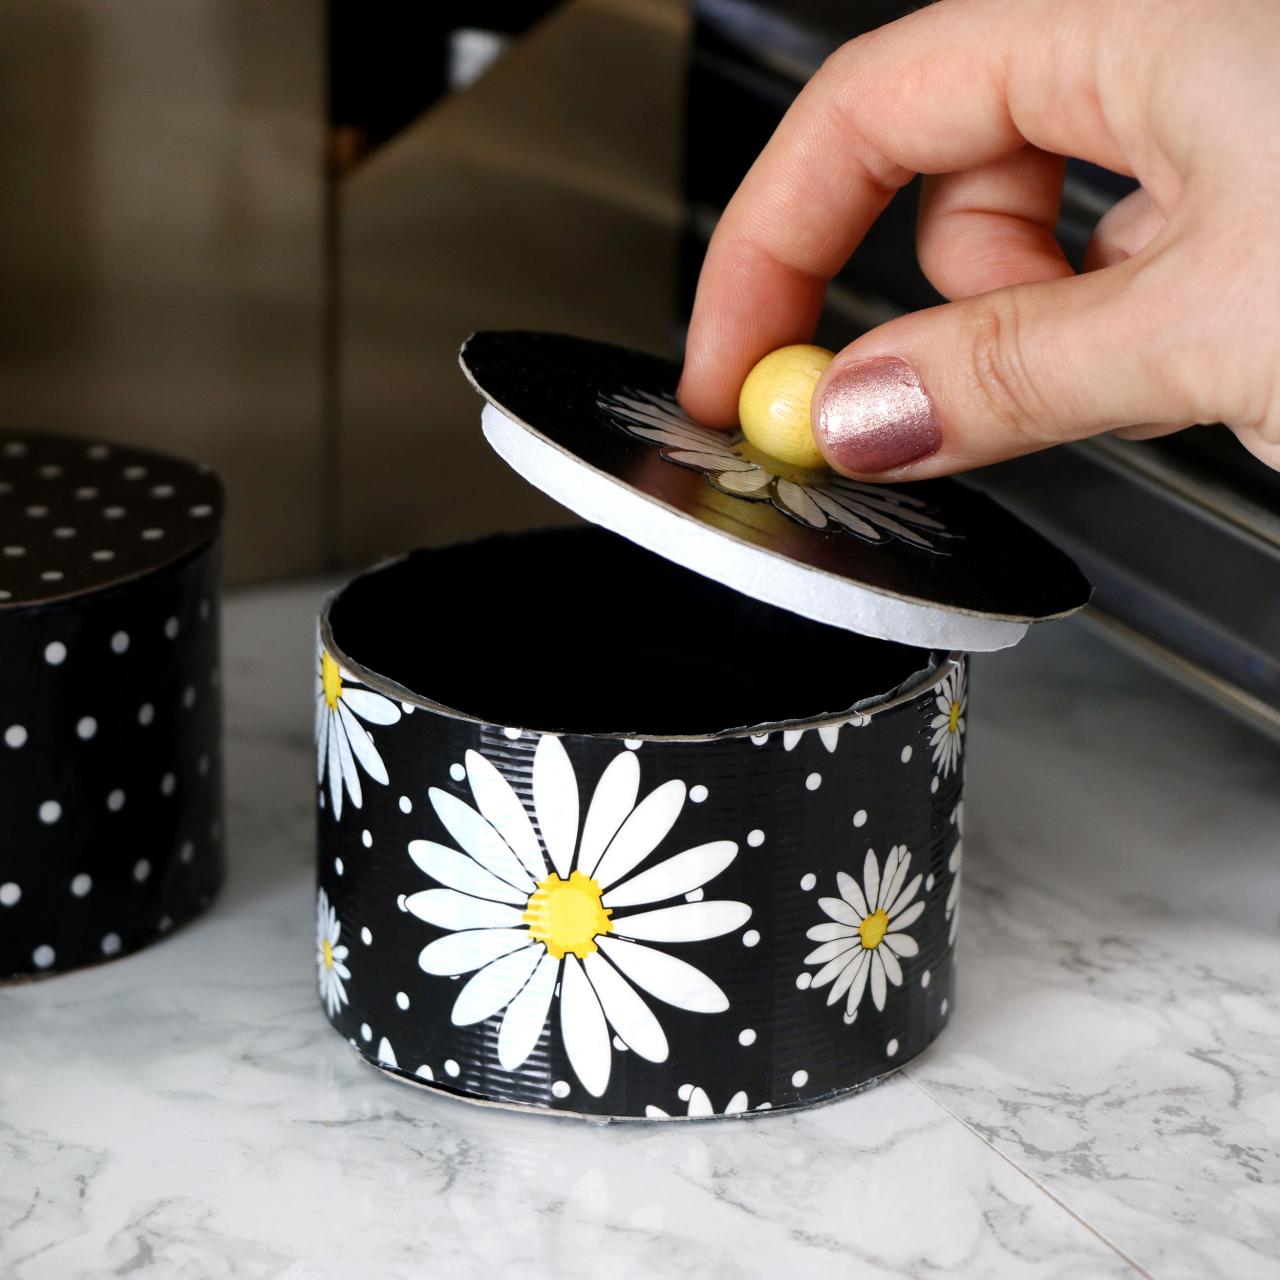
Cover your empty duct tape roll with duct tape or any other decorative tape or paint. Next, cover the inside of the roll with washi tape, trimming the excess (Image 1). Trace the outside of the duct tape roll onto cardboard twice and trace the inside of the roll onto foam board once (Image 2). Cut the cardboard circles out with scissors and then use a craft knife to cut out the foam circle (Image 3). Cover the cardboard circles with washi tape to match the duct tape roll. Hot glue one cardboard circle to the bottom of the duct tape roll. Next, hot glue the foam circle to the other cardboard circle (Image 4). This creates a lid that won't slide off the top of your container. Decorate the lid however you like and hot glue a round bead to the center to make a handle (Image 5).
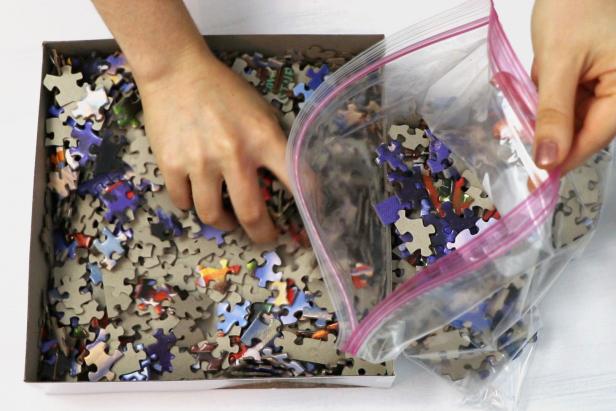
JIGSAW PUZZLE STORAGE HACK

Karen Kavett
Materials + Tools
- jigsaw puzzles
- large resealable bags
- craft knife or scissors
- storage box
Karen Kavett

Karen Kavett

Karen Kavett

Karen Kavett
Start by transferring all of the jigsaw puzzle pieces into a large resealable bag (Image 1). Next, use a craft knife or scissors to cut the picture from the front of the jigsaw puzzle box (Image 2). Place the picture inside the resealable bag (Image 3). Repeat this process with all of your puzzles and stack the bags in a storage box to consolidate them into a much smaller space (Image 4).


