


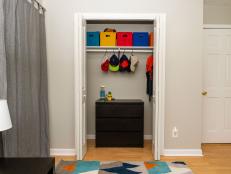
How to Build Oversized Garage Storage Cabinets
Say goodbye to clutter for good with the addition of extra-large garage cabinets. Inexpensive and easy to assemble, this DIY storage solution is a perfect weekend project.

Supplies Needed
- (26) 2x4 x 8’ whitewood studs
- (2) 4x8 – 1/2” plywood
- (3) 4x8 – 1/4” plywood
- (2) 4x8 – 5mm plywood
- (4) 1x4x8 boards
- (6) 1/4" x 2-3/4” concrete anchors
- stud finder
- washi tape
- level
- drill
- 1/4” masonry bit
- self-centering bit
- box of 3” wood screws with matching star bit
- interior paint
- paint tray and roller
- paintbrush
- (12) flush cabinet hinges
- (3) cabinet pulls
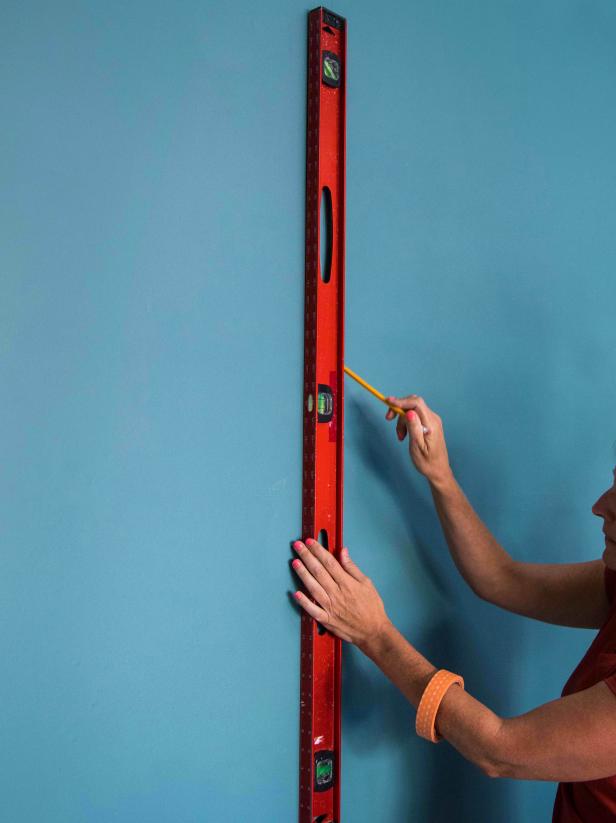
Determine Cabinet Location
Use a stud finder to locate studs on the wall where the back of the cabinet will go. Use a level and a pencil to mark the stud (Image 1). Run a piece of washi tape vertically to easily locate the stud when attaching the frame (Image 2). Roughly measure out the size of your cabinet to ensure everything will line up correctly and will secure to a stud on the wall.
Shain Rievley

Shain Rievley
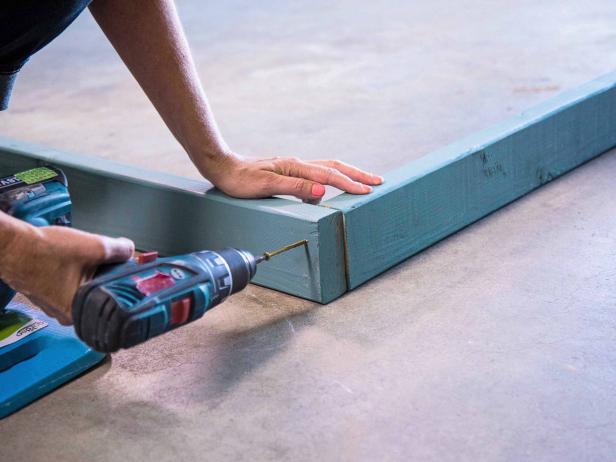
Build Base
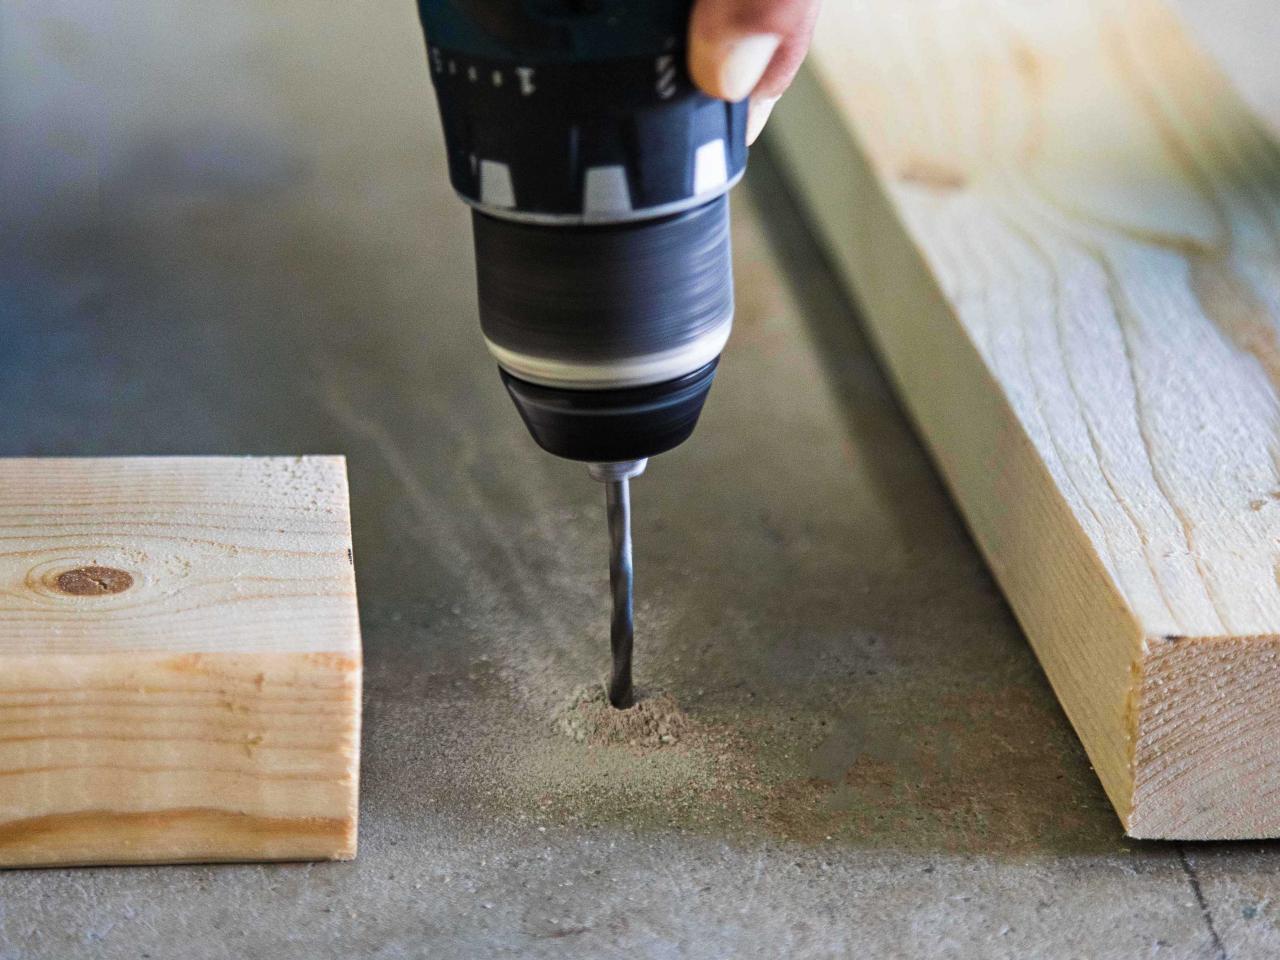
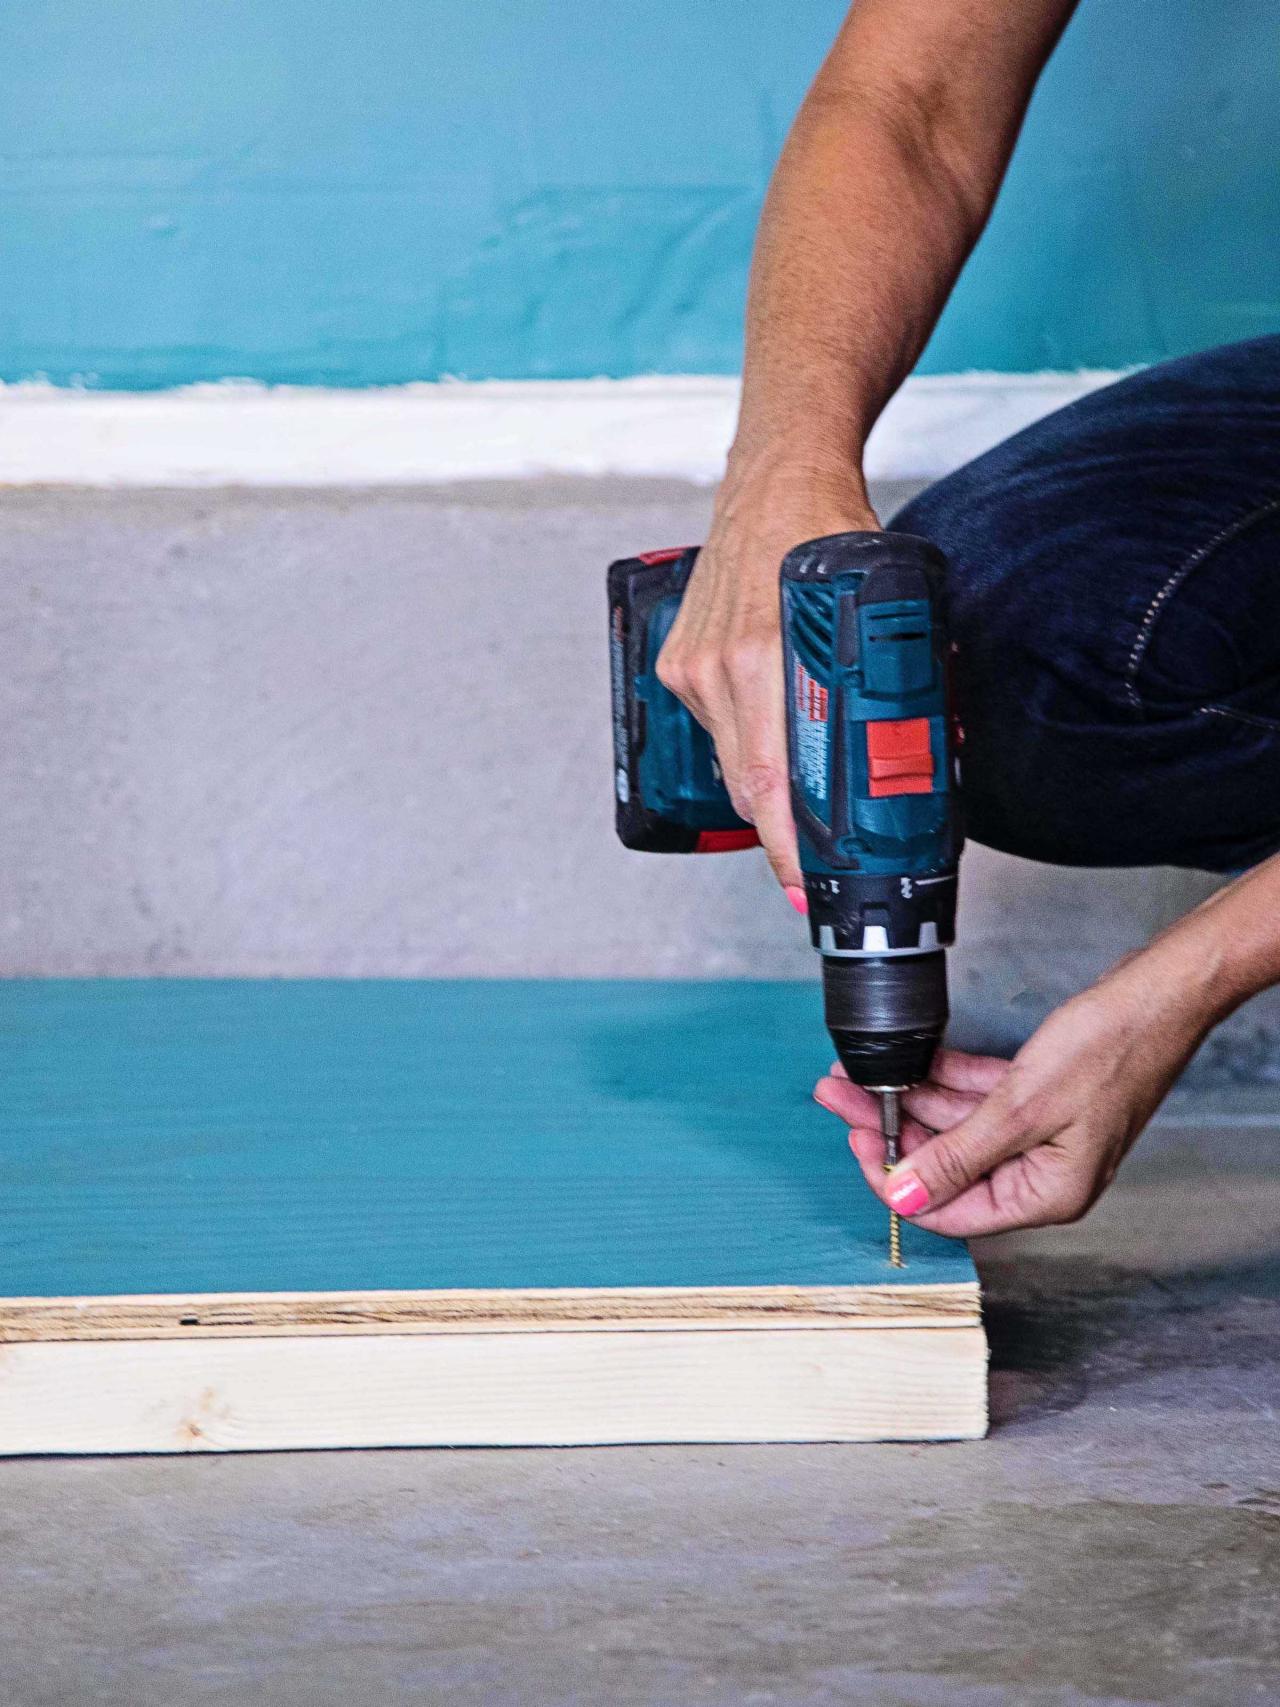
Begin building the base of the cabinets on the ground by laying out two 8-foot 2x4 boards on the floor parallel to the wall. Next, cut four 32-inch 2x4 boards and place them perpendicular between the 8-foot pieces on each end and two in the middle (Image 1). Use a ¼” masonry bit to pre-drill holes in the concrete at the corners of where the base will sit (Image 2). Secure the boards to the ground with concrete anchors (Image 3). Then, cut one ½” plywood sheet to 3x8. Optionally, paint the plywood to match the rest of the unit. Use wood screws to secure the sheet to the 2x4s (Image 4). This is the floor of the cabinet.

Shain Rievley

Shain Rievley

Shain Rievley

Shain Rievley
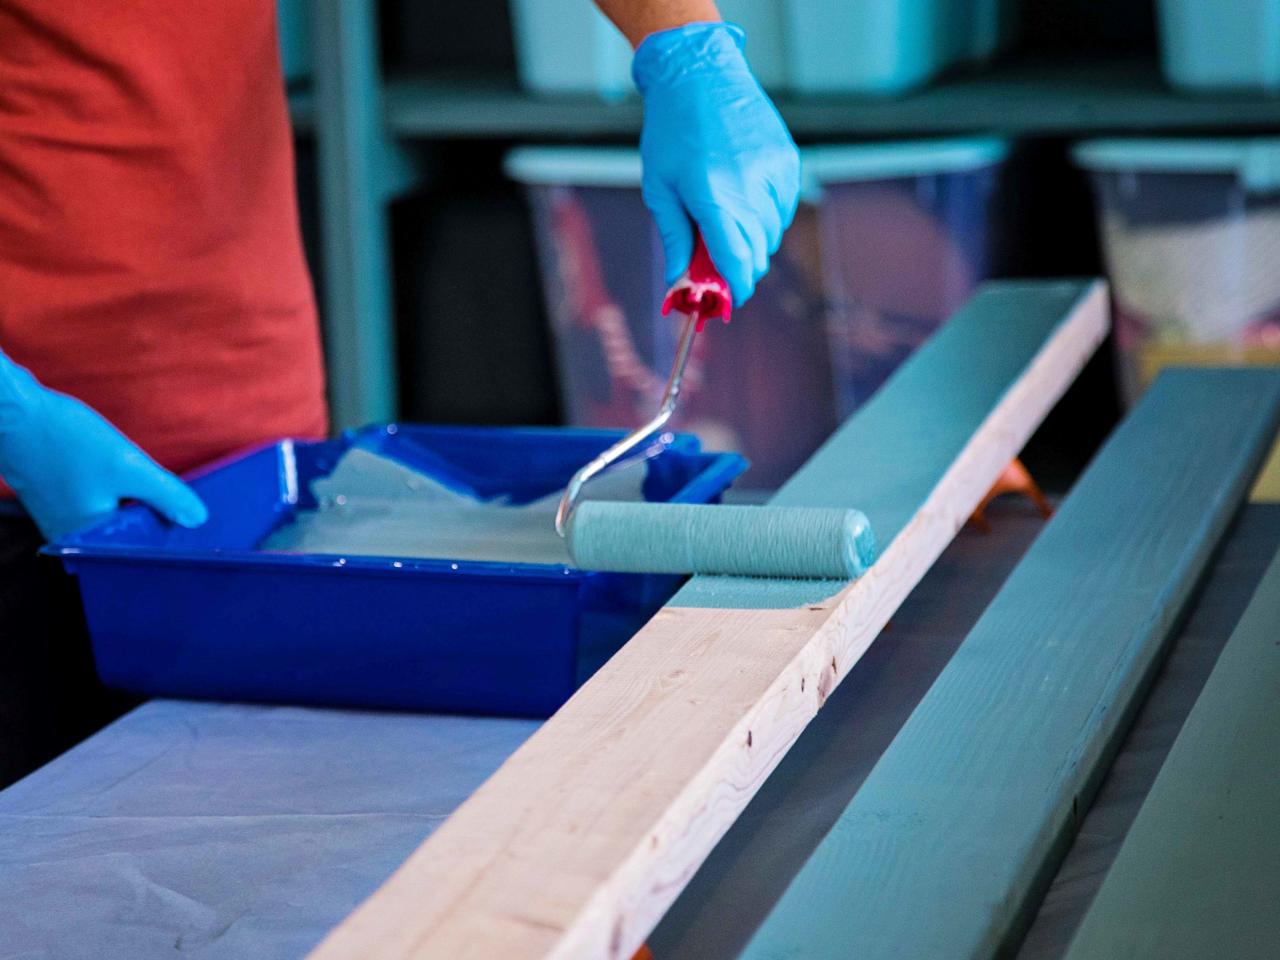
Paint
Before constructing the frame, paint all the wood pieces you’ll be using in your desired shade. Let the paint dry completely before building.

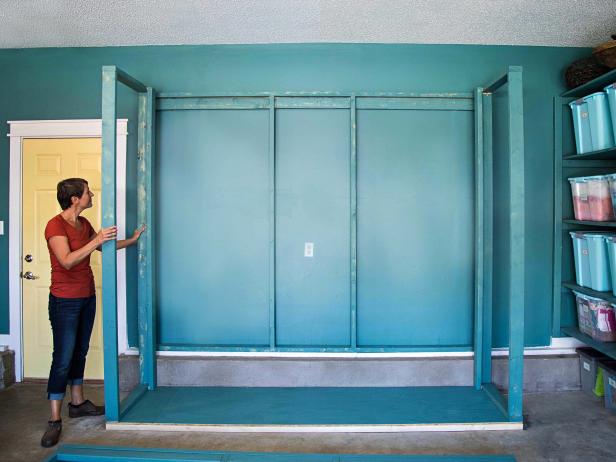
Build Frame
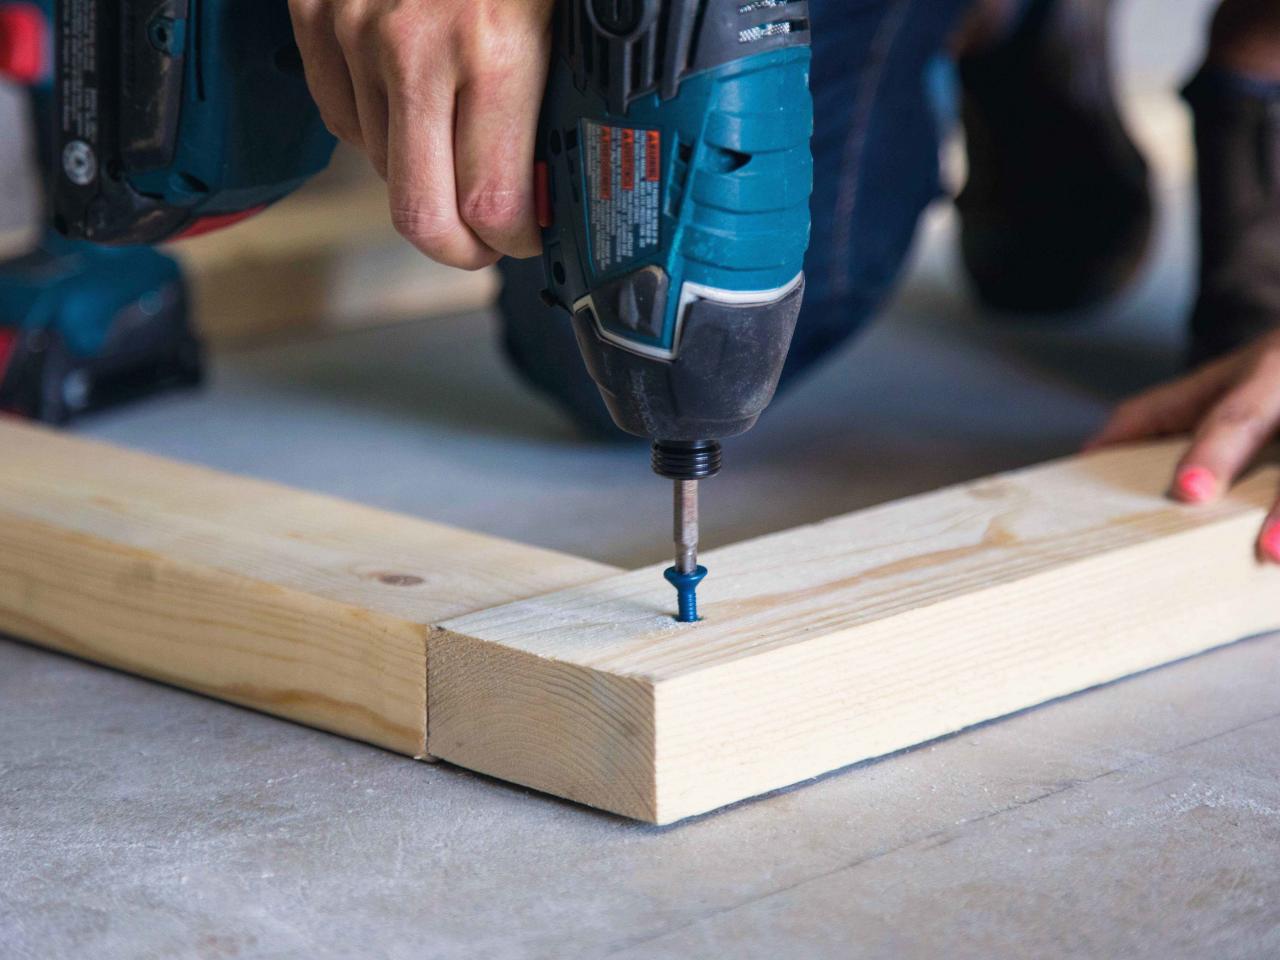
Construct the back and sides of the frame as if you are framing in walls. The back of the frame is made from six 8-foot 2x4 boards. Use the same pattern as the base to construct the frame — lay out two boards parallel and place two boards perpendicular on each end with the remaining two boards in the middle. Secure the boards together with wood screws (Image 1). Next, screw in pieces of 2x4 to the top of the frame under the top board (Image 2). This will allow the structure to better secure to the studs. Have a friend help you raise the frame to the wall. Secure it to the marked studs using wood screws (Image 3). For the sides of the frame, construct 3’x8’ rectangles and screw them into the base as well as the back of the frame (Image 4).
Shain Rievley

Shain Rievley

Shain Rievley
Shain Rievley
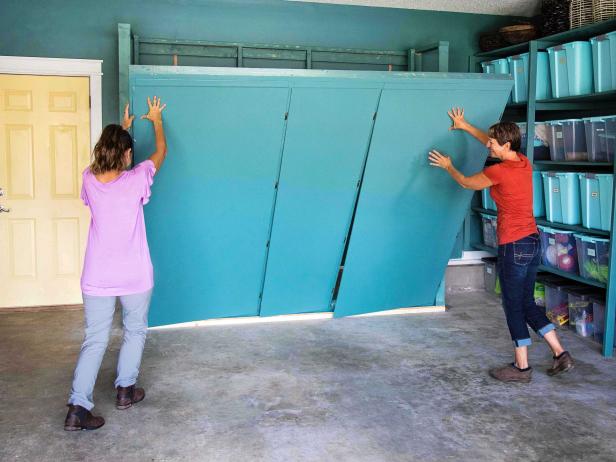
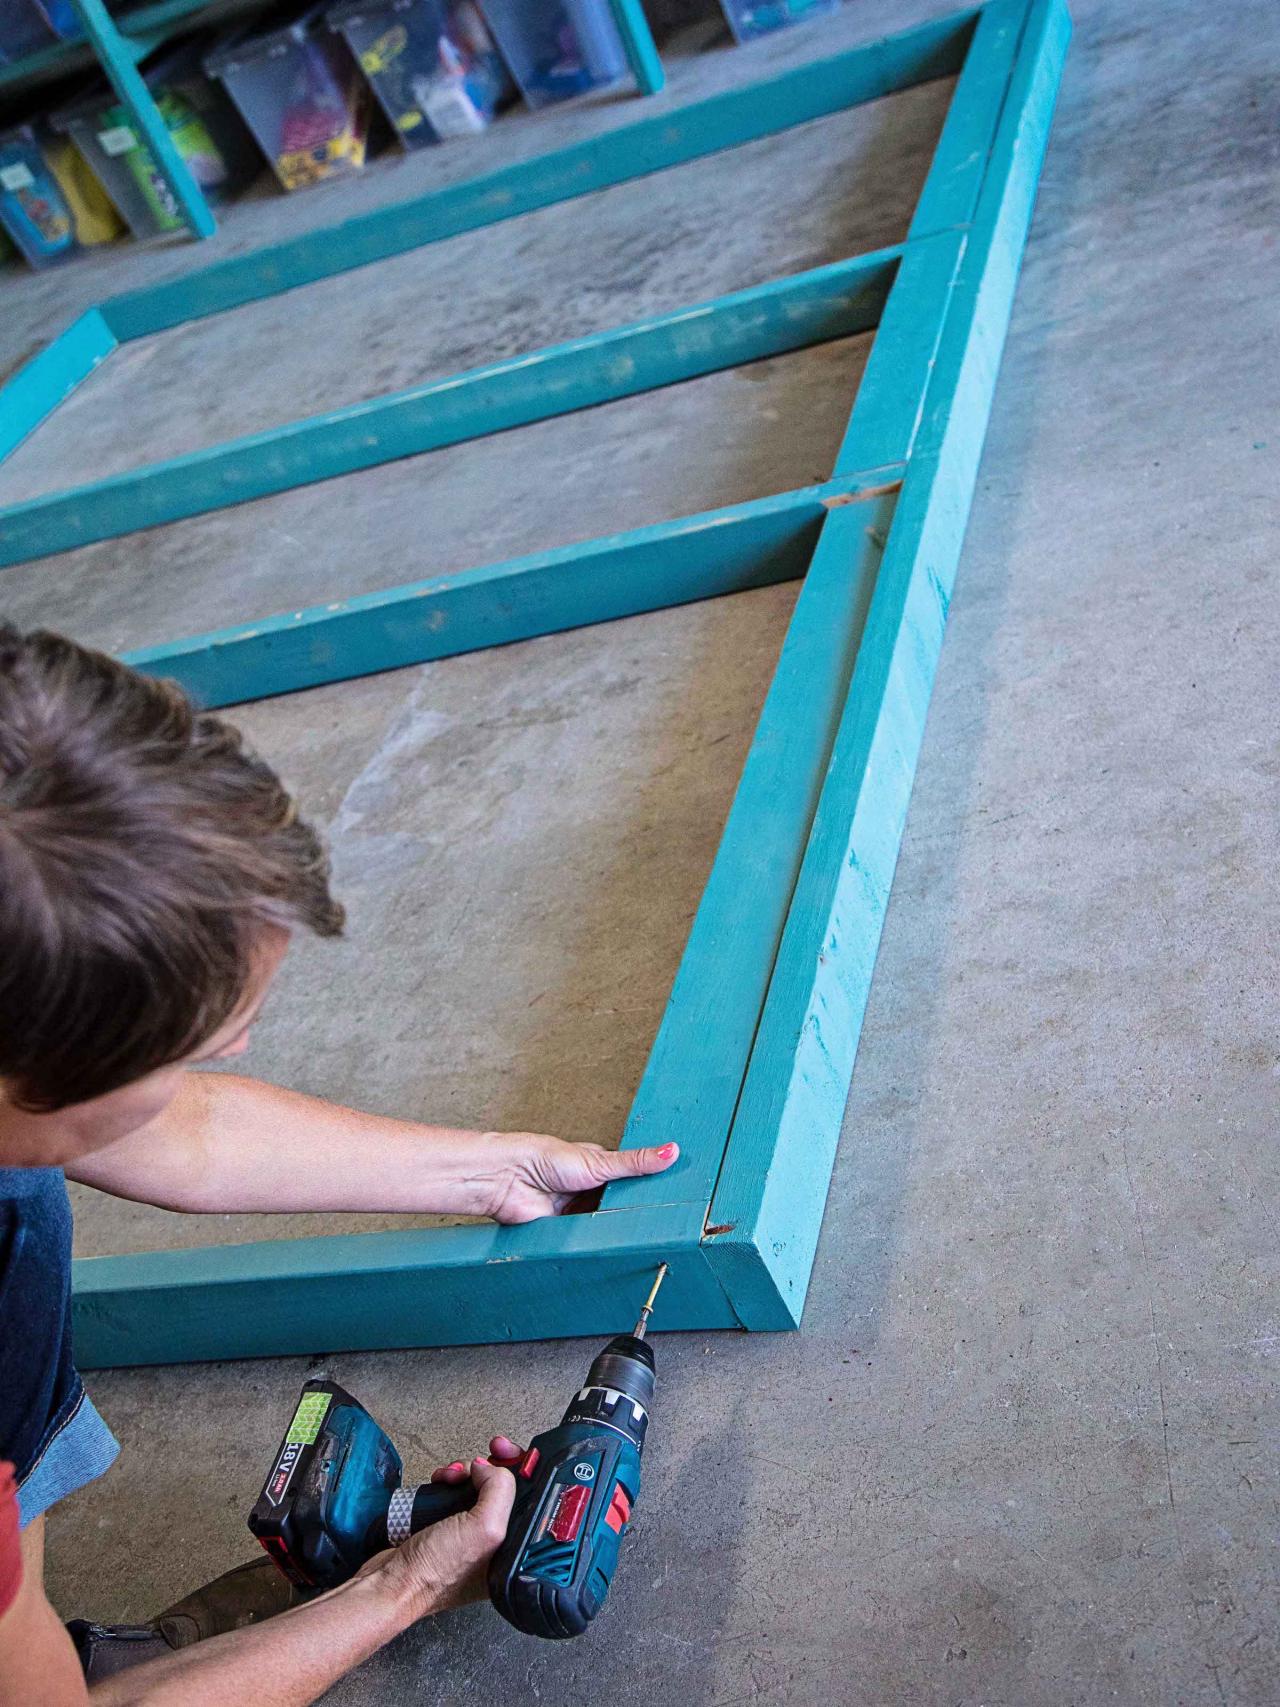
Construct Doors
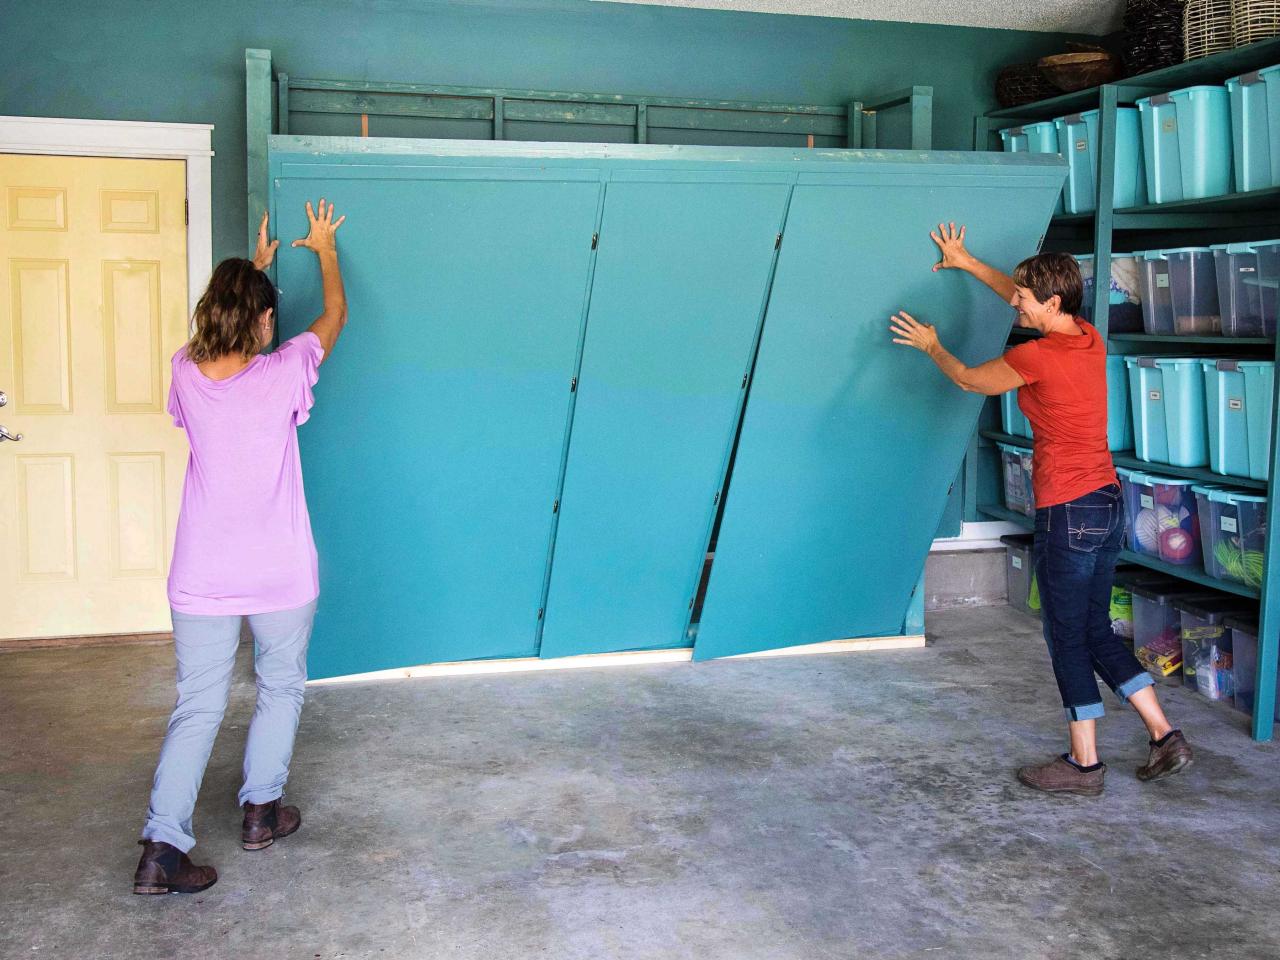
Build the front of the frame in the same pattern as the back — 8 feet wide and 8 feet tall. To frame out the cabinets, secure 8 foot 2x4s perpendicular at 36” across and 60” across. This will give you two 3-feet-wide cabinets on the ends and a 2-foot-wide cabinet in the middle. Cut ¼” plywood to make the doors to fit these openings. While still on the ground, attach the doors with four hinges each using a self-centering bit (Image 1). Constructing this on the ground will make attaching and leveling the doors much easier. Optionally, add a magnet to keep doors closed once upright. Finally, once all three doors are on, have a friend help you raise it up to rest on the base (Image 2). Secure the frame to the base and sides with wood screws (Image 3).
Shain Rievley
Shain Rievley

Shain Rievley
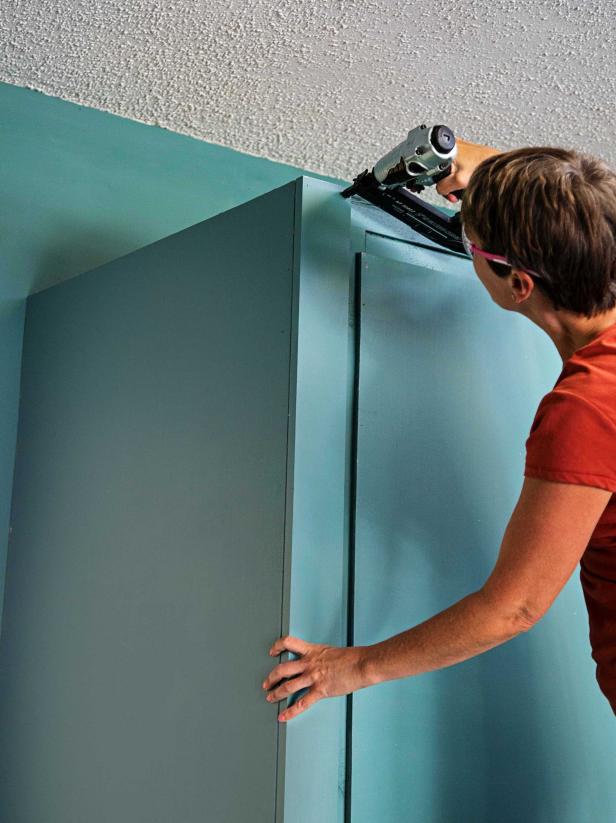
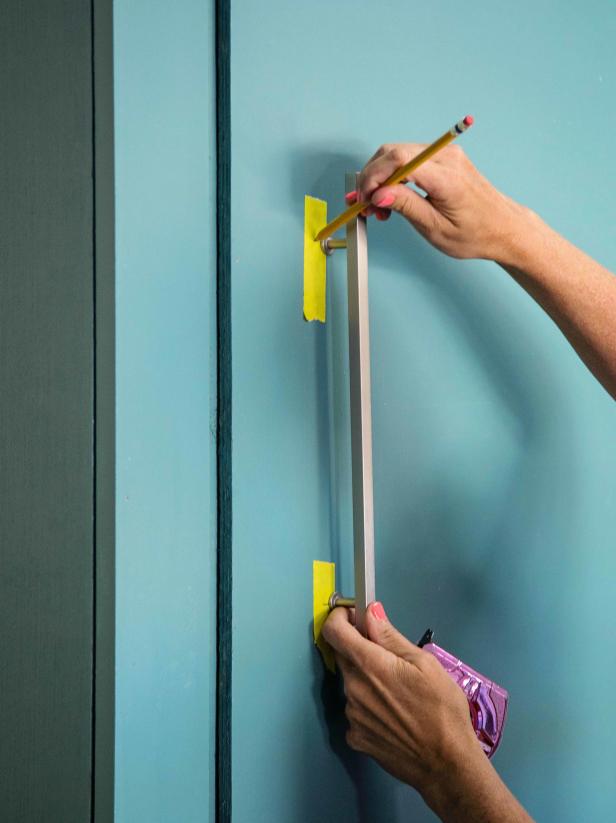
Finishing Details
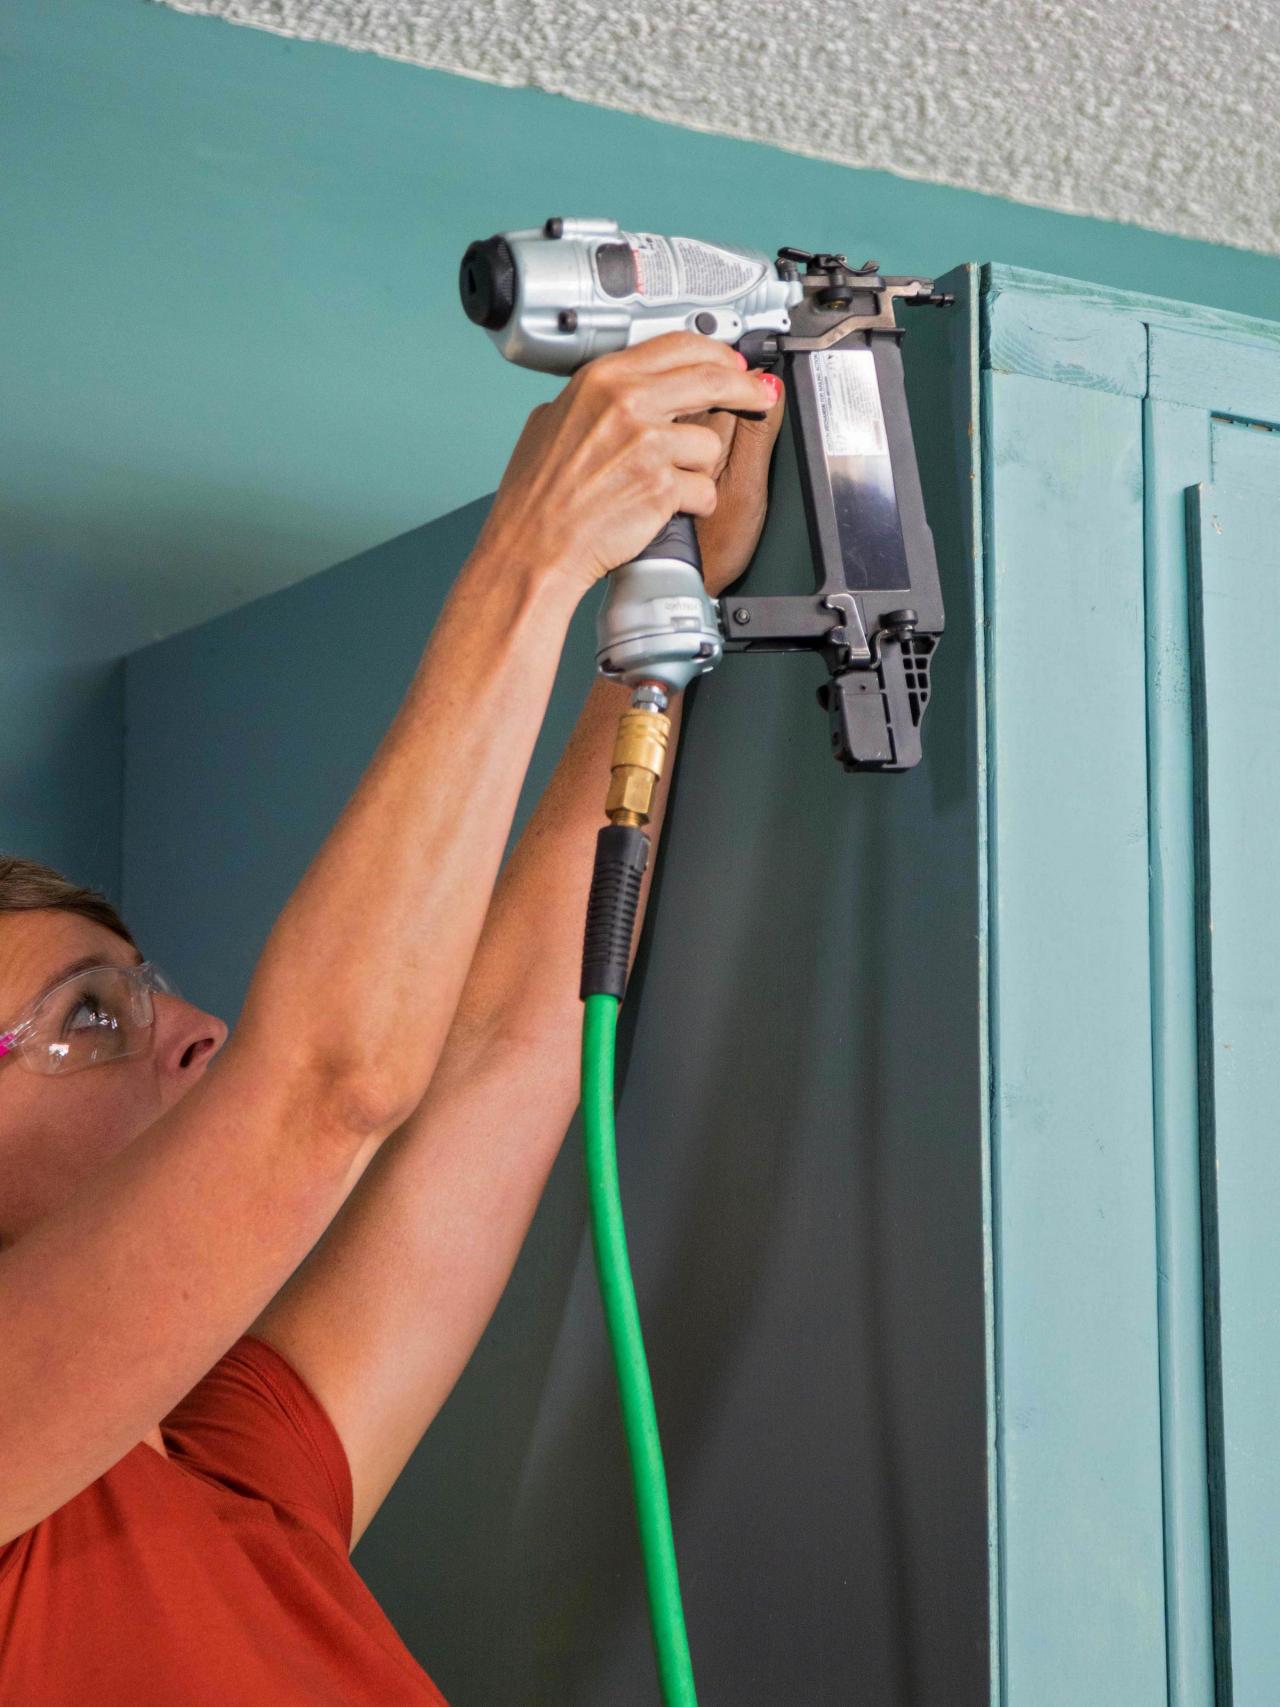
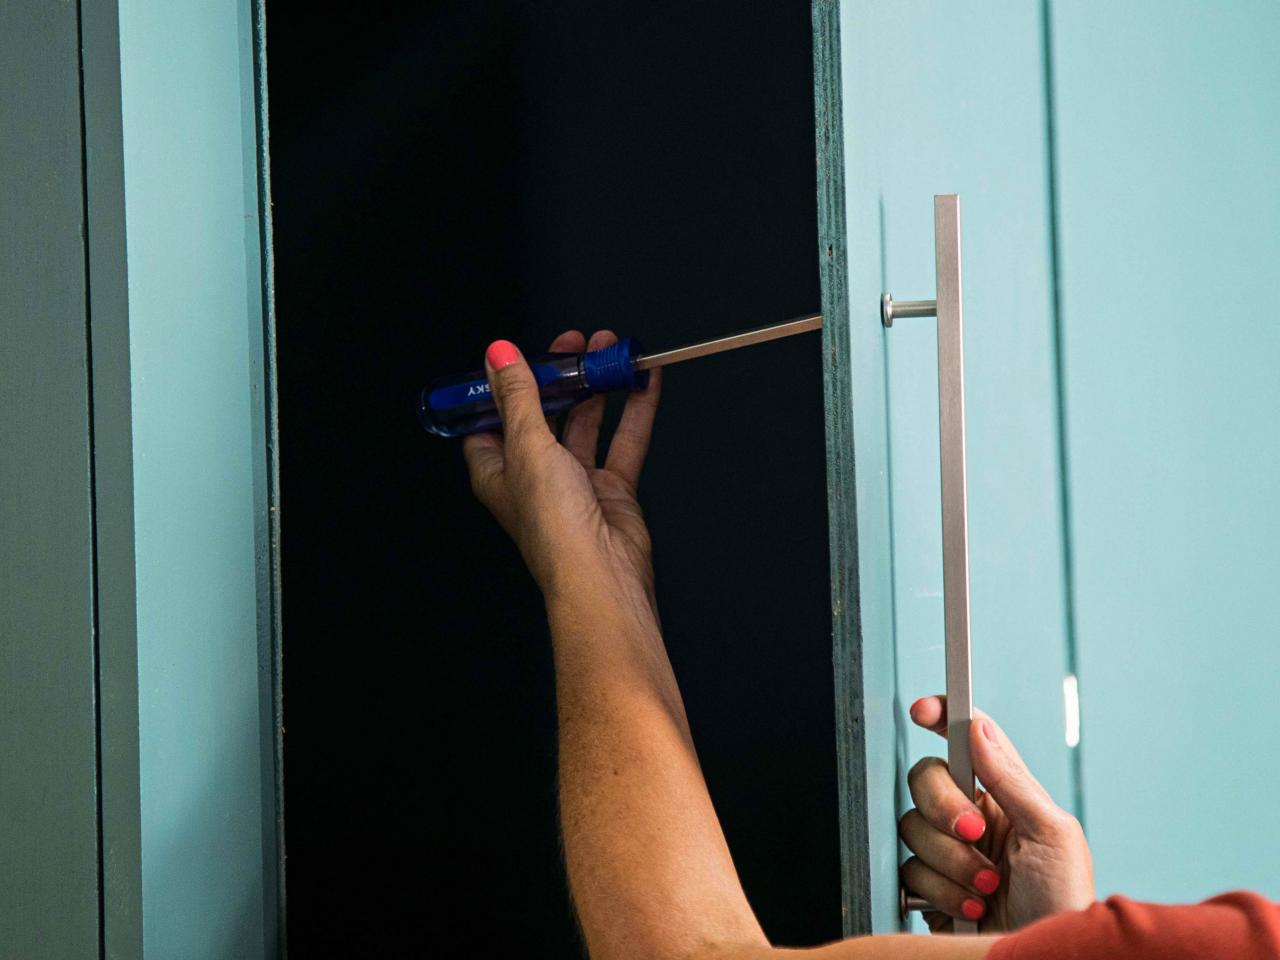
Cut 5mm-thin plywood to 3’x8’ and attach to the sides of the frame using a nail gun (Image 1). Next, trim out the front of the cabinet with 1x4s (Image 2). Attach your desired cabinet pulls to the doors by marking guide holes with a pencil then screwing the pulls into place (Images 3 & 4).

Shain Rievley
Shain Rievley
Shain Rievley

Shain Rievley
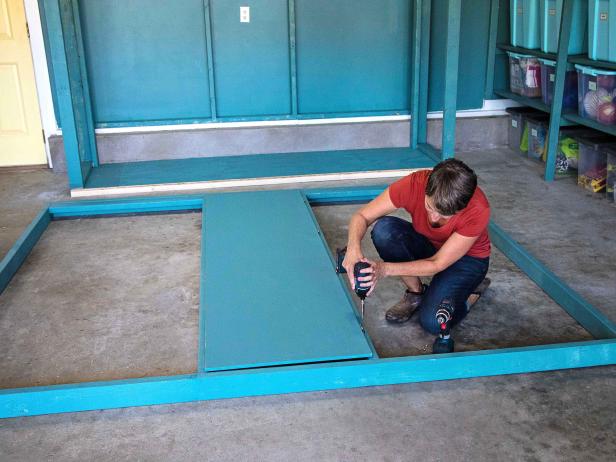
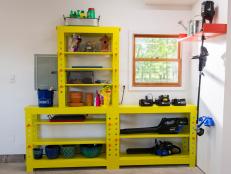
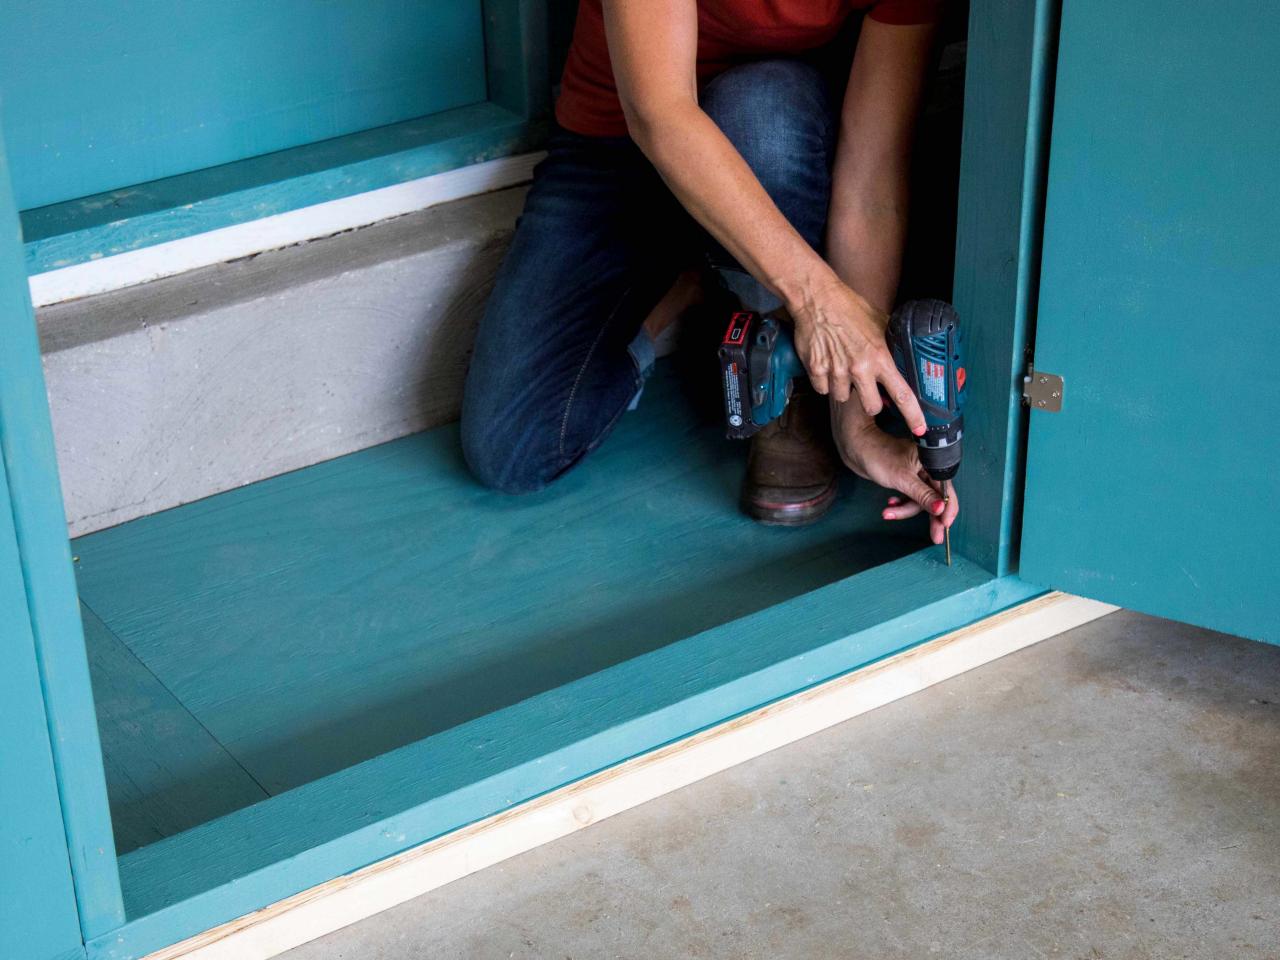
Add Shelves
Start by adding 3 foot, 2x4 support boards where the interior cabinet shelves will go, one on each side. Using a level, attach the boards to the sides with wood screws (Image 1). Cut down ½” plywood to 34”x34”. Next, place it on the 2x4 supports and attach with screws to create the shelf (Image 2). Create as many shelves with this process to accommodate your needs. For our project, we created two shelves in the first opening and third openings while putting no shelving in the middle cabinet to house taller items.

Shain Rievley

Shain Rievley


