Give Basic Wooden Storage Drawers a Modern Makeover
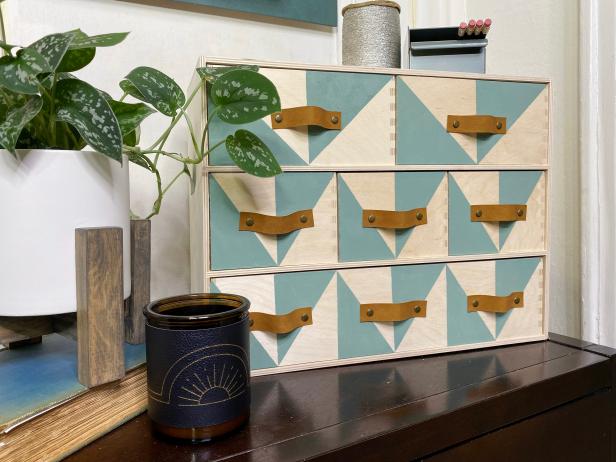
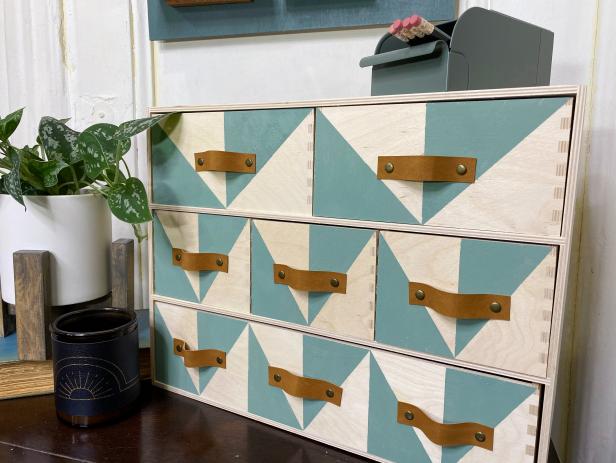
Give unfinished desktop drawers a glow up with this easy two-part painting technique. Finish the look by creating your own faux leather handles, making everything easy to grab and go.
Crafty Lumberjacks
Now is a great time to start fresh and get organized. We're starting by corralling our craft and office supplies with a set of mini wooden storage drawers you can find at furniture or craft stores, if you don't already have one at home. Create a triangle pattern using painter's tape and a two-part painting technique to turn this handy piece of furniture into modern and stylish desktop drawers. We'll also add easy faux leather handles to finish the look, making your odds-and-ends easily accessible.
Materials + Tools
- miniature wood chest of drawers
- pencil
- ruler
- painter's tape
- chalk paint (or other paint finish of your choosing) and paintbrush
- faux leather
- rotary cutter
- cutting mat
- punch pliers
- rivets
- hammer
- drill
Remove + Tape Off Drawers
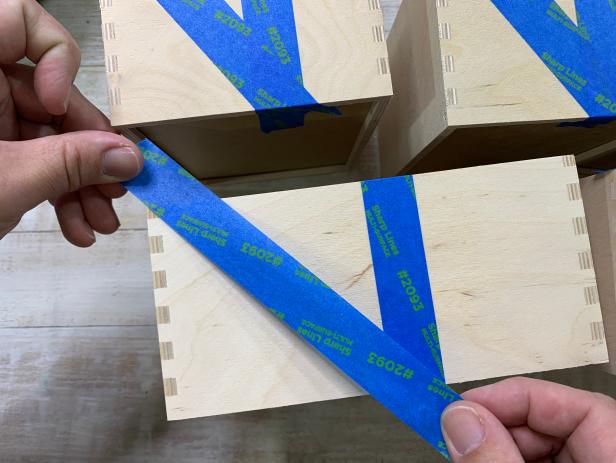
Remove all the drawers and flip them over to the back side. Measure and lightly mark the vertical center point with a pencil. If the drawers are very wide, split your measurements into thirds or fourths. Use a piece of painter's tape longer than the drawer and lay it down diagonally from the top left corner to the bottom marked point to create a right angle triangle (Image 1). Repeat this process for each drawer (Image 2). Tip: Before painting, sand down the drawers until they are smooth, if needed.
Crafty Lumberjacks

Paint
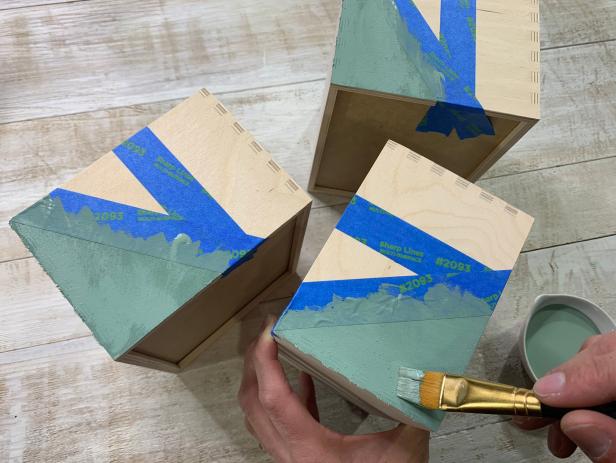
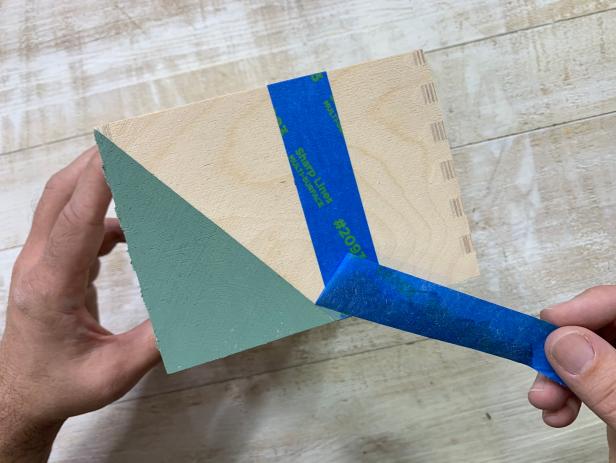
Apply a small amount of paint on a brush and begin painting along taped line, moving the brush away from the tape (Image 1). This will help prevent the paint from bleeding under the tape and help you get a crisp line. Continue painting inside the marked off triangle and repeat on each drawer. Let dry completely before gently removing the tape (Image 2). Tip: For the smoothest look, it’s best to use a small amount of paint for multiple layers rather than one thick layer.
Crafty Lumberjacks
Crafty Lumberjacks
Invert Design
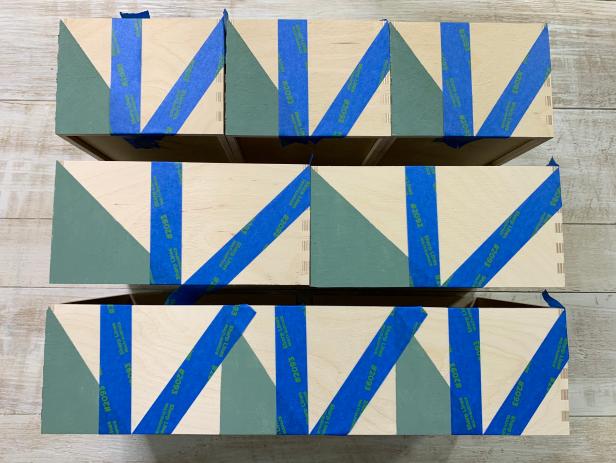
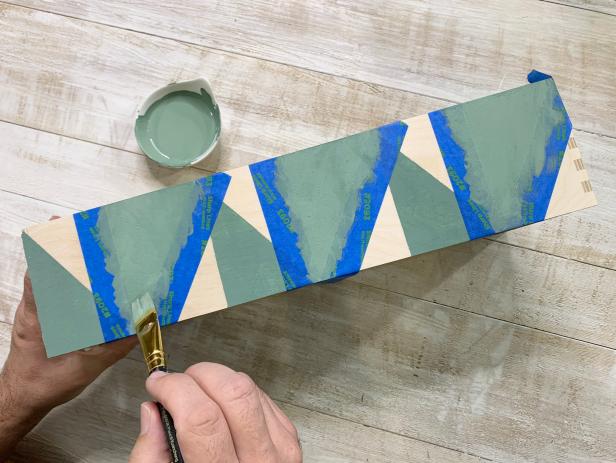
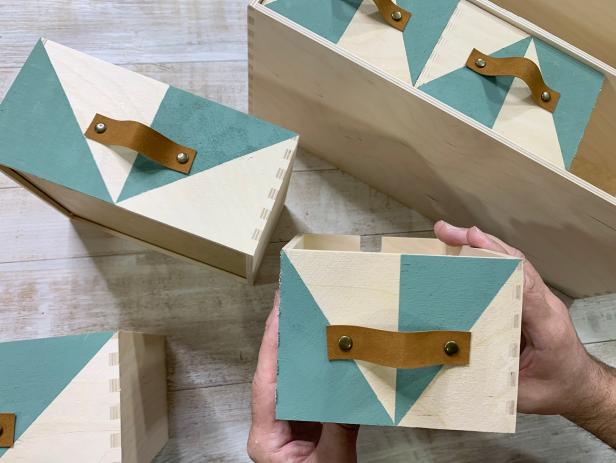
Now, line up and lay a piece of painter's tape vertically on the left side of the marked point. Lay a second piece of painter's tape diagonally from the top right corner to the bottom of the vertical painter's tape (Image 1). Repeat this process with each drawer. Paint each triangle and let dry (Image 2). Once dry, peel off the tape to reveal the final design.
Crafty Lumberjacks
Crafty Lumberjacks
Create the Handles
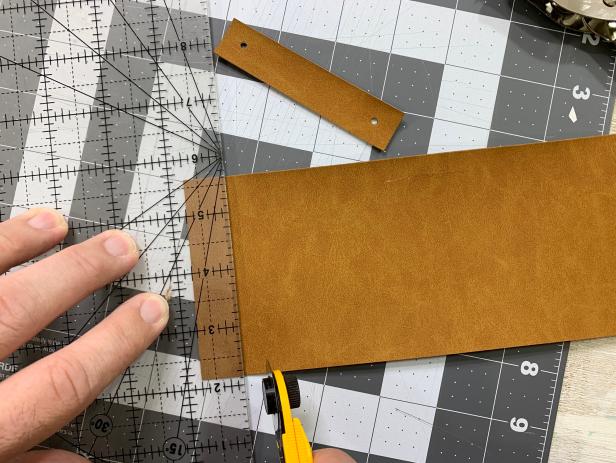
Use a ruler and cutting mat to measure out eight equal pieces of faux leather, and then use a rotary blade or scissors to cut them out (Image 1). We made our handles just over 3 inches, but measurements will vary depending on the size of your drawers. Fold each piece in half so that the ends meet. Using punch pliers, punch through both pieces about 1/2 inch from the edge (Image 2).
Crafty Lumberjacks

Crafty Lumberjacks
Measure + Drill Holes for Handles
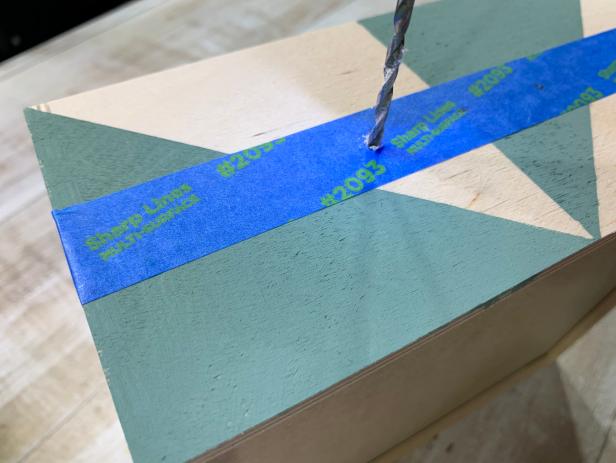
Measure the length between the punched holes on the handles and subtract 1/2 inch. This will allow the handle to pucker, making it easier to use. Cover the area with painter's tape to reduce splintering. Find the center point of each drawer and use your measurements to mark the holes to drill. Carefully drill through each mark, then remove the painter's tape.
Crafty Lumberjacks
Attach Handles With Rivets
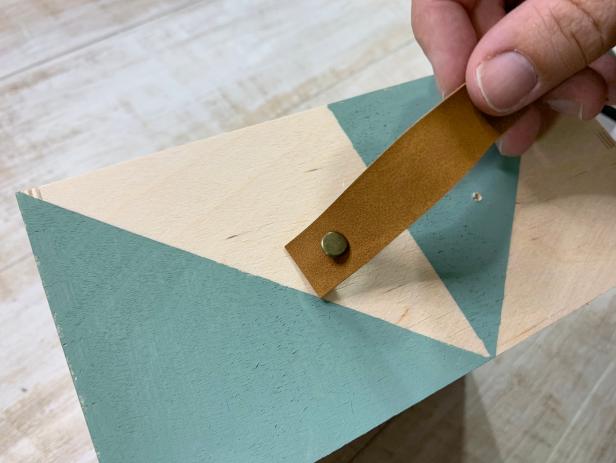
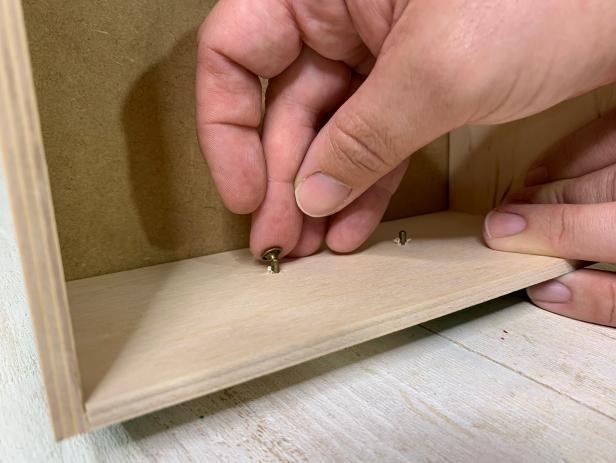
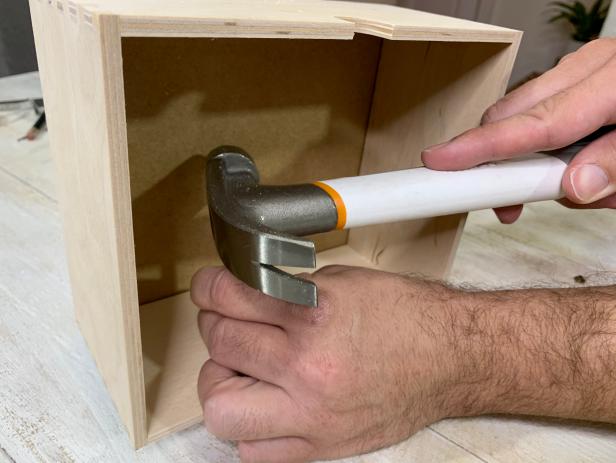
Lay the handle in place and insert the post of the rivet through the hole (Image 1). The rivet should be large enough to pass through the wood. Carefully turn the drawer towards you and position the cap on the rivet post (Image 2). Position the rivet onto the anvil, then tap with a hammer until secure (Image 3). Repeat to attach the rest of the handles (Image 4).
Crafty Lumberjacks
Crafty Lumberjacks
Crafty Lumberjacks
Replace Drawers
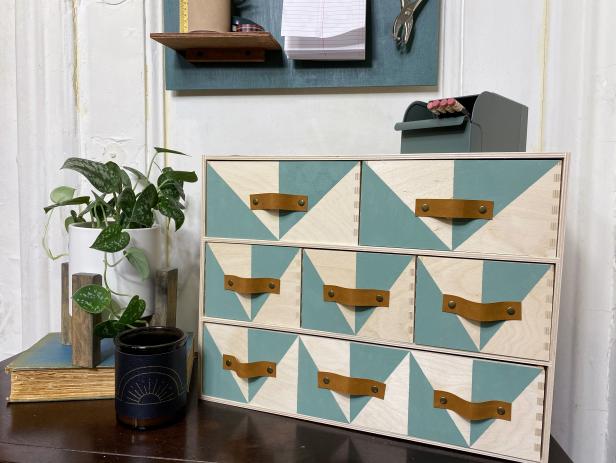
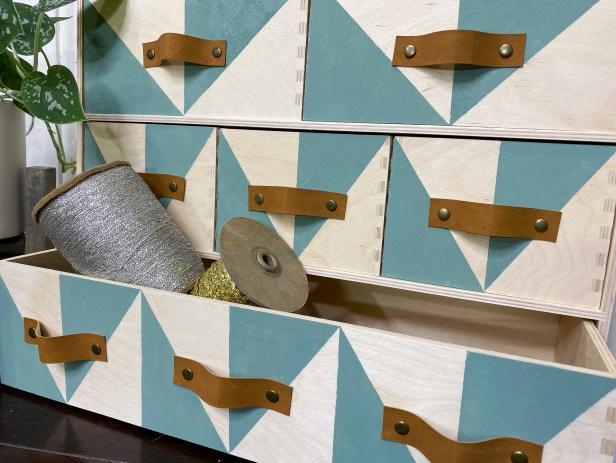
Return the drawers to the chest, fill them with the clutter you need to organize and admire your handiwork.

Crafty Lumberjacks
Crafty Lumberjacks
Crafty Lumberjacks
Crafty Lumberjacks
Organizing + Storage DIYs
Hanging Wall Organizer 03:19
The Crafty Lumberjacks create an hanging office organizer, perfect for small spaces.
5 Hidden Storage Hacks for Small Spaces
Discover sneaky ways to squeeze more storage into any small space with our clever hacks.
20 Designer Ways to Upgrade Your Rental 20 Photos
Upgrade your rental and still get your deposit back with these expert tips.


