


Make This Waterproof Picnic Blanket + Carrying Handle
Turn your favorite throw into an outdoor grab-and-go.

Cassidy Garcia

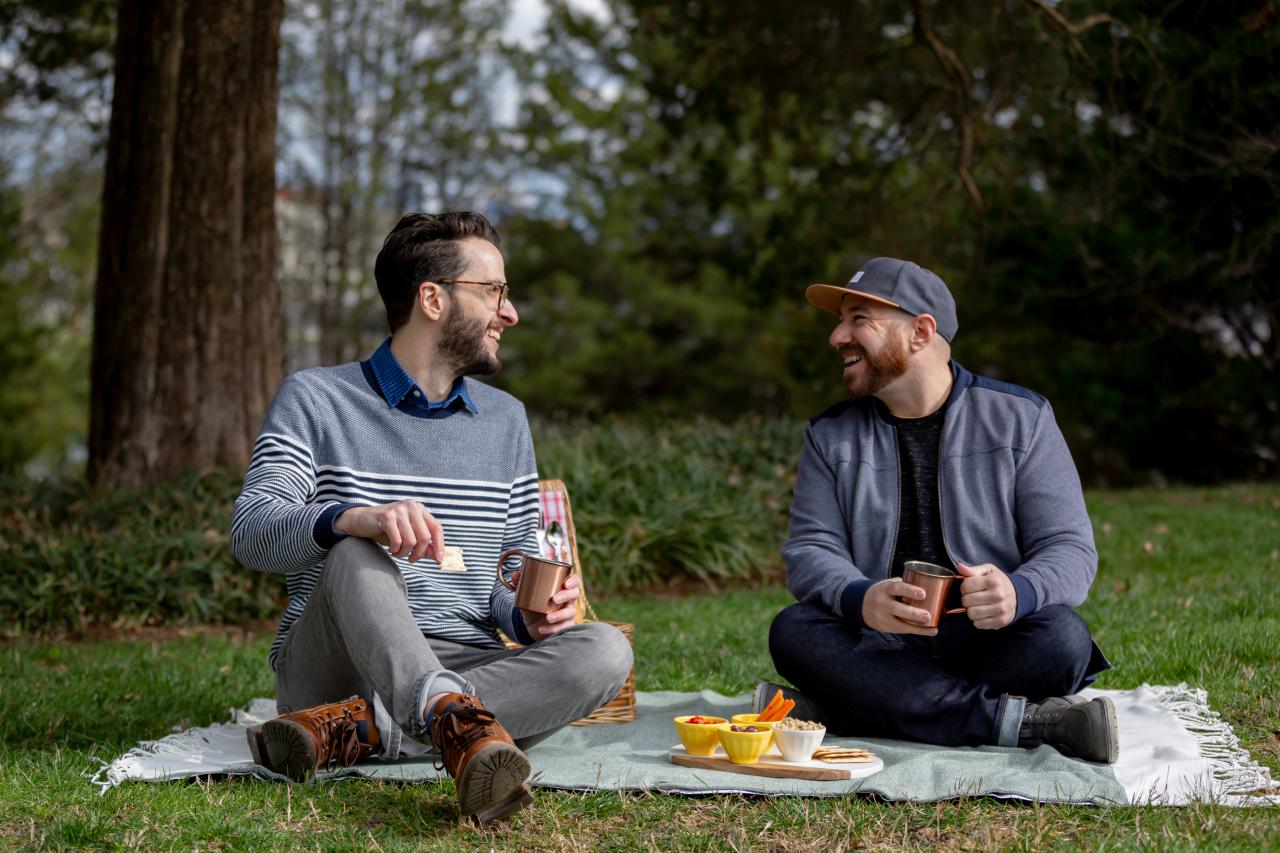
Picnics are often limited to hot, sunny days, but not with this two-layer waterproof travel blanket. Head to the park, find the perfect spot and enjoy the fresh air even if the ground is a little damp. HGTV Handmade’s Crafty Lumberjacks share an easy, no-sew guide to creating a trendy picnic blanket ready to travel whenever the mood hits.
Materials + Tools:
- blanket
- waterproof material (nylon or vinyl)
- heavy duty snap pliers
- heavy duty brass snaps
- fabric scissors
- nylon strap material
- (2) brass webbing belt tips
- (4) brass handbag feet
1: Align Materials + Punch Holes
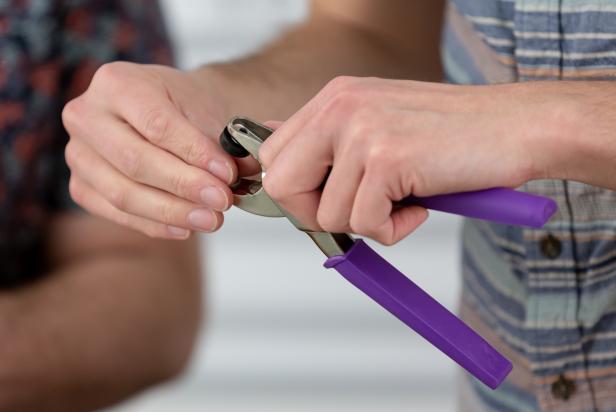
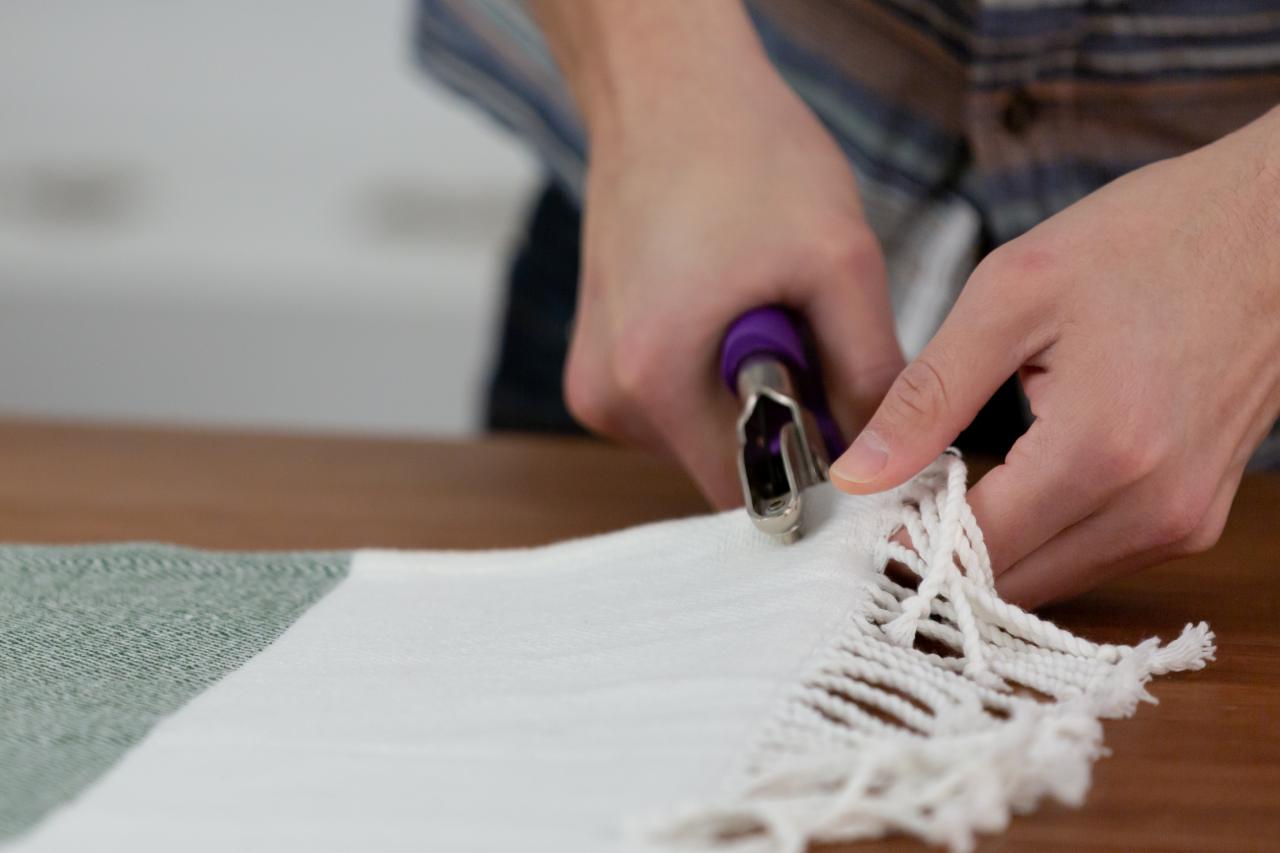
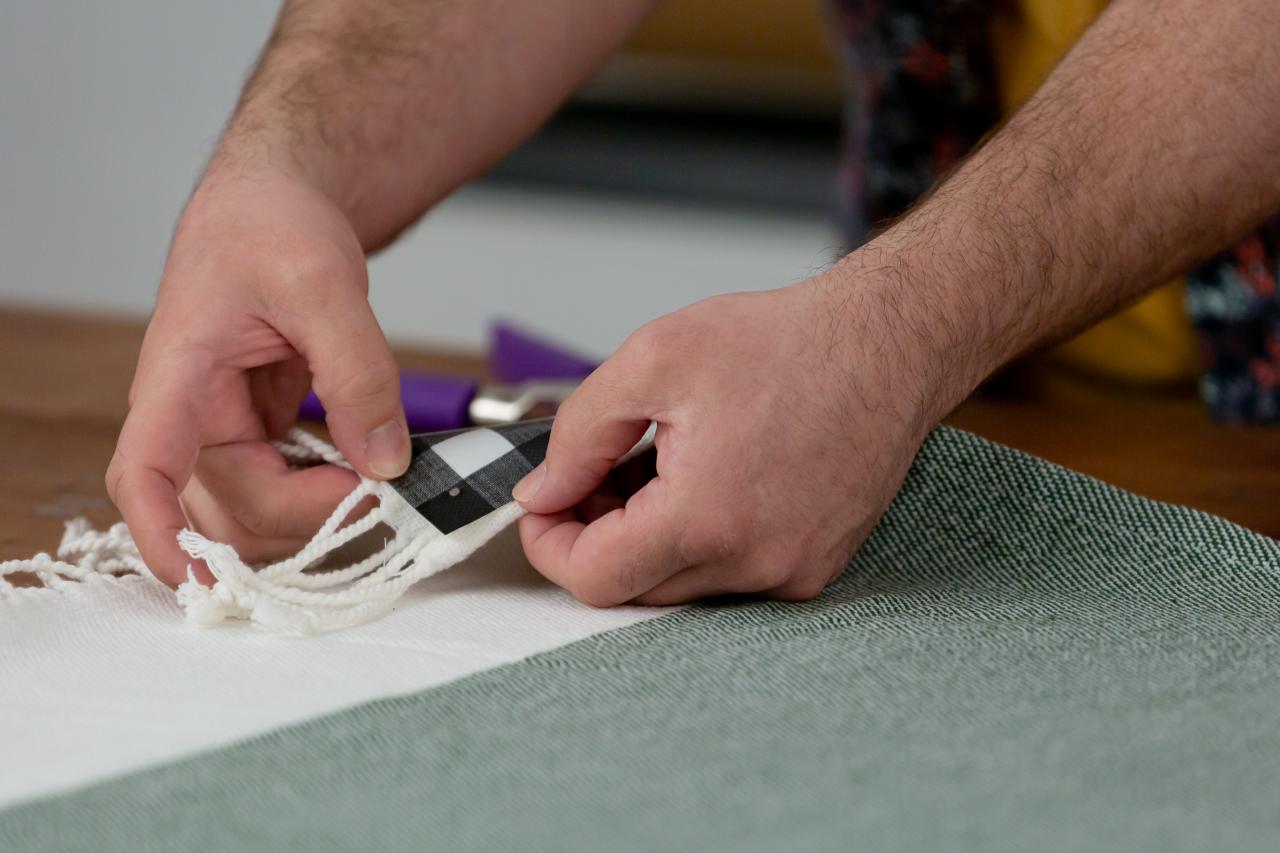
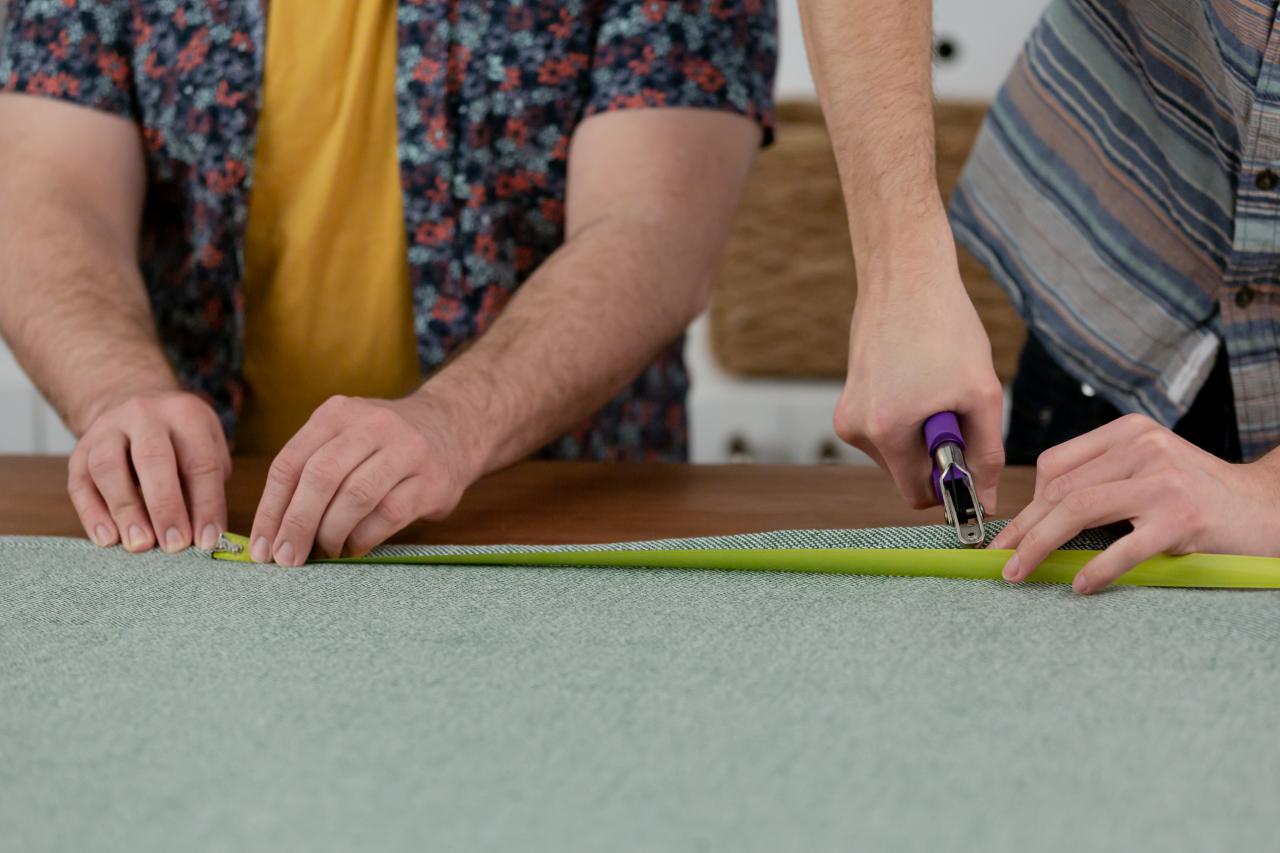
First layer the blanket over the waterproof material so the edges fit together. Use fabric scissors to trim the material to match your blanket size. Then, use the hole punch attachment on the heavy duty snap pliers to punch a hole on the corner of the blanket about 1 inch away from the edges (Image 1). Repeat the step with the waterproof material (Image 2). Once all corners are punched and aligned (Image 3), measure along the sides of the blanket and punch matching holes (Image 4).

Cassidy Garcia

Cassidy Garcia

Cassidy Garcia

Cassidy Garcia
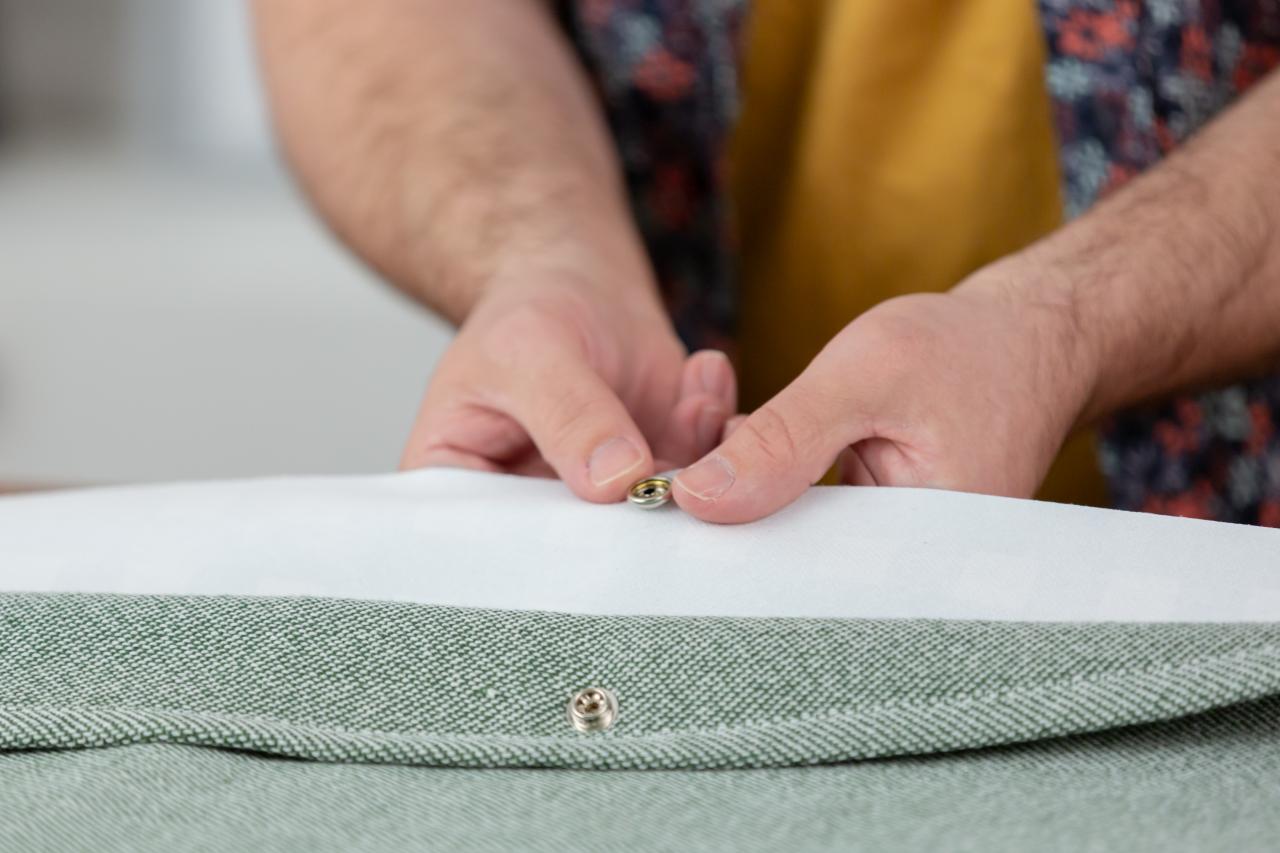
2: Add Snaps to Blanket
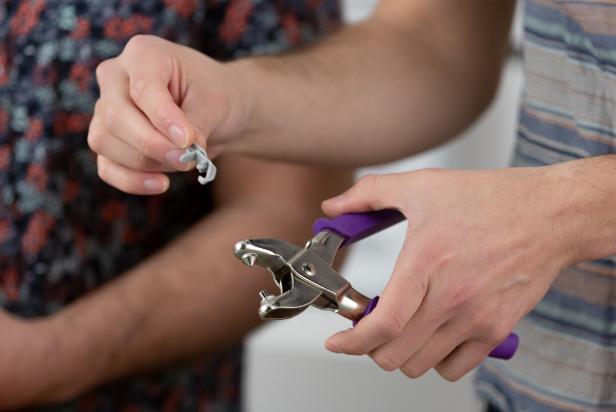
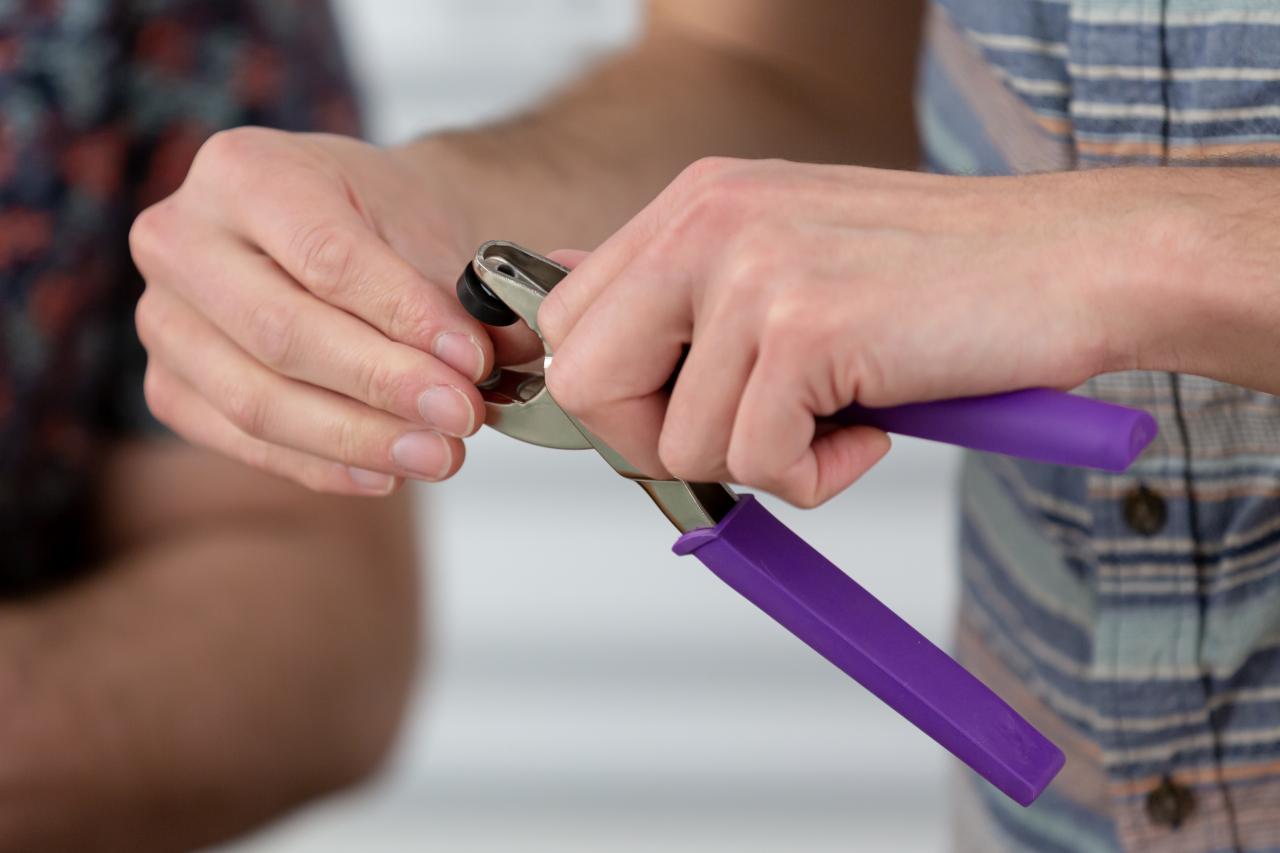
Change out the attachments on the pliers to add a stud and post (Image 1). Apply heavy duty brass studs and posts to each hole (Image 2). Now change out the attachments on the snap pliers again to add a cap and socket to each brass stud and post (Image 3). Connect all the snaps together to ensure an even fit (Image 4).
Cassidy Garcia

Cassidy Garcia

Cassidy Garcia

Cassidy Garcia
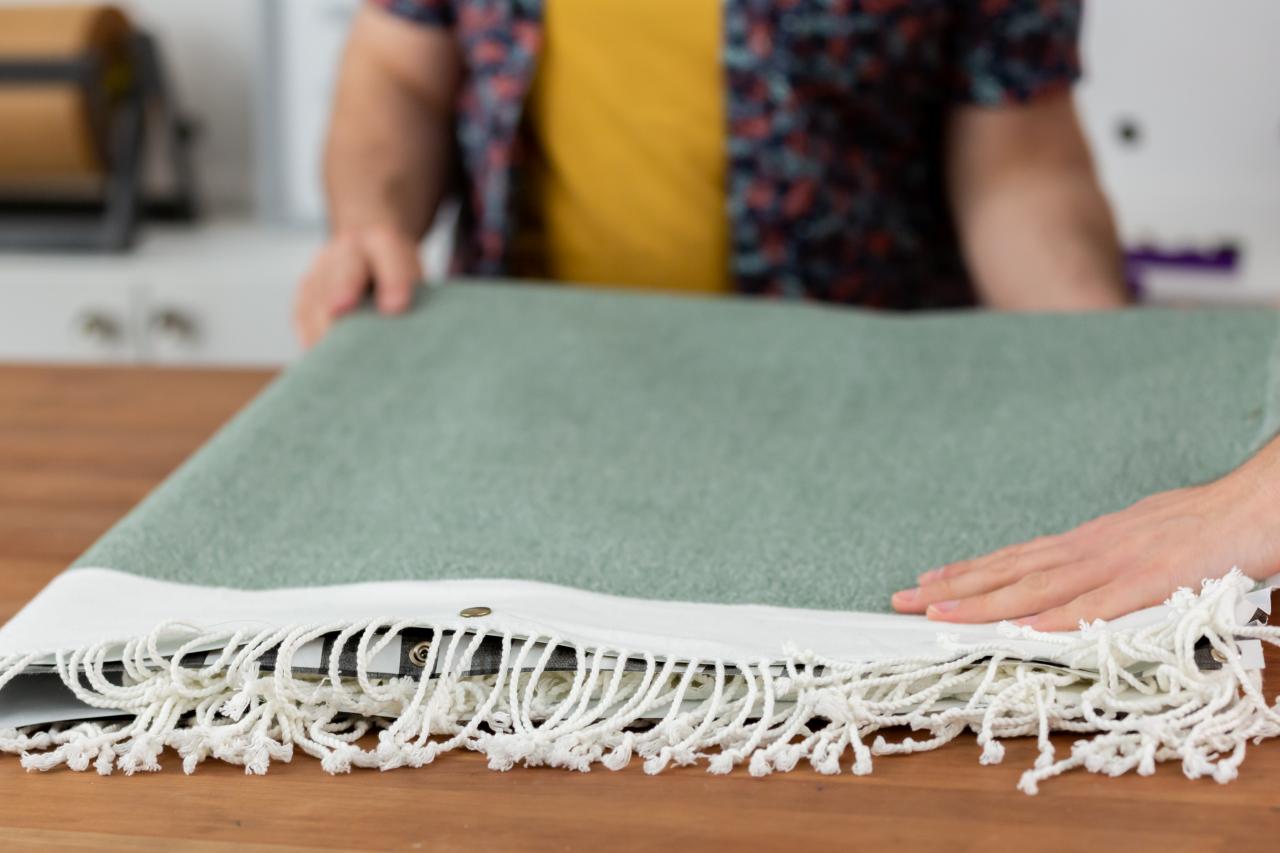
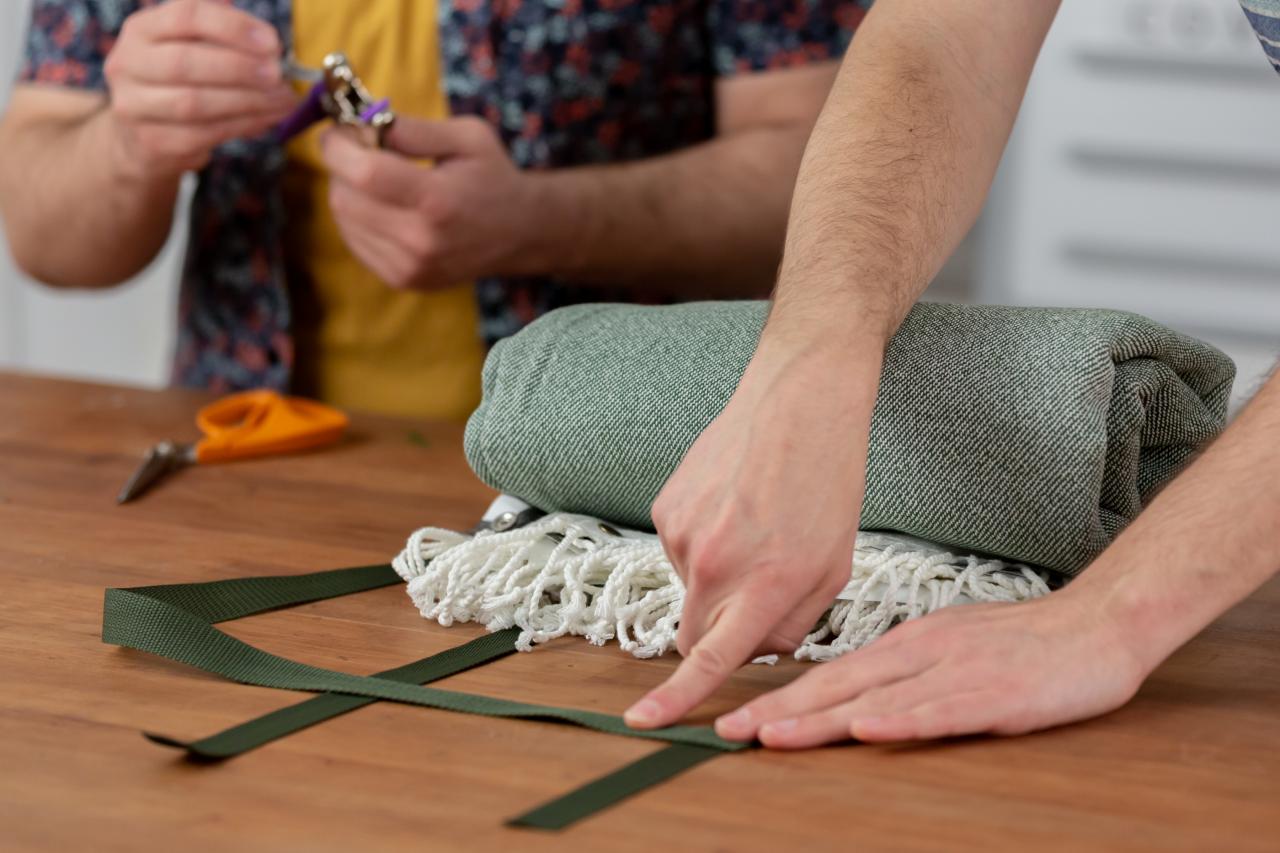
3: Make Blanket Straps
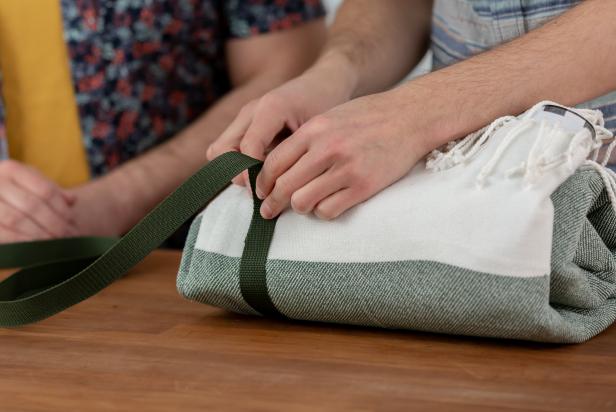
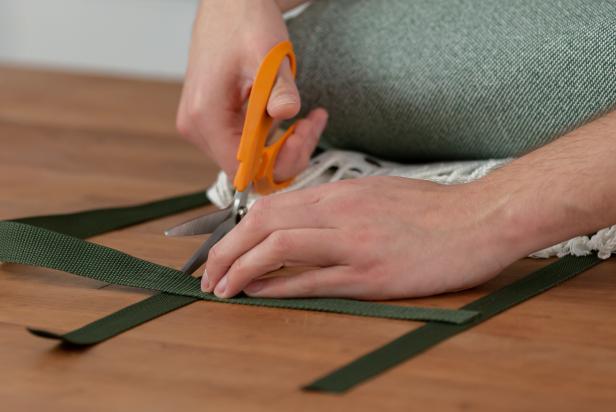
Roll up the blanket and measure it by wrapping a piece of nylon strap around, leaving a 2-inch overhang (Image 1). Then cut two equal length pieces of nylon and place them side-by-side, vertically and parallel to the blanket (Image 2). Cut two more smaller pieces of nylon to create the blanket handle: one piece that equals the width of the vertical pieces, and the other just a little bit longer (Image 3). Now make the letter “H” with the smaller nylon pieces by placing them horizontally across the vertical pieces, about 8 inches apart (Image 4). Once measured, set the smaller pieces aside for later.
Cassidy Garcia

Cassidy Garcia
Cassidy Garcia

Cassidy Garcia
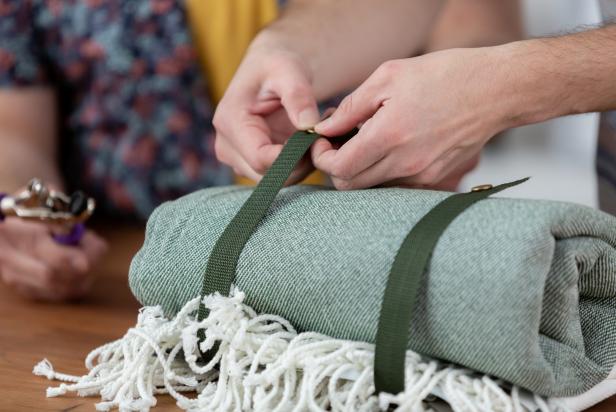
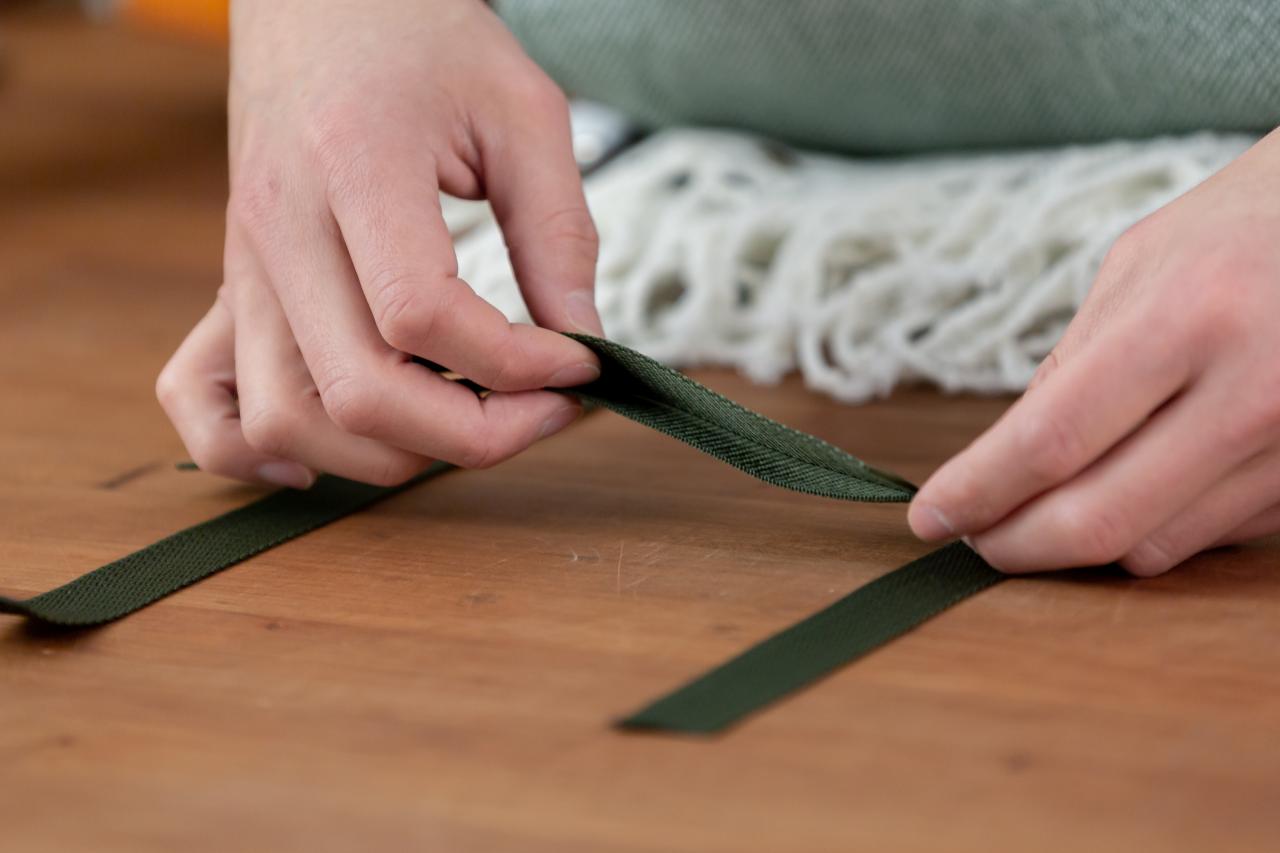
4: Add Snaps to Straps
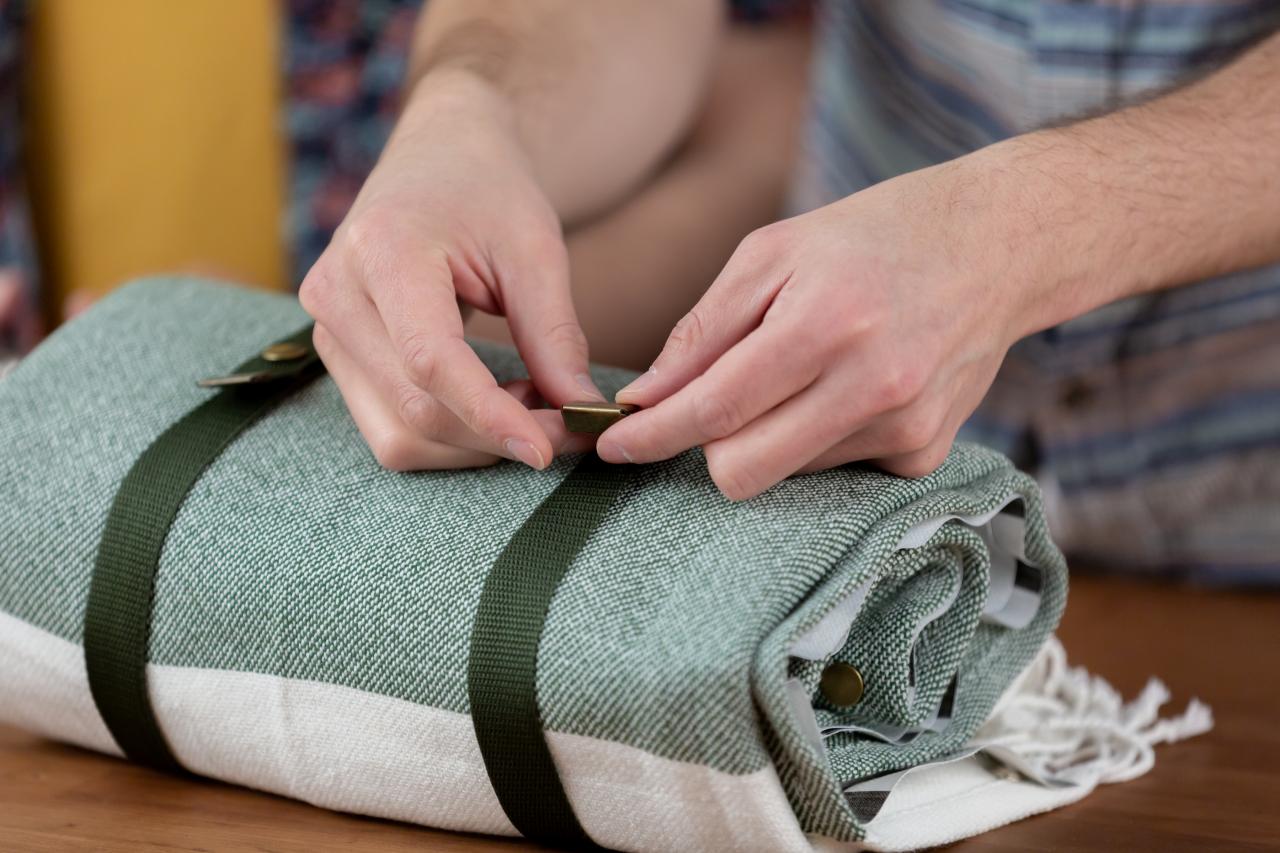
Use heavy duty pliers to punch a hole in the nylon where the larger straps overlap (Image 1). Then, change out the attachments on the pliers (Image 2) and add a brass stud and post to the top of each strap (Image 3). Connect the straps by snapping the brass pieces together. Tip: To prevent fraying, add a brass webbing belt tip to the end of the nylon straps (Image 4).

Cassidy Garcia
Cassidy Garcia
Cassidy Garcia

Cassidy Garcia
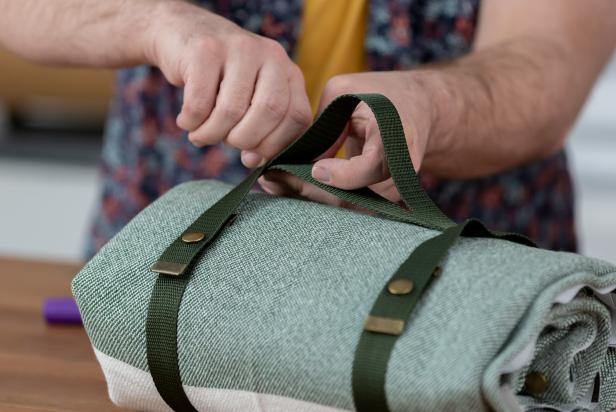
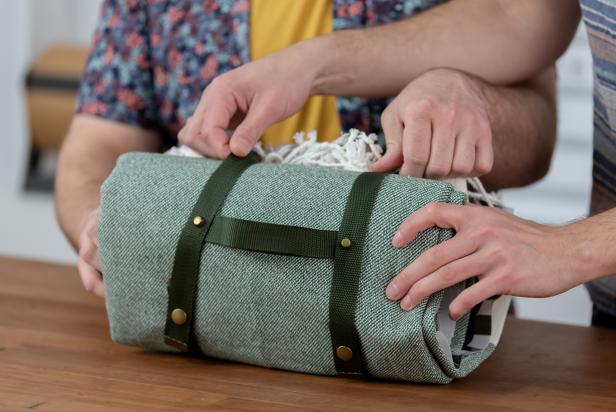
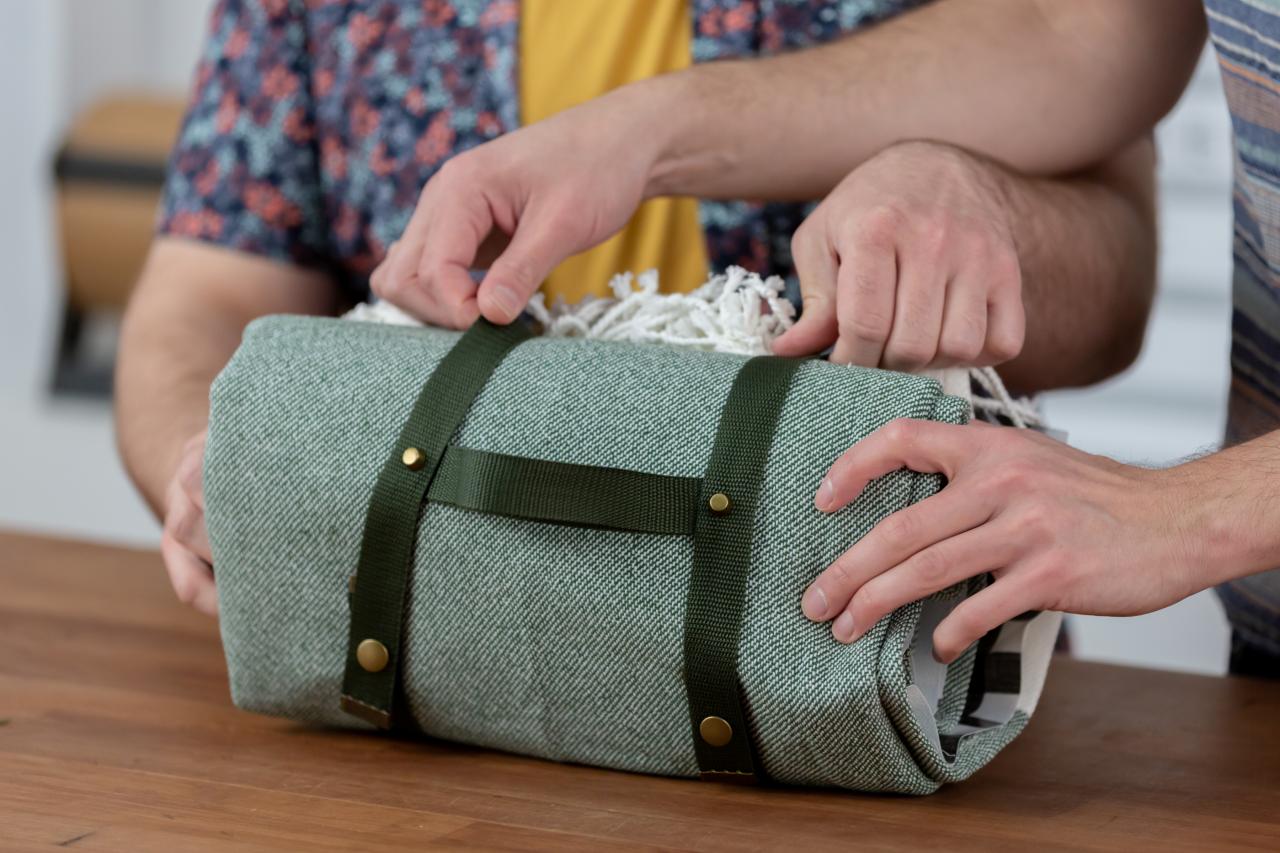
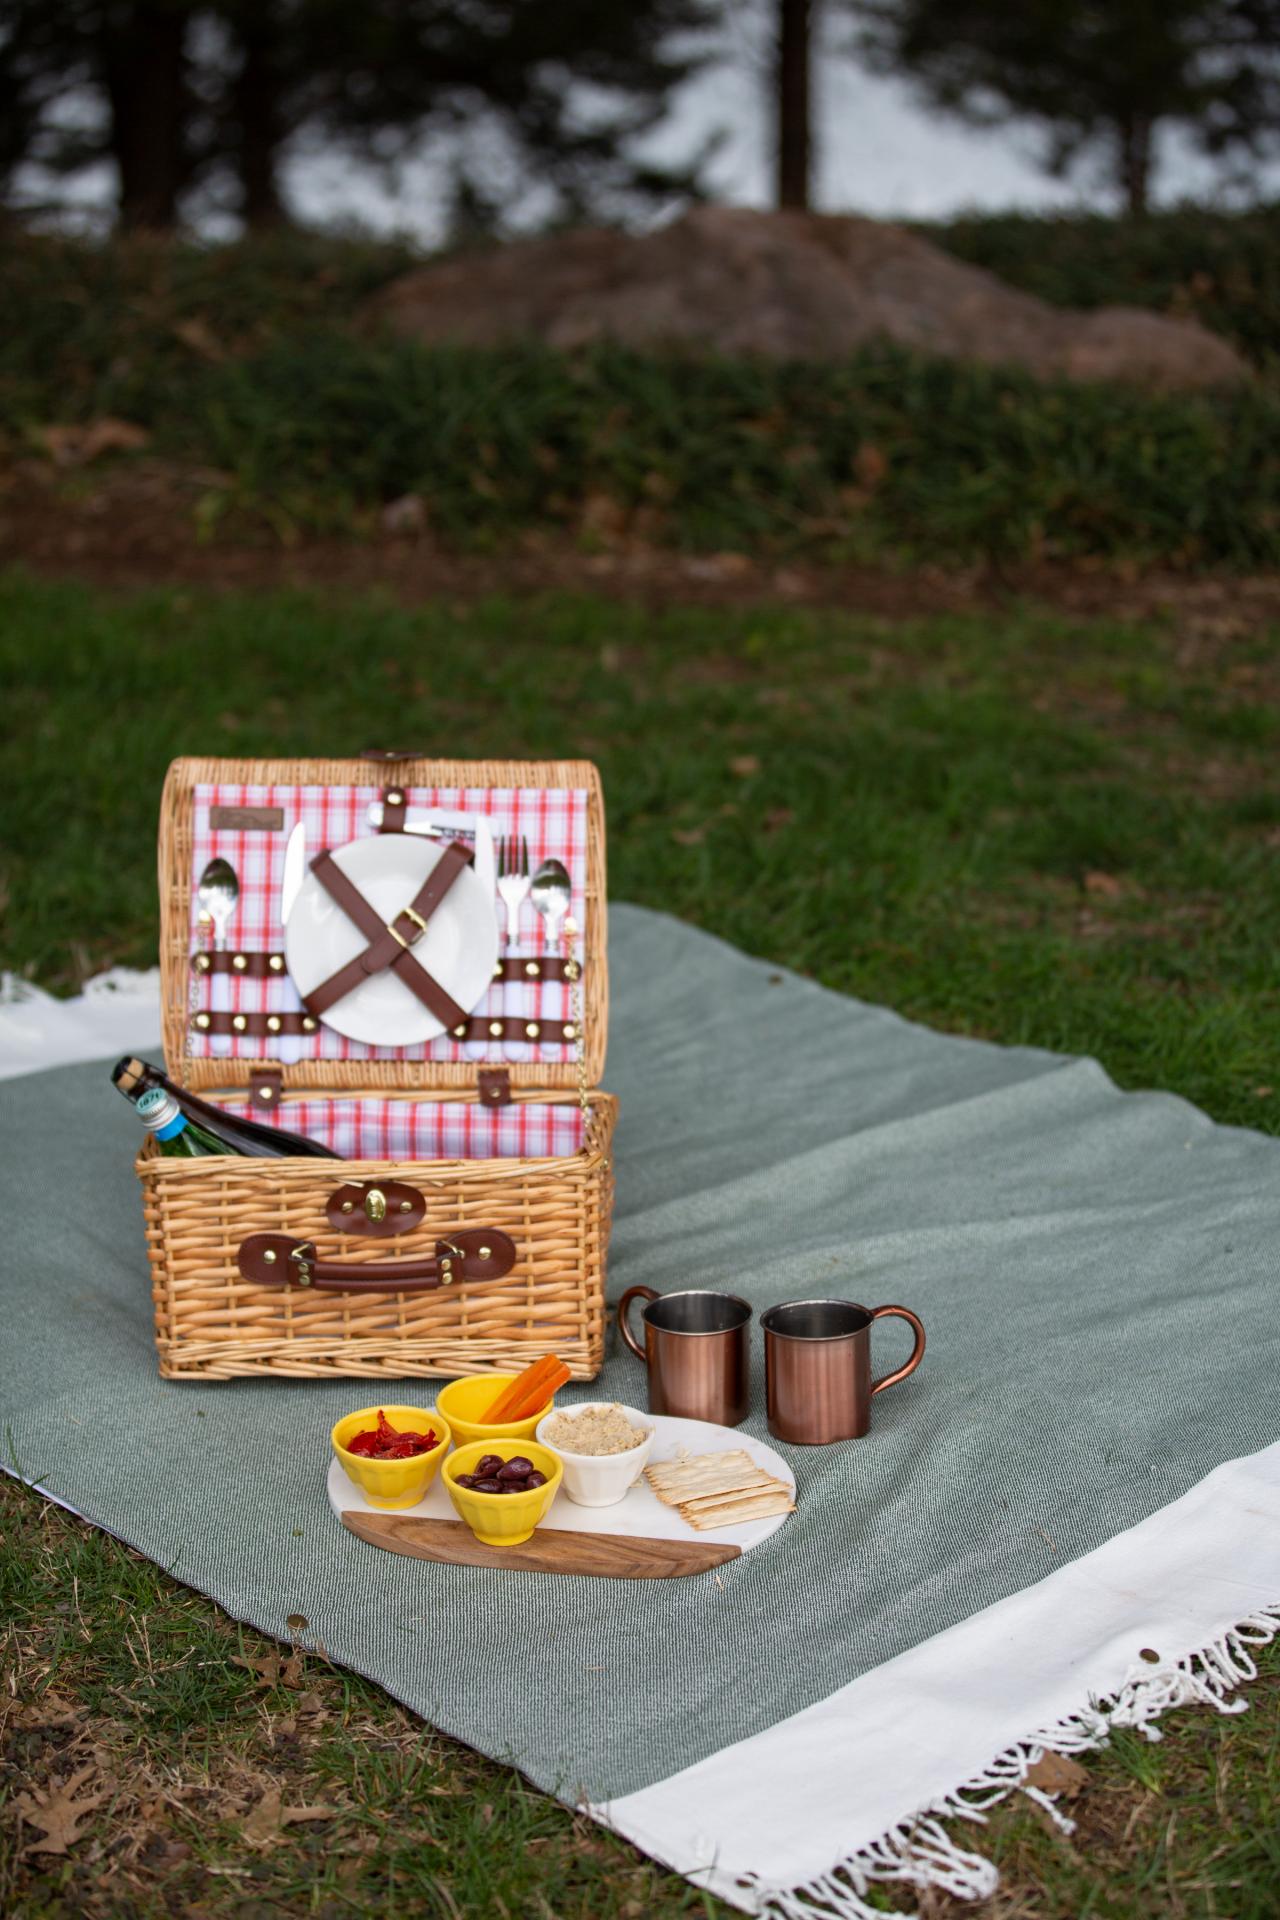
5: Attach Handle + Enjoy
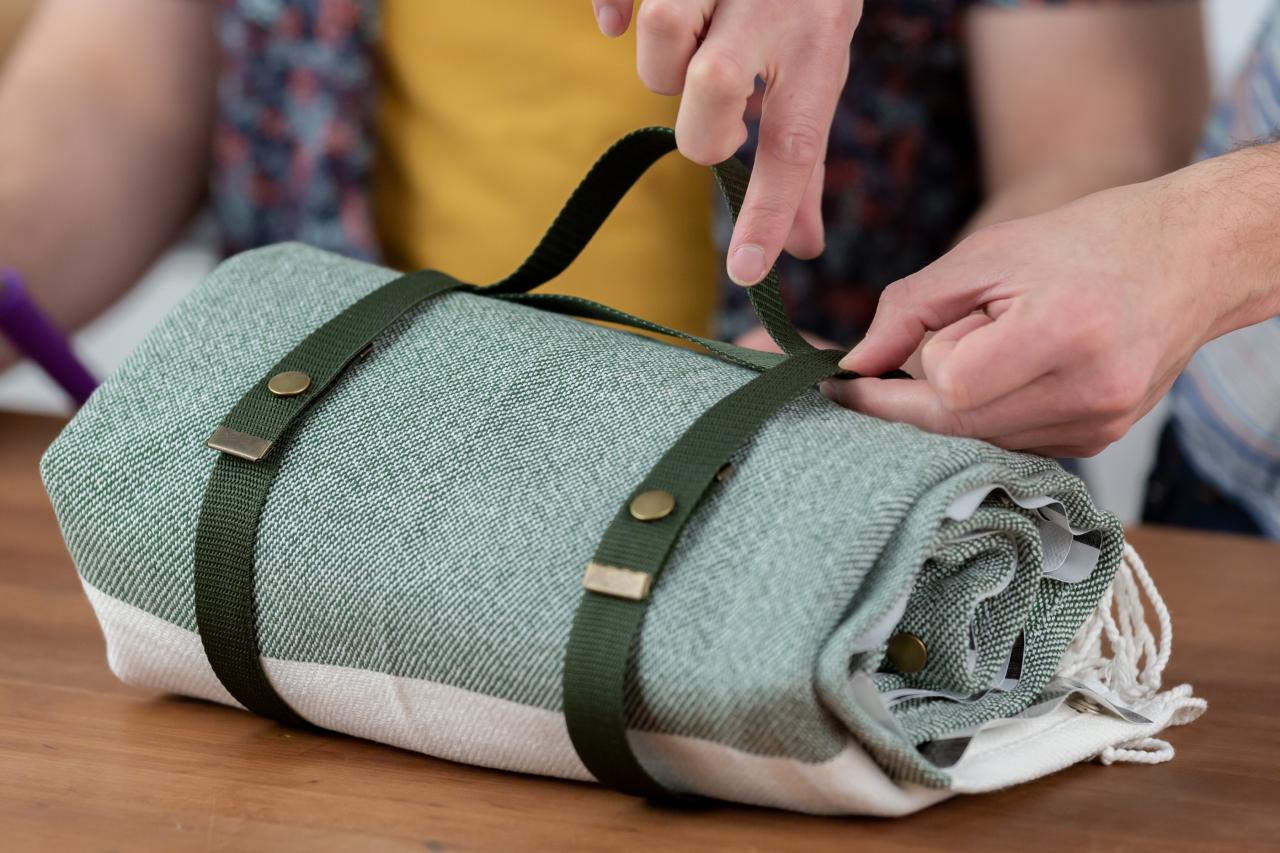
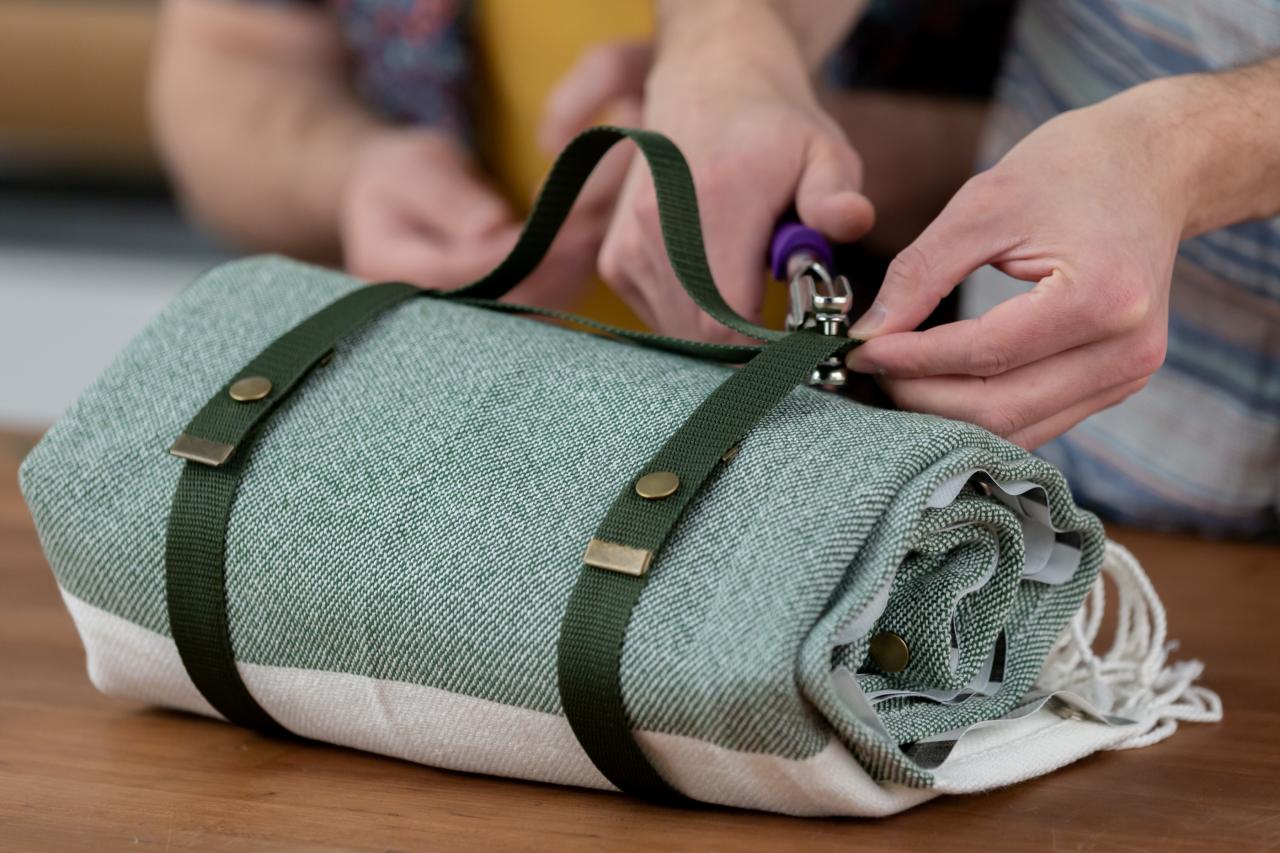
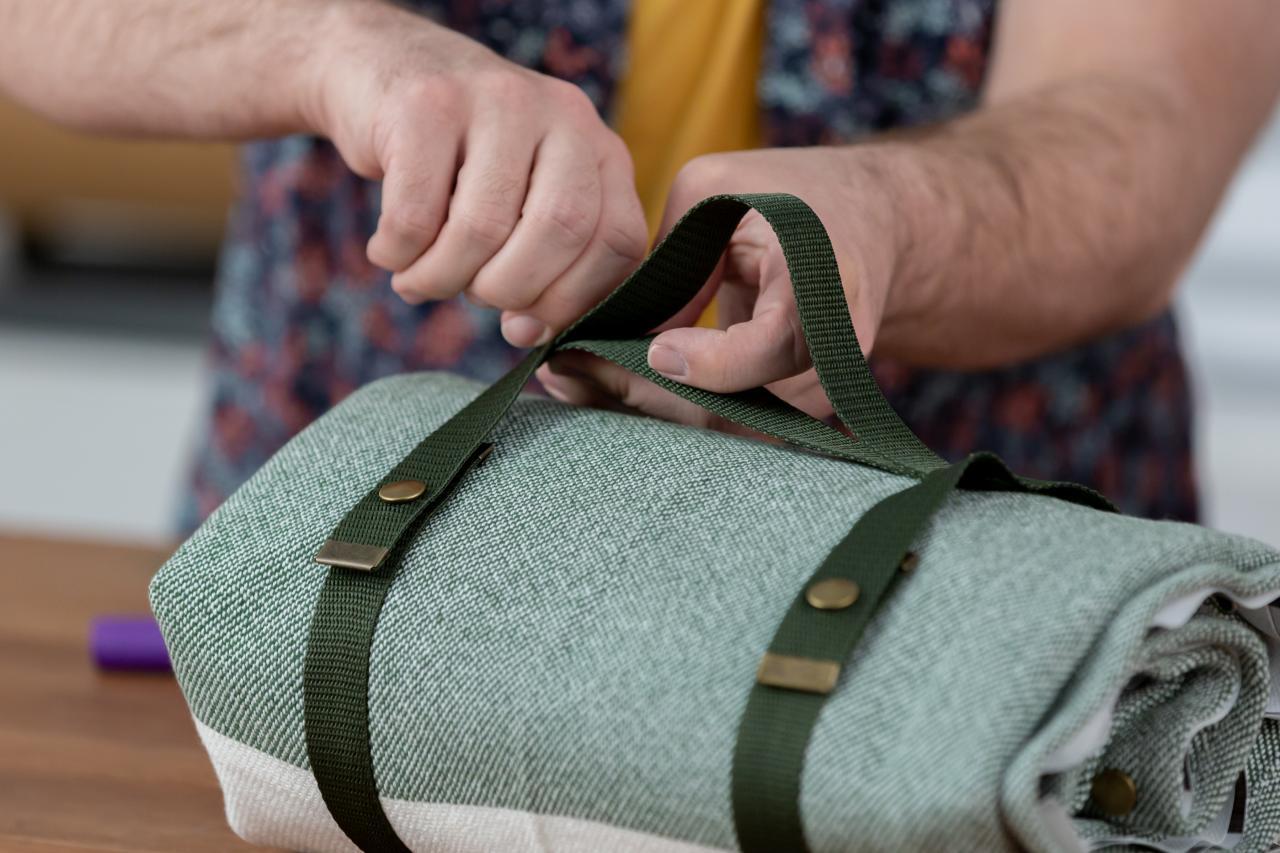
Make the handle with the two smaller pieces of nylon. Place the two smaller pieces together with the larger piece on top (Image 1) creating a rounded loop handle. Then, use heavy duty pliers to punch through all three layers of the nylon straps (Image 2). Tip: If the snap pliers won't punch through all strap layers at the same time, punch each strap individually in the same spot. Now add brass handbag feet to the punched holes to connect the handle to the straps (Image 3). Roll up the blanket with the finished carrying handle (Image 4), pack a picnic and enjoy (Image 5).

Cassidy Garcia

Cassidy Garcia
Cassidy Garcia
Cassidy Garcia

Cassidy Garcia
DIYs for Backyard Adventures

Make Perler Bead Drink Covers + Coasters
Quietly steal your kids' Perler beads, because we've got a DIY you'll want to make ASAP. Turn your favorite summer designs into drink covers that double as coasters.

Go Camping in Your Backyard 20 Photos
Warm summer nights are perfect for glamping. Enjoy nature views and delicious meals under the stars for a glamorous camping experience, all without forgoing the luxury of home.

10 Backyard Camping Ideas for Mini Explorers 11 Photos
Who needs to pack up the whole family for an outdoor excursion when you can create a kid-friendly campsite in your very own backyard?


