


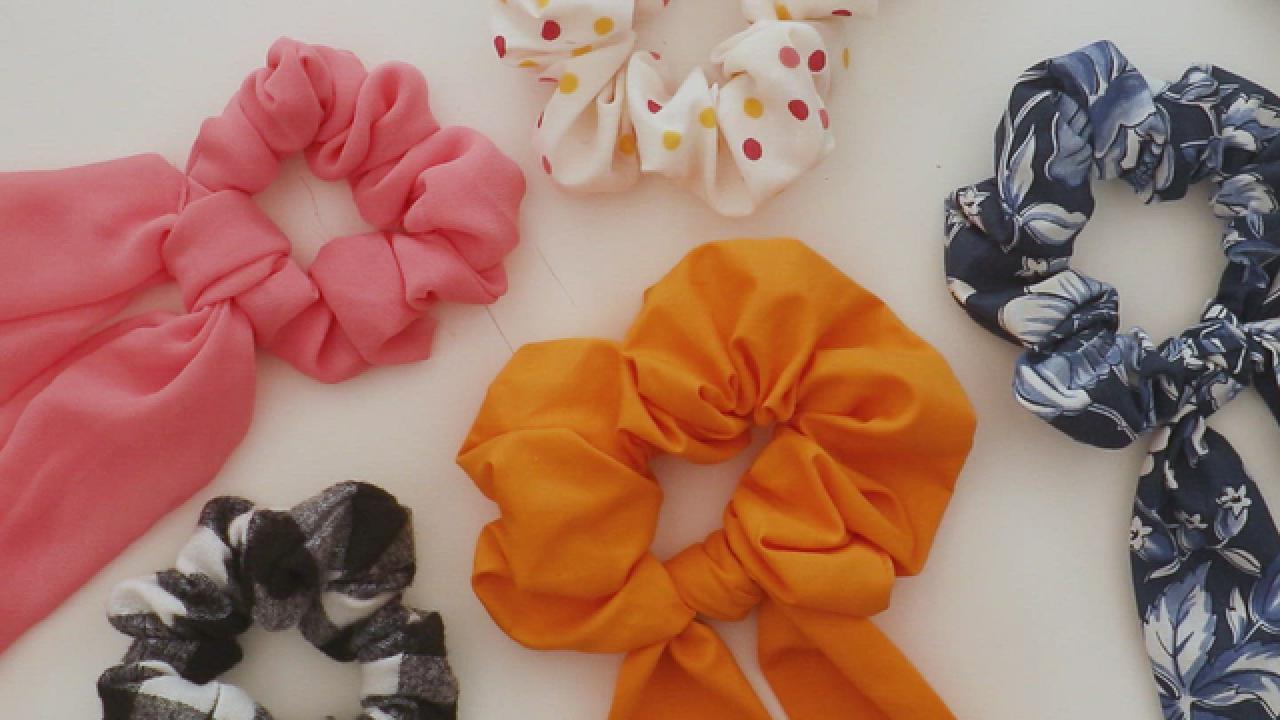
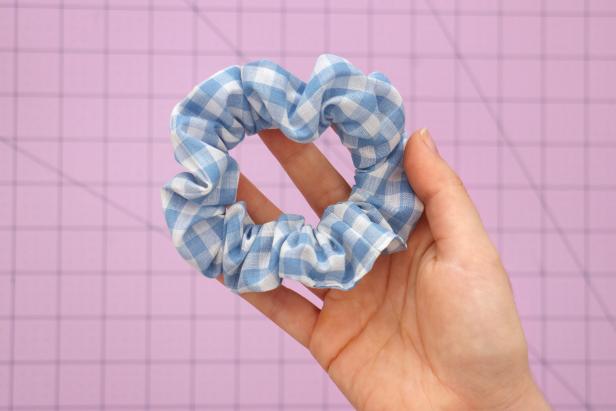
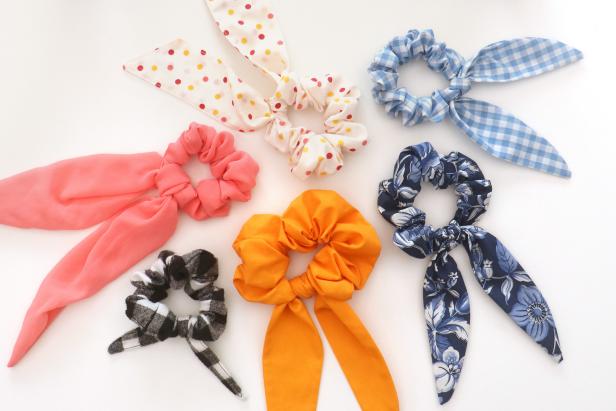
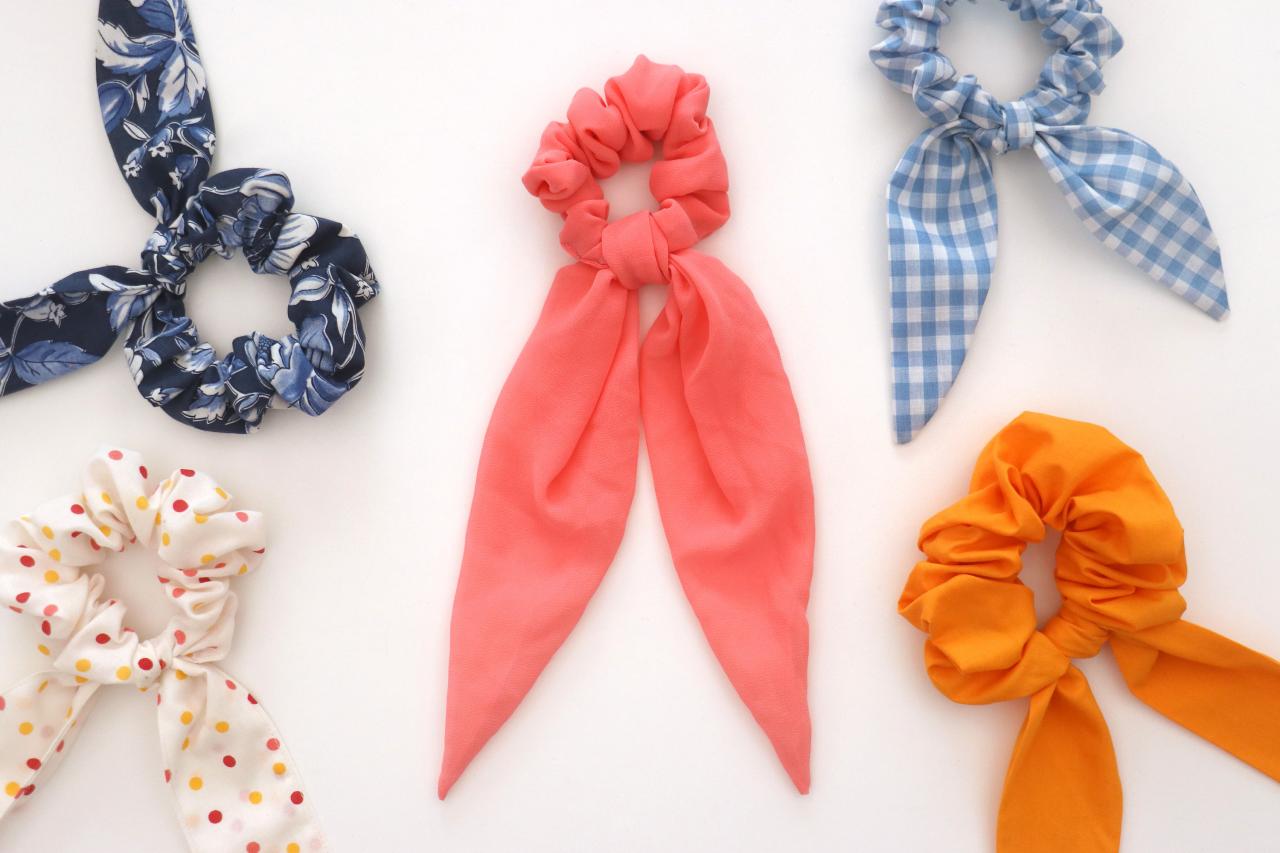
How to Make a Scrunchie
Scrunchies are a classic beginner sewing project. Fun and easy to make, practice your sewing skills and impress your friends at the same time with this unique hair scrunchie.

Karen Kavett

Looking to up your ponytail game this year? With just a few supplies, this fun-to-make (and fun-to-wear) scrunchie is the perfect beginner sewing project to get you started.
Materials + Tools
- fabric
- sewing machine
- ruler
- scissors
- pins
- needle and thread
- elastic
- safety pin
- iron
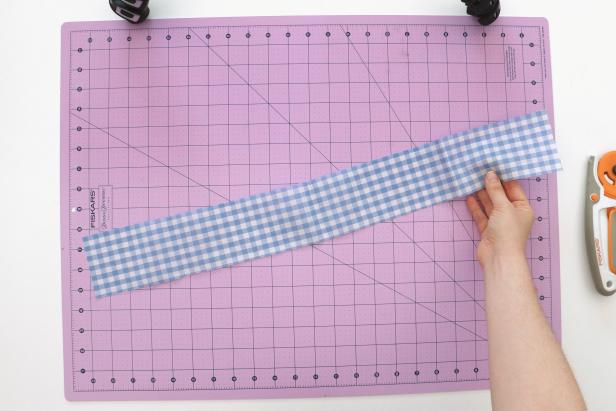
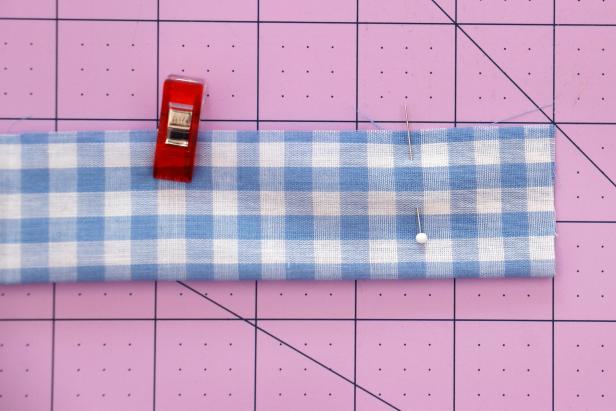
Cut the Fabric and Clip it Together
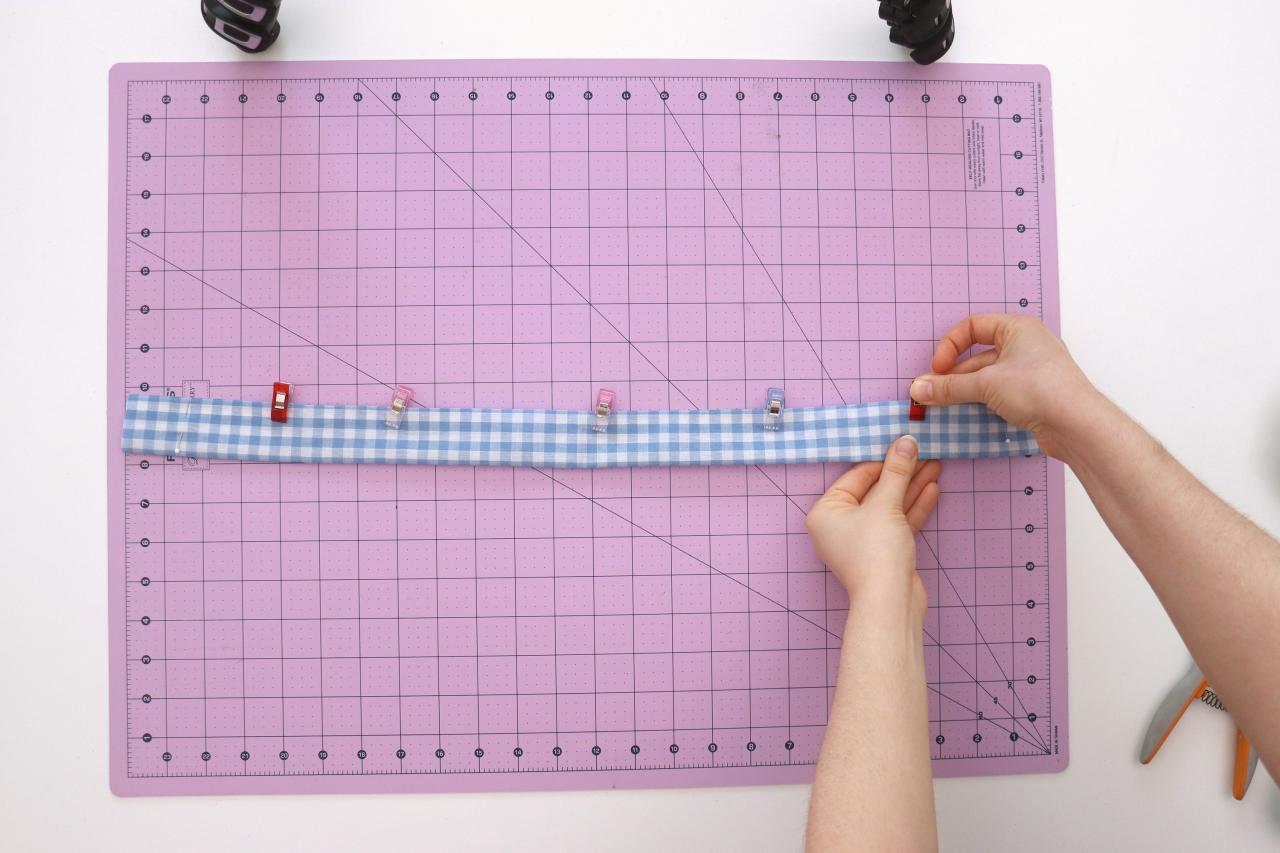
Cut your fabric to 22 inches x 3.5 inches. Fold it in half lengthwise with right sides together (Image 1). Mark 1.5 inches from each end with a pin, and then pin or clip it together along the entire length (Image 2 + 3).
Karen Kavett
Karen Kavett

Karen Kavett
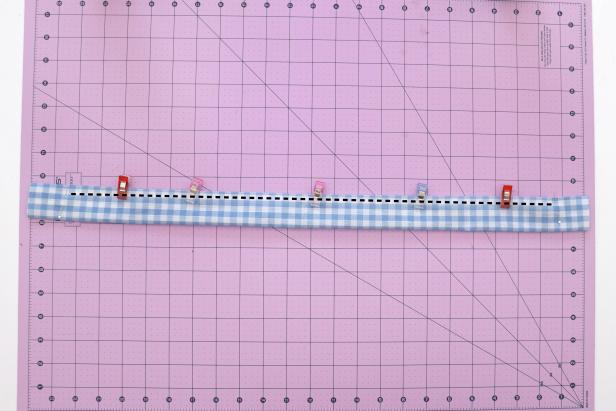
Start Sewing
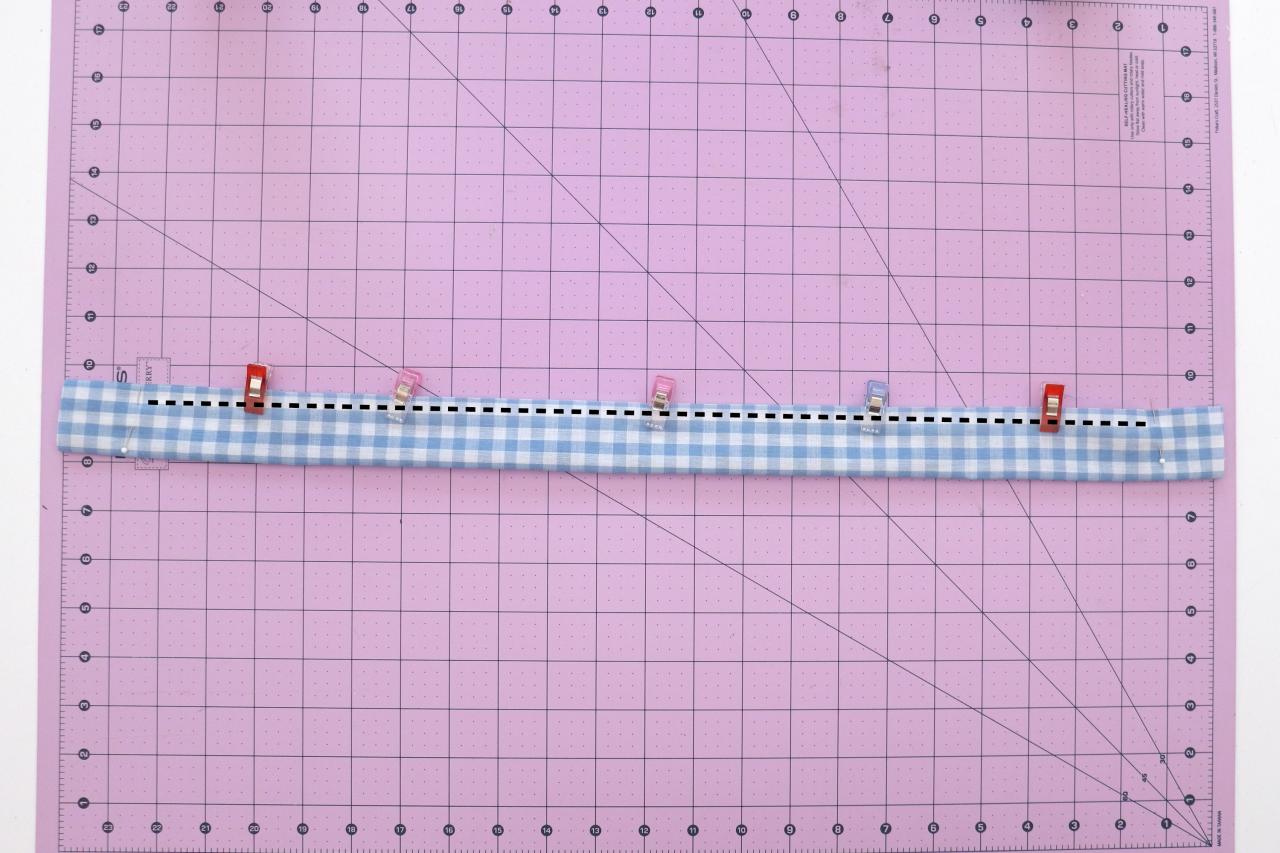
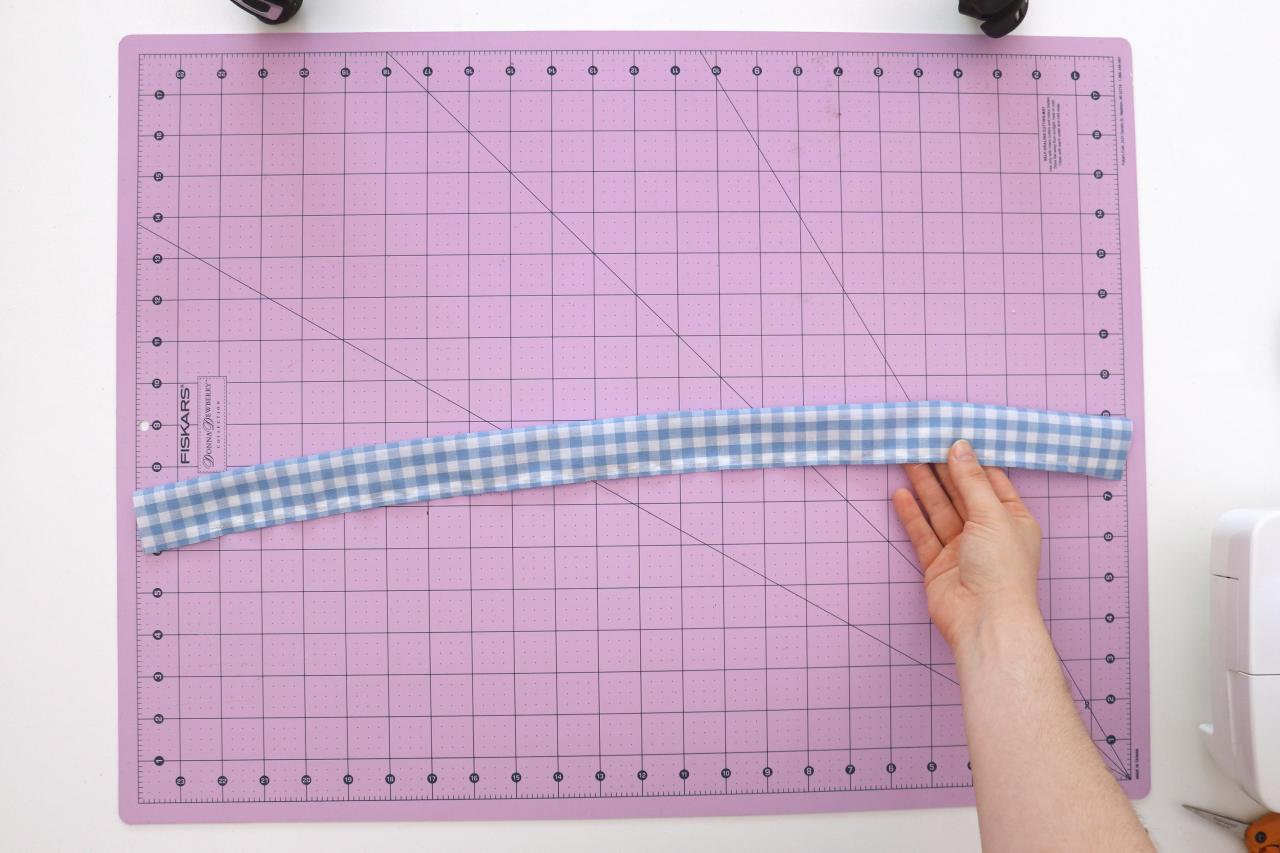
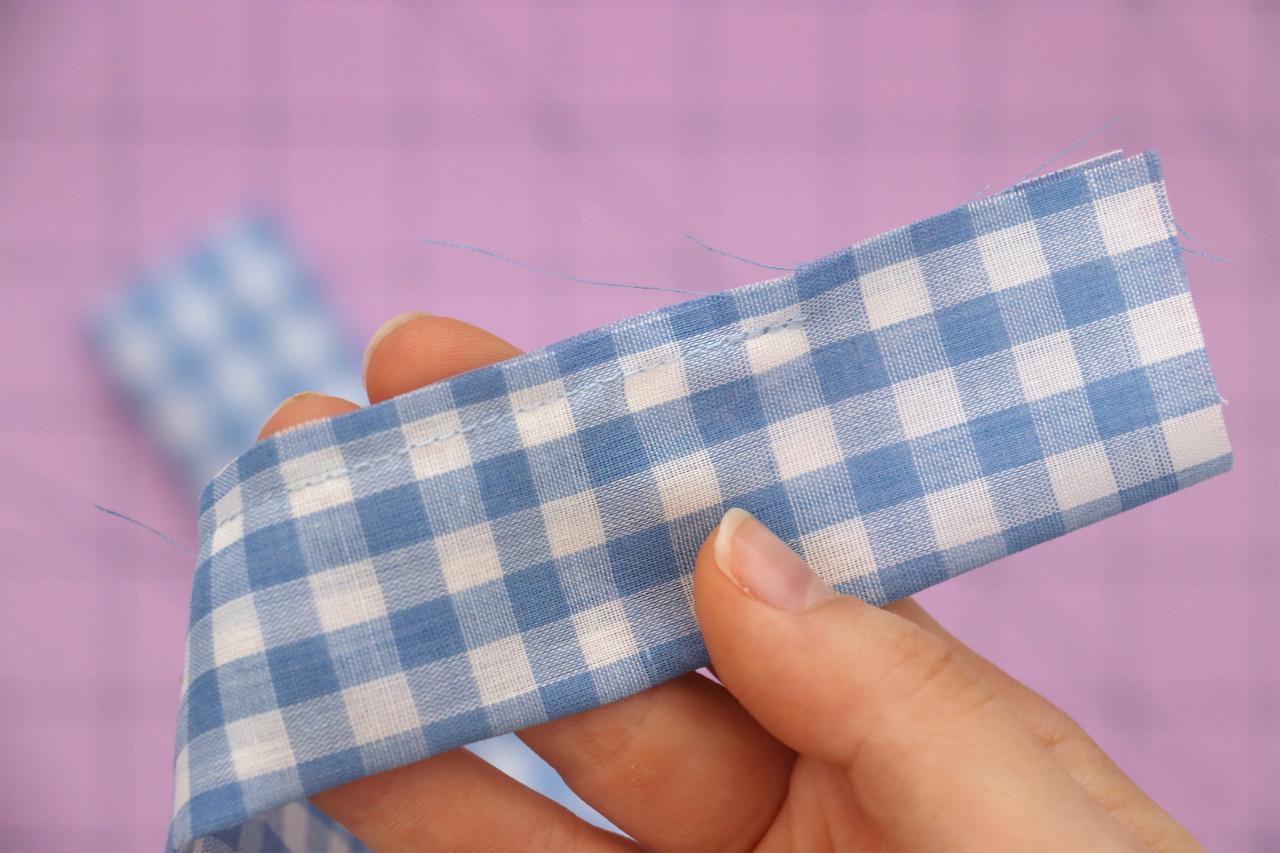
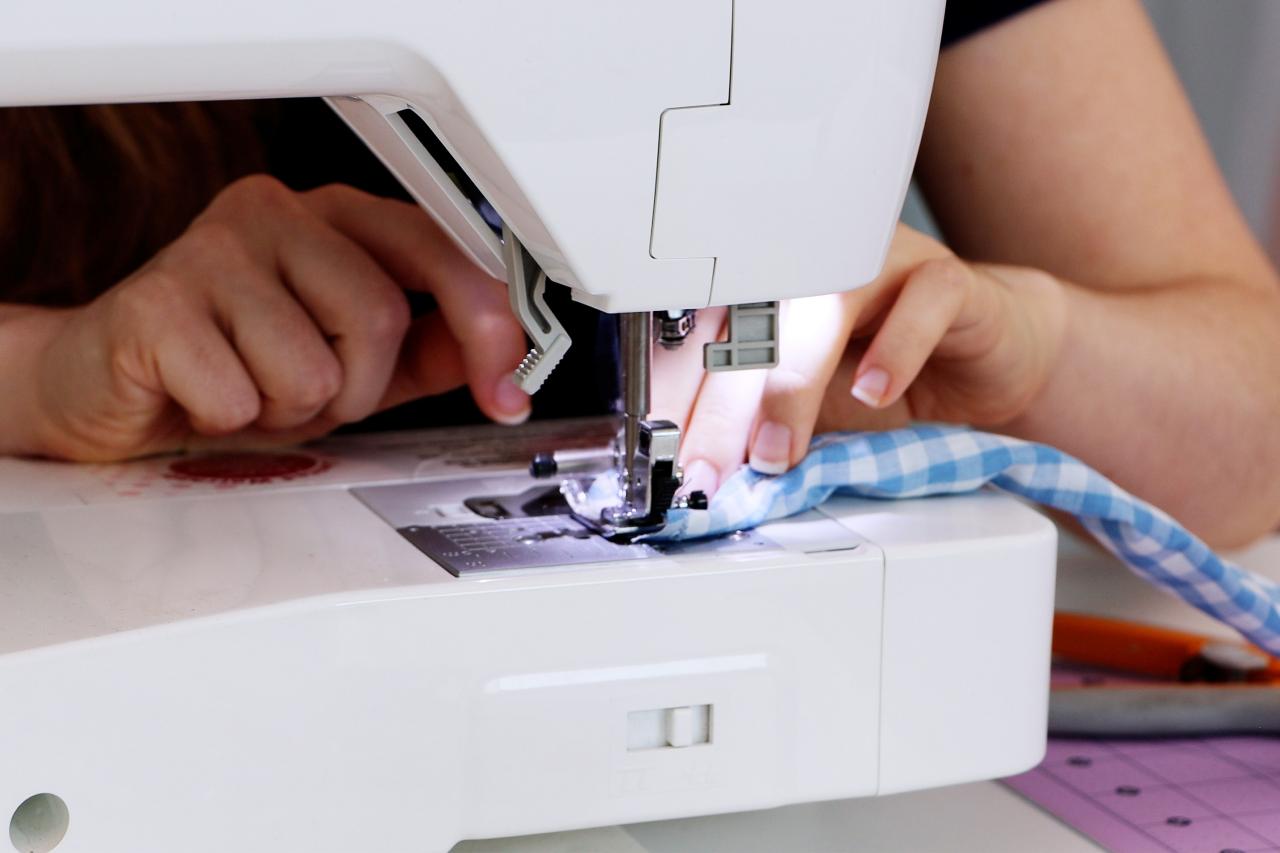
Sew between the two pins (Image 1 + 2), leaving 1.5 inches unsewn on each end (Image 3 + 4).
Karen Kavett

Karen Kavett

Karen Kavett

Karen Kavett
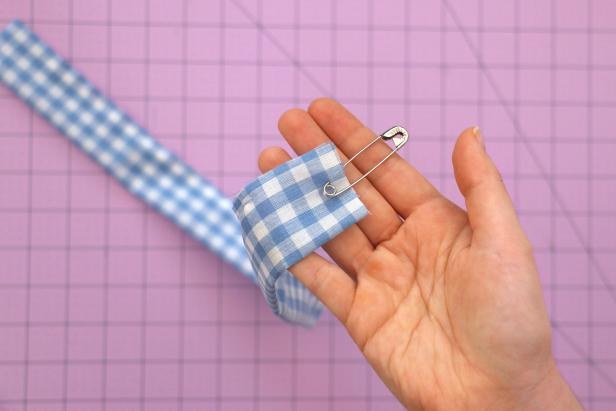
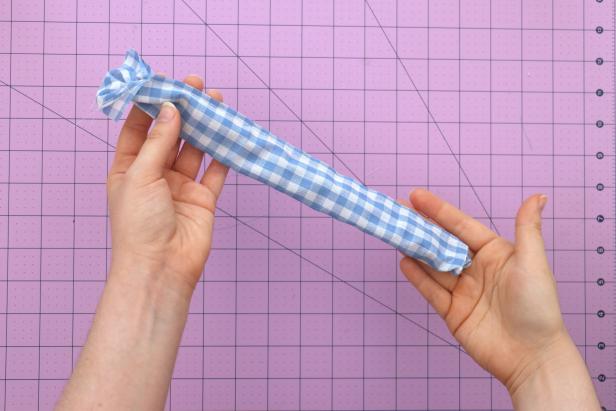
Put Your Safety Pin to Use
Attach a safety pin to the end of the tube (Image 1) and feed it through to turn it halfway inside out, so that the two short ends line up with each other (Image 2).
Karen Kavett
Karen Kavett
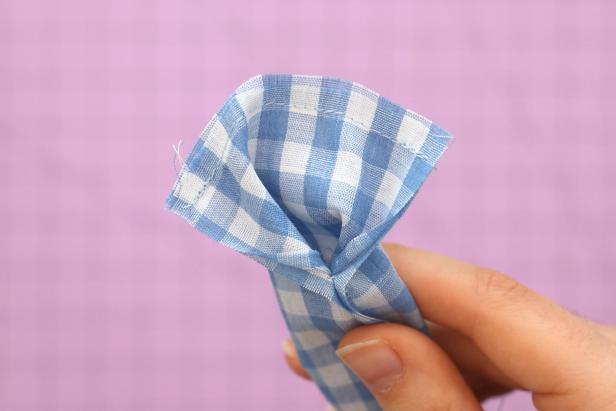
Make Circles
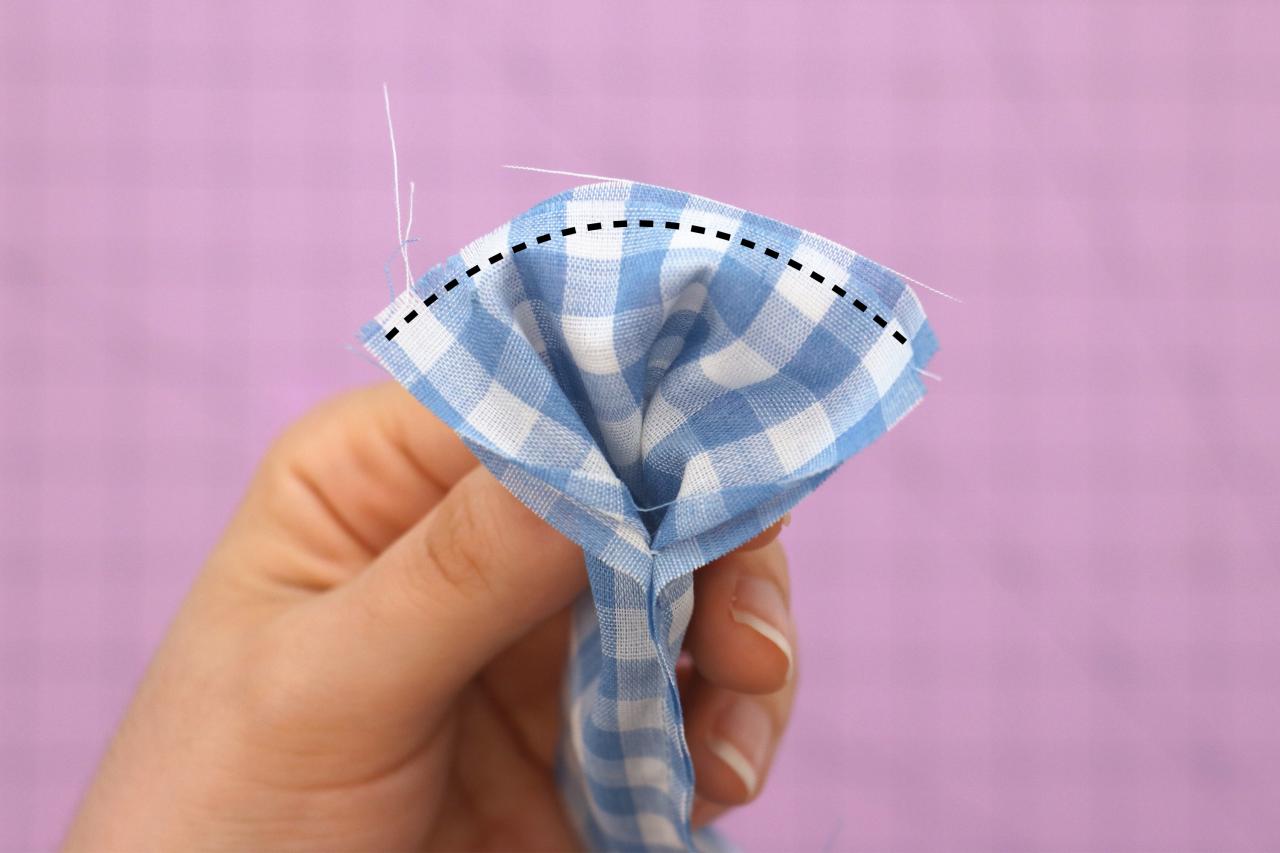
Sew the short seam together (Images 1 + 2). Then reach through the remaining opening and finish turning the tube inside out (Image 3). You should end up with a large circle (Image 4).

Karen Kavett

Karen Kavett
Karen Kavett

Karen Kavett
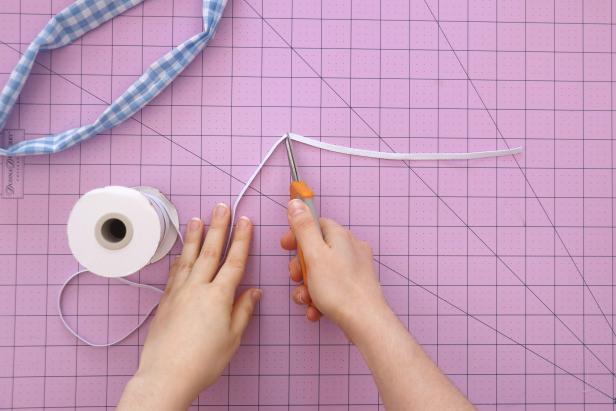
Insert the Elastic
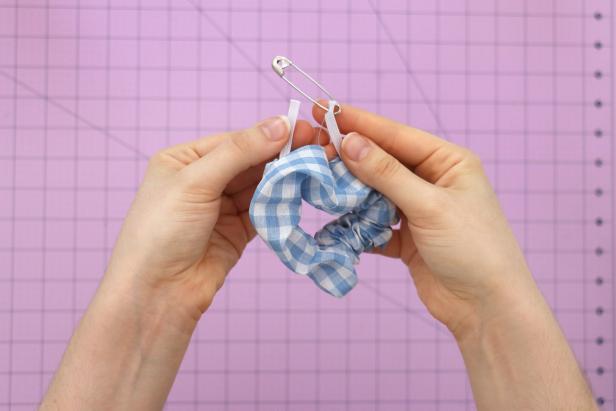
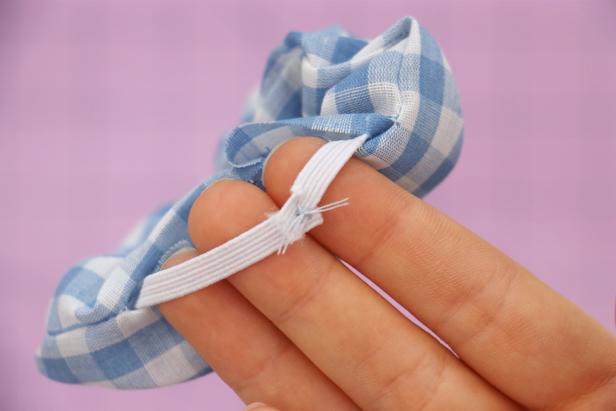
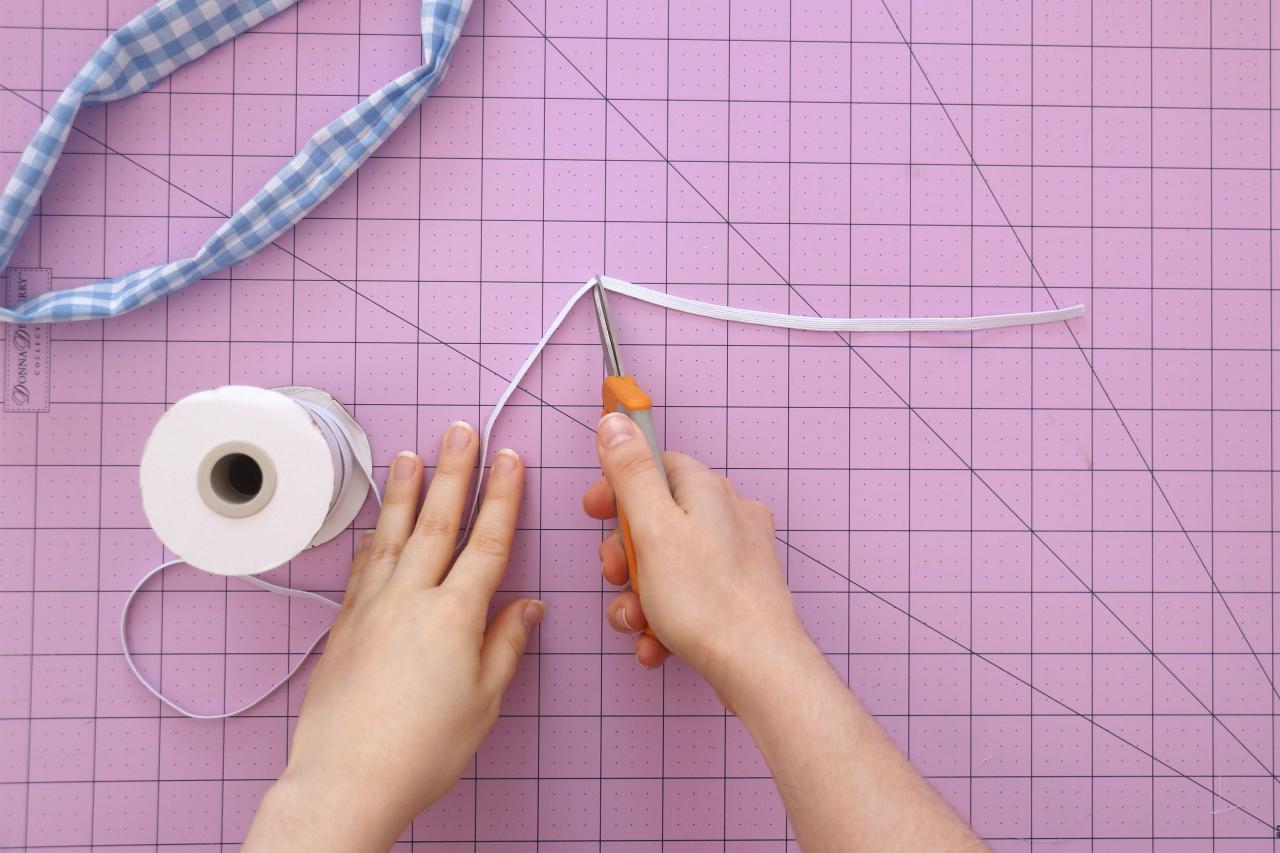
Cut an 8-inch piece of elastic (Image 1). Add a safety pin to the end and feed it through the scrunchie (Image 2). Hand sew the ends of the elastic together. These stitches can be messy and uneven, since it will be hidden inside the scrunchie (Image 3).
Karen Kavett
Karen Kavett
Karen Kavett
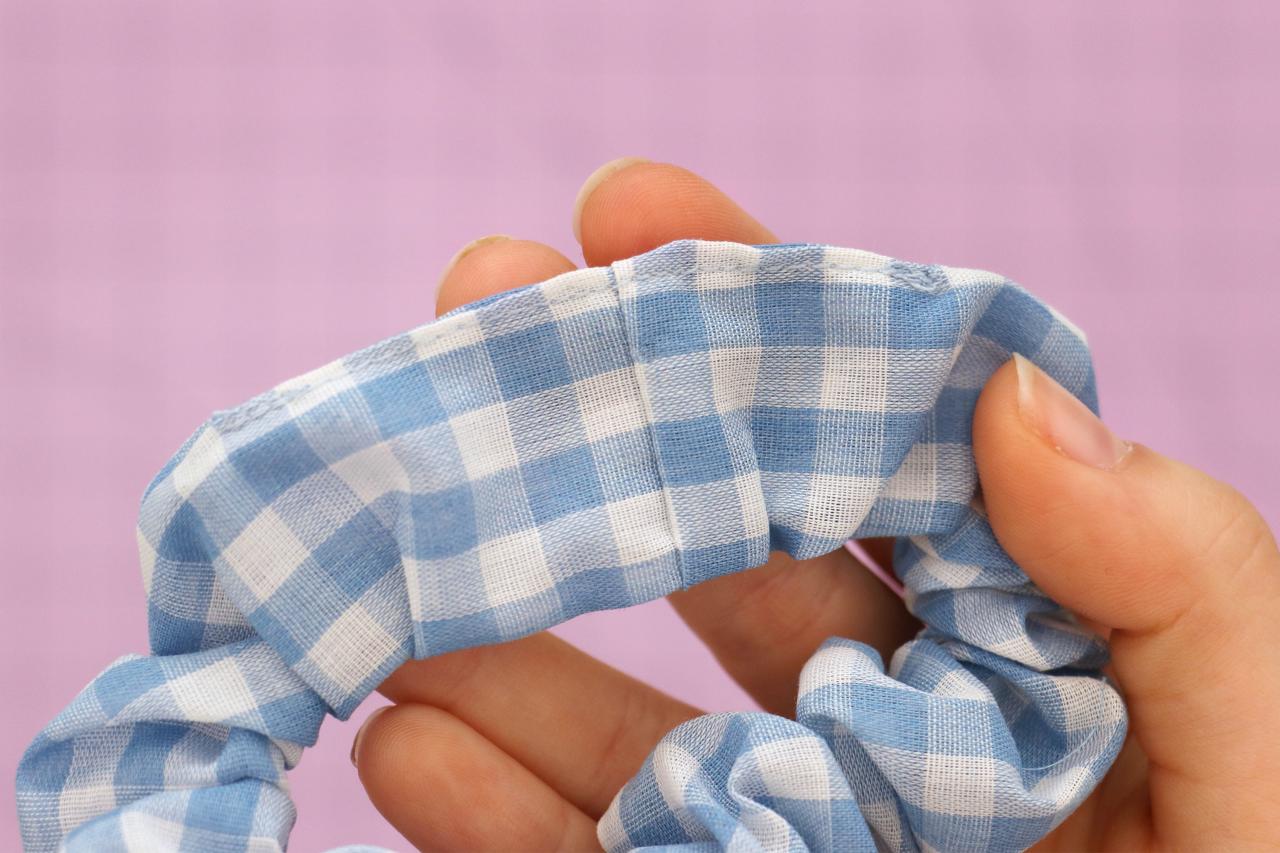
Complete the Scrunchie
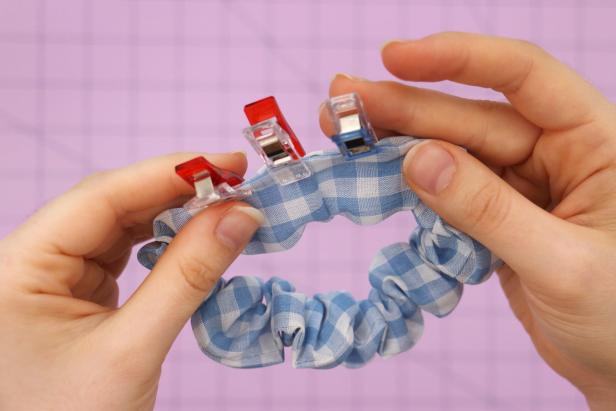
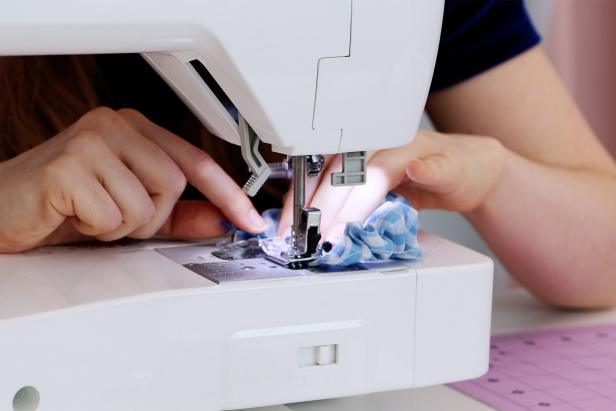
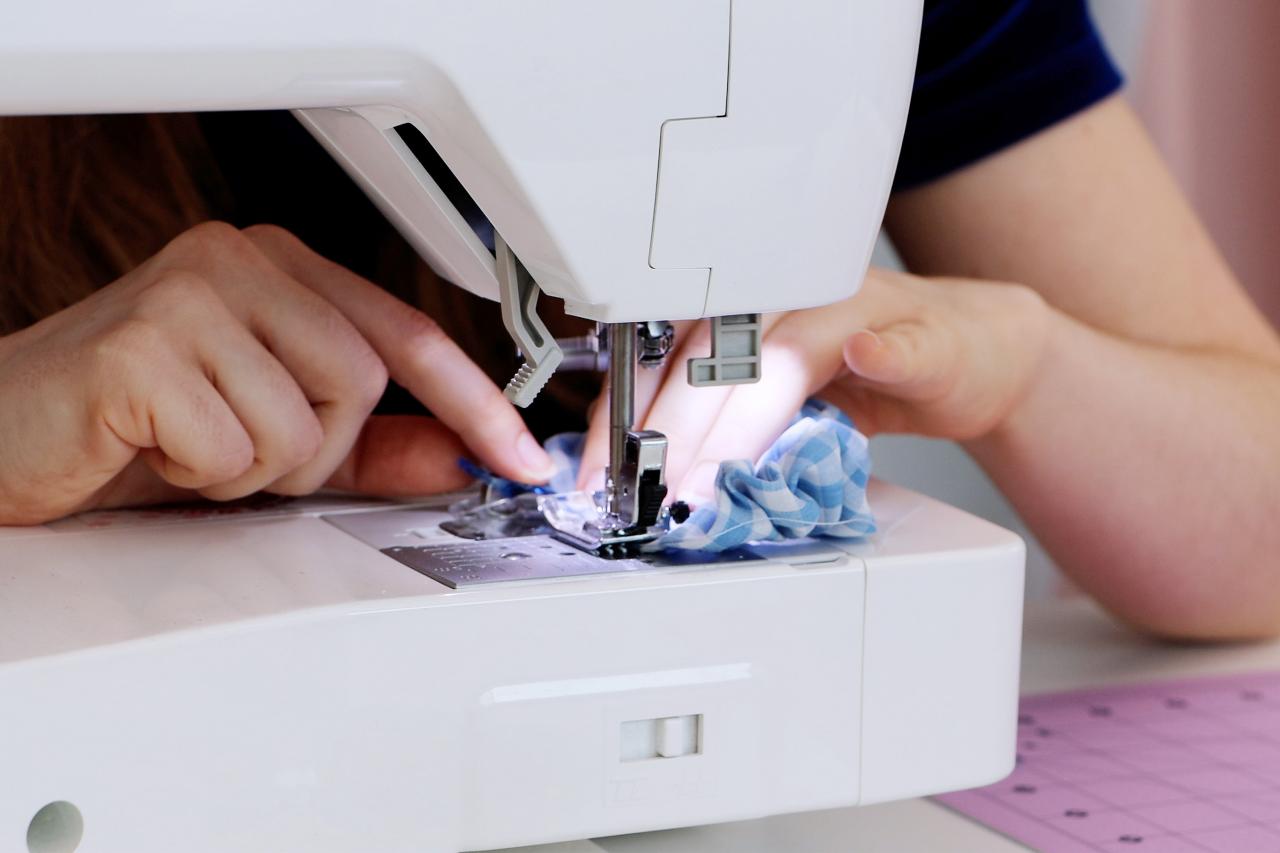
Sew the fabric opening closed by folding in the extra fabric and sewing the edge of the seam (Image 1 + 2). Then adjust the fabric evenly around the elastic to finish your basic scrunchie (Image 3 + 4).
Karen Kavett
Karen Kavett

Karen Kavett
Karen Kavett
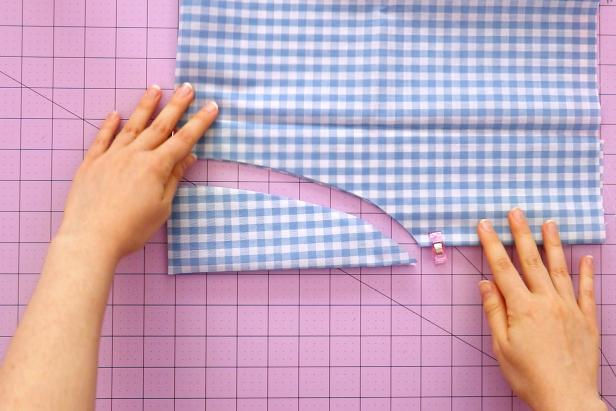
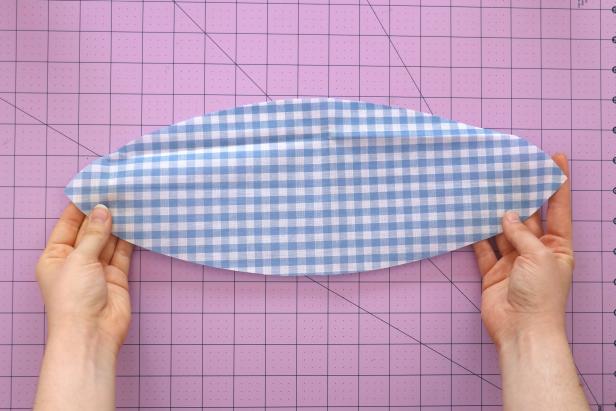
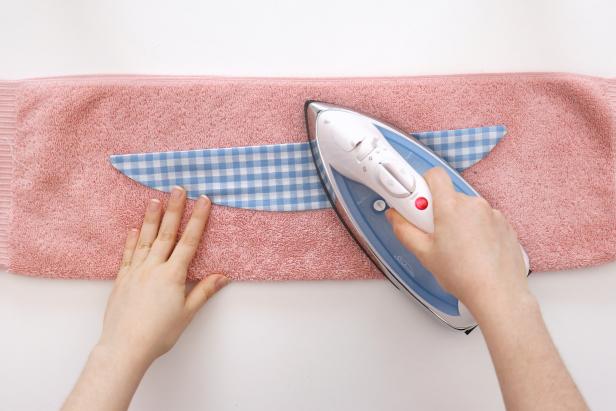
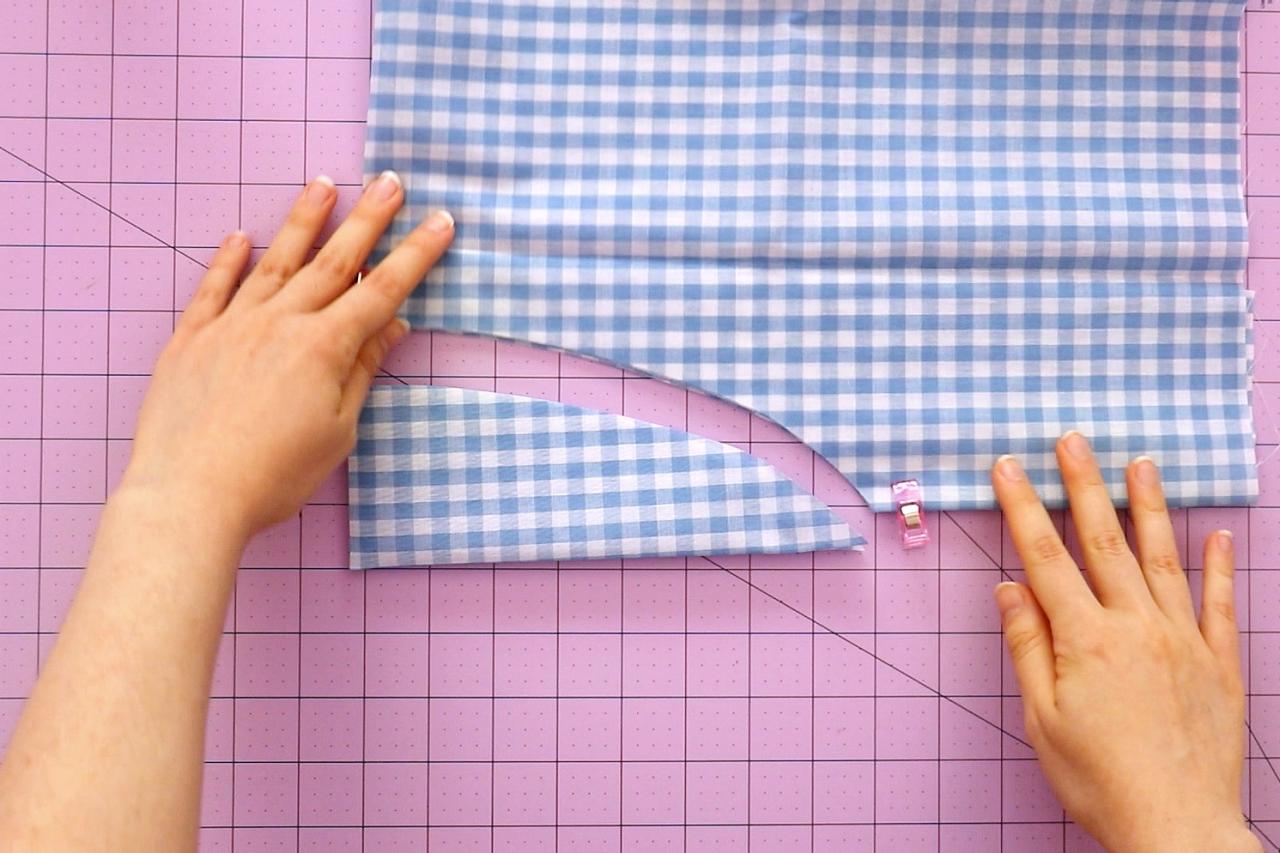
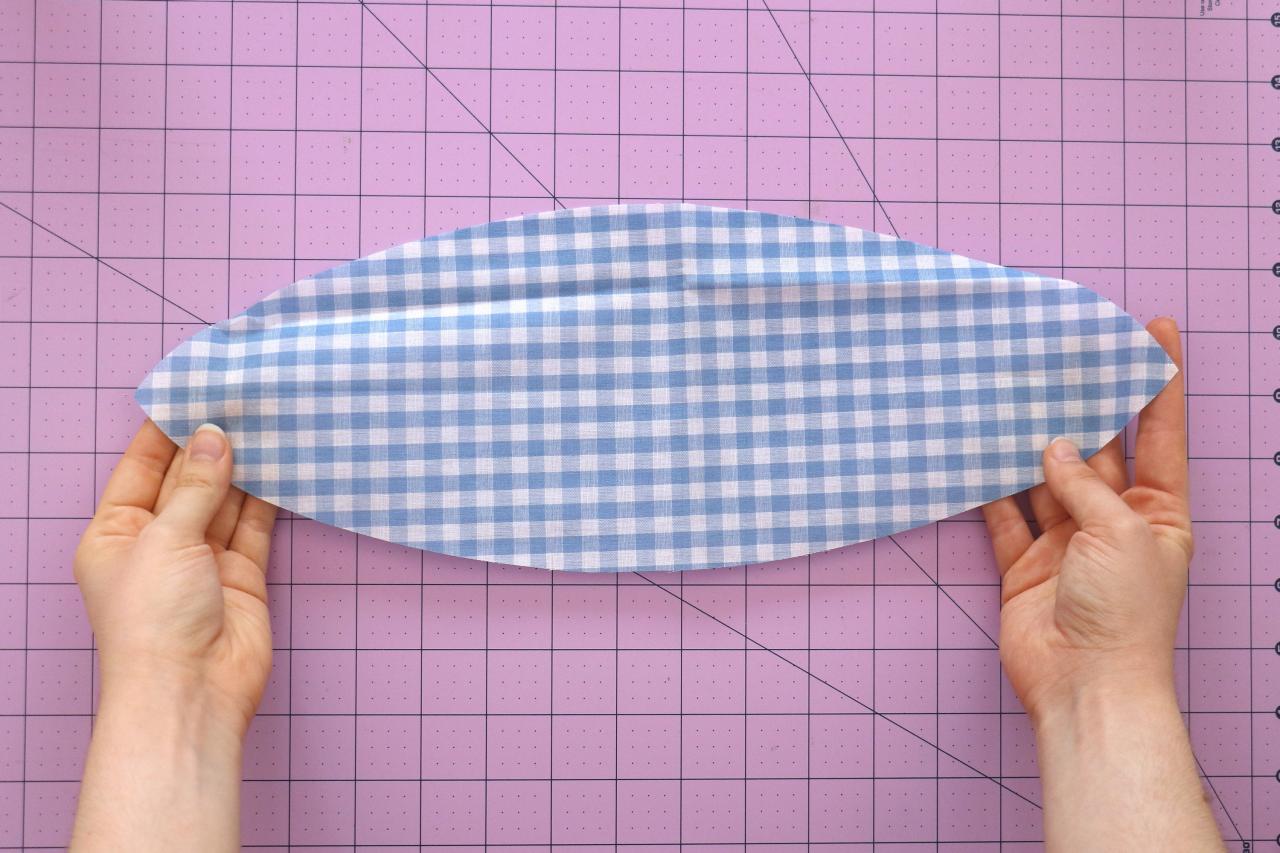
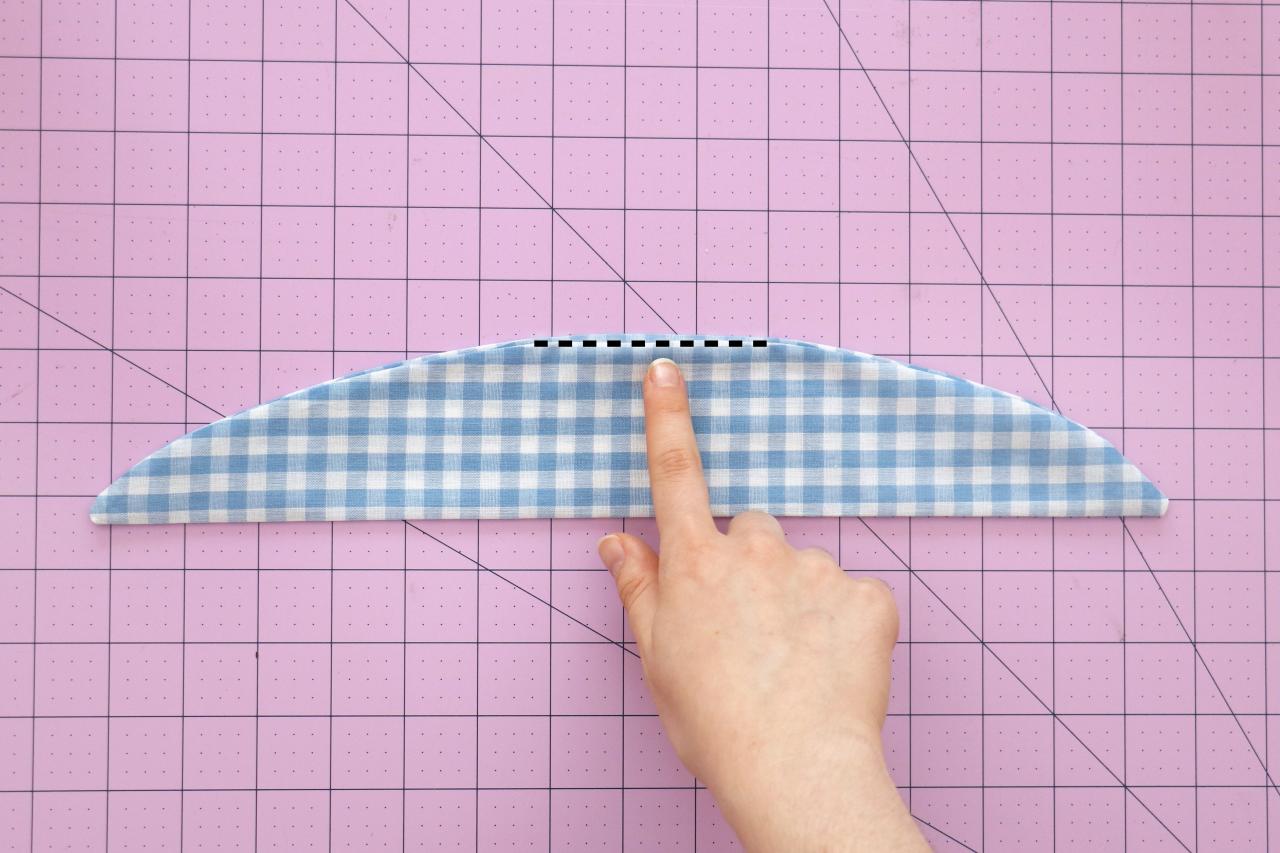
Start Making the Scarf
To make the scarf, fold your fabric twice so you have four layers. Cut a long curve between the folded edges. This curved piece should measure around 8 inches x 1.5 inches (Image 1). Unfold it to get a long oval that measures around 16 inches x 3 inches (Image 2). Fold it in half lengthwise with the right sides together and press it with an iron (Image 3).
Karen Kavett
Karen Kavett
Karen Kavett
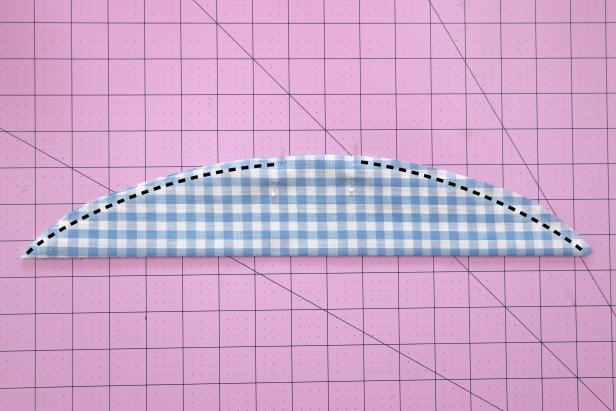
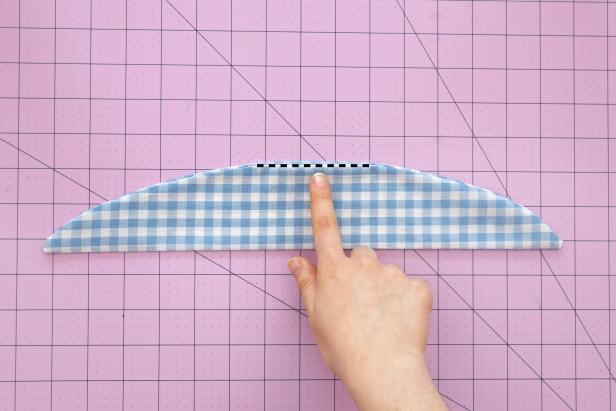
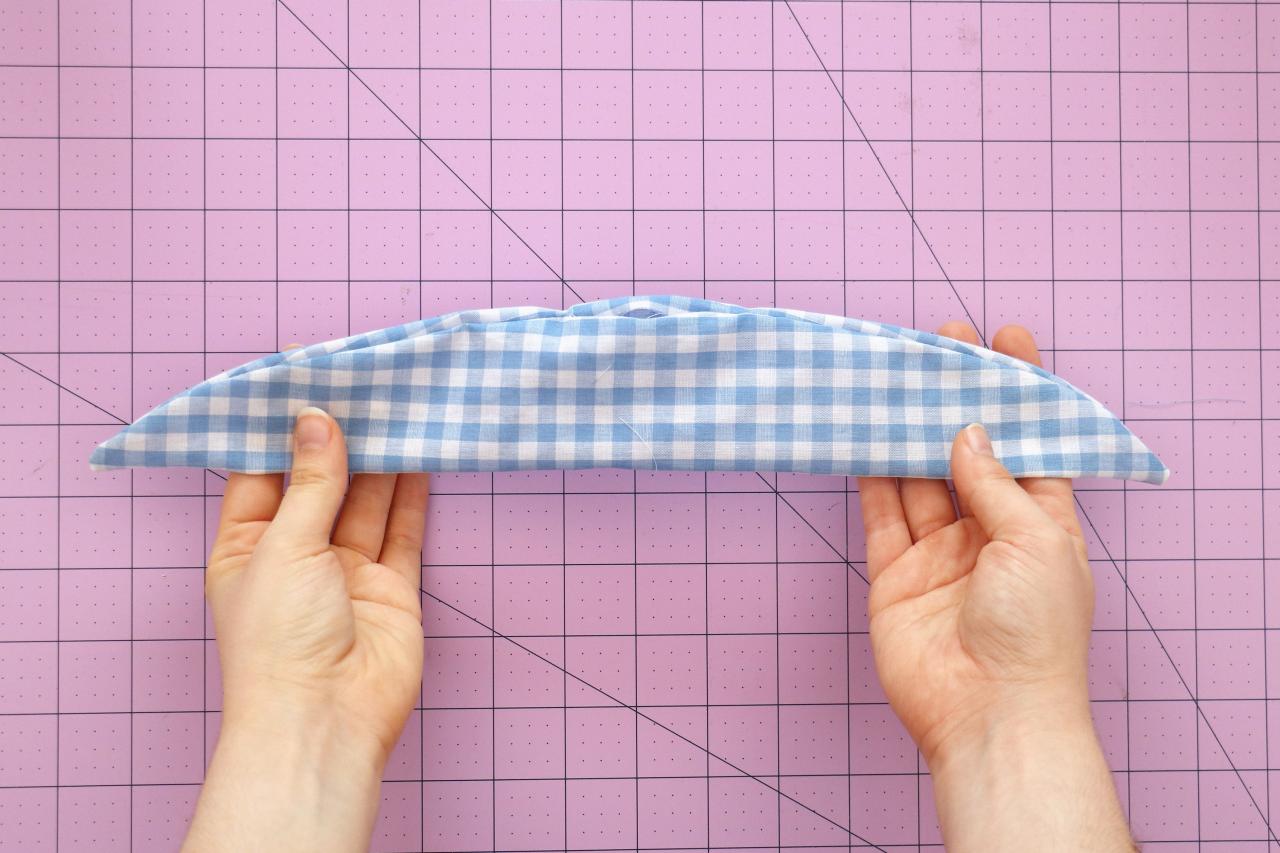
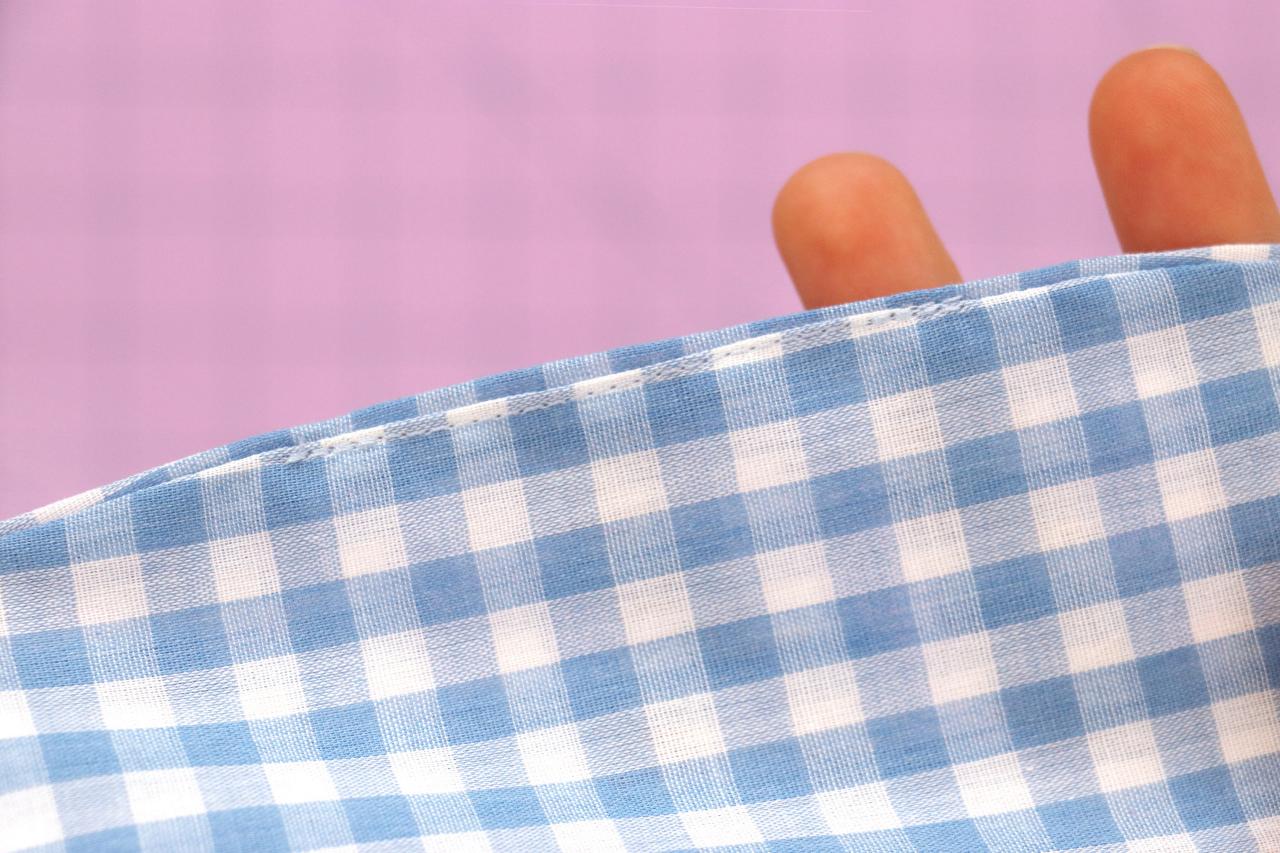
Sew the Sides
Sew together on each side, leaving around 2 inches unsewn in the center (Image 1 - 3).
Karen Kavett
Karen Kavett
Karen Kavett
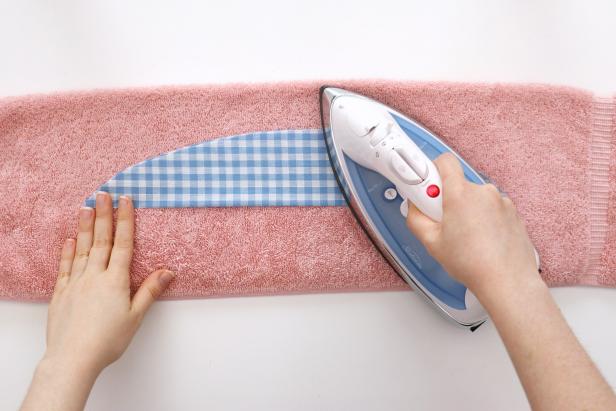
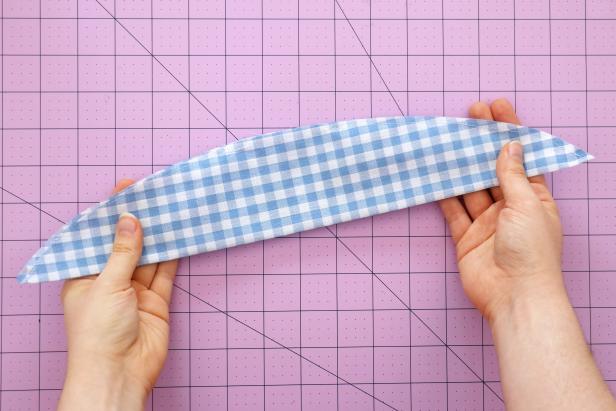
Turn Inside Out and Iron
Carefully turn it inside out, pulling each end through the hole left in the center. Use a pencil to make sure the corners are fully pushed out (Image 1 + 2). Press with an iron (Image 3).
Karen Kavett

Karen Kavett
Karen Kavett
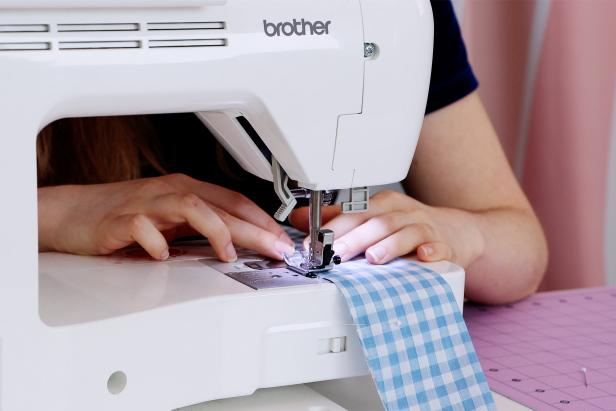
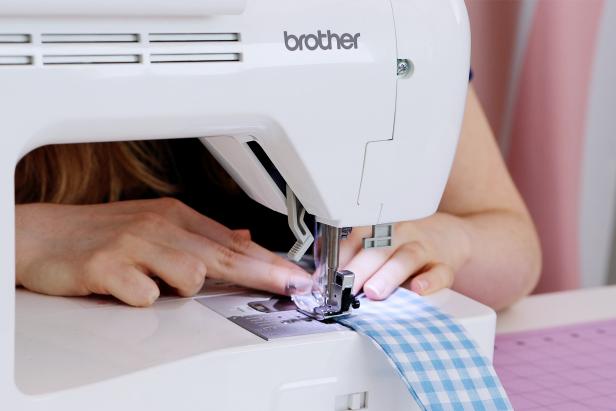
Finish the Scarf
Using your sewing machine, carefully sew the opening closed (Image 1 - 3).
Karen Kavett
Karen Kavett

Karen Kavett
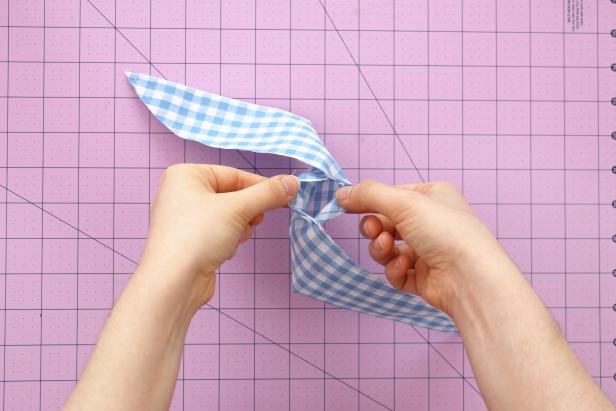
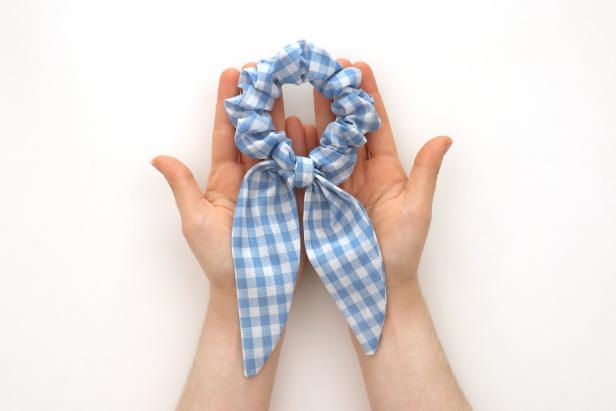
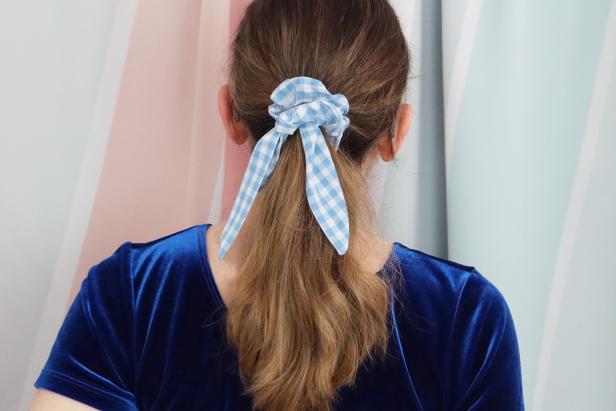
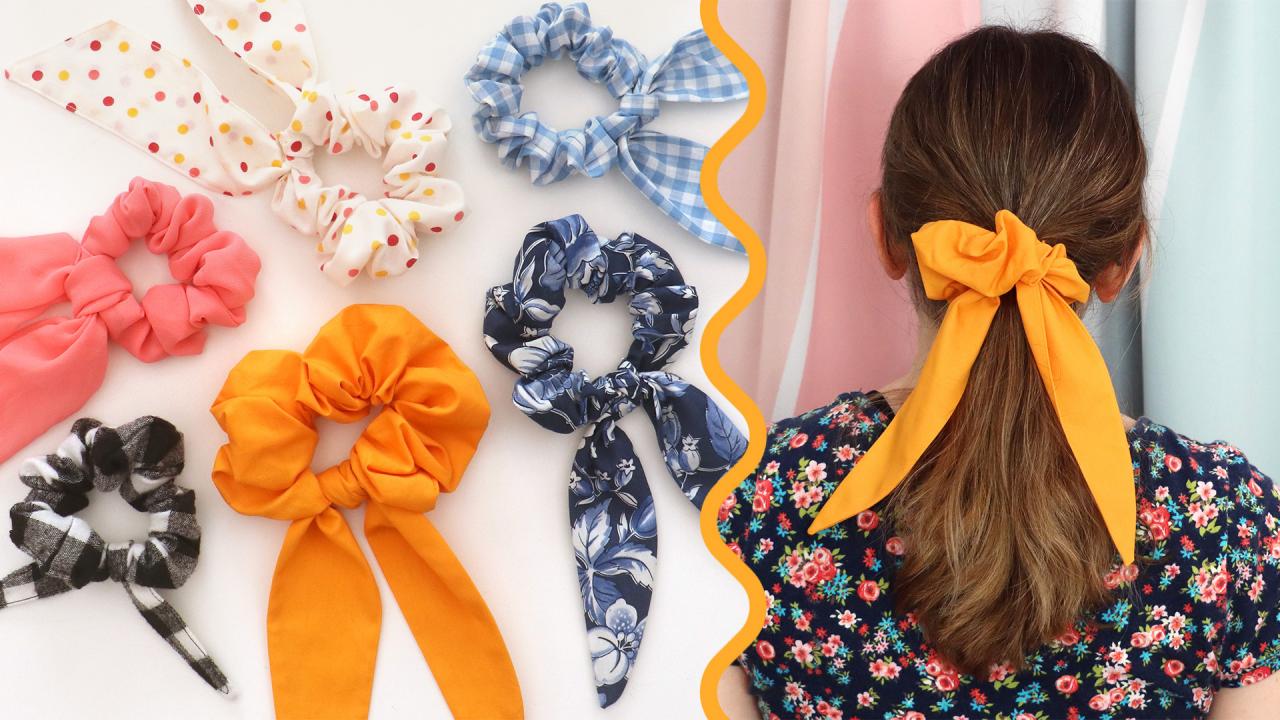
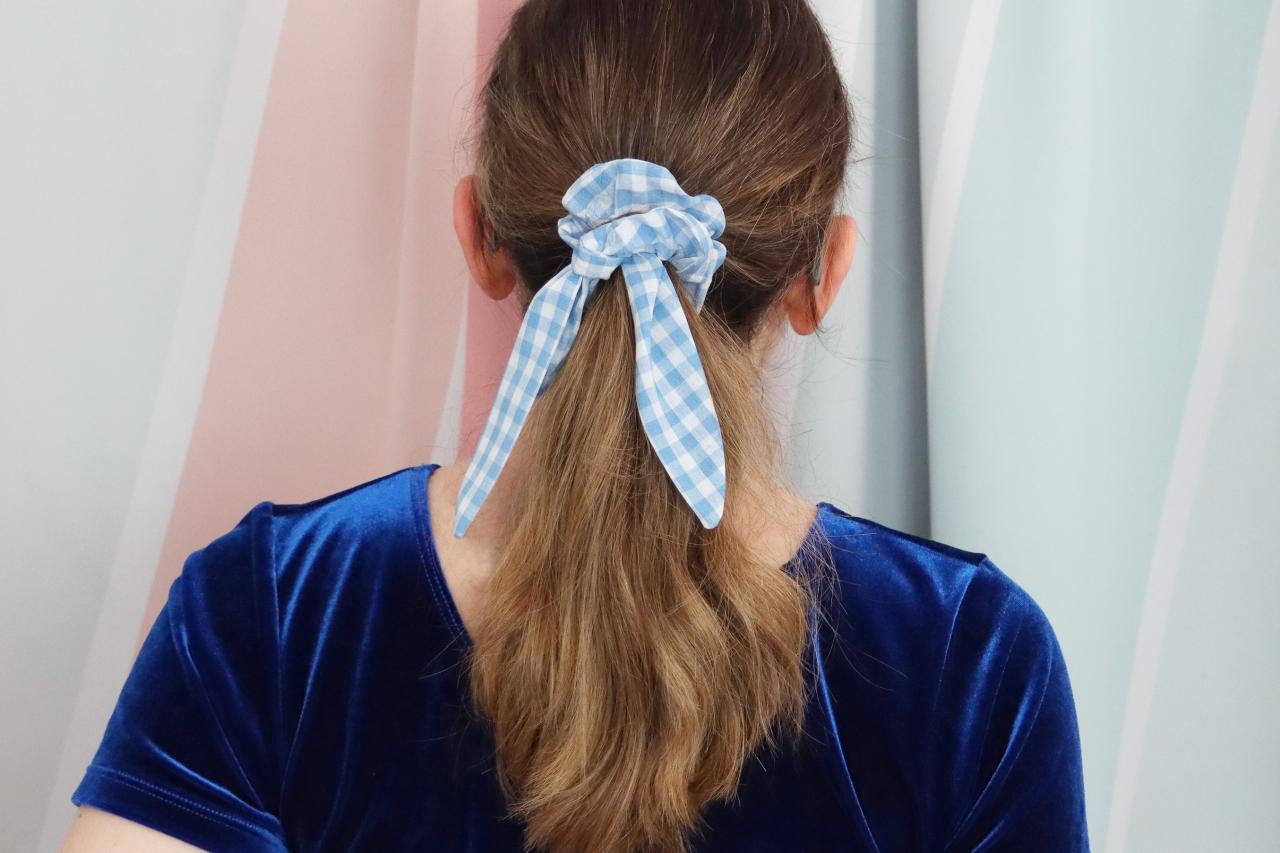
Connect the Two Pieces
Tie the scarf onto the scrunchie (Image 1). You can adjust it until you’re happy with how it looks, and since it’s not sewn on, you can wear the scrunchie with or without the scarf (Image 2 + 3).
Karen Kavett
Karen Kavett
Karen Kavett
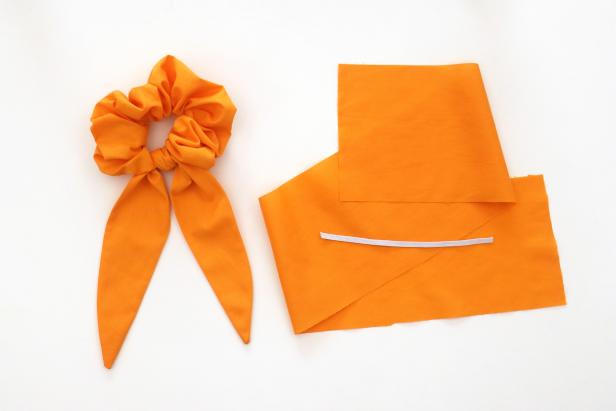
Feel Free to Make Adjustments
Feel free to make adjustments to this project. To make your scrunchie more voluminous, make your initial rectangle of fabric larger and your elastic shorter (Image 1). For this example, our fabric rectangle measured 28 inches x 5 inches and our elastic measured 6.5 inches (Image 2 + 3).
Karen Kavett

Karen Kavett
Karen Kavett
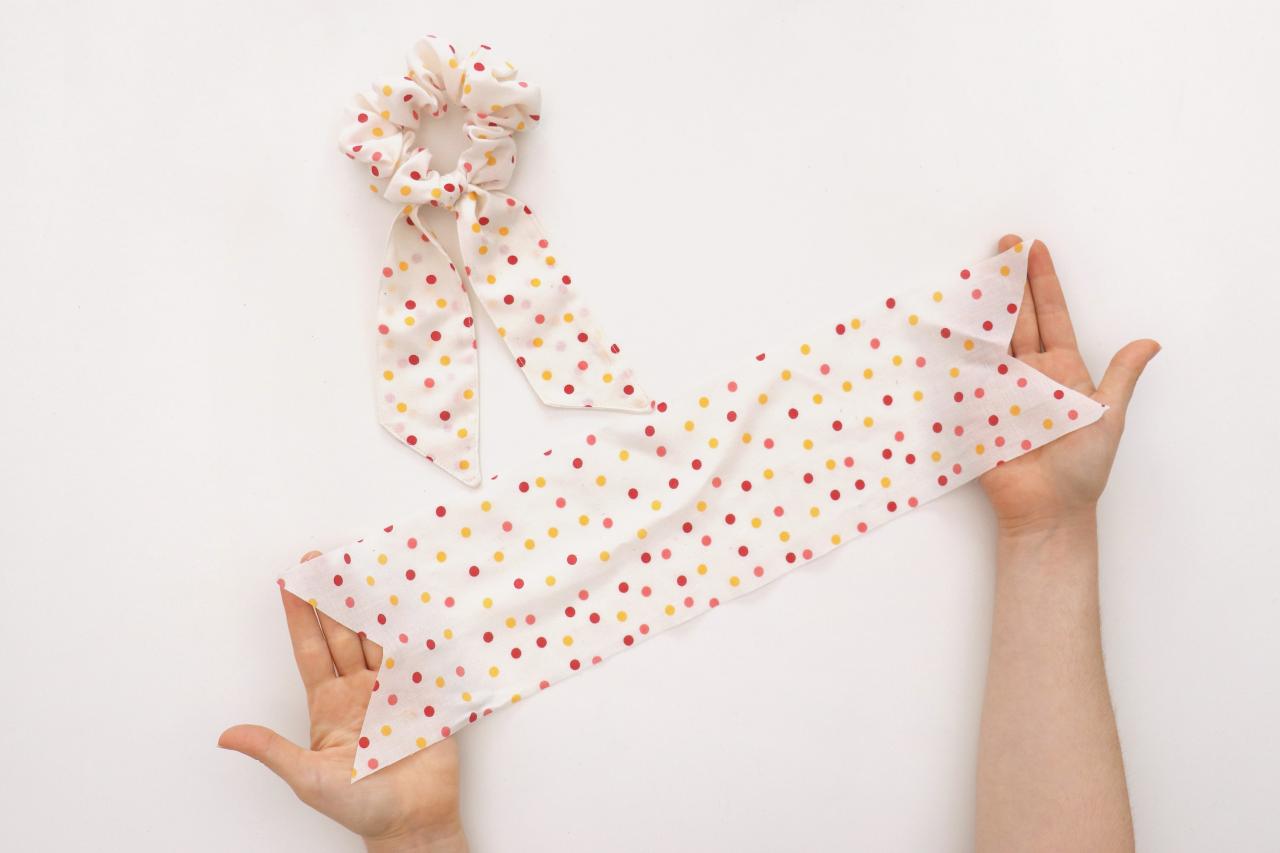
Want It Longer or Shorter?
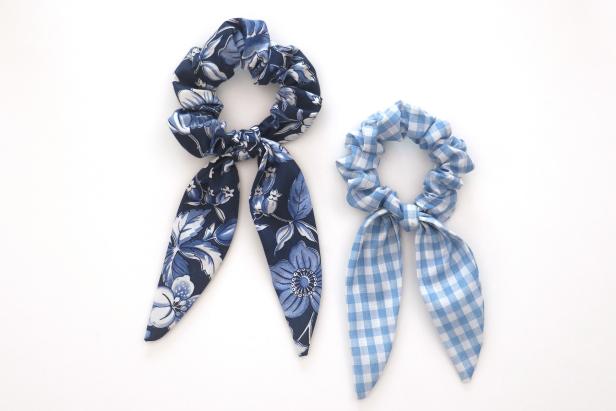
Cut longer or shorter curves to make longer or shorter scarves. You can try making a longer scarf from lightweight fabric (Image 1) and a shorter scarf with heavier fabric (Image 2).

Karen Kavett

Karen Kavett
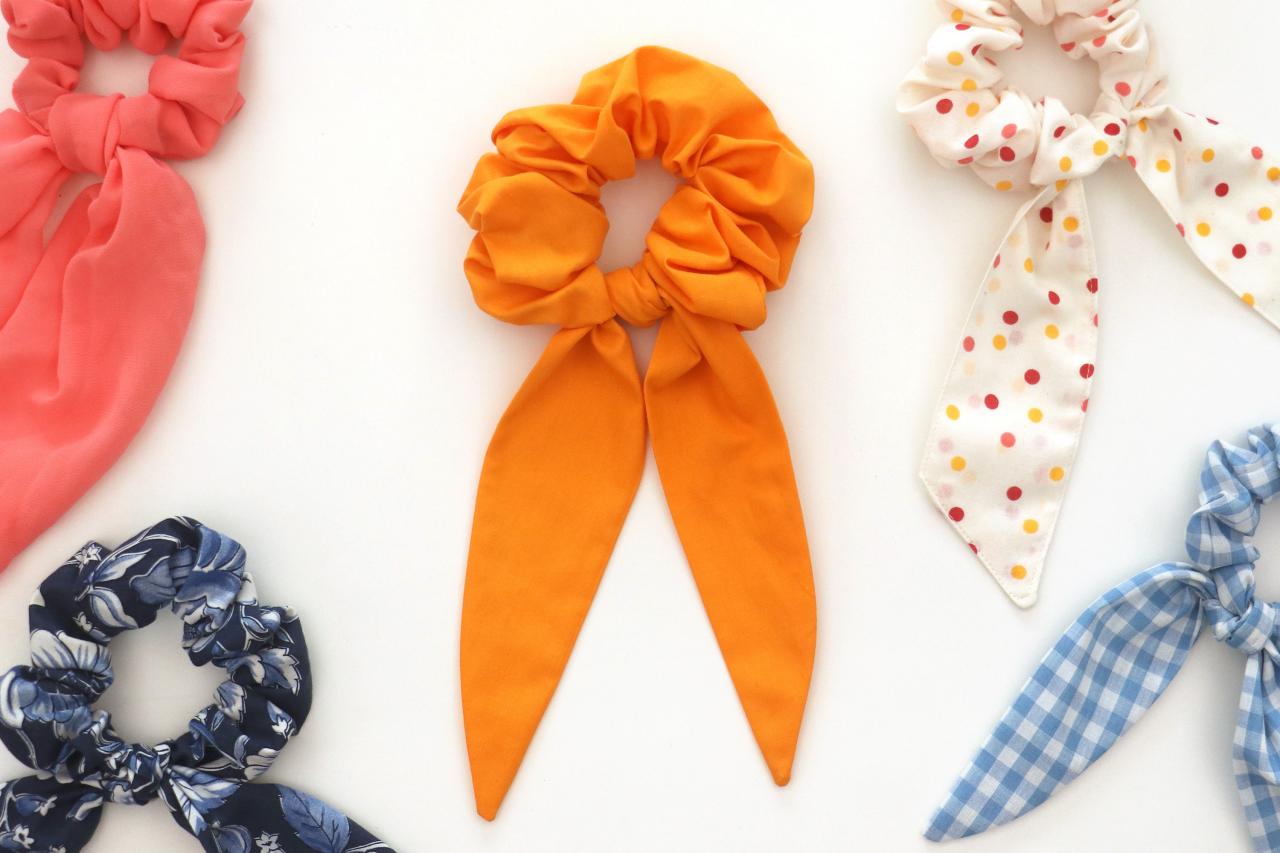
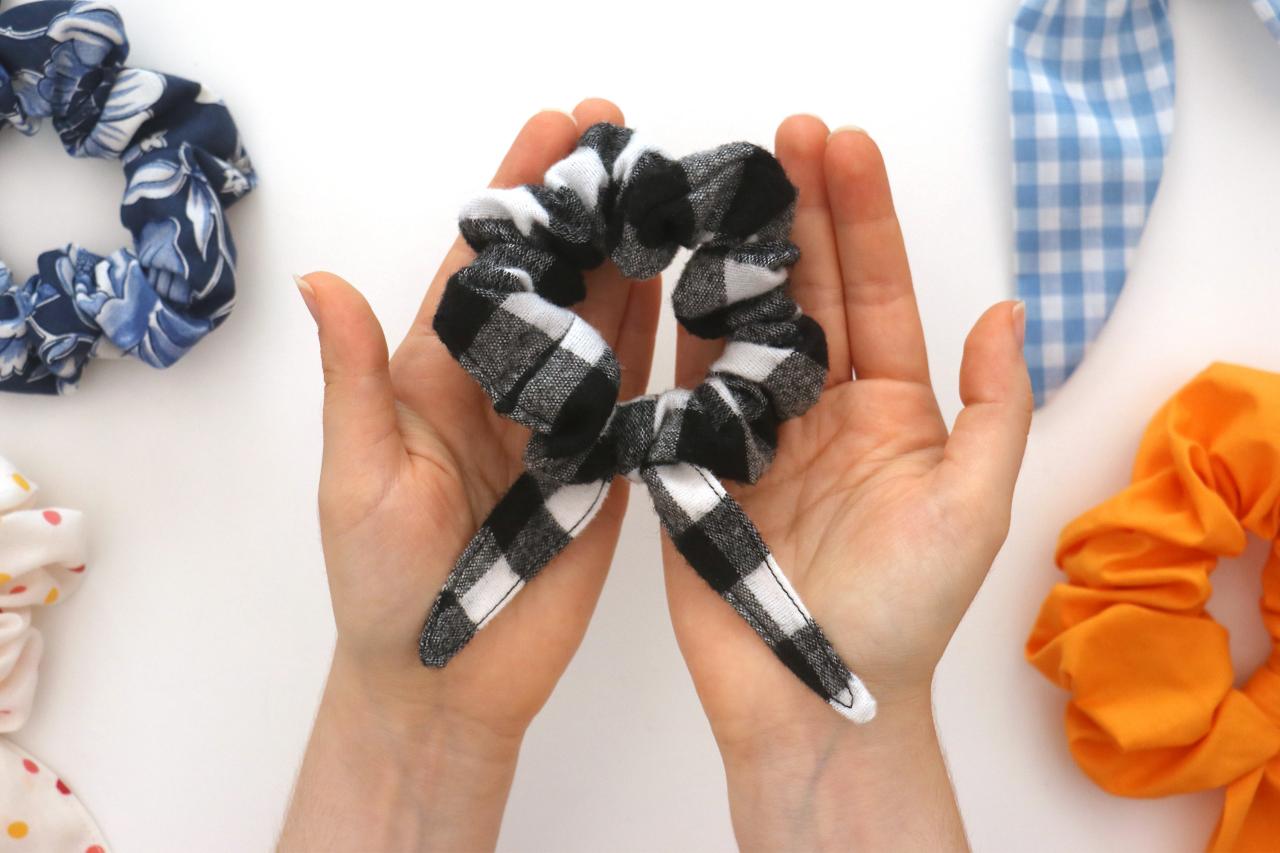
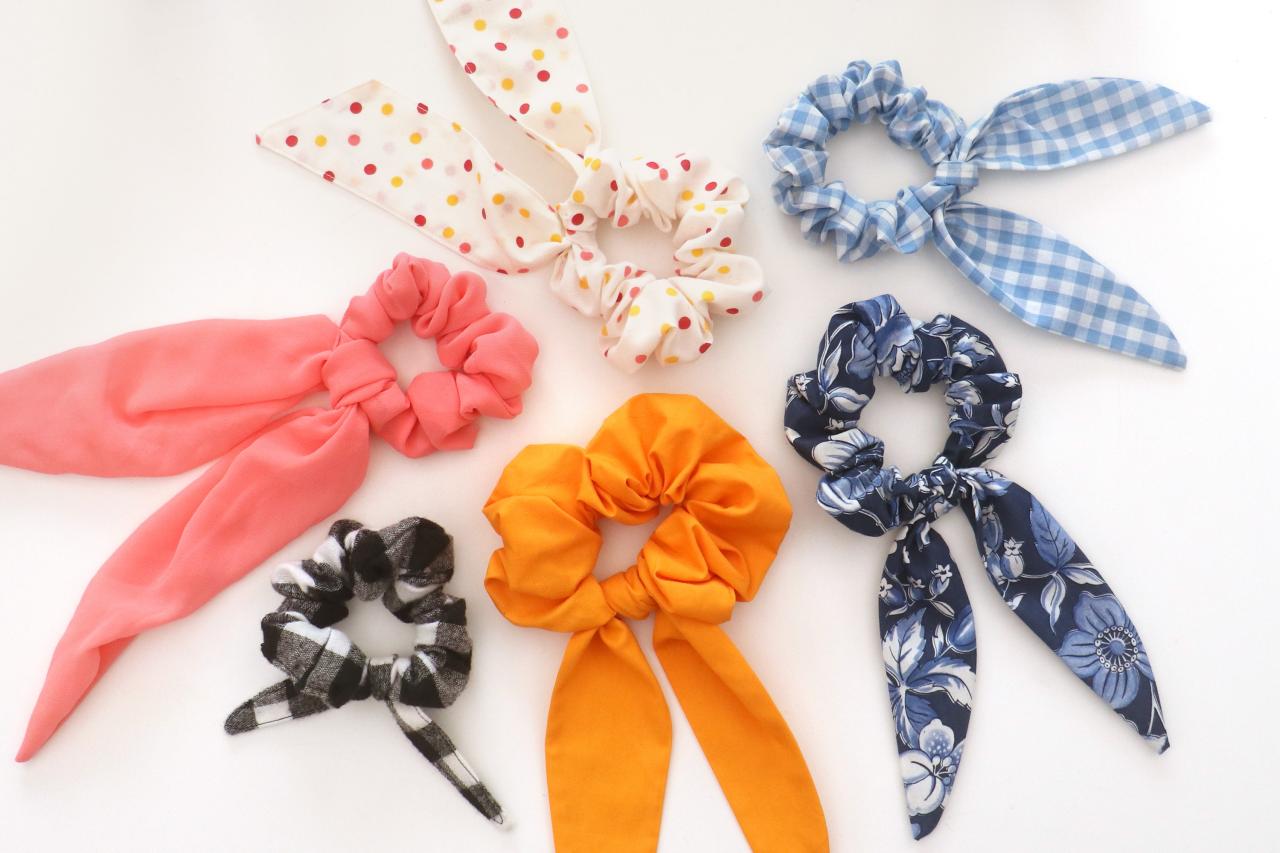
Experiment With Your DIY Scarf Scrunchie
Experiment with the shape of the scarf by cutting different designs on the tails (Image 1). You can make as many variations on this project as you can think of (Image 2)!

Karen Kavett

Karen Kavett
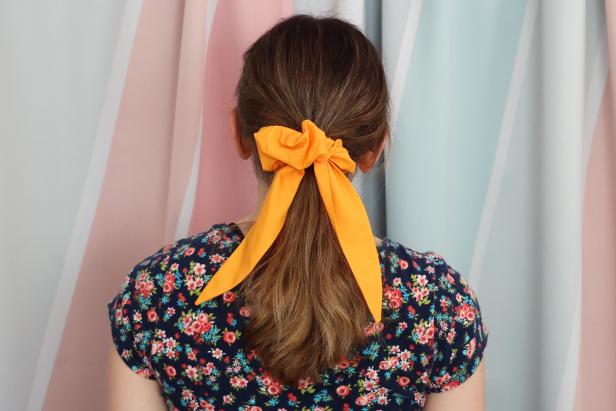
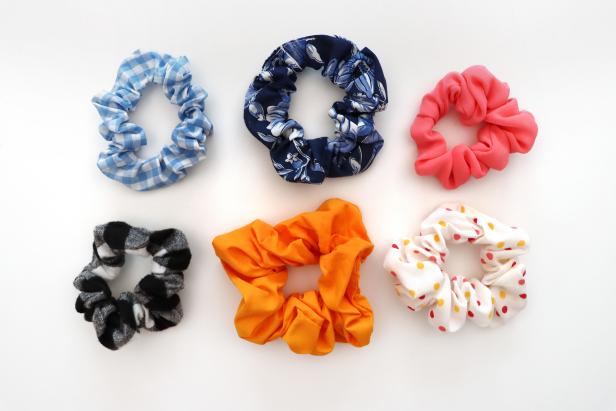
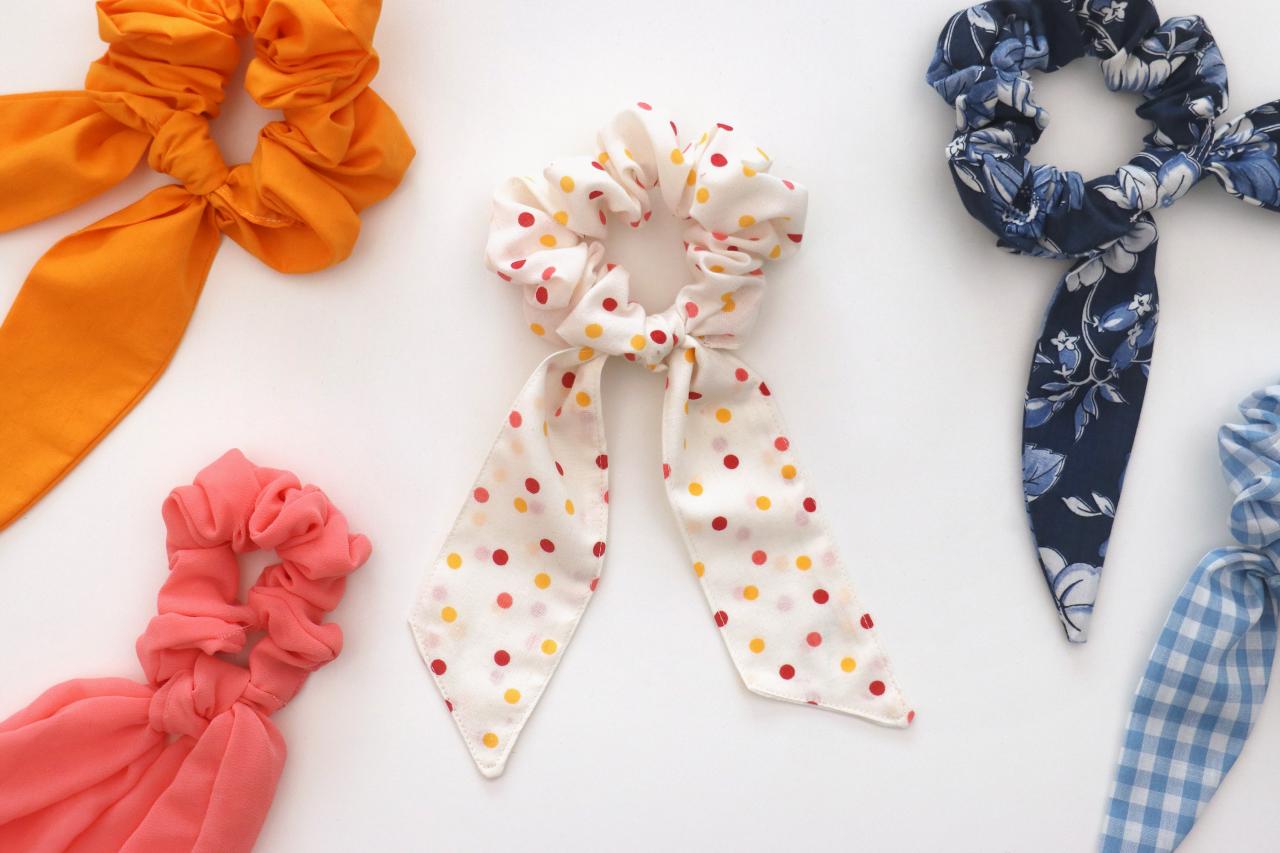
Remove the Scarf (If You Want)
Since the scarves aren’t sewn on, you can remove them if you want to wear the scrunchies on their own (Image 1 + 2)
Karen Kavett
Karen Kavett
Easy Sewing Projects

How to Make a Classic Tulle Tutu
This pretty DIY skirt looks adorable as a flower girl dress, a Halloween costume, for ballerinas-in-training or just for the fun of it. Almost no sewing is involved to create this classic tulle tutu, making it a great project for beginner-level crafters.
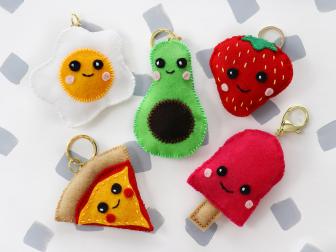
Easy-Sew Food Plushie Keychains
These healthy 'snacks' smile back. Make adorable keychains with scrap felt and a simple sewing technique.

7 Tips for Hand-Embroidering Designs Onto Clothing
Embroider beautiful, meaningful designs onto your wardrobe with tips from textile artist Christi Johnson's new book, Mystical Stitches: Embroidery for Personal Empowerment and Magical Embellishment.


