How to Make a DIY Floating Frame for Canvas Art
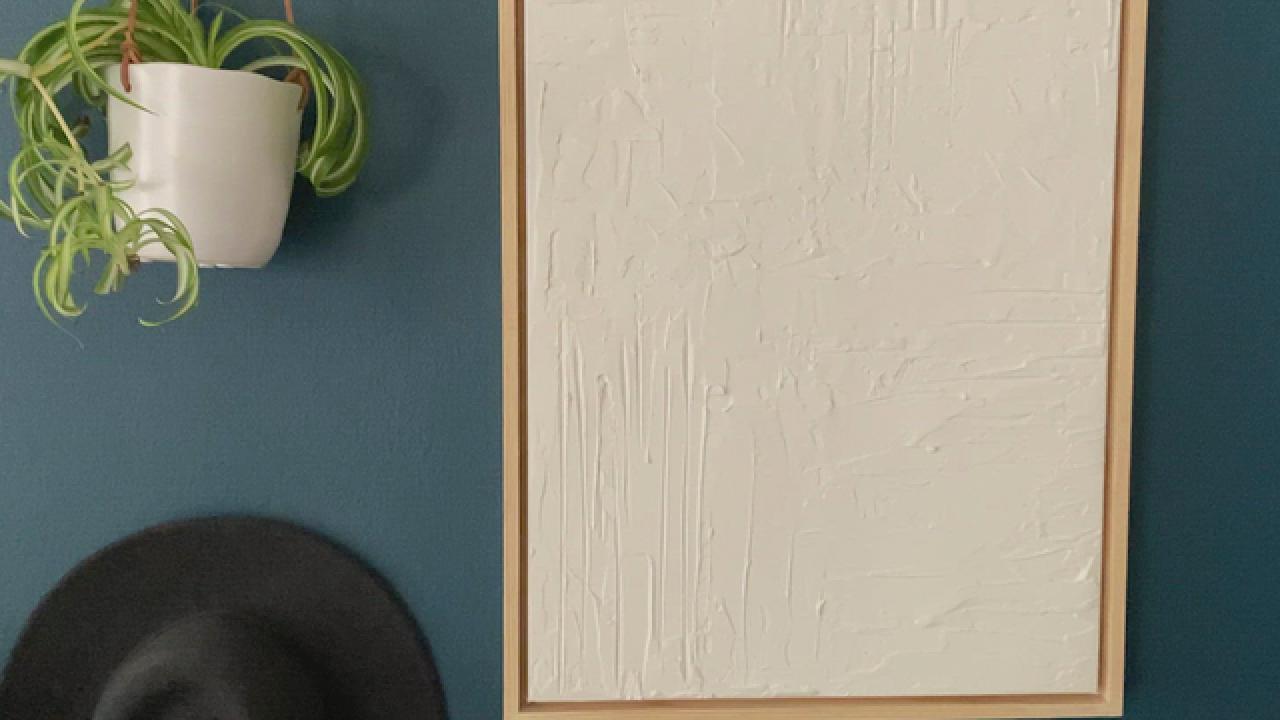
Give your canvas artwork an easy, sleek upgrade by creating a DIY floating frame using scrap wood. It only takes a few easy steps to give your space a trendy refresh.

Crafty Lumberjacks
A floating frame can be super expensive when purchased new. But, what if we told you that you could have a great-looking frame at just a fraction of the cost? Using scrap wood (and a few extra supplies), give your canvas artwork an easy upgrade with a sleek touch by making this DIY floating frame.

Materials + Supplies
- measuring tape
- large canvas frame
- 4 pieces of wood half the thickness of the canvas (general purpose pine wood 3/4-inch)
- 4 pieces of wood the thickness of the canvas (general purpose pine wood 1 5/8-inches)
- miter box
- hammer & nails
- wood glue
- clamps
- wood filler
- electric sander
- sand paper
For this project you will build two frames that will essentially go on top of each other, creating the illusion of a floating frame. Make sure you’re buying wood that will work with your canvas measurements.

Crafty Lumberjacks
Measure + Cut Wood for Inside Frame
For the inside frame, the wood should overlap at 90-degree angles in the corners; to account for the overlap, you want the sides to be slightly longer than the actual canvas size. Make sure you figure out your measurements carefully before doing any cutting. Measure the perimeter of the canvas and cut 4 pieces of the 3/4-inch wood to size to fit the length of each side of the canvas.

Crafty Lumberjacks
Nail the Inside Frame to the Canvas
Place the smaller wood pieces as close to the back of the canvas as possible and nail into place (Images 1 + 2). Start with one side and line up the wood so that it is flush to the corner and repeat with the next piece of wood, creating a 90-degree angle where they meet (Image 3). Continue around the frame until it is complete (Image 4). Sand down any rough corners until smooth.

Crafty Lumberjacks

Crafty Lumberjacks

Crafty Lumberjacks

Crafty Lumberjacks
Measure + Cut Wood for Outside Frame
For the outside frame, you'll overlap the wood at 90-degree angles in the corners, so you will want to allow for two sides to be slightly longer than the actual size of the frame you built around the canvas. Measure the perimeter of the inside frame and cut four pieces of the 1 5/8-inch wood to size to fit the length of each side of the canvas.

Crafty Lumberjacks
Glue the Outer Frame to the Inside Frame
Starting with one side of the canvas, add wood glue on top of the frame (Image 1). Press the cut piece of wood on top of it and clamp it in place (Image 2). Continue to glue and clamp all the pieces working in one direction so that it is flush to the corner, creating 90-degree angles where the corners meet. Continue around the frame until it is complete and set to dry. Tip: If the wood pieces aren’t lining up properly in the corners, sand the pieces separately until they fit together before gluing.

Crafty Lumberjacks

Crafty Lumberjacks
Sand Down Uneven Corners
Once the frame is dry, remove the clamps and sand down any edges with overhanging pieces of wood in the corners. Tip: Make sure to keep the sander straight while sanding.

Crafty Lumberjacks
Add Wood Filler
If there are any gaps in the corners, add a little bit of wood filler in the cracks with your finger and wipe away any extra. Once dry, lightly sand down any rough areas.

Crafty Lumberjacks
Wipe Clean and Hang Your DIY Floating Frame
Wipe off any excess sawdust with a dry cloth. Add a hanging kit to the back and hang.

Crafty Lumberjacks

Crafty Lumberjacks
DIY Art and Framing
How to Mat and Frame Artwork
Finding artwork you love is a lengthy and expensive process. Make custom art using anything flat, from a vintage album cover to a page from a book or magazine.
Harness the Sun's Power to Make Custom Wall Art
Cyanotype is an inexpensive photo printing process that can be done at home with a few special materials. Try this throwback craft to make your own custom print.


