Recycled T-Shirt Produce Bags
Turn your old T-shirts into handy produce bags with a few simple snips of the scissors with this fun project.

By:
Ruth Meharg
Related To:
T-Shirt Bags
These eco friendly produce bags are just what you need for gathering a harvest from the garden or the farmers' market! Make them out of recycled T-shirts for the perfect gift, or to use yourself!
Supplies
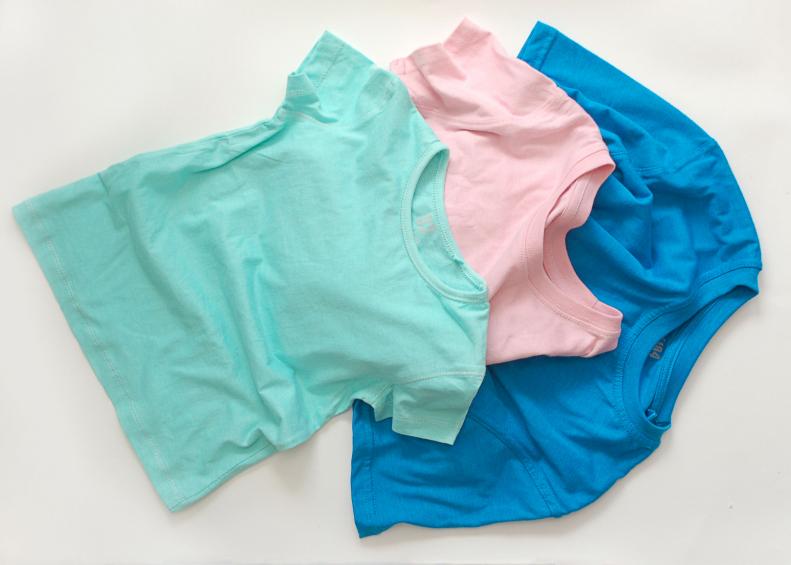
To make your T-shirt produce bag you need a T-shirt. You can use any size, even baby onesies will work for small produce. Once it's filled with fruits and veggies your bag will almost double in length, so keep this in mind when choosing a size. You'll also need a pair of scissors and ruler for this project. For one version of these bags you'll need a sewing machine, but there are also 2 no-sew options so don't worry if you aren't handy with a needle and thread.
Trimming Your Shirt
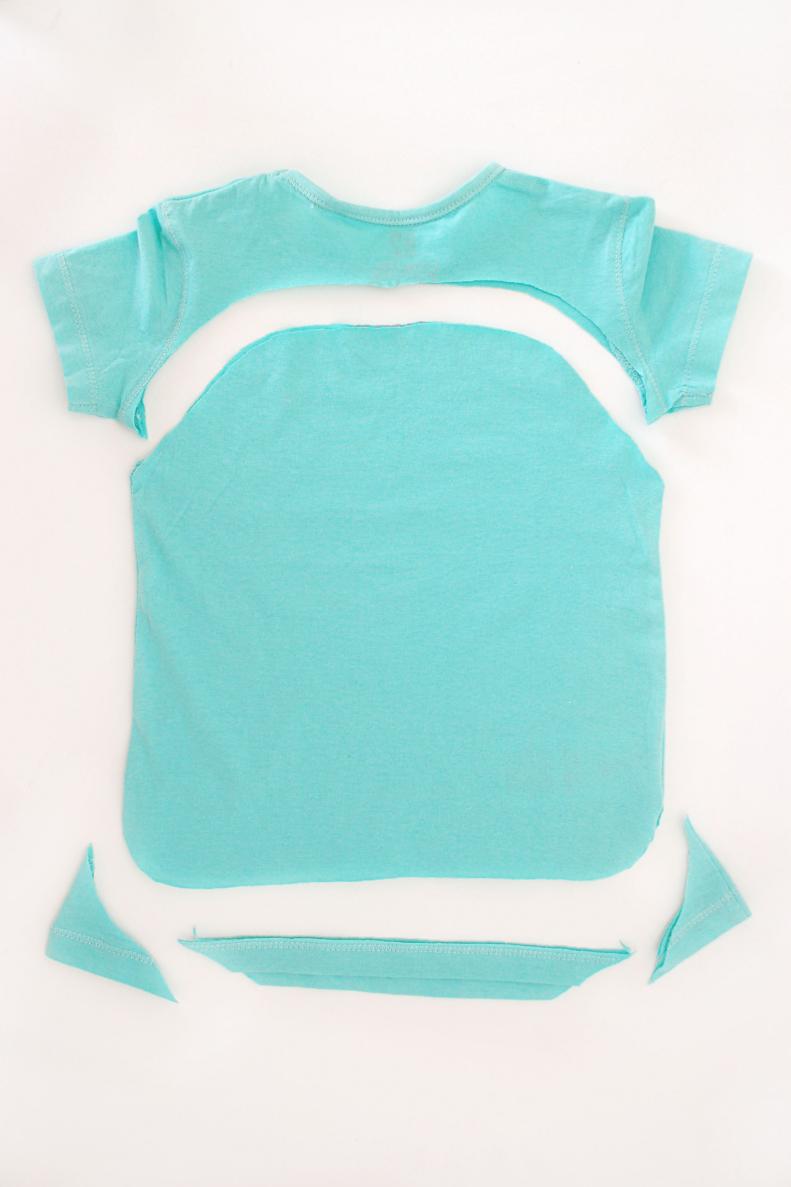
Begin by trimming your shirt into a bag shape. Lay it flat and cut off the sleeves and neck, creating an arch shape at the top. If you're going to sew your bag, cut the hem off the bottom. You can cut it in a straight line or curve the corners for a more finished look. Leave the sides sewn together.
Sewing the Base
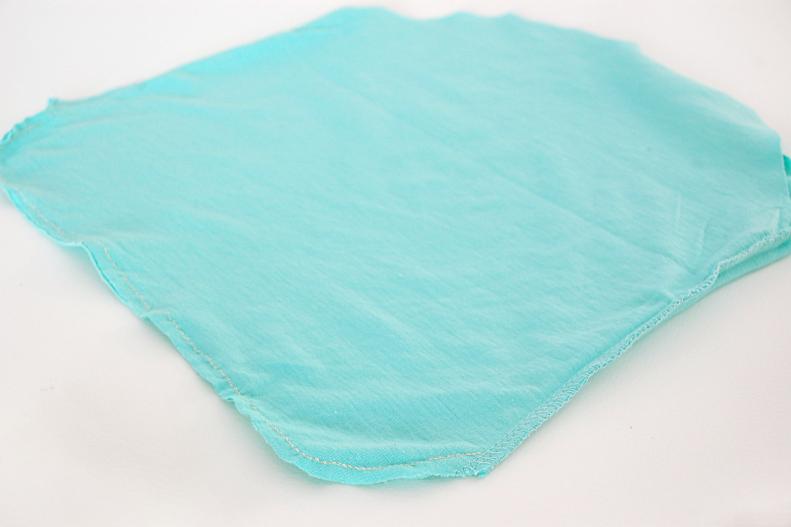
Turn your bag inside out. If you want to go the sewing route now's the time. Sew the bottom of the bag closed. A straight stitch will be fine but if you want to be extra secure you can sew a French seam or serge the edges. If you don't want to sew, just skip on to the next step.
Mark Your Cuts
Mark where you want to make the cuts on your bag with a pencil or pastel. Begin one inch from the bottom with a horizontal row of 1 inch marks. Leave an inch in between each mark. Create a second horizontal row of one inch marks 1 inch above the first. Alternate their placement from the row below. This means if the first row begins with a marked inch, the second row should begin with an unmarked inch. Leave at least 4 inches unmarked at the top. Create one large mark in the center of this space to place your hand or arm through.
Cut and Decorate
Cut along the marks you made with your scissors or rotary cutter. Turn your bag right side out and, for an extra special touch, let the kids decorate the bag with acrylic or fabric paint. If you've already sewn your bag, you are now finished.
Cutting a No-Sew Bag
If you don't want to do any sewing you just need to do a couple things differently when you make your bag. Just trim off the top of the shirt to create your bag. Don't trim off the bottom hem.
First No-Sew Option
For the first no-sew option cut the slits and handle in your shirt by following the directions posted previously. You can change the length of your cuts, making them up to 2 inches long. Always make sure you leave at least an inch of space in between though. In addition to the horizontal cuts, make a few very small, vertical cuts along the very base of the shirt, just above the hem. Take a ribbon and weave it in and out of these vertical cuts.
Finishing with a Ribbon
Finish by pulling the ribbon tight, bunching the bottom of the bag together. Tie the ribbon tightly and securely to be sure the bottom of the bag won't come open!
Second No-Sew Option
For your second no-sew option don't make the series of vertical cuts above the hem. Instead, make one vertical cut on the hem. Trim off a long, narrow piece of the T-Shirt from any scrap you have and secure a safety pin on one end.
Creating a Drawstring
Take the strip of fabric and push the end with the safety pin into the hem where you made the cut. You will be able to feel the safety pin through the fabric, use it to push and pull the strip of fabric through the entire hem until it comes out the other side. You don't want to loose the other end of the strip inside the hem, so make sure it stays outside the whole time, creating a drawstring at the base of your bag.
Finishing the Bag.
Pull both ends of the fabric strip as tightly as possible to close the drawstring. Tie them tightly and securely. This will leave a small hole at the bottom of your bag, but it won't be large enough for most produce to fall through.
Gathering
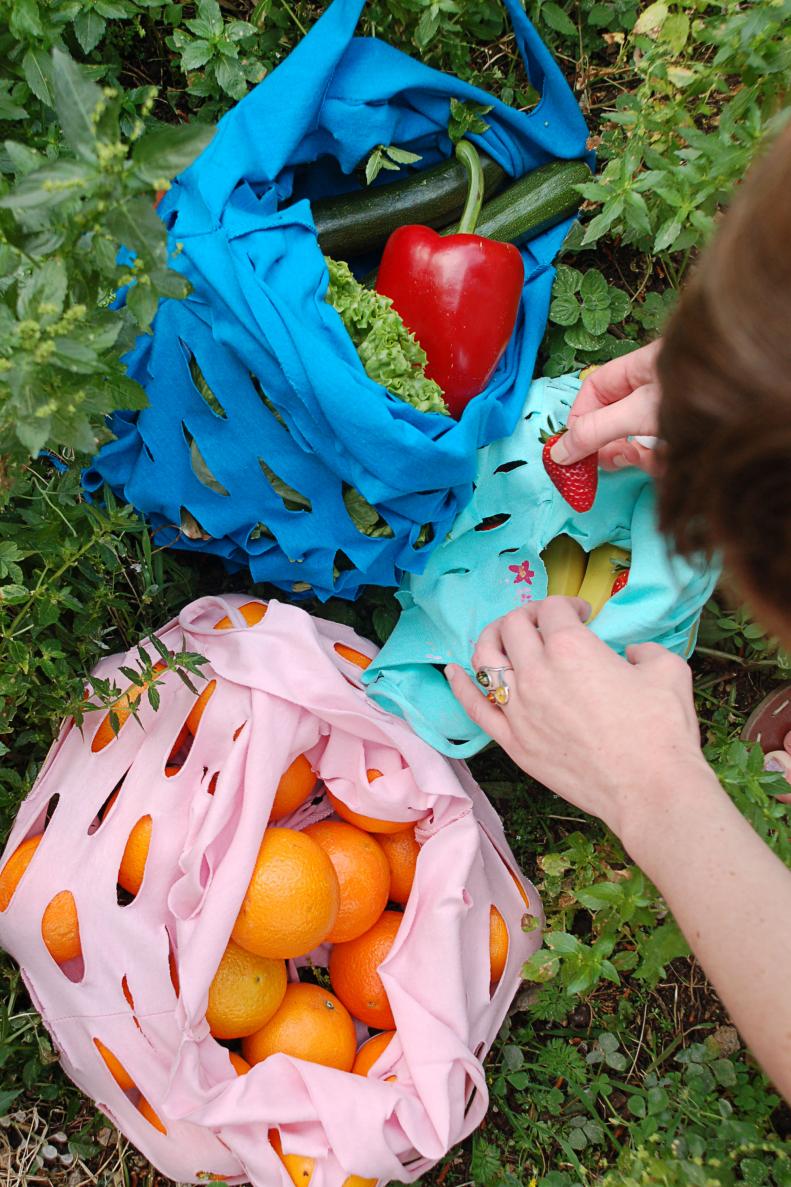
Your bag is now finished! Whether you decided to sew the bag or use one of the no-sew options, you can now fill your bag with your favorite fruits and veggies. This bag was made with 2 inch holes, leaving 1 inch intact between them. This size works great for larger produce, but the holes will be too large for anything smaller than oranges.
Care and Keeping
T-shirt produce bags are incredibly easy to care for. If they get dirty you can treat them just like a T-shirt. Throw them in the washer and dryer as often as you like. They're also light and easy to carry with you to the farmer's market or grocery store, or even out to your own garden. They're good for the environment and fun to use.